24 Art Studio Organization Ideas for 2026
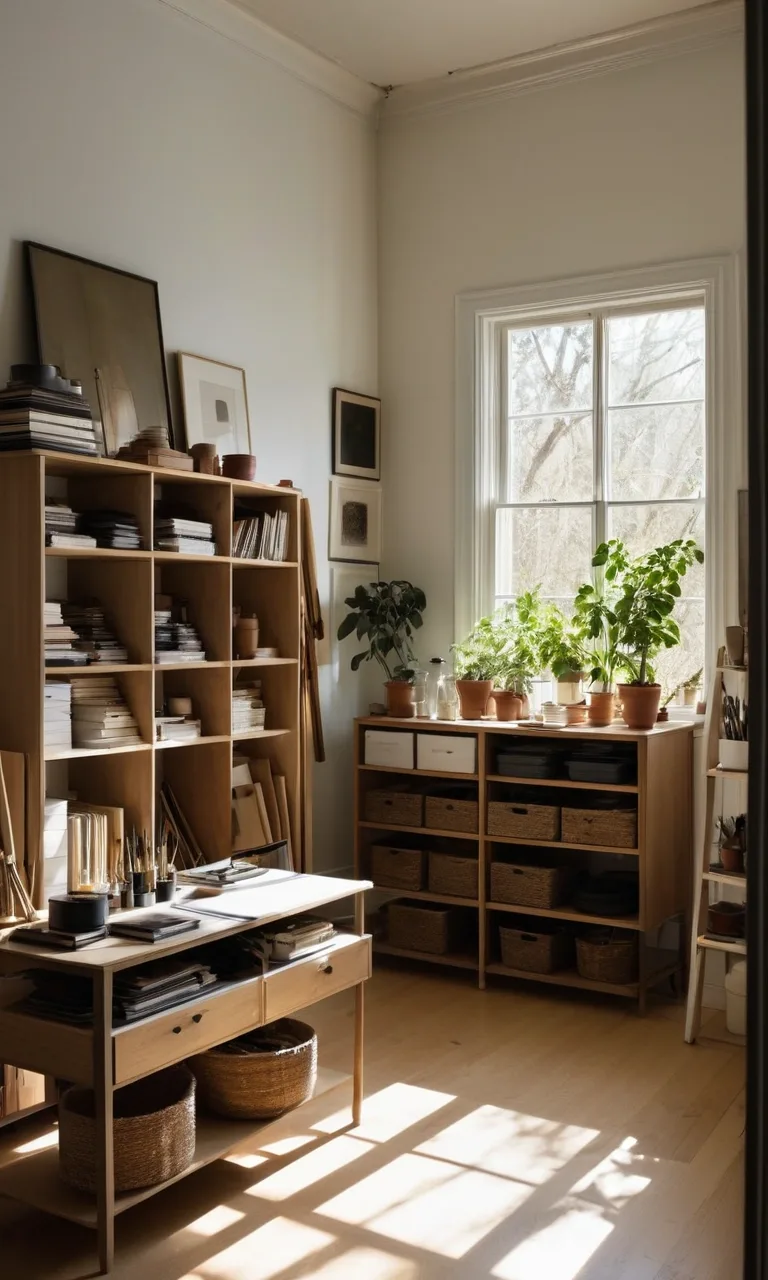
An art studio should make it easier to create, not harder to get started. When brushes disappear into crowded drawers, paint tubes pile up on the desk, and unfinished projects compete for space, even a simple creative session can feel overwhelming.
The good news is that you don't need a dedicated art room or expensive furniture to build a functional workspace. A few thoughtful storage choices, clearly defined work areas, and practical organizing habits can make a significant difference.
Whether you paint, draw, illustrate, craft, or experiment with mixed media, these art studio organization ideas will help you use your available space wisely, keep essential supplies accessible, and maintain an environment that supports your creativity.
How Can You Set Up an Art Studio in a Small Space?
Creating an art studio in a small room starts with identifying what you need most. Choose a primary work surface, then arrange your storage around the activities you perform there. A compact desk beside a window, a folding table against a wall, or a dedicated corner of a spare room can become a productive creative zone.
Make use of vertical space by installing shelves, wall-mounted organizers, or pegboards. Store backup materials in labeled containers beneath the desk or inside a nearby cabinet. If you work in a shared room, select furniture that can be folded, moved, or tucked away when you're finished.
Keep your most frequently used materials within comfortable reach and reserve less accessible storage for seasonal supplies or items you rarely need. This approach reduces unnecessary movement while leaving enough room to work comfortably.
How Do You Organize an Art Studio Without Killing Creativity?
An organized studio should support your artistic process without making the space feel rigid or impersonal. Instead of arranging everything purely for appearance, think about how you actually work. A watercolor artist may need easy access to brushes and palettes, while a paper crafter might prioritize flat storage and cutting tools.
Create convenient homes for everyday materials, group related items together, and keep your active projects separate from unused supplies. You can also dedicate part of a wall or shelf to inspiration, sketches, reference images, and finished artwork.
The goal isn't to eliminate every sign of creativity. It's to prevent clutter from interfering with your ability to experiment, concentrate, and move naturally from one stage of a project to another.
1. Vertical Harmony
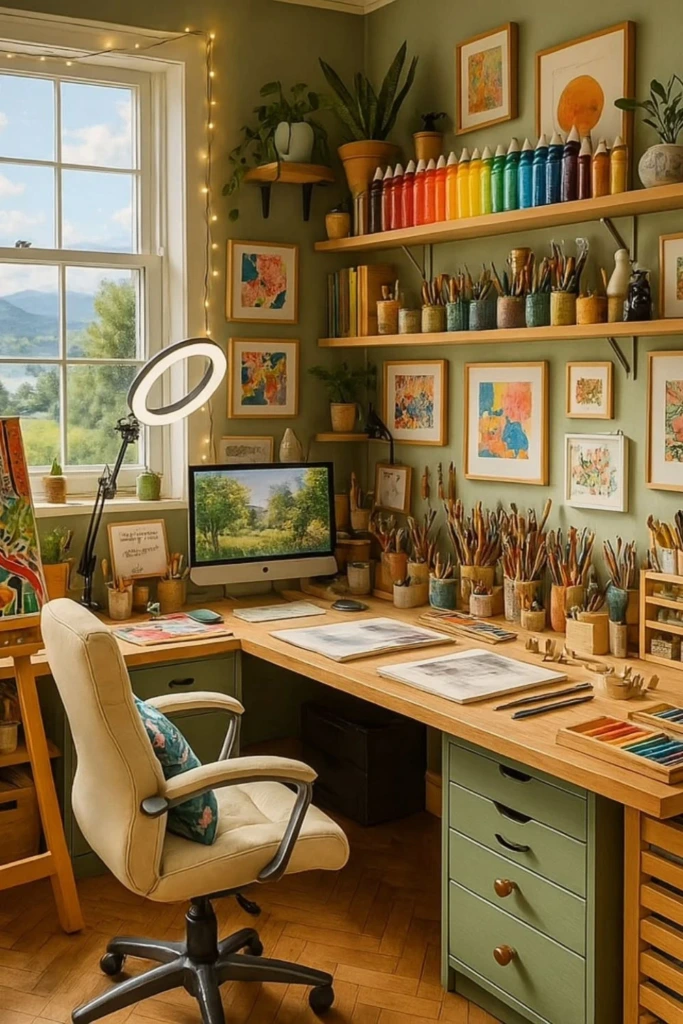
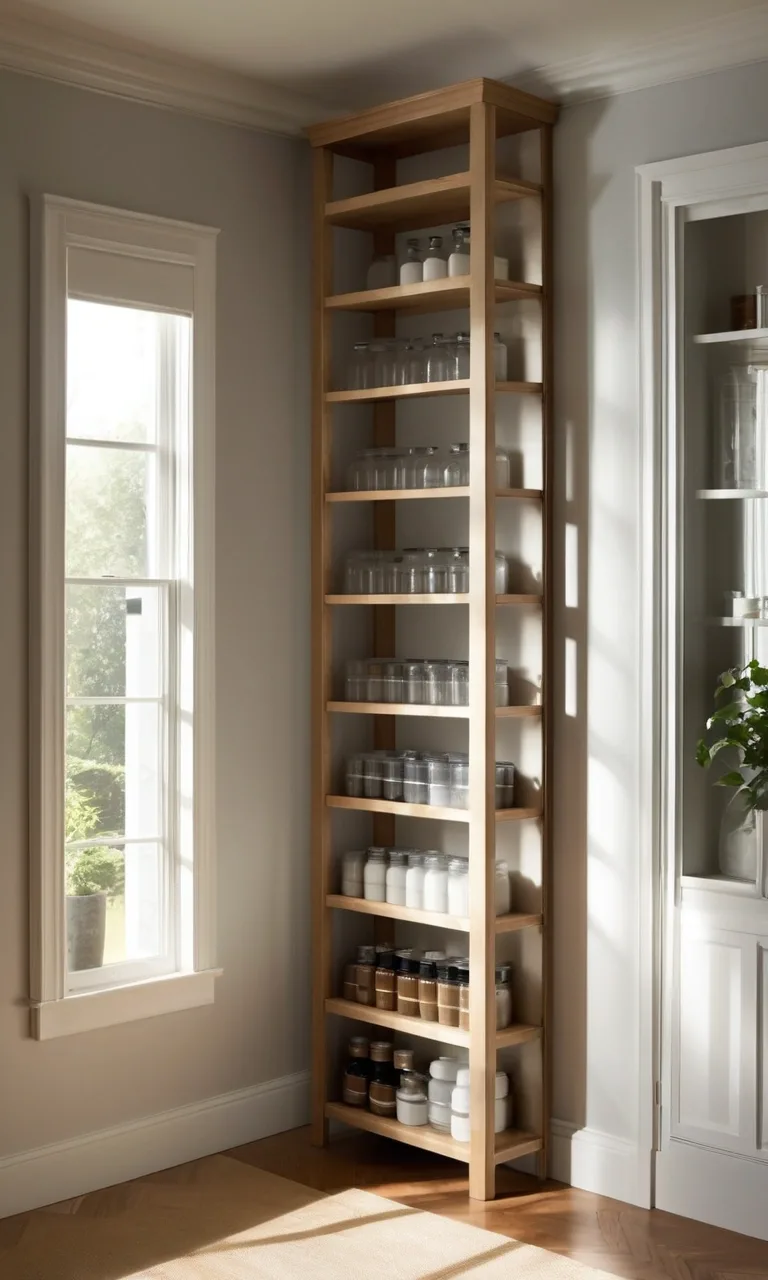
Floating shelves can provide valuable storage without taking up the floor space required by freestanding cabinets. Arrange paints, sketchbooks, small containers, and frequently used materials on shelves positioned at a comfortable height.
Grouping similar items together creates a clear visual arrangement, making it easier to locate supplies when inspiration strikes. You might dedicate one shelf to paints, another to drawing materials, and a third to reference books or small decorative objects.
Avoid overcrowding the shelves, especially above your main work area. Keep heavy materials securely stored and place fragile supplies where they won't be knocked over accidentally.
2. Living Gallery
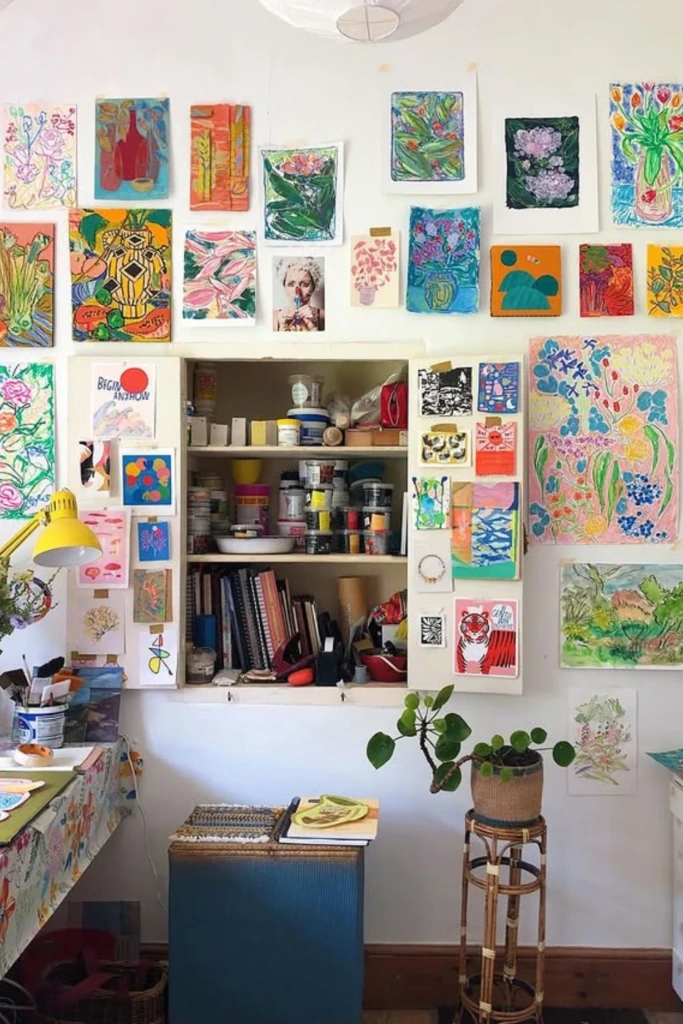
Turn your studio walls into a changing exhibition of your creative work. Pin sketches to a corkboard, hang completed paintings, or display photographs that inspire your next project.
A rotating gallery gives you a way to appreciate finished pieces while keeping current ideas visible. It can also help you track your progress and recognize recurring themes in your work.
If your studio is part of a bedroom or living room, combine the display with closed cabinets or discreet storage boxes. This balance allows your artwork to remain visible without making the entire room feel crowded.
3. Color Stations
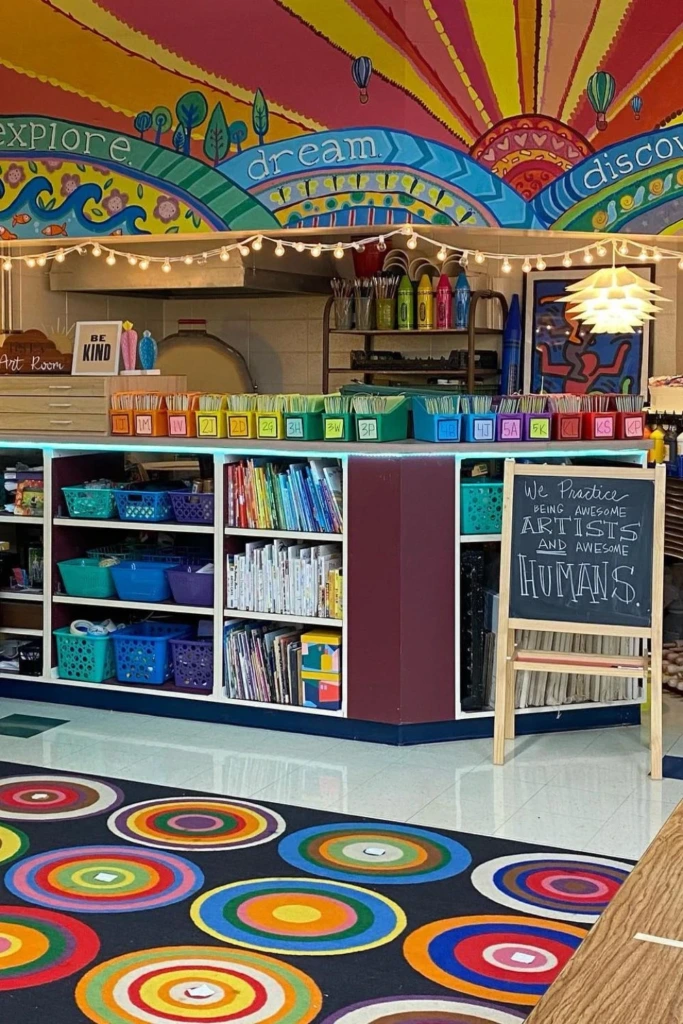
Organizing art materials by color can make creative sessions more efficient, particularly when your work involves several shades or variations of the same hue.
Place paints, colored pencils, markers, or paper scraps into containers according to their color families. For example, keep warm reds and oranges together, arrange greens and blues in neighboring groups, and store neutrals in a separate section.
Use labels when containers aren't transparent, and maintain the same arrangement when returning supplies after each session. In a shared studio, a consistent color-based system also helps everyone find and replace materials without having to ask where they belong.
4. Modular Storage
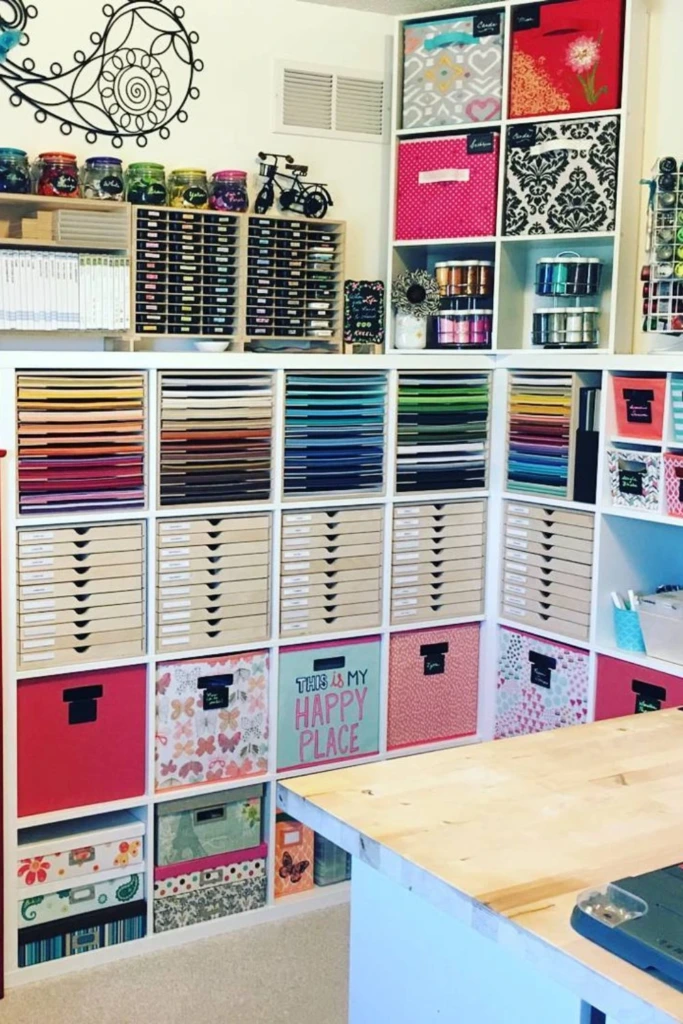
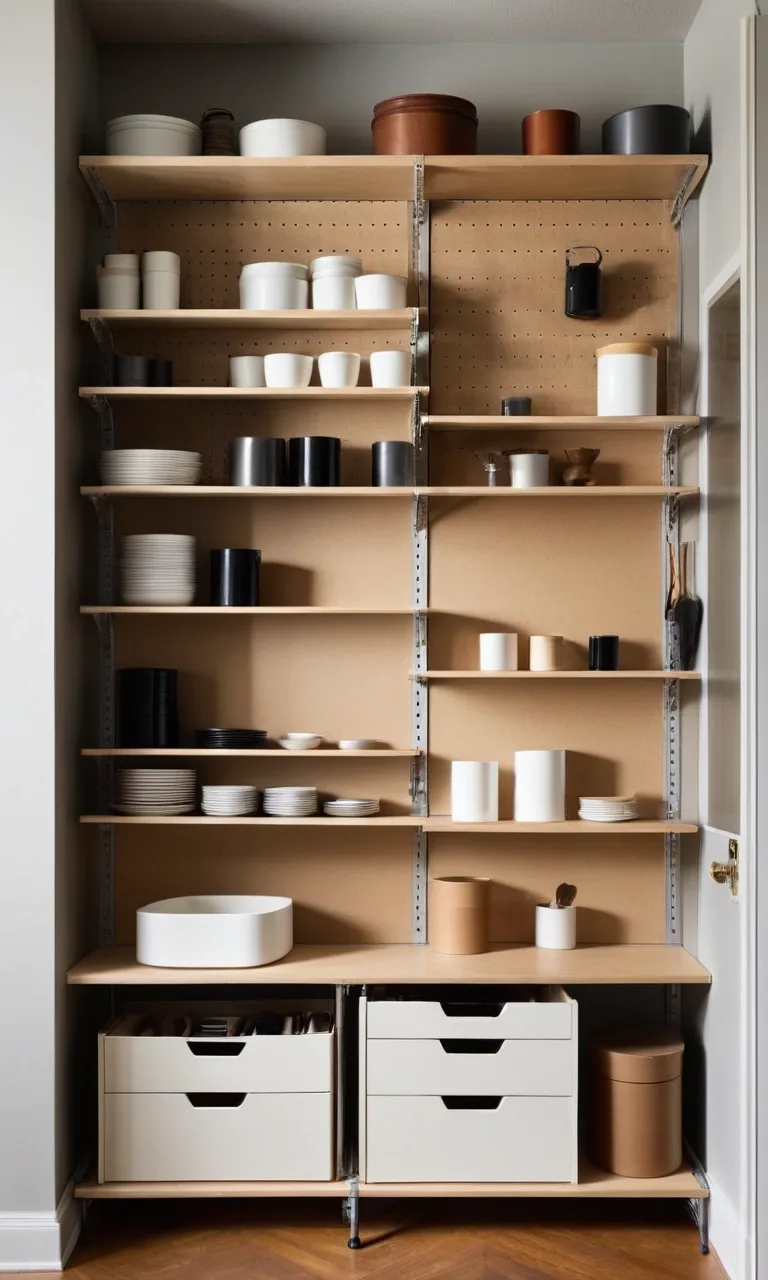
Modular storage is particularly useful when your art collection changes frequently. Stackable drawers, adjustable cubbies, and individual storage boxes let you create a setup that fits your current needs rather than committing to one fixed arrangement.
Assign each unit a category, such as painting materials, drawing tools, paper, adhesives, or small embellishments. Use shallow trays for items that need to remain accessible and deeper drawers for bulkier equipment.
The main advantage is flexibility. You can add another module when your collection grows, move a container closer to your desk, or reorganize the entire system when you begin working with a new medium.
5. Mobile Carts
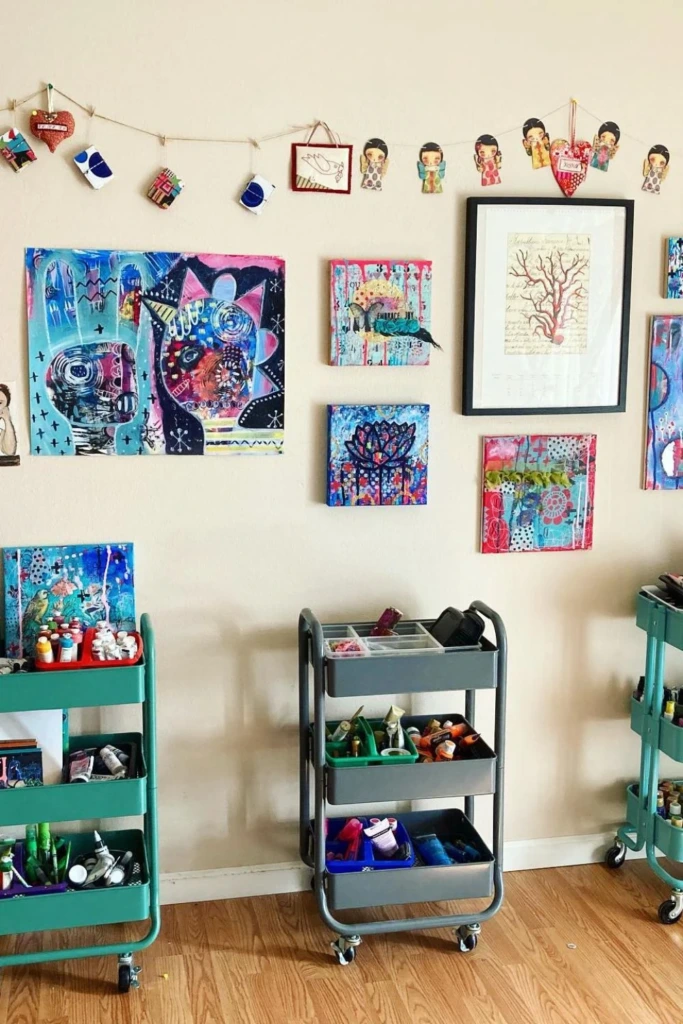
A rolling cart provides portable storage for artists who need to move between different work surfaces. Instead of carrying individual supplies across the room, keep your frequently used materials together and roll them wherever they're needed.
Give each tier a specific purpose. The top might hold current projects and everyday tools, the middle could contain paints or drawing materials, and the bottom can accommodate heavier supplies.
When the session ends, move the cart into a designated parking spot to reclaim your floor space. Choose a model with locking wheels if you regularly use it beside a table or need extra stability while working.
6. Pegboard Flow
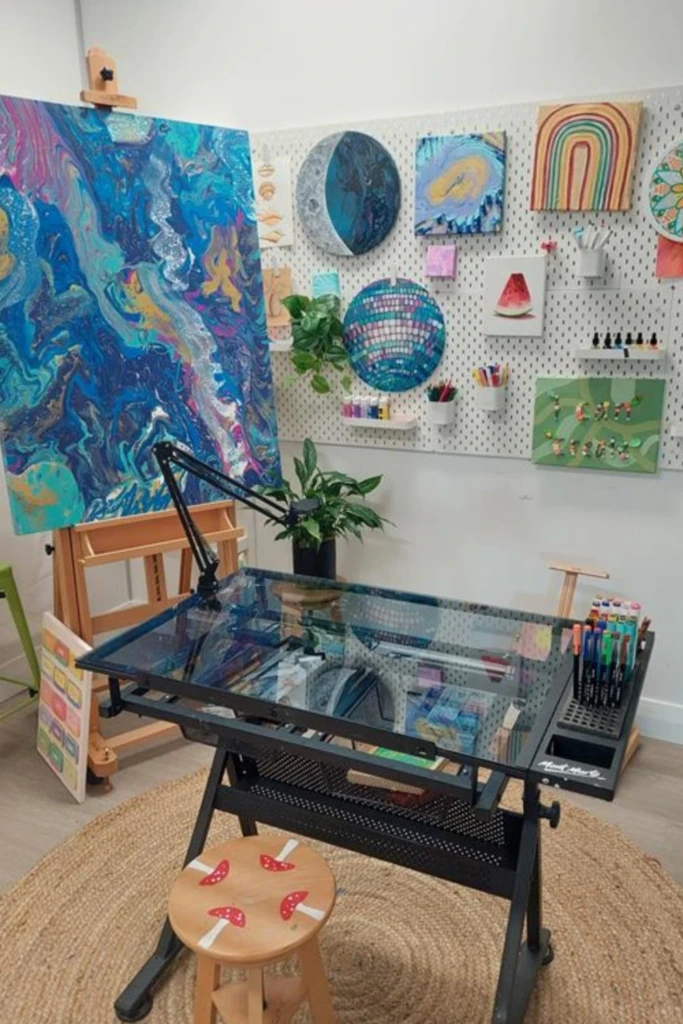
A pegboard makes frequently used tools visible while keeping your work surface relatively clear. Hooks, baskets, and small shelves can hold scissors, rulers, brushes, tape, and other lightweight equipment.
Arrange the board according to your habits rather than following a decorative pattern. Place everyday tools near the center, where you can reach them easily, and reserve the outer edges for less frequently used items.
One benefit of pegboard storage is that you can change its layout without replacing the entire organizer. As your projects evolve, move the hooks and containers to accommodate different tools.
7. Reach Control
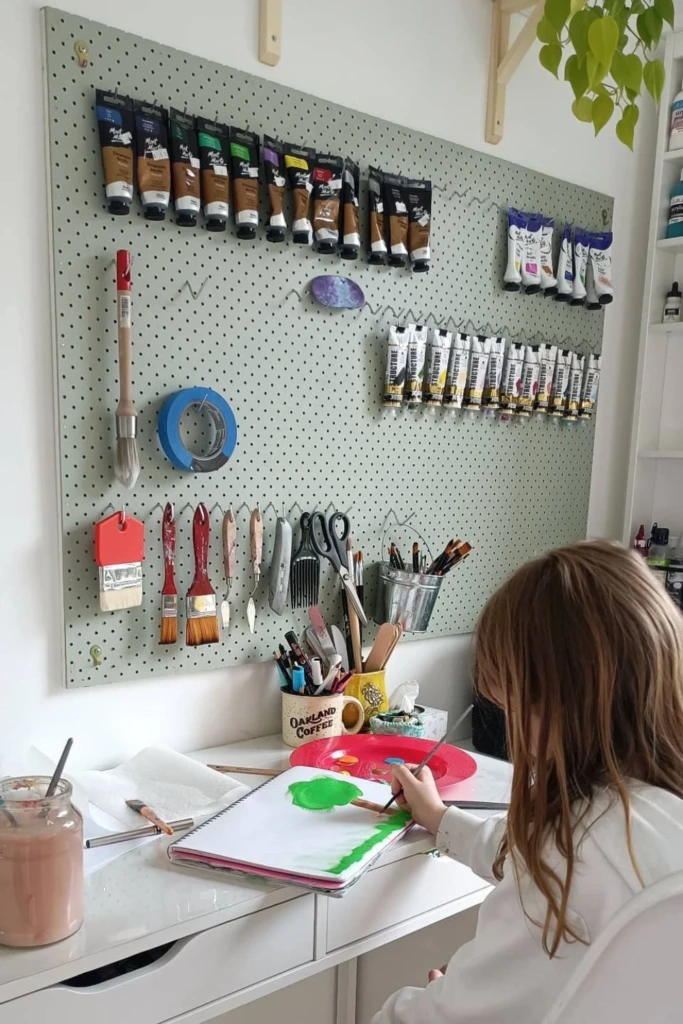
Make your most-used materials easy to reach by assigning them permanent locations near your primary work area. Paint tubes can be grouped in wall-mounted racks, brushes can stand upright in suitable containers, and frequently used scissors or palette knives can hang from nearby hooks.
Arrange supplies according to how often you use them. Everyday essentials belong at a convenient height, while specialty tools and backup materials can stay in drawers or higher cabinets.
For a family art room, keep potentially hazardous tools and materials out of children's reach. Visible storage should improve convenience without compromising safety.
8. Clear Layers
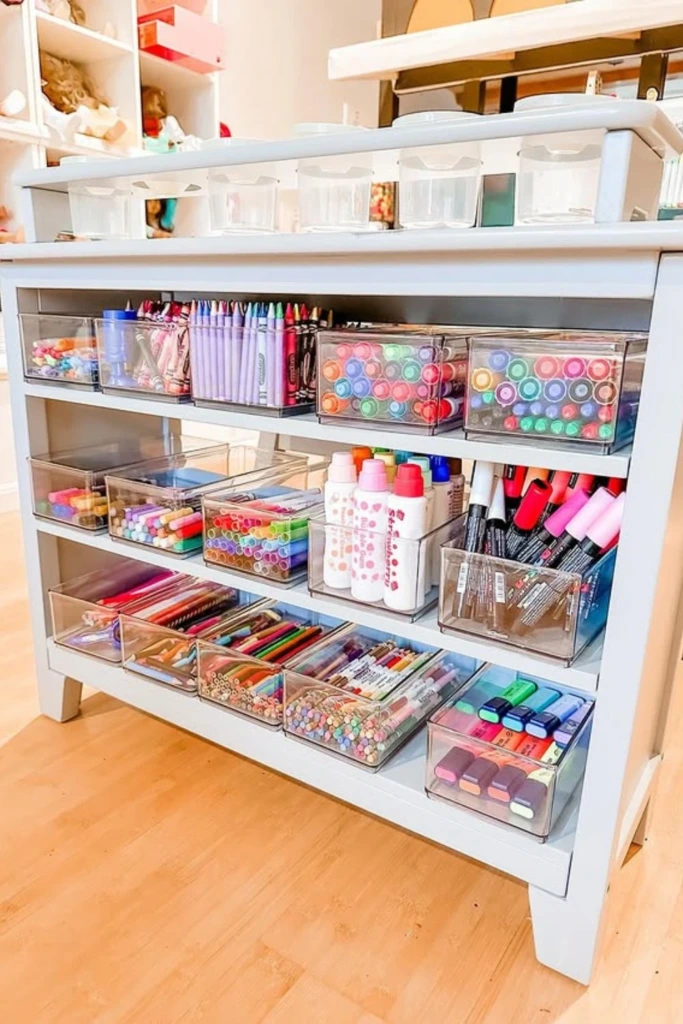
Transparent drawers help prevent small supplies from disappearing into the bottom of opaque boxes. Being able to see the contents makes it easier to identify what you already own and avoid purchasing duplicates.
Use separate compartments for items such as erasers, pencil sharpeners, clips, blending tools, and small craft embellishments. Group supplies by function, and add simple labels if several drawers contain similar materials.
Shallow drawers are especially convenient for small items because you can scan their contents without removing everything. For light-sensitive materials, however, choose opaque storage and keep the containers away from direct sunlight.
9. Clean Station
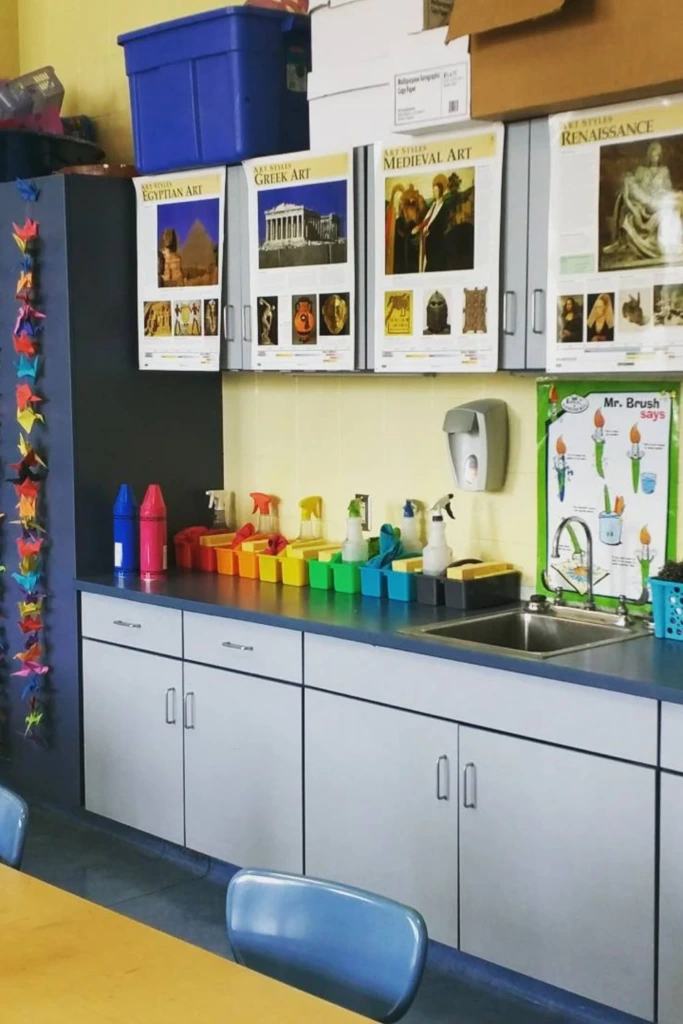
Painting, printmaking, and other hands-on activities can generate considerable mess, so a dedicated cleanup area is worth establishing whenever space allows.
Keep rinse containers, reusable cloths, sponges, brush-cleaning tools, and appropriate cleaning products together near a suitable sink or washable surface. Use separate containers for clean tools and those awaiting cleaning to prevent cross-contamination.
If you don't have a utility sink, create a small portable cleanup kit that can be carried to an appropriate washing area. Follow the manufacturer's instructions for disposing of paint, solvents, and other art materials rather than pouring unsuitable substances down household drains.
A reliable cleanup routine protects your tools and makes it easier to return to your next project.
10. Display Storage
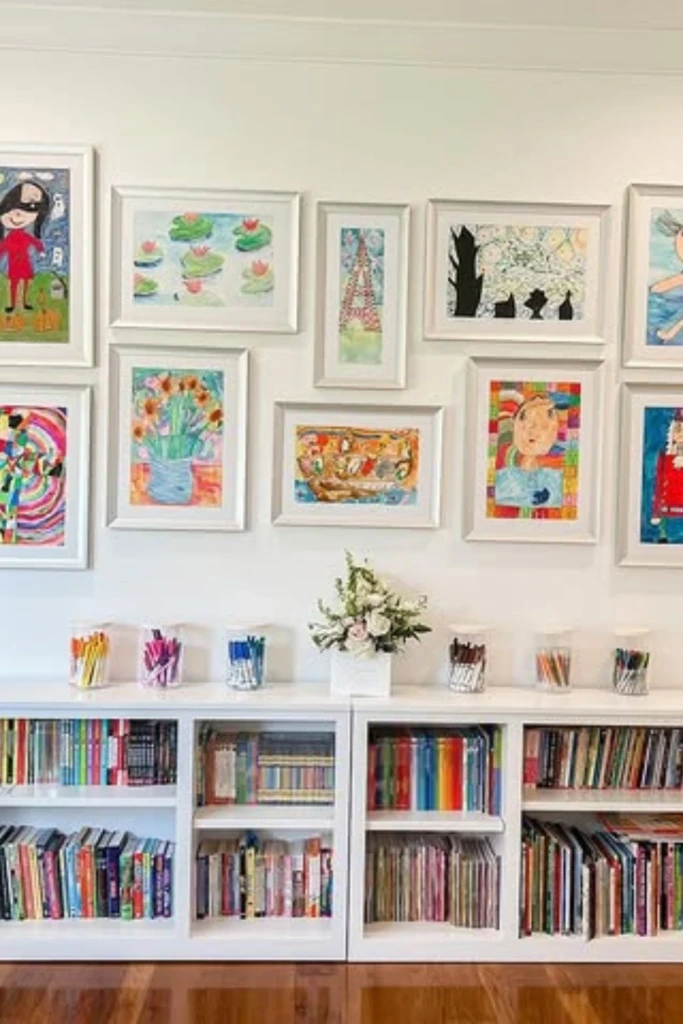
Display storage combines practical organization with an opportunity to showcase your creativity. Hang completed pieces above a low bookcase, then use the shelves beneath them for sketchbooks, portfolios, and neatly contained supplies.
Keep the display area separate from materials that generate frequent mess, such as wet paint or loose scraps. This helps protect finished artwork while making the room feel more personal.
Choose shelving that fits the scale of the room. A narrow bookcase or a few compact wall shelves can provide enough storage without dominating the space.
11. Hidden Workshop
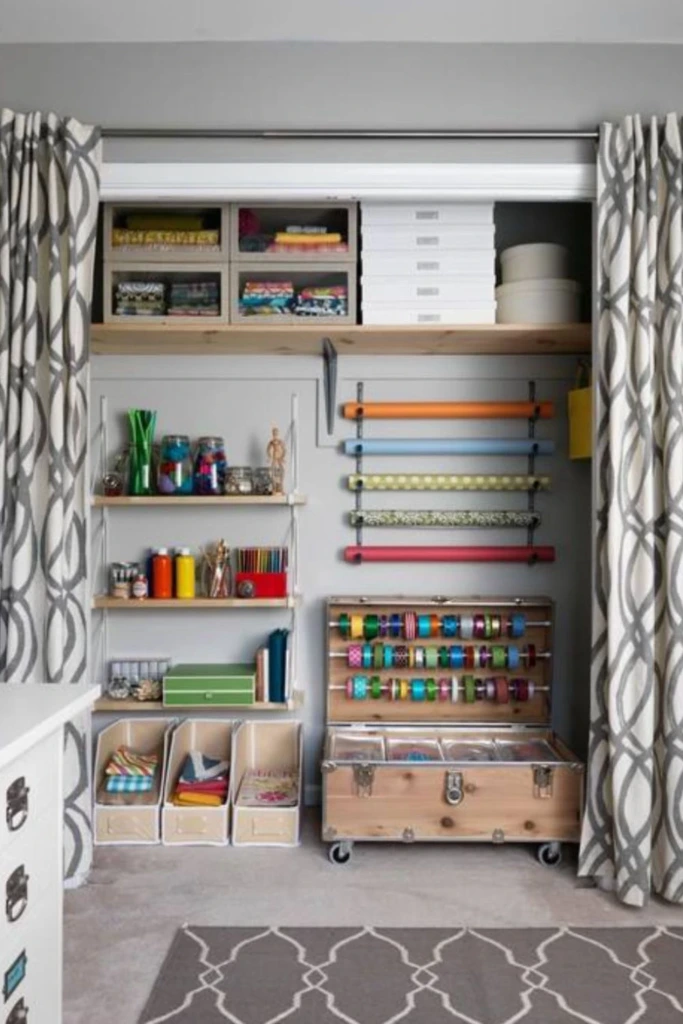
If your creative workspace shares a room with other activities, concealed storage can help you switch between working and relaxing.
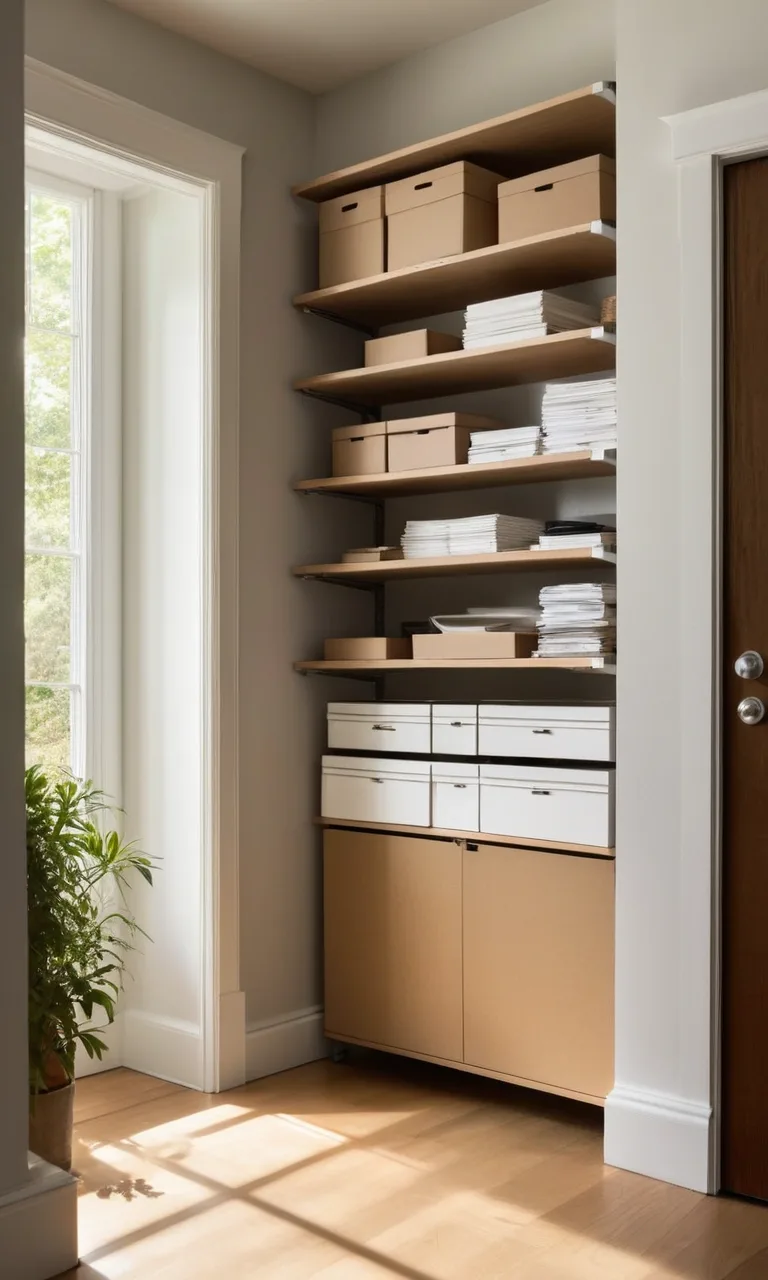
Use an existing closet, a cabinet with doors, or a curtain to hide shelves filled with art supplies. Small drawer units and portable containers make it possible to keep materials sorted even when they aren't visible.
Place your everyday essentials where they're easiest to retrieve, and reserve higher shelves for lightweight items you use less often. Keep heavy materials at a safe lifting height and avoid overloading closet shelves.
When you're finished creating, return supplies to their designated places and close the doors or draw the curtains. The result is a workspace that can disappear from view without requiring you to dismantle your entire setup.
12. Worktable Core
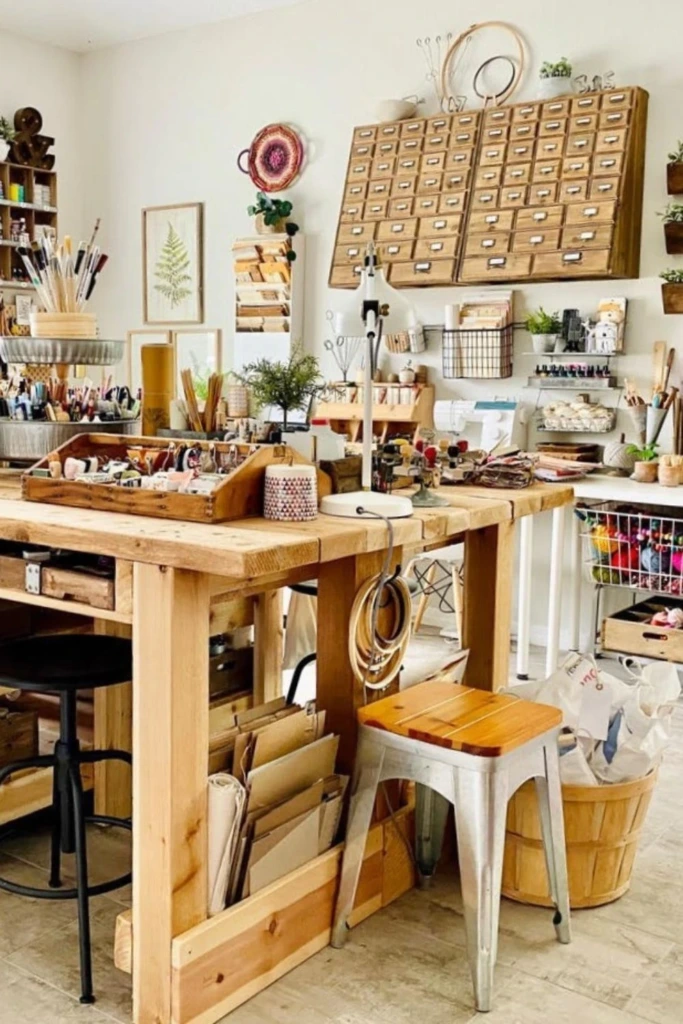
For artists who handle multiple materials or work on large pieces, a dependable worktable can become the center of the studio.
Choose a surface with enough room for your primary activity, whether that involves stretching paper, assembling crafts, mixing colors, or laying out several components. If your projects vary in size, consider a table with adjustable height or additional extension space.
Use shallow trays to contain the tools associated with your current project, and install under-table storage for supplies that don't need to remain visible. Keep the central working area as open as possible so you can spread out when necessary.
A practical table arrangement reduces interruptions and gives each project a clear place to develop.
13. Idea Wall
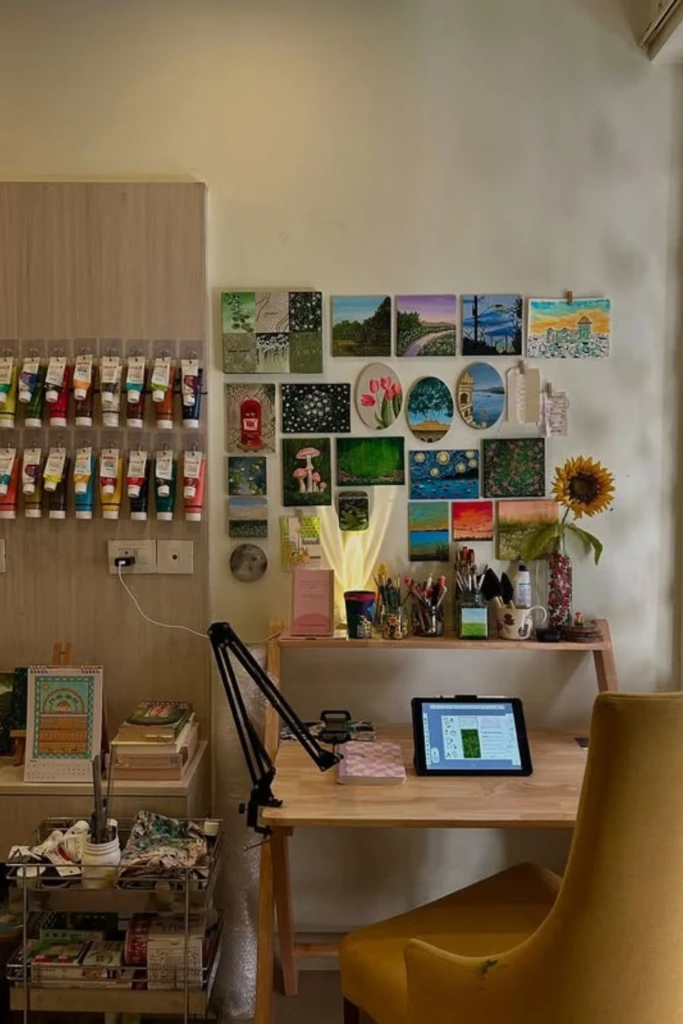
An idea wall provides a dedicated place for visual references without taking up valuable desk space. Use a corkboard, magnetic board, wire grid, or a section of wall to display sketches, color studies, photographs, and notes related to your current projects.
Keep the arrangement flexible so you can remove outdated references and introduce new ones as your ideas develop. You might organize the board around a single project or create several small sections for different sources of inspiration.
Avoid filling every available inch. Leaving some open space makes individual references easier to see and prevents the board from becoming another source of visual clutter.
14. Color Archives
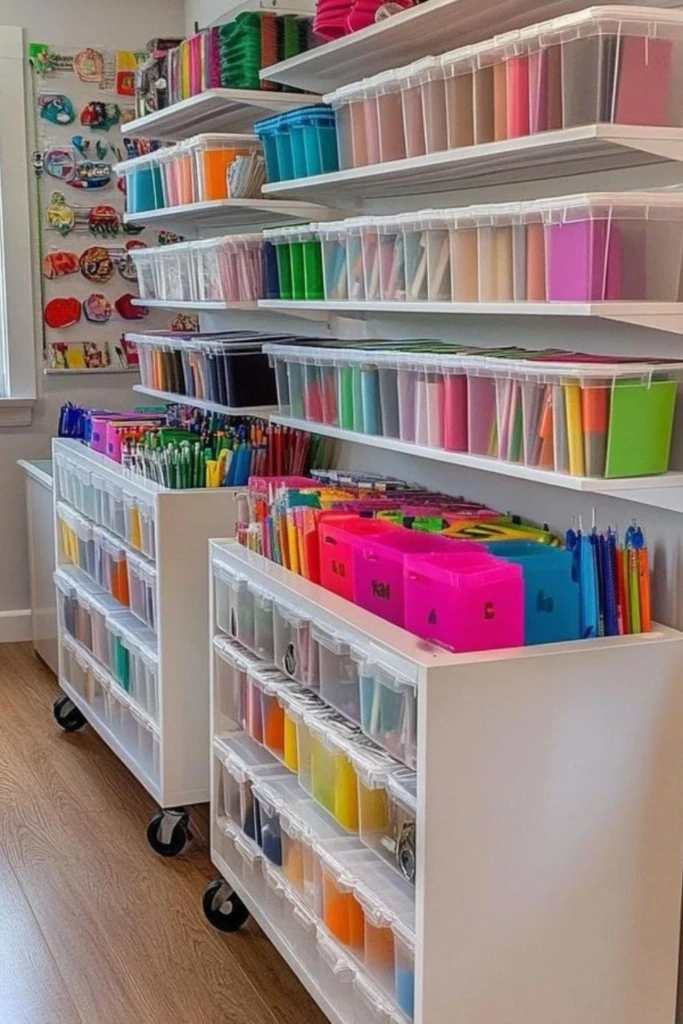
Paper artists, illustrators, and crafters often accumulate large collections of colored materials. A color archive keeps these supplies accessible without forcing you to search through mixed stacks.
Sort paper, cardstock, vinyl, or fabric swatches by color family, then arrange each group in labeled trays or shallow containers. Keep similar shades together when precise color matching matters.
Store flat materials horizontally in appropriately sized trays or vertically in supported file organizers, depending on their dimensions and tendency to bend. Protect specialty papers from moisture, dust, and excessive sunlight.
An orderly archive also makes it easier to notice which colors are running low and which materials you already have enough of.
15. Shelf Rhythm
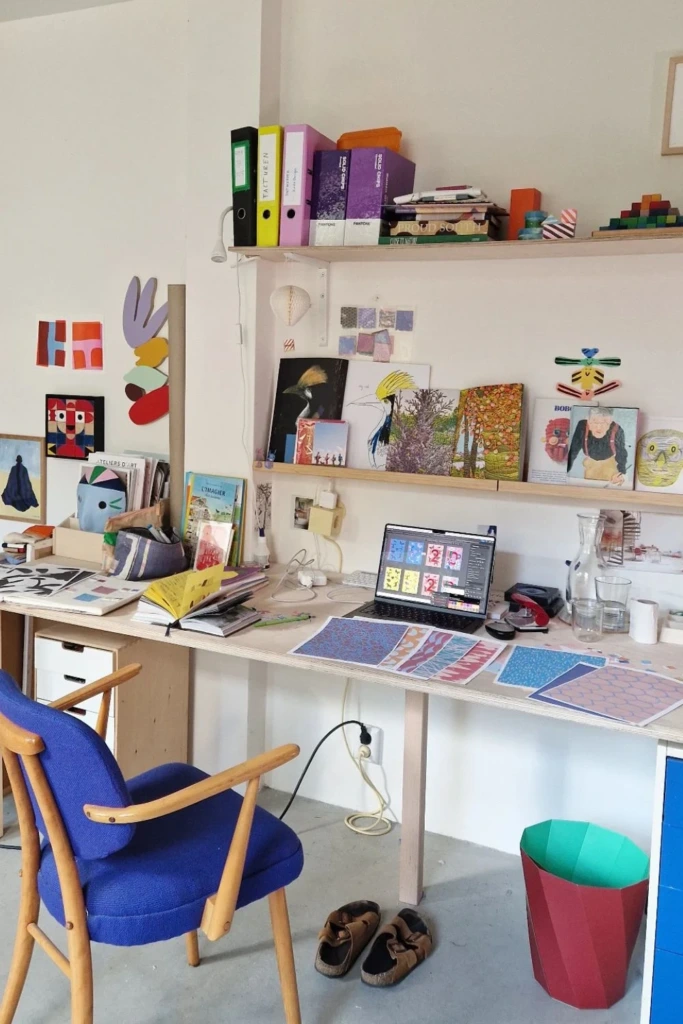
Open shelving above a desk can keep useful references close without reducing the space available for drawing or painting.
Arrange art books, sketchbooks, small portfolios, and current project materials on separate sections of the shelves. You can also display a few finished pieces or visual references that encourage new ideas.
Keep heavy objects securely supported and avoid placing delicate materials where they could fall onto your work surface. A limited number of carefully selected items often makes a shelf more useful than one packed from end to end.
For a cleaner arrangement, store loose accessories in small matching containers and leave the desktop available for active work.
16. Compact Loop
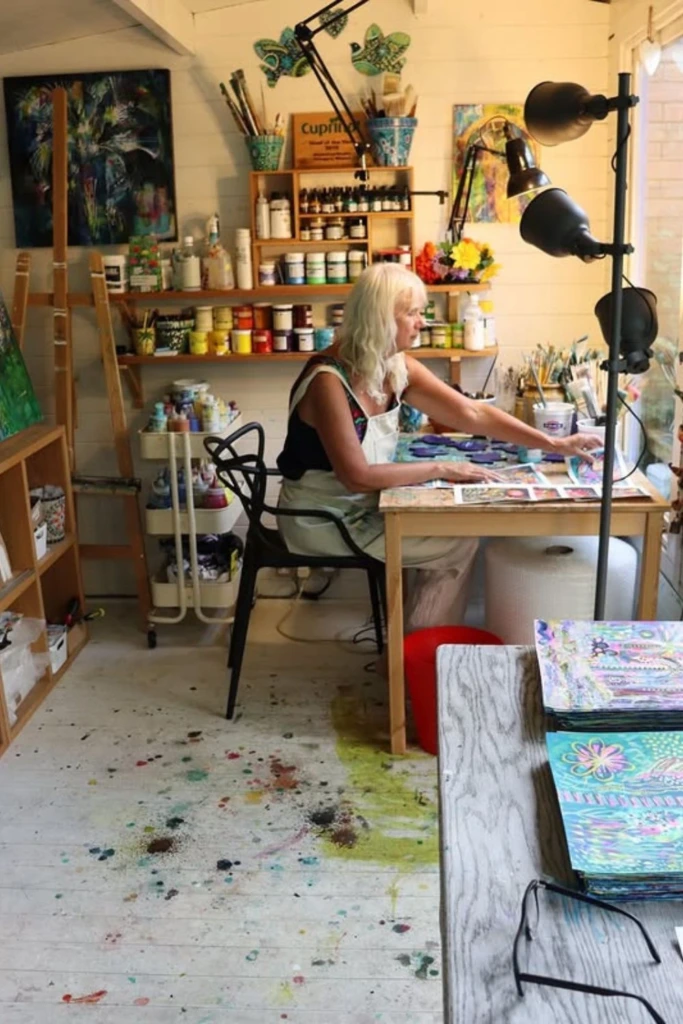
A compact studio works best when the essential parts of your workflow are arranged within a small, comfortable area. Rather than spreading supplies across the entire room, create a convenient loop between your work surface, storage, and cleanup station.
Position frequently used paints, brushes, pencils, and reference materials close to your chair. Store backup supplies farther away and keep tools for unrelated activities in separate containers.
A small rolling cart can bridge the gap between two work areas, while wall-mounted shelves can provide additional capacity without crowding the floor.
Think about the movements you repeat most often. If you regularly stand up to retrieve a brush or search for paper, adjusting the placement of those items may improve your workflow more than adding another storage unit.
17. Open Library
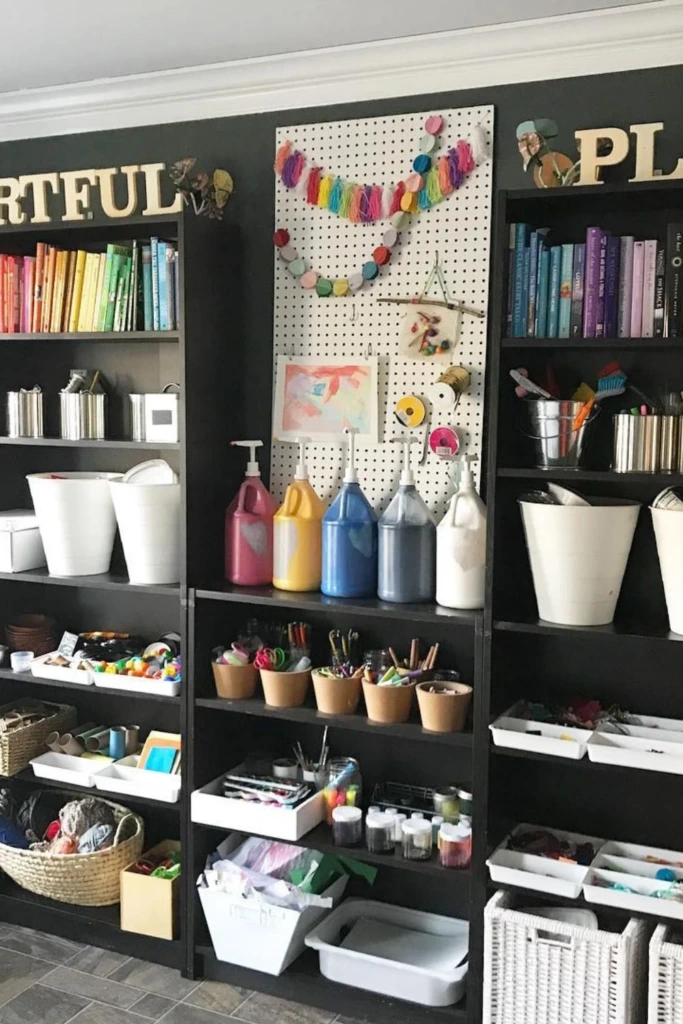
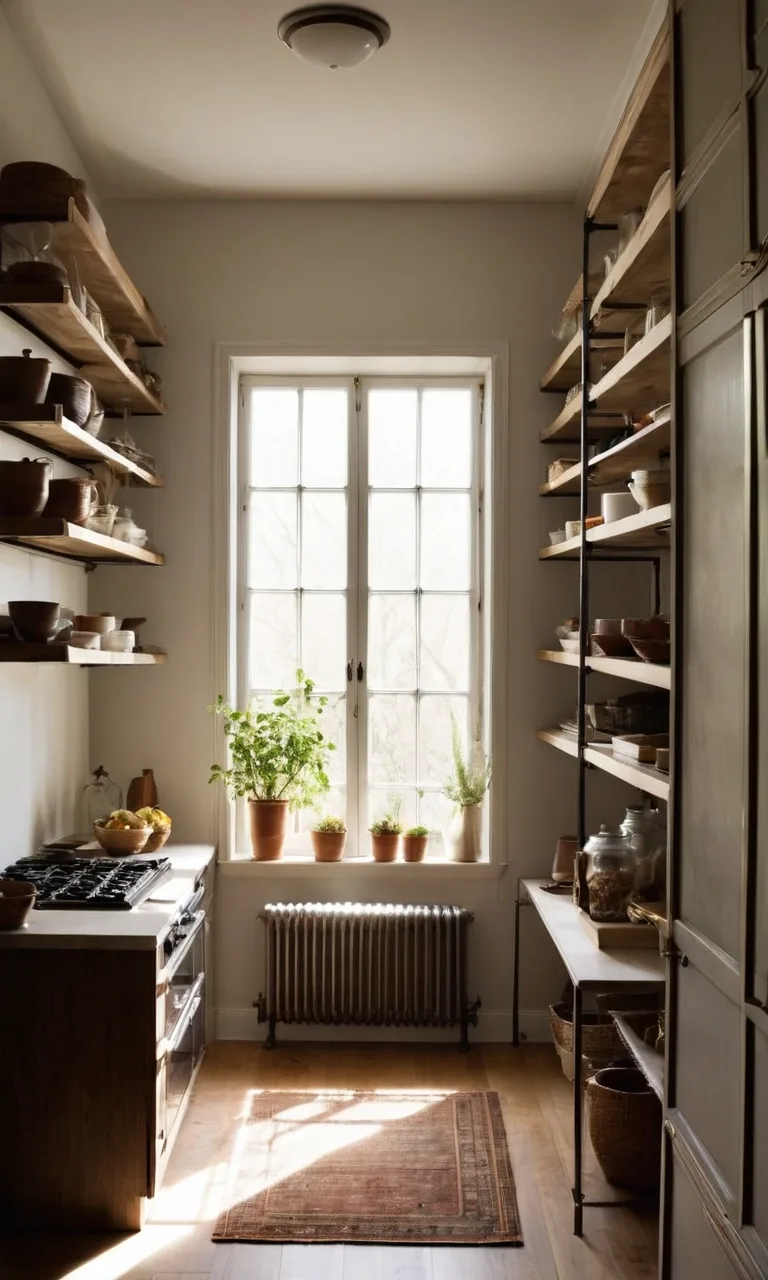
Open shelving is a useful choice when you frequently switch between materials and want to see your supplies at a glance.
Dedicate individual shelves to specific categories, such as drawing equipment, paints, adhesives, paper, and reference books. Use bins or baskets to contain loose items, and label the containers so their contents remain easy to identify.
This setup works particularly well in active studios where speed and accessibility matter more than concealing every object. However, open shelves can collect dust, so keep delicate materials in covered containers and clean the shelves regularly.
Leave enough room to remove containers without shifting neighboring items. A storage system should make supplies easier to retrieve, not create another obstacle.
18. Rolling Islands
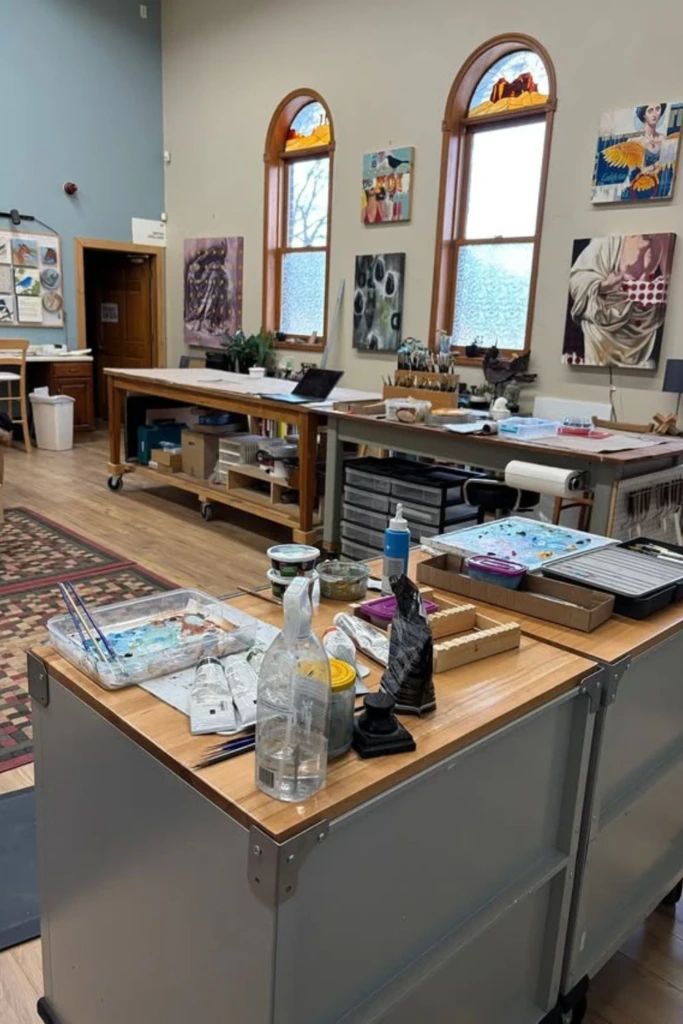
A movable worktable gives you greater flexibility when projects require different amounts of space. You can position it near a window for detailed work, move it closer to storage during setup, or clear the center of the room when additional floor space is needed.
Choose a sturdy table with locking casters and a surface suited to your materials. Drawers and trays underneath can hold the tools associated with ongoing projects, making it possible to move the workspace without carrying every item separately.
If you regularly work with wet paint, adhesives, or cutting tools, make sure the surface is suitable for those activities and can be cleaned safely.
A rolling island is particularly valuable in shared studios because it allows the room's layout to change without requiring permanent furniture arrangements.
19. Tool Rotation

Keeping every tool visible all the time can overwhelm a small workspace. A rotation system helps you focus on the materials relevant to your current projects.
Choose the paints, brushes, pens, or other equipment you expect to use over the coming days and place them in your primary work area. Store the remaining supplies in labeled drawers or boxes until you need them.
You can review the selection weekly or whenever you move to a different medium. For example, a watercolor session may require a different collection of tools from a charcoal drawing project.
Rotation doesn't mean permanently putting away useful materials. It simply reduces unnecessary visual clutter while ensuring that your active supplies remain convenient.
20. Project Parking
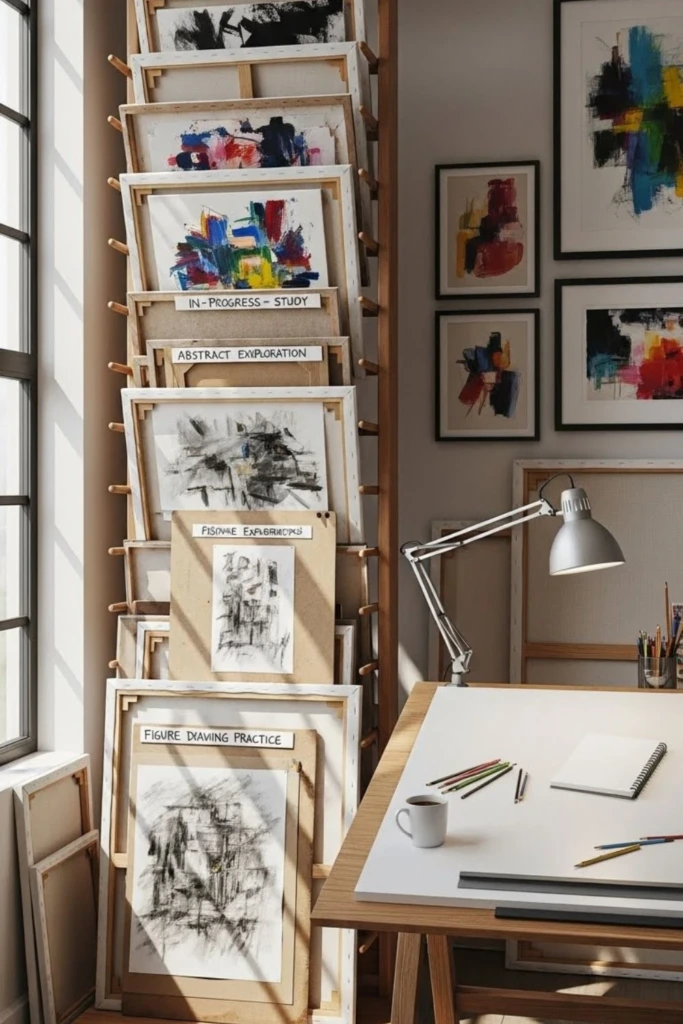
Unfinished projects need a designated place, especially when you work on several pieces at once. Without one, canvases, loose sketches, and partially assembled crafts can quickly take over the main work surface.
Create a project parking area using a vertical rack, shallow shelves, portfolio folders, or labeled trays. Assign a separate space to each active project so its components stay together between sessions.
Include a small note with any important details, such as the next step, the colors you used, or materials still needed. This makes it easier to resume work without spending time reconstructing your progress.
Choose storage appropriate to the materials involved. Wet paintings need suitable drying conditions, while delicate paper pieces should be protected from bending, dust, and accidental spills.
21. Surface Reset
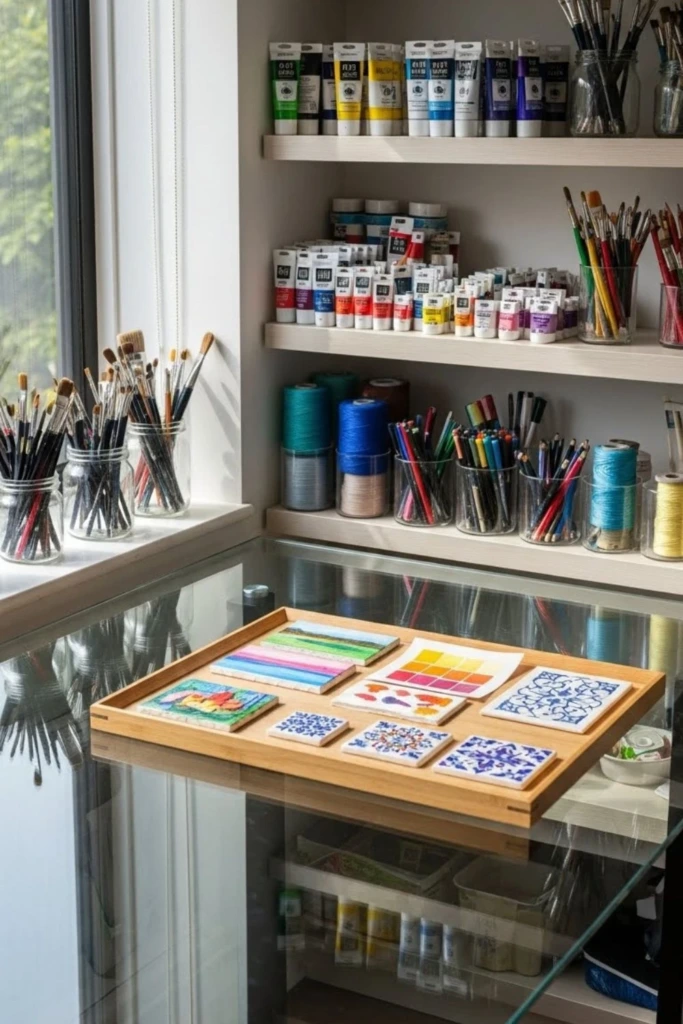
A simple surface-reset habit can prevent small messes from becoming overwhelming. Choose one main work surface and make a point of clearing it at the end of each session.
Return reusable tools to their designated storage, transfer unfinished work to the project parking area, and remove scraps or materials that are no longer needed. If something needs to dry, place it in the appropriate drying space rather than leaving it where it could be disturbed.
You don't need to clean the entire studio every day. Concentrating on one important surface keeps the next session from beginning with an unnecessary cleanup.
If you use your studio daily, a short reset after each project is often easier to maintain than a lengthy organizing session at the end of the week.
22. Supply Shadows
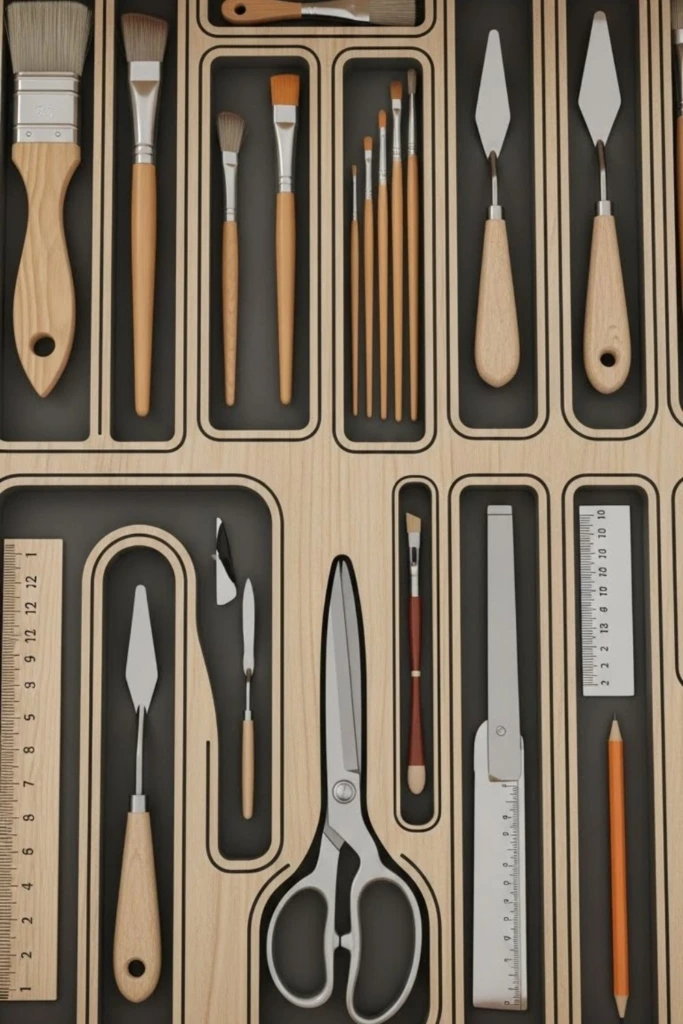
A designated outline or compartment for each tool makes it easier to notice when something is missing. This method works well for frequently used items such as scissors, rulers, pencils, palette knives, and cutting tools.
Use drawer dividers, foam inserts, labeled compartments, or simple outlines made with removable tape. Position each tool in its assigned place so returning it becomes part of your normal workflow.
This approach is especially useful in shared studios, classrooms, and busy creative spaces where supplies regularly move between users.
Choose an arrangement that suits the shape of each tool and leaves enough room to remove it comfortably. For sharp equipment, prioritize secure storage over decorative outlines.
23. Medium Batching
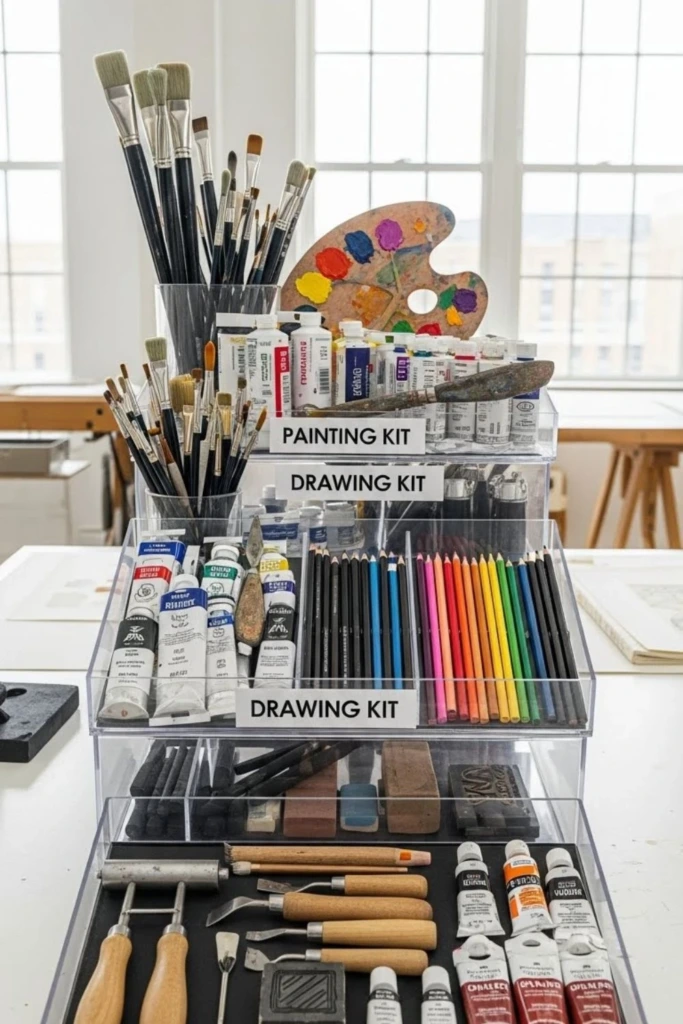
Artists who work across several mediums can save time by creating separate kits for each activity. Instead of collecting supplies from different corners of the room, keep the materials for each discipline together.
A painting kit might contain brushes, a palette, and selected paints. A drawing kit could hold pencils, charcoal, erasers, and blending tools, while a printmaking kit might include its own approved tools and accessories.
Use portable boxes, handled baskets, or divided containers to keep the kits easy to move. Label each one clearly and return its contents after use.
This system also makes it easier to identify missing essentials before beginning a project. If you frequently switch between creative activities, medium-based kits can simplify both preparation and cleanup.
24. Creative Buffer
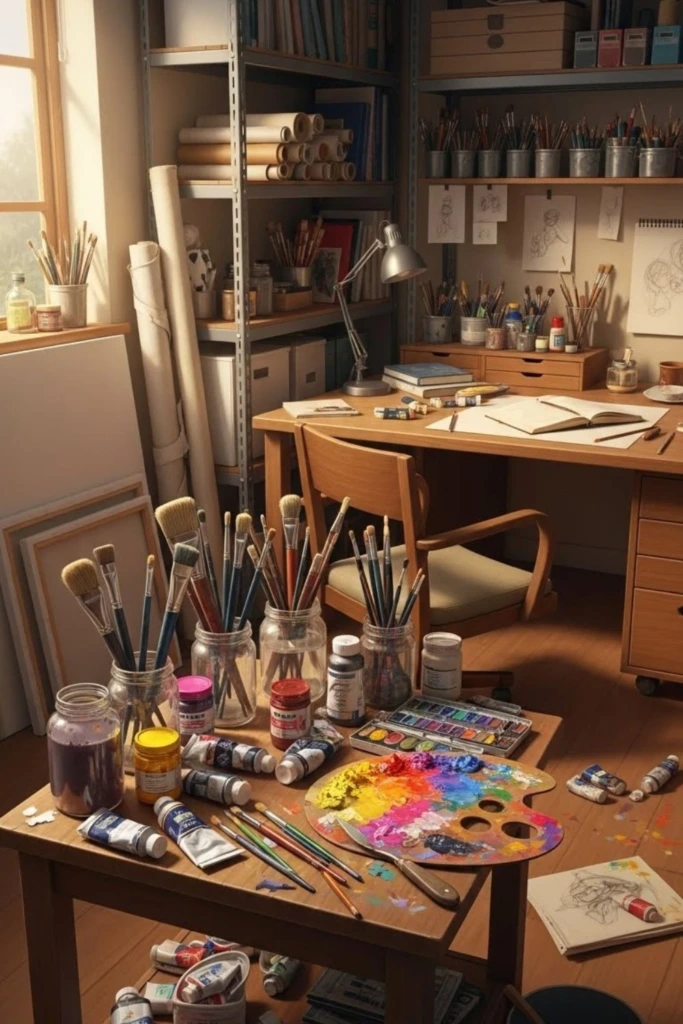
Sometimes a project needs a temporary place for tools and materials that are in use but don't belong permanently on the main desk. A small side table, utility stool, or shallow tray can provide that extra surface.
Use it for brushes between steps, reference materials, an active sketchbook, or supplies that need to remain nearby during a particular stage of work. Keep the main work surface reserved for the task that requires the most concentration.
A buffer area is especially useful for detailed projects that involve frequent changes of tools. It allows materials to remain accessible without spreading across the entire studio.
Set a simple limit on what can occupy this space. When the project ends, return reusable supplies to their normal homes so the temporary area doesn't become a permanent dumping ground.
How do I stop my art studio from getting messy again after organizing it?
The most effective way to maintain an organized studio is to make the storage system fit your everyday habits. If you regularly use the same brushes, pencils, or paints, keep them close to your main work area instead of putting them in difficult-to-reach drawers.
Assign clear locations to frequently used supplies, label containers when necessary, and return tools after each session. A brief daily reset can prevent clutter from building up.
It's also helpful to review your materials periodically. Remove dried-out products, recycle suitable scraps, and donate usable supplies you no longer need. Avoid buying additional organizers until you understand what your existing storage system is missing.
Most importantly, allow your setup to change as your creative interests evolve. An arrangement that worked for painting may need adjustments when you begin sewing, printmaking, or working with mixed media.
Is it better to organize art supplies by type or by project?
Both methods can work well, and the right choice depends on how you create.
Organizing by type is useful when you frequently reach for the same category of supplies. Keeping pencils together, paints in one section, and brushes in another makes it easy to locate individual tools and assess what needs replacing.
Project-based organization is often more convenient when you work on several pieces at once or use a combination of materials for each project. Separate containers allow you to keep related supplies together and move them as a group.
You can also combine both approaches. Store your main collection by category, then create smaller project kits containing the materials needed for current work.
The best system is the one that reduces searching, makes cleanup manageable, and allows you to begin creating without unnecessary preparation.