22 Sewing Room Organization Ideas for 2026
A sewing room should make it easier to bring creative ideas to life, not leave you searching through piles of fabric and tangled supplies. When scissors disappear into drawers, thread spools become mixed together, and unfinished projects occupy every available surface, even a simple sewing task can feel overwhelming.
The good news is that an organized sewing space doesn't require a large room or expensive furniture. With thoughtful storage, clearly defined work areas, and a system that suits your habits, you can make better use of the space you already have.
These sewing room organization ideas offer practical ways to store fabric, arrange tools, manage patterns, and keep projects moving. Whether you have an entire room dedicated to sewing or a small corner in a shared space, you can create a setup that makes crafting more enjoyable.
How Do You Organize a Sewing Room From Scratch?
Start by taking everything out of drawers, cupboards, baskets, and storage boxes. Seeing your entire collection at once makes it easier to identify duplicates, forgotten supplies, damaged materials, and items you no longer need.
Next, group similar belongings together. Keep sewing machine accessories with other machine supplies, collect cutting tools in one category, and separate fabric, thread, patterns, notions, and unfinished projects. Discard unusable scraps and donate supplies that are still in good condition but no longer serve your needs.
Before purchasing organizers, consider how you move through a typical sewing project. You might need a cutting surface first, followed by a sewing station and an ironing area. Arrange your furniture to support this sequence while leaving enough room to move comfortably.
Finally, assign every category a permanent home. Frequently used tools should be easy to reach, while seasonal materials and backup supplies can occupy higher shelves or closed cabinets. Begin with simple containers and shelves, then add specialized storage only where it solves a genuine problem.
What Is the Smartest Way to Organize Sewing Supplies?
The most practical system organizes supplies according to how they are used. Keep everyday sewing essentials near the machine, cutting equipment beside the cutting surface, and pressing tools close to the ironing station. This reduces unnecessary movement and helps you maintain concentration while working.
Use transparent containers for small items such as buttons, bobbins, zippers, and sewing machine feet. Label drawers and boxes so that supplies can be returned to their proper places without guesswork. Fabric can be arranged by color, material, or project type, depending on which method makes selection easiest.
Avoid filling every available shelf simply because storage exists. Leave some room for new purchases and active projects, and review your supplies occasionally to prevent clutter from returning.
1. Center Island
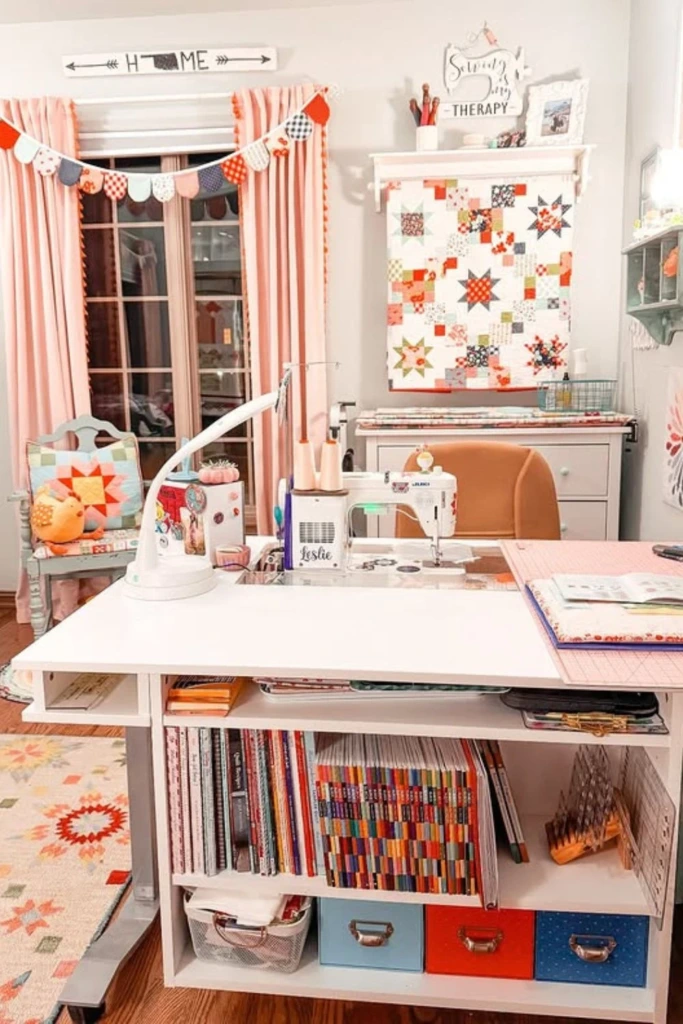
A central worktable can serve as the main hub of a sewing room, particularly when you regularly cut fabric, assemble quilt blocks, or spread out patterns. A generous tabletop provides room to measure and arrange materials without constantly moving everything aside.
Choose a table height that feels comfortable for your main tasks, and make sure there is sufficient clearance around it to move fabric freely. Storage underneath can accommodate cutting mats, rulers, baskets, and project boxes.
If your room is too small for a permanent island, consider a compact worktable that can double as a cutting and assembly surface. The goal is to gain useful workspace without making the room difficult to navigate.
2. Fabric Library
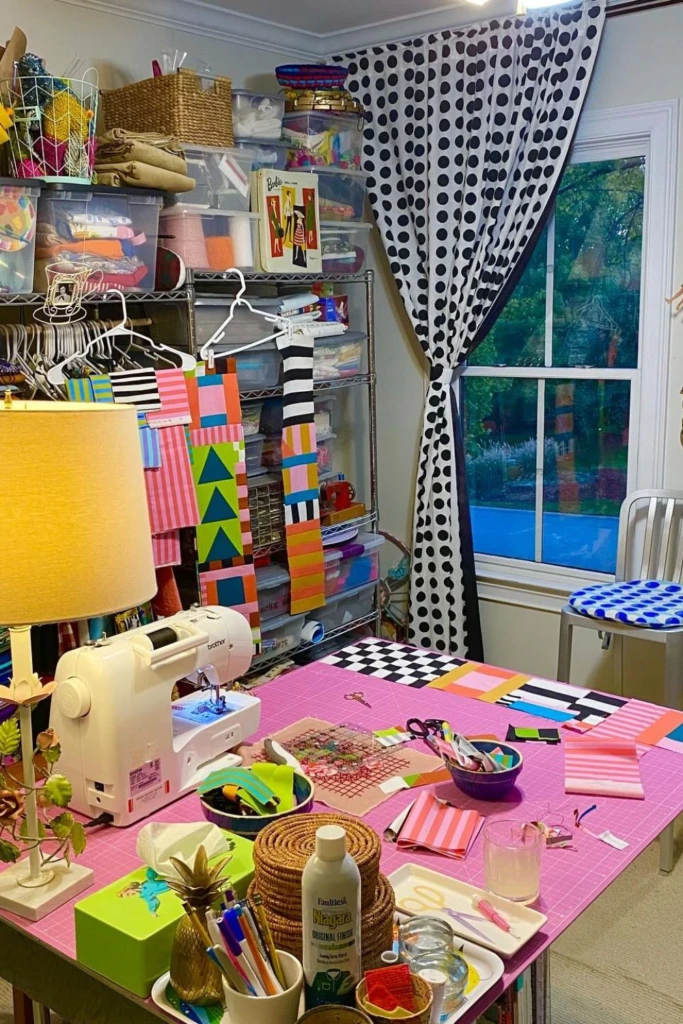
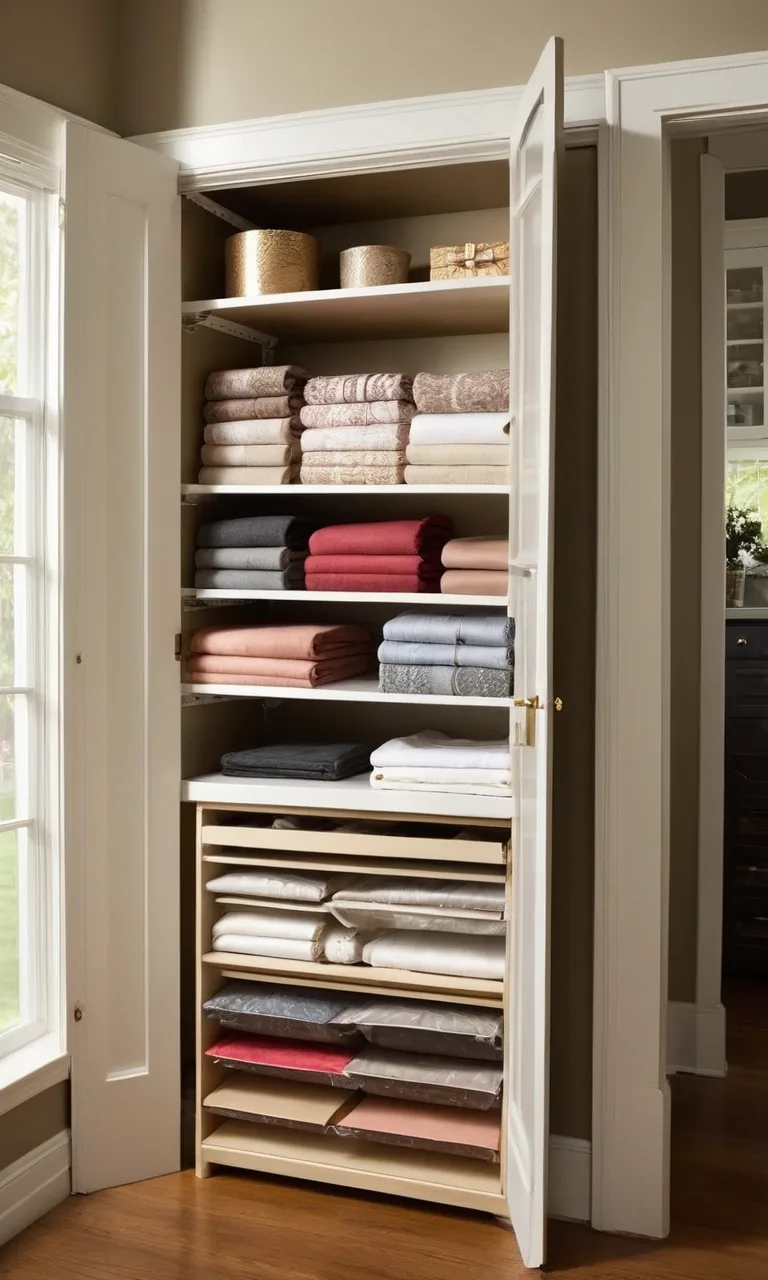
Treat your fabric collection like a small library, with each piece having an identifiable location. Open shelves, labeled baskets, and transparent bins make it easier to browse your materials before starting a new project.
Fold fabric into consistent sizes so that stacks remain stable and shelves look orderly. Separate larger yardage from small cuts, quilting cotton from heavier materials, and specialty fabrics from everyday supplies. Completed quilt blocks and coordinated fabric bundles can be stored together when they belong to an ongoing project.
For fabrics that need extra protection, use clean, enclosed storage and avoid prolonged exposure to direct sunlight. A well-maintained fabric library helps you understand what you already own, making project planning faster and reducing unnecessary purchases.
3. Mobile Cutting
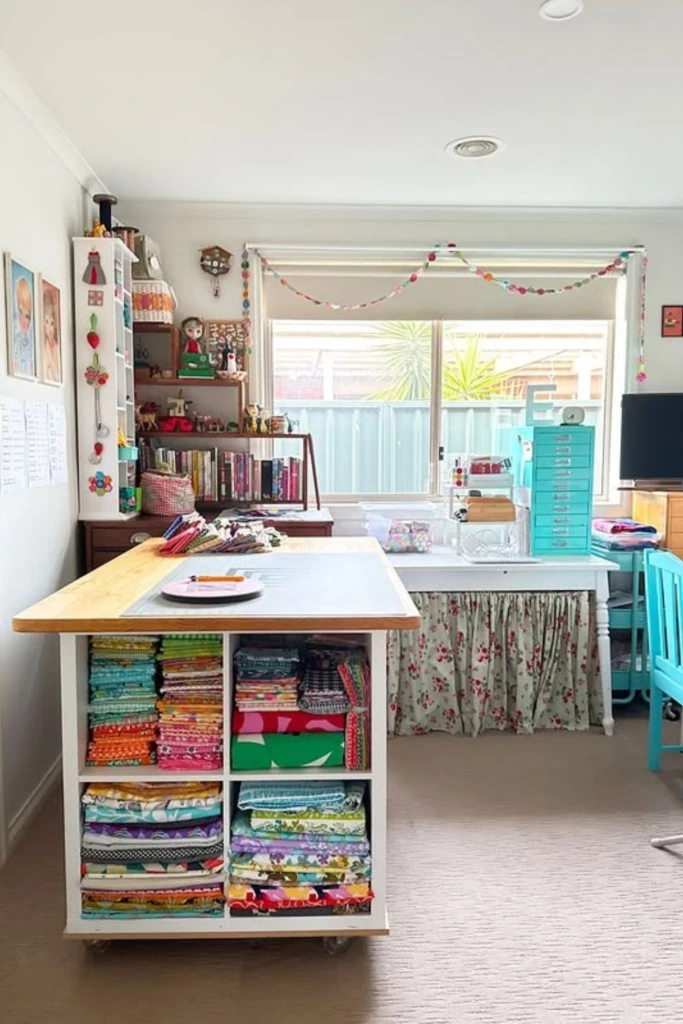
A cutting table on locking casters provides flexibility when permanent workspace is limited. You can roll it into an open area when cutting large fabric pieces and move it aside when the task is finished.
Look for a sturdy model with a level surface and enough room for your cutting mat. Lock the wheels before working, and choose a height that allows comfortable measuring without excessive bending.
Shelves beneath the table can hold fabric, rulers, and cutting accessories. Keep frequently used items in accessible containers rather than stacking loose materials underneath. If the table folds for storage, make sure the folding mechanism is secure and easy to operate.
4. Dual Zones
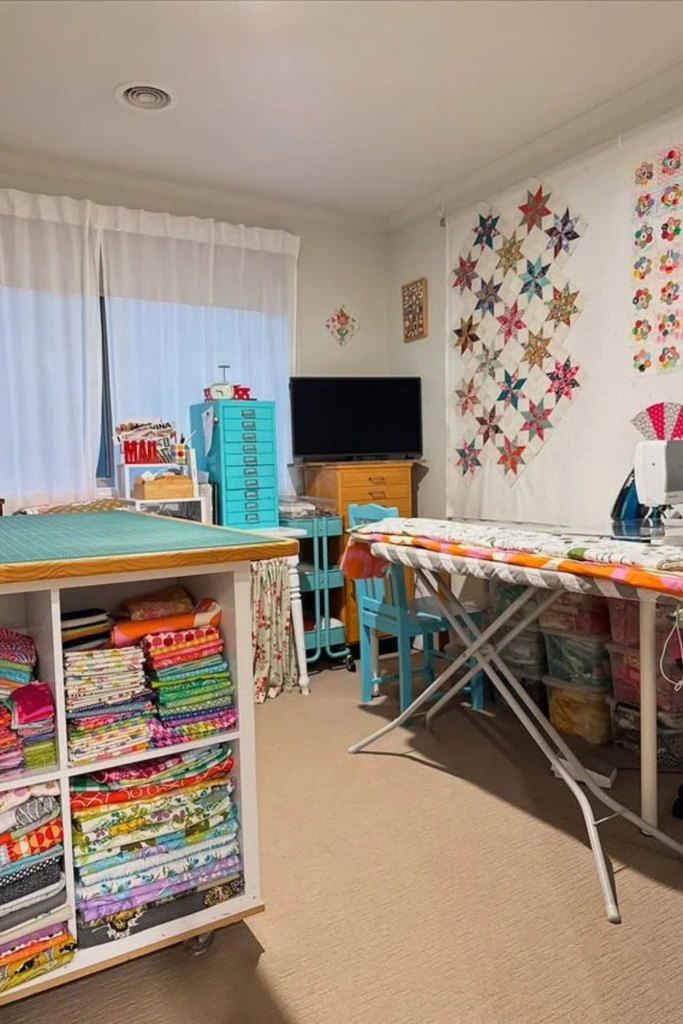
Separating cutting and sewing into two distinct work areas helps prevent one task from interfering with another. A dedicated cutting table can hold fabric, rulers, and pattern pieces, while the sewing desk remains ready for the machine and current project.
If space allows, create a separate pressing station as well. This arrangement reduces the need to clear one surface repeatedly and makes it easier to switch between stages of a project.
Smaller rooms can achieve the same effect with multifunctional furniture. A foldable cutting table, a machine cabinet, or a removable pressing mat can provide separate working zones without requiring three permanent tables.
5. Vertical Command
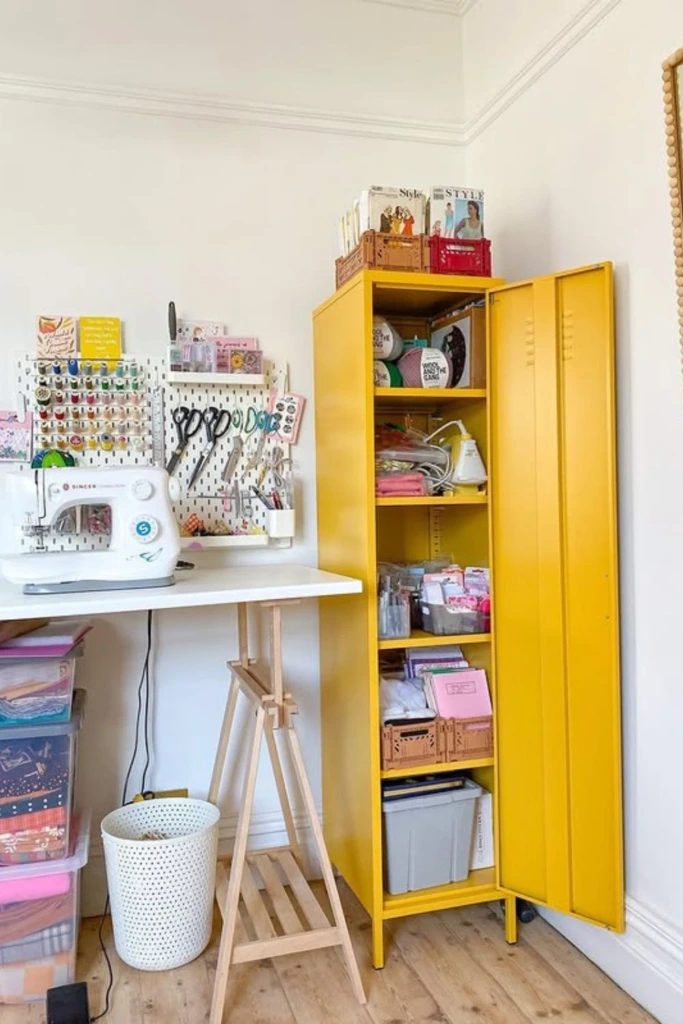
When floor space is scarce, make better use of the walls. Pegboards, narrow shelves, wall-mounted baskets, and hanging organizers can keep frequently used equipment visible without crowding the worktable.
Hang scissors, rotary cutter accessories, measuring tools, and lightweight notions in clearly marked locations. Small shelves can hold thread spools or containers, while a tall cabinet stores bulkier materials behind closed doors.
Before mounting anything, check the wall construction and use suitable fixings. Store heavy items securely and keep sharp tools positioned safely, especially in rooms used by children or other family members.
6. Closet Studio
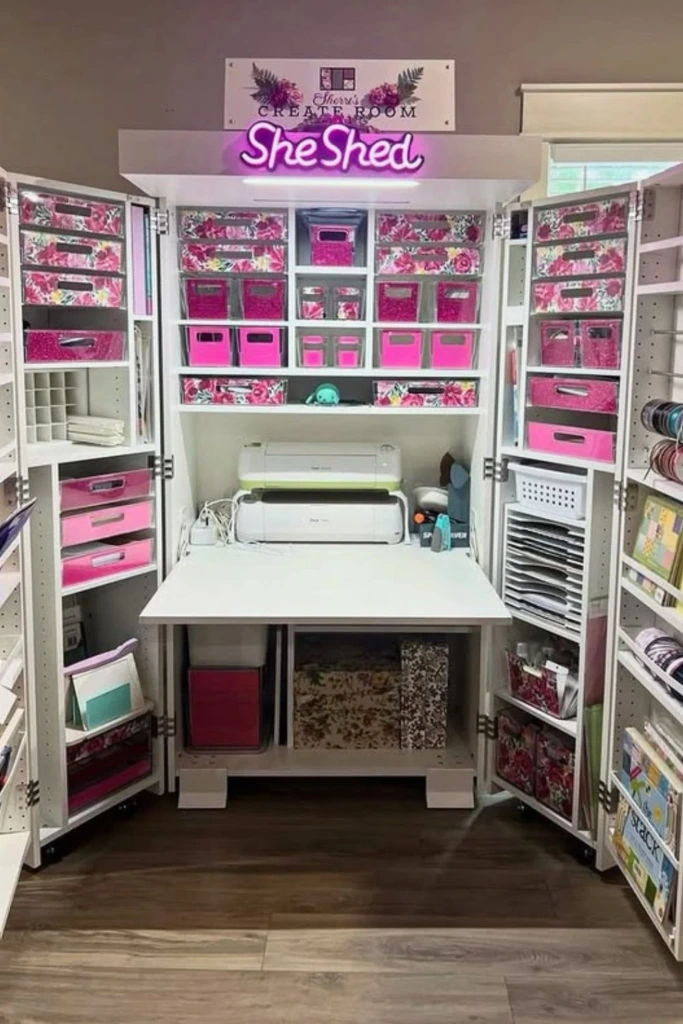
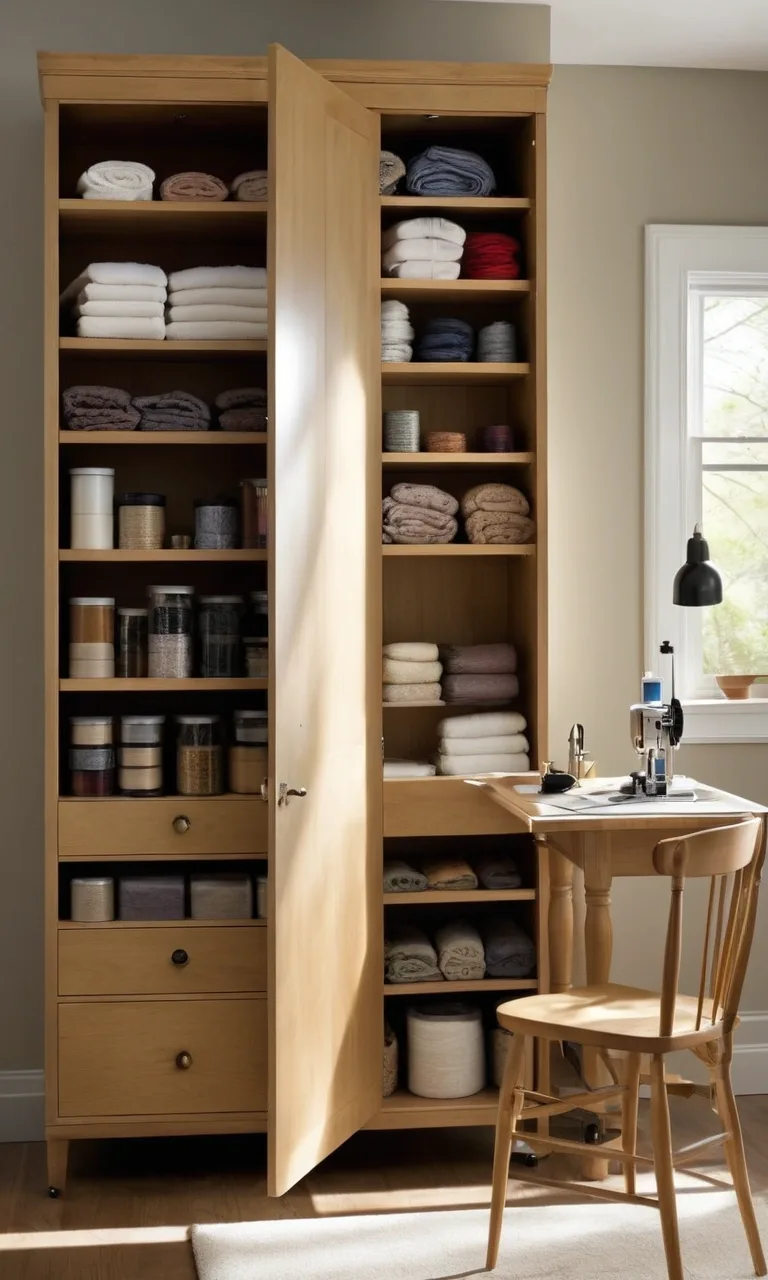
A closet can become a compact sewing station when a dedicated craft room isn't available. A sturdy desk or pull-out work surface can support the machine, while shelves and drawers hold thread, fabric, patterns, and accessories.
Use labeled containers to divide supplies by category and reserve the easiest-to-reach locations for everyday essentials. Machines should have enough space for ventilation and safe operation, and the work surface should provide adequate room for the fabric you handle.
When the closet doors close, the entire setup disappears from view, making this approach useful in guest rooms, apartments, and shared living spaces. If you sew frequently, ensure that opening the workspace doesn't require moving several unrelated household items first.
7. Tool Wall
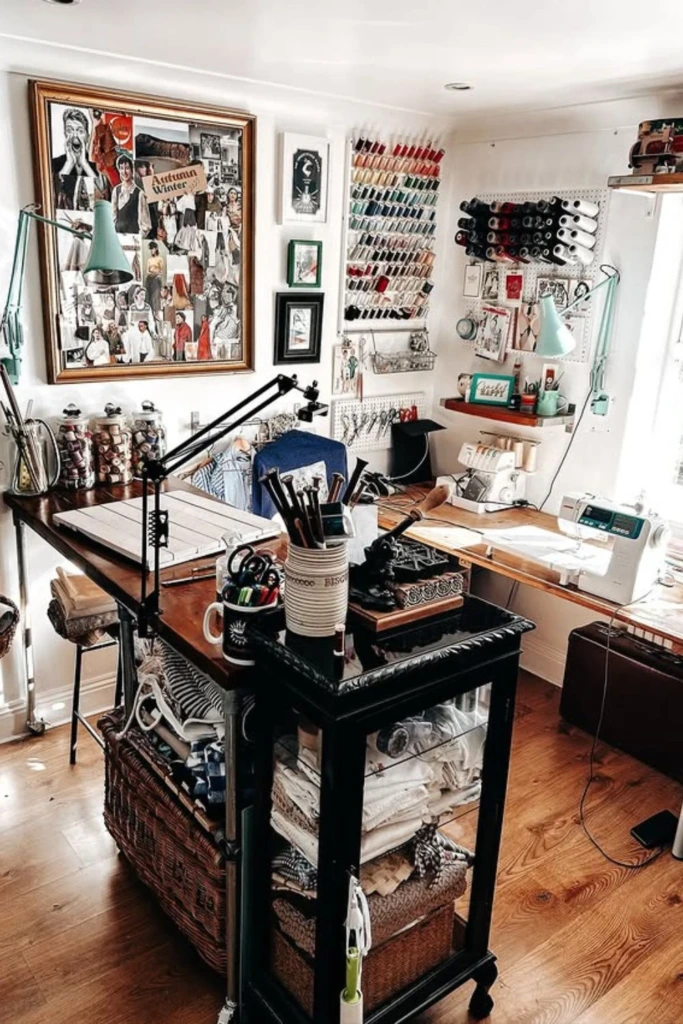
A dedicated tool wall keeps frequently used equipment within sight and prevents work surfaces from becoming storage areas. A combination of hooks, magnetic holders designed for appropriate tools, shallow shelves, and small bins can accommodate many sewing essentials.
Arrange items according to their purpose. Measuring tools belong together, scissors should have a secure designated holder, and frequently used notions should remain easy to reach from the machine or cutting table.
You can outline tools on a pegboard to make missing items noticeable, or use labels to identify each storage section. Keep the arrangement flexible enough to accommodate new tools without turning the wall into an overcrowded display.
8. Shelf Stacks
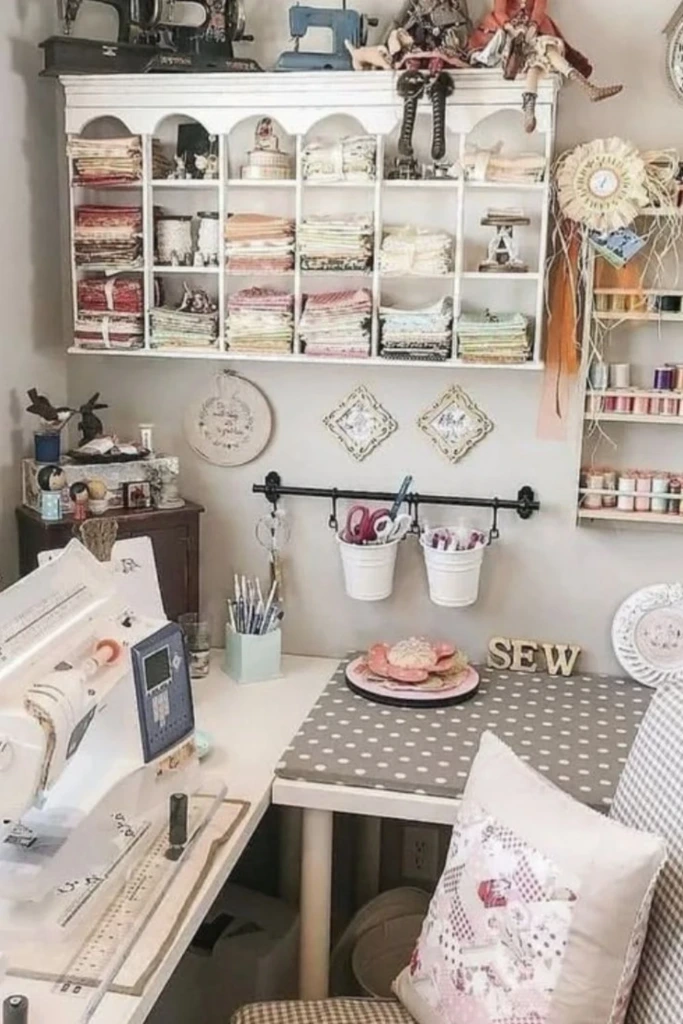
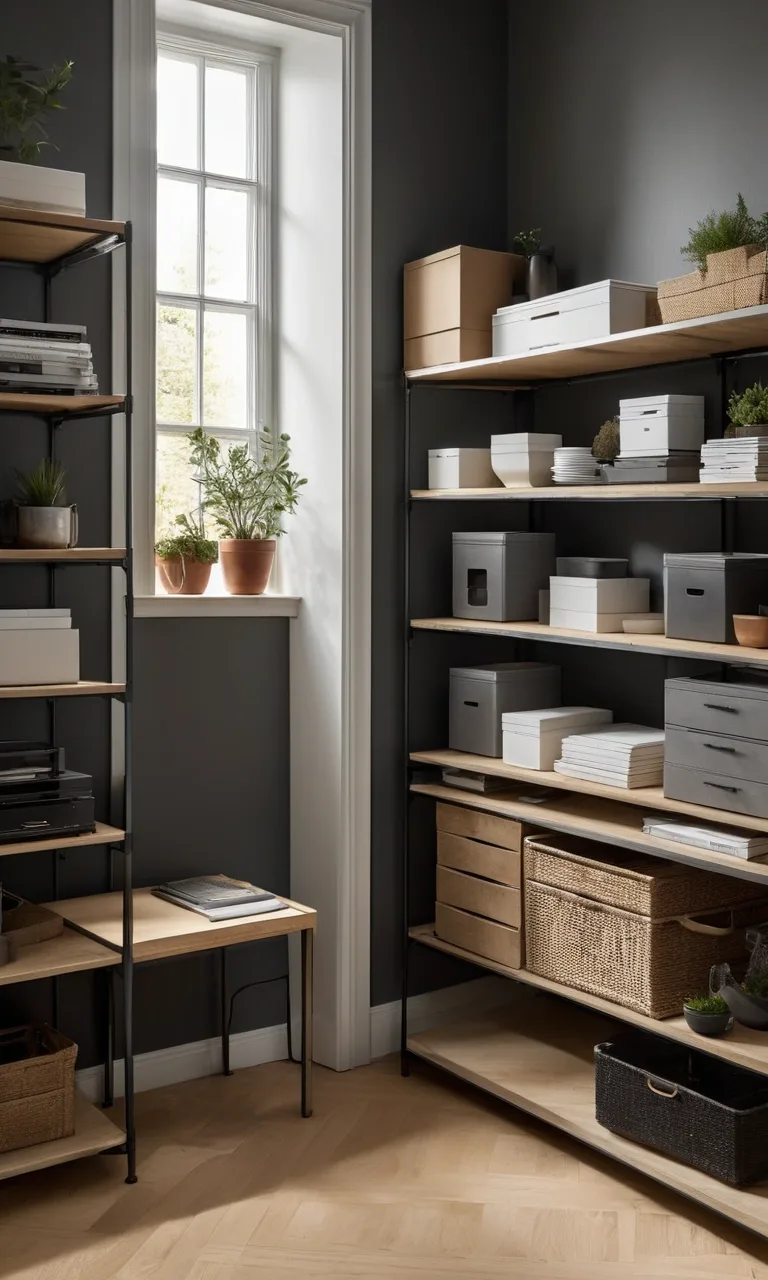
Open shelving provides an accessible home for folded fabric, thread, books, and regularly used accessories. Arrange materials so that labels and fabric patterns remain visible, allowing you to find the right item without disturbing an entire stack.
Shallow shelves are often more practical than deep ones because they reduce hidden piles and make it easier to reach supplies at the back. Use small containers to keep bobbins, needles, buttons, and other loose notions from spreading across the shelves.
Place everyday supplies at a comfortable height and reserve higher shelves for lightweight items used less often. Secure tall shelving units to the wall when appropriate, and avoid placing heavy objects where they could fall onto your workspace.
9. Wire Shelving
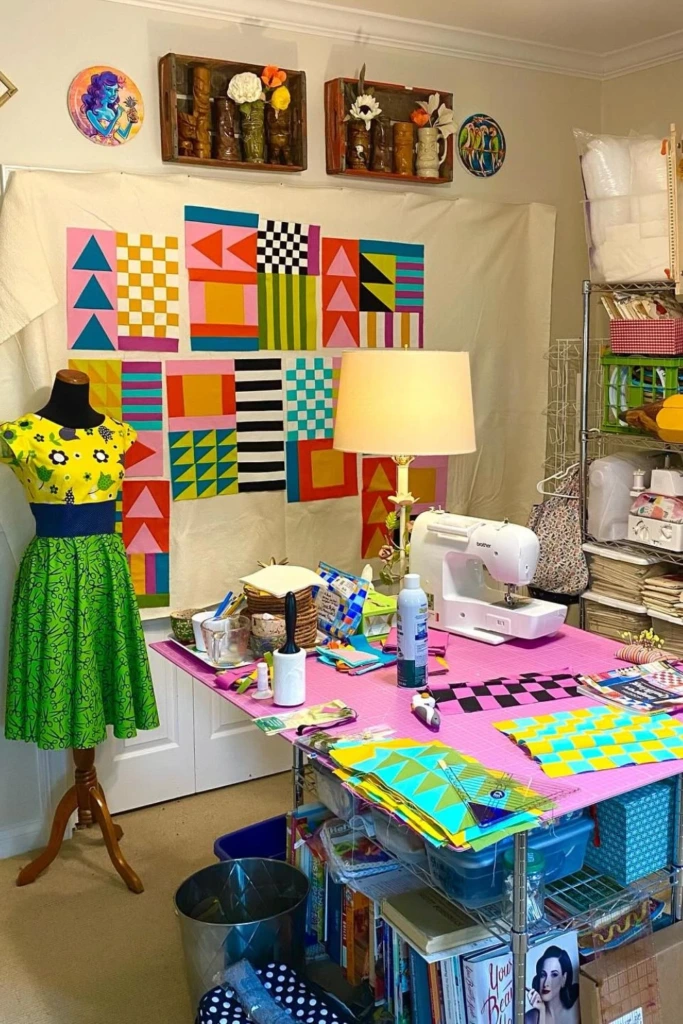
Wire shelving can provide affordable, adaptable storage for large fabric collections and bulky craft supplies. Adjustable shelves allow you to change the spacing as your collection grows or your projects require different types of materials.
Use appropriately sized fabric bins or smooth-sided containers to prevent small pieces from slipping through the gaps. Clear boxes work well for thread, notions, and sewing accessories, while larger baskets can hold folded yardage and project materials.
You can arrange fabric by color, material, or intended use. Whichever method you choose, label containers consistently and leave enough room to remove them without shifting neighboring supplies. A well-organized shelving unit makes it easier to take stock of your collection before buying more fabric.
10. Upper Cabinets
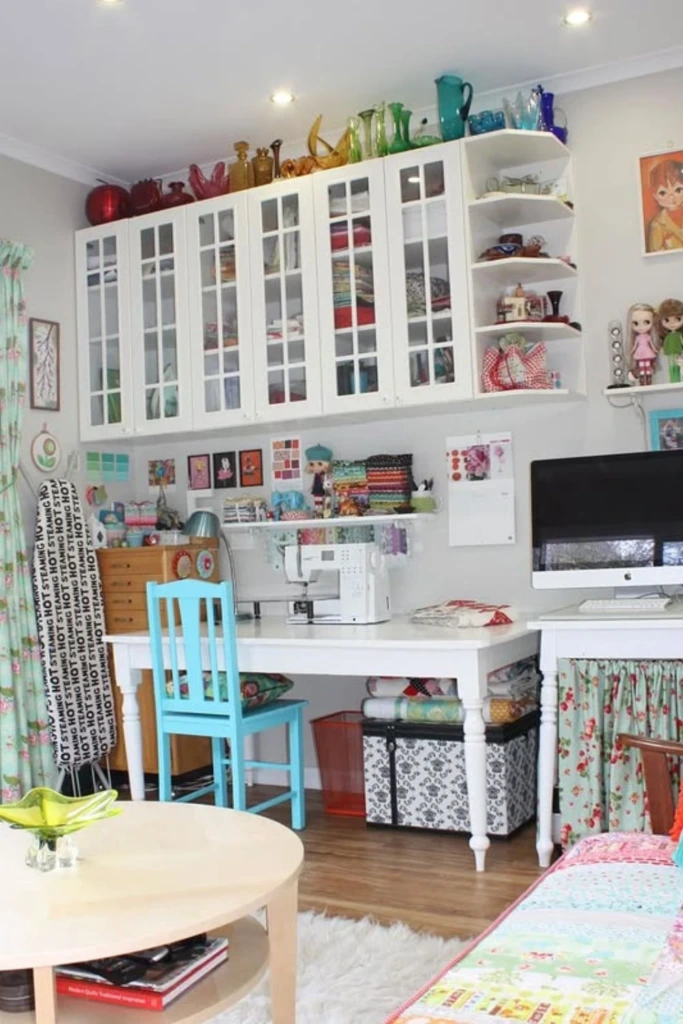
Upper cabinets help maximize storage while keeping the main work area open. They are particularly useful for spare fabric, sewing machine accessories, pattern books, and supplies that don't need to remain on the desk.
Glass-front doors or clearly labeled cabinet sections make it easier to identify contents without opening every door. Use matching boxes or baskets inside larger cupboards to prevent small supplies from becoming scattered.
Keep heavy objects in lower storage whenever possible, and reserve high shelves for lightweight materials that you use occasionally. Frequently handled tools should remain within comfortable reach rather than requiring a step stool throughout the day.
11. Thread Ledge
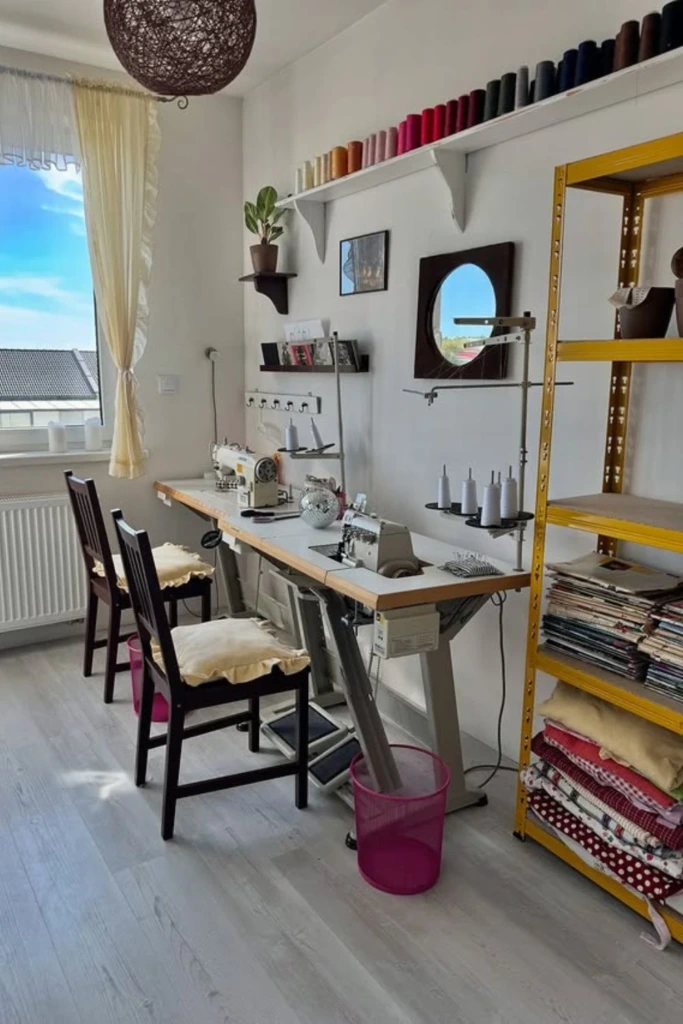
A narrow wall-mounted ledge can keep thread spools organized without taking up valuable drawer or tabletop space. Arranging spools by color makes it easier to select a suitable shade while coordinating thread with your fabric.
Choose a ledge with enough depth to hold spools securely and position it away from areas where materials could catch on the edges. A small tray or compartment nearby can hold matching bobbins and other machine accessories.
If your collection includes specialty threads, separate them from everyday sewing thread and label the sections. Keep thread away from excessive sunlight, dust, and damp conditions to help preserve its quality.
12. Compact Desk
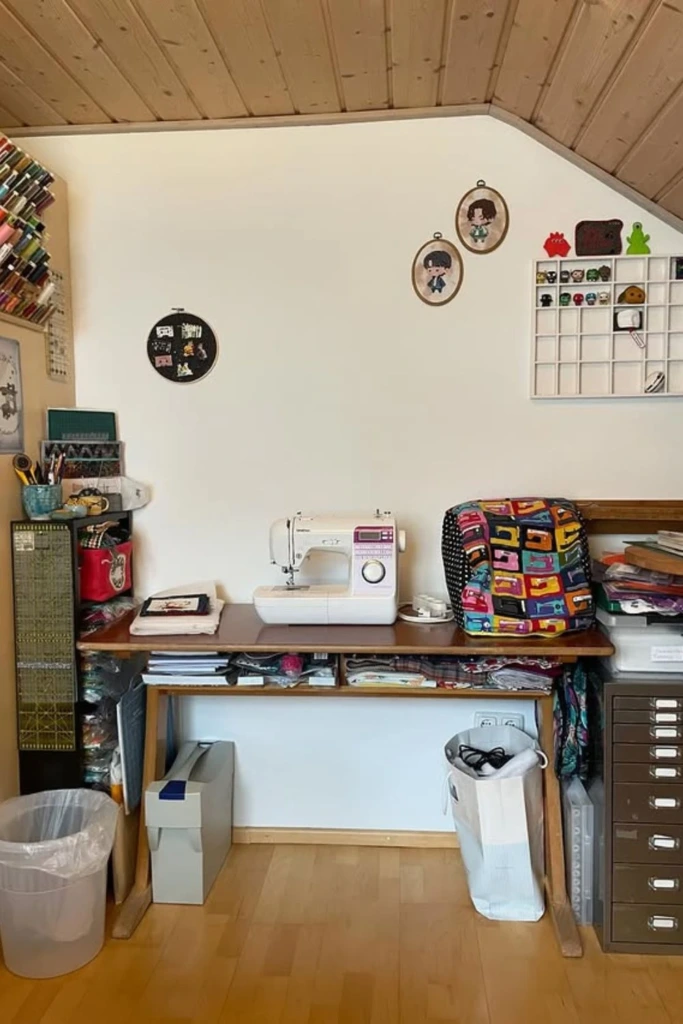
A narrow sewing desk can transform an unused corner into a functional crafting area. Choose a stable surface large enough for your machine, essential accessories, and the fabric you typically handle.
Use drawers or compact storage units underneath to keep supplies close at hand without covering the tabletop. Wall-mounted shelves can accommodate thread, patterns, and lightweight tools, leaving the main surface available for sewing.
Pay attention to legroom, chair clearance, lighting, and access to electrical outlets. A small desk works best when it supports your regular sewing activities rather than forcing you to rearrange the entire space before every project.
13. Color Blocks
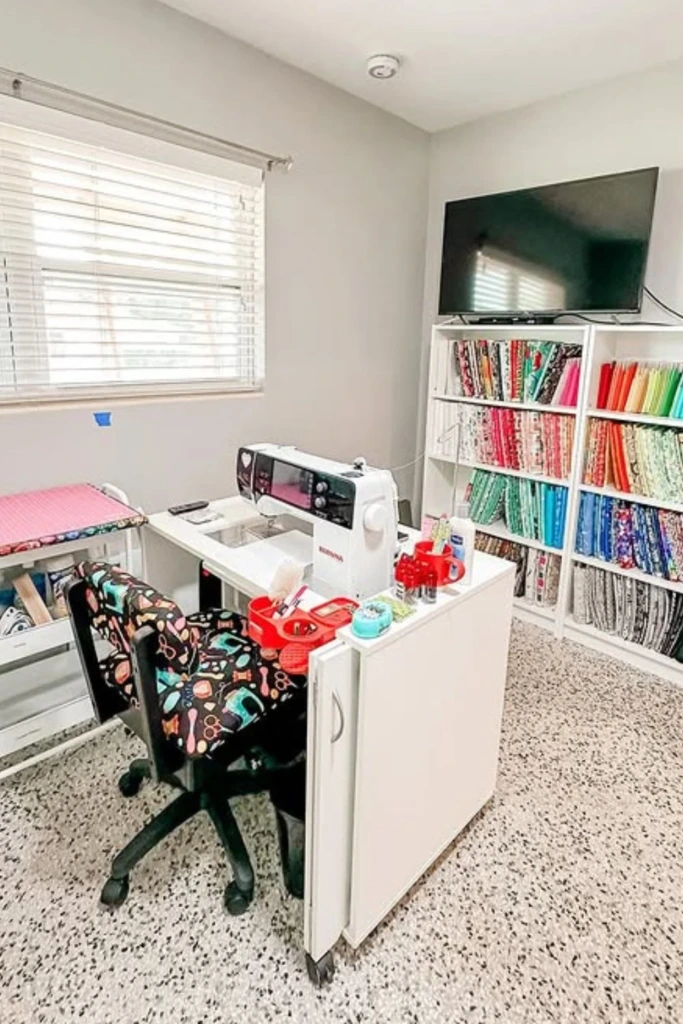
Arranging fabric by color can make a sewing room more visually appealing and simplify the process of selecting coordinated materials. Group similar shades together, then organize each color family by print, fabric type, or size if your collection is extensive.
Open shelves make the colors easy to see, while transparent containers can keep smaller cuts sorted by shade. Store remnants in separate, labeled sections so that useful pieces remain available for patchwork, appliqué, and smaller accessories.
Remember that color alone may not be enough to identify a fabric. If you work with many similar shades, include labels for material type, dimensions, or intended project. This combines visual organization with practical information.
14. Pegboard Hub
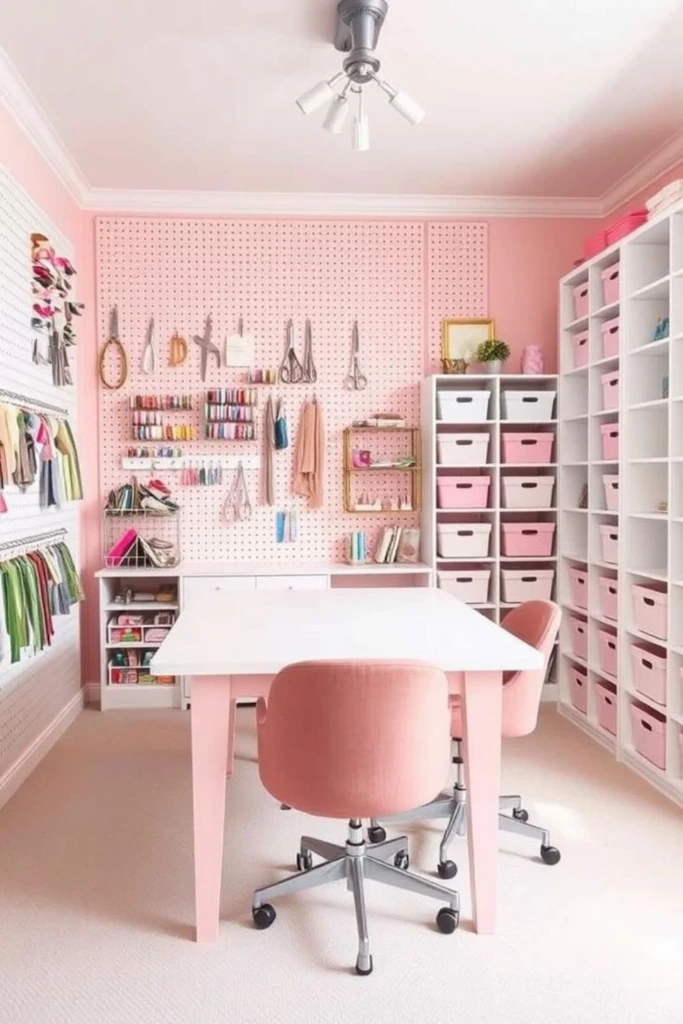
A pegboard creates a flexible storage system for tools that you use regularly. Hooks can hold scissors and rulers, while compatible baskets accommodate small containers, marking tools, and other lightweight accessories.
Arrange the board around your main work area so that frequently used equipment is easy to reach. Keep the layout simple and leave open spaces for tools you may acquire later.
Larger items, such as fabric rolls and sewing machine accessories, can remain in nearby cabinets or storage cubes. This combination of visible tool storage and enclosed organization keeps essential equipment accessible without overwhelming the room.
15. Cozy Corner
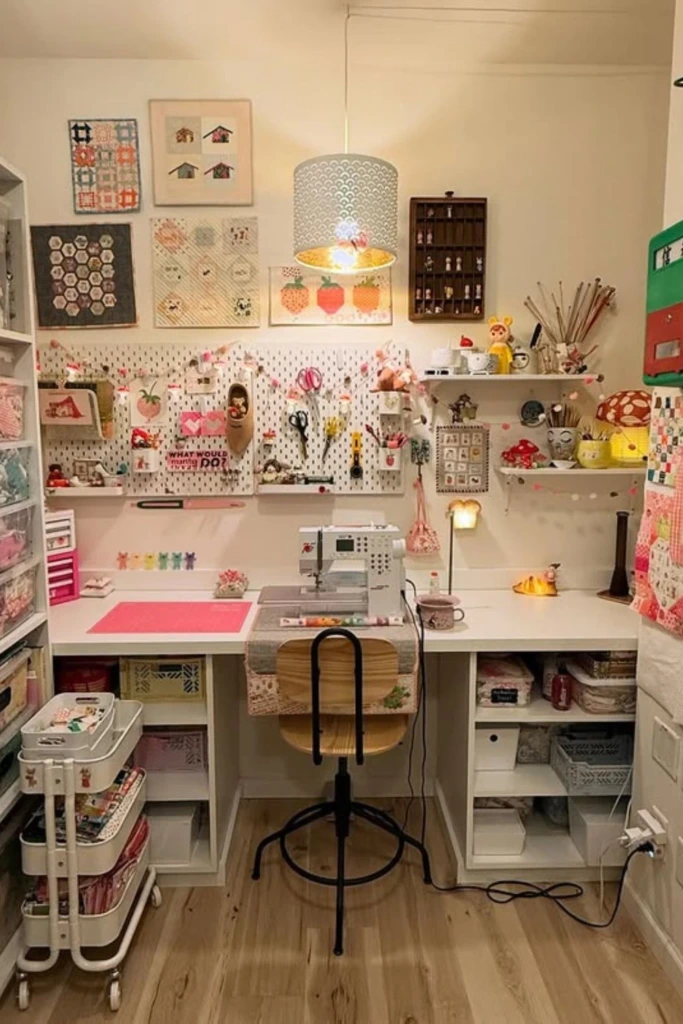
A small sewing corner can still be efficient when the furniture and storage work together. Start with a compact desk, a comfortable chair, and a nearby place for the machine and its accessories.
Use the wall above the desk for a pegboard or narrow shelves, and position a rolling cart beside the workspace for supplies that change from one project to another. Under-desk bins can store fabric and notions, provided they don't interfere with legroom or chair movement.
Choose furniture that fits the available dimensions rather than trying to squeeze a full-sized studio into a small area. Keeping only current projects and frequently used materials nearby will help the corner feel inviting instead of cramped.
16. Storage Wall
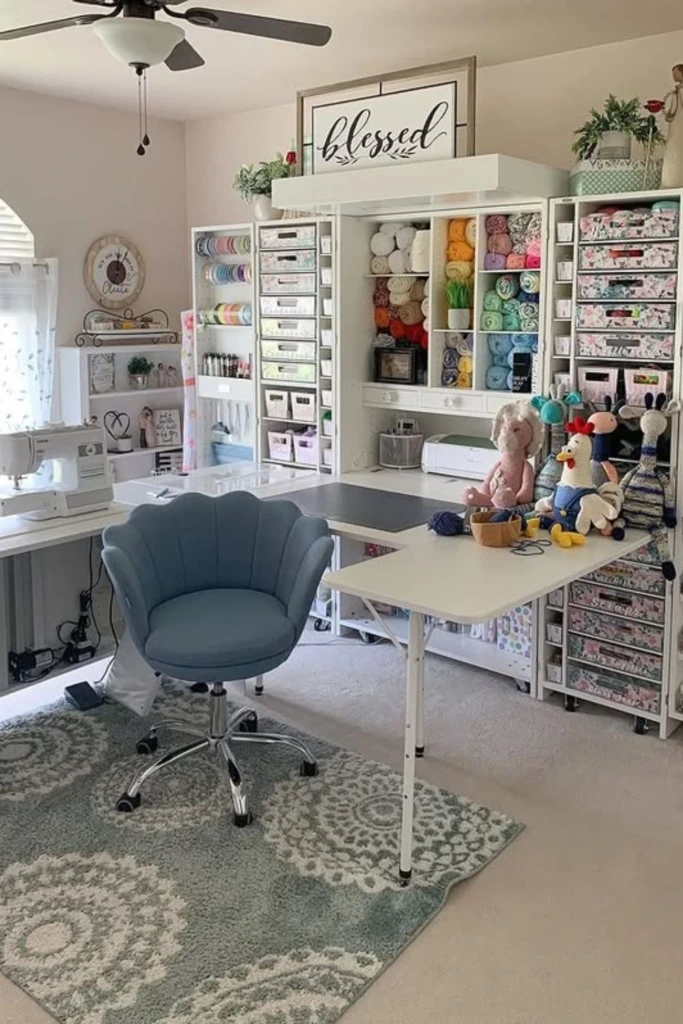
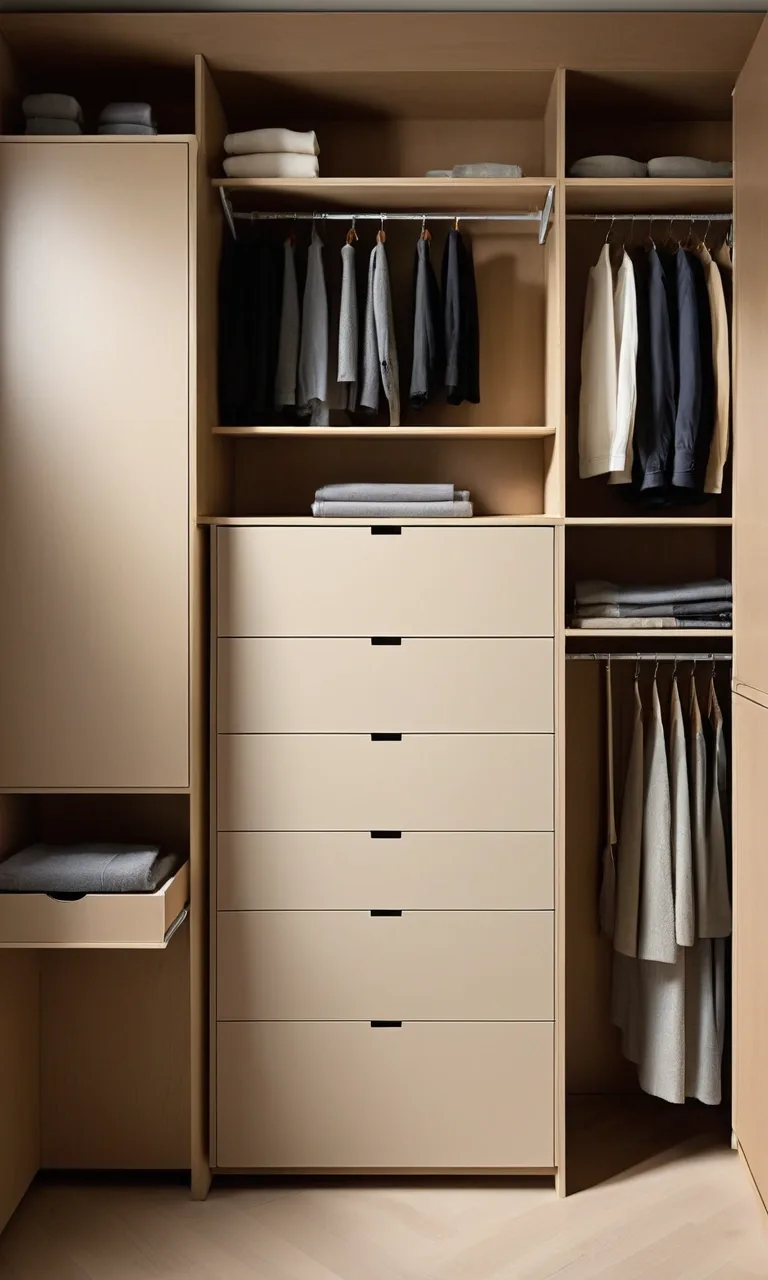
A full storage wall can be especially useful for sewists who maintain extensive fabric collections, quilting materials, or supplies for multiple crafts. Combining cabinets, drawers, open shelves, and labeled bins allows each category to have its own dedicated location.
Place frequently used materials near the main worktable and store backup supplies in less accessible sections. Drawers are useful for small notions, while shelves can accommodate fabric stacks, baskets, and larger project containers.
Plan the layout around how you move through the room. Leave a clear path between storage and work surfaces, and avoid placing furniture where open drawers or cabinet doors will obstruct movement. A thoughtfully arranged storage wall provides substantial capacity without spreading supplies throughout the room.
17. Pattern Filing
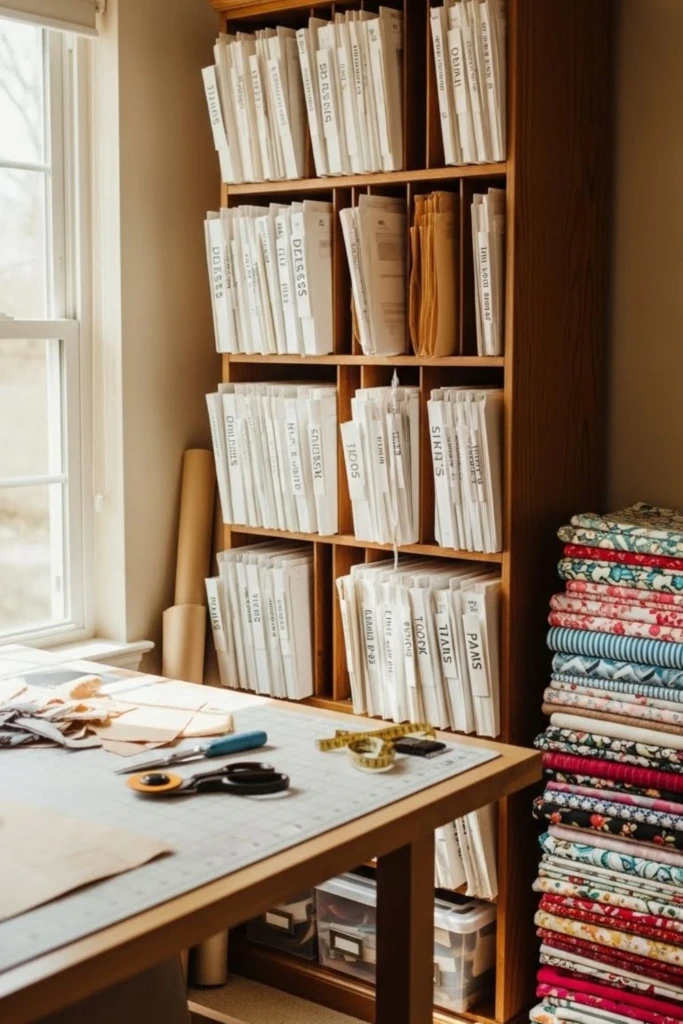
Paper sewing patterns are easier to manage when stored vertically instead of in loose piles. Magazine files, document organizers, and appropriately sized folders can keep patterns upright and prevent envelopes from becoming bent or mixed together.
Sort patterns into useful categories, such as clothing, accessories, home décor, quilting, or children's garments. Additional labels for size range or garment type can make searching even faster. If a pattern contains multiple pieces, keep its instructions and pattern sheets together in a labeled envelope or folder.
Store the filing system near your cutting area so you can consult patterns while planning a project. Protect delicate paper from moisture and excessive handling, and consider keeping digital copies of important instructions when permitted by the pattern's terms.
18. WIP Parking
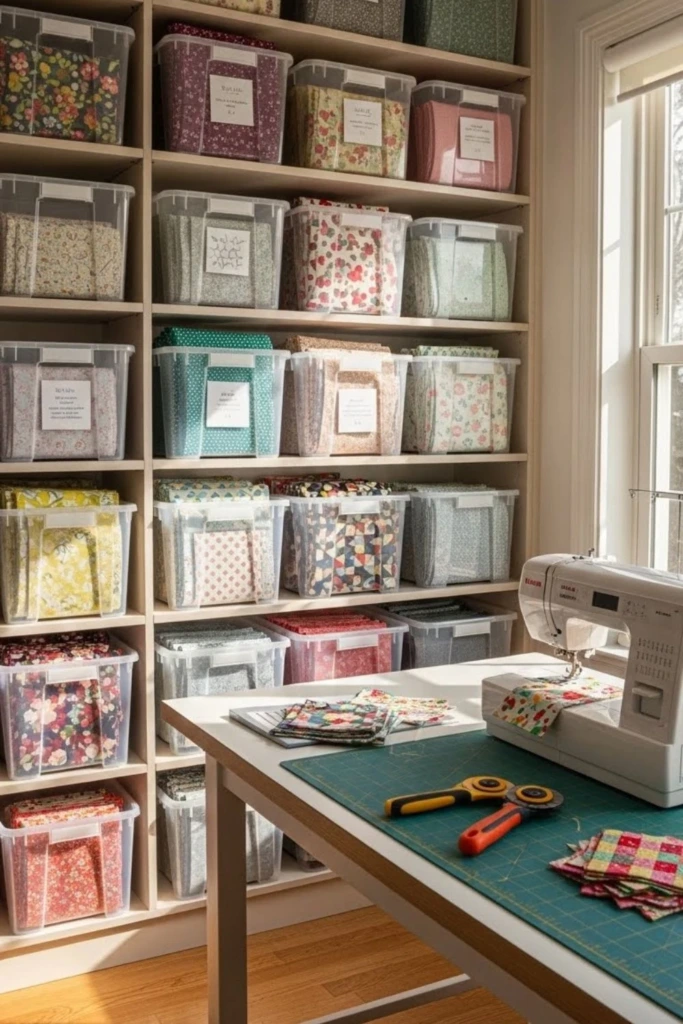
Work-in-progress storage gives unfinished sewing projects a defined place instead of allowing them to spread across every available surface. Use one basket, box, or project bag for each active project, and label it with the project name or a brief description.
Include the relevant fabric, pattern, thread, instructions, and any notes about the next step. Small notions can be placed in a separate pouch inside the container to prevent them from getting lost.
Choose containers that fit the actual size of each project. Large quilts may need broad, breathable bags, while smaller garments or accessories can fit into compact boxes. Keep current projects accessible and store paused projects elsewhere until you're ready to resume them.
19. Scrap Control
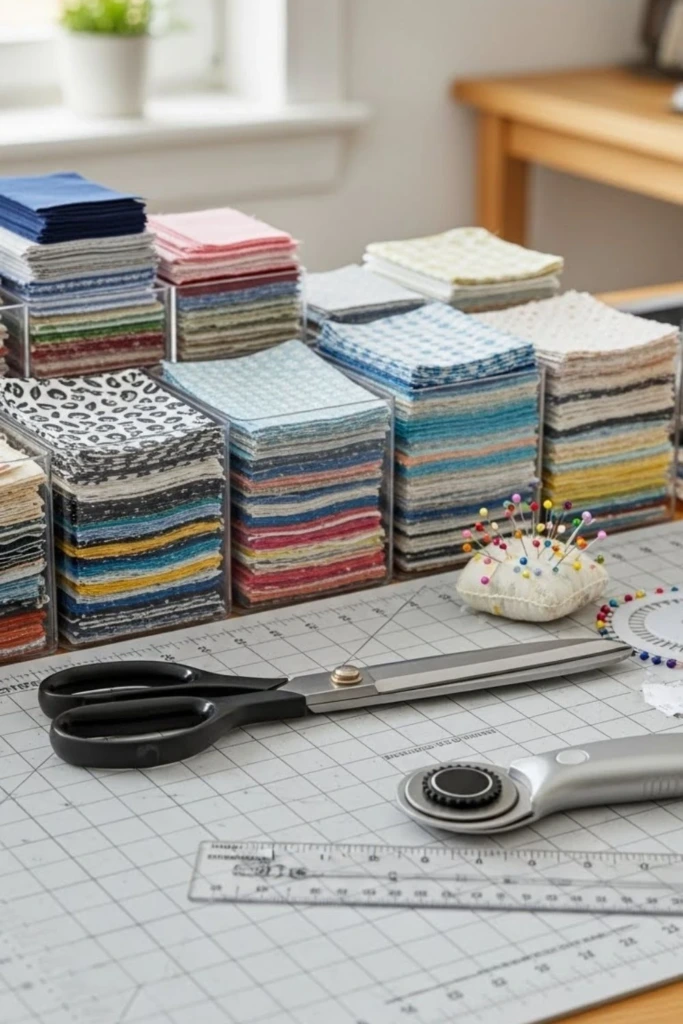
Fabric scraps can accumulate quickly, especially after quilting, garment construction, and patchwork projects. Rather than throwing every leftover piece into one container, sort scraps according to their size and likely usefulness.
Small pieces may work for appliqué or miniature patchwork, while larger remnants can be saved for pockets, facings, accessories, or future repairs. Use separate bins for different size ranges, and label them so that you can quickly assess what is available.
Set a realistic limit on how much scrap fabric you keep. Pieces that are damaged, unusably small, or unlikely to suit your projects can be discarded or recycled through an appropriate textile program. Sorting scraps near the cutting table makes it easier to decide what to save before leftovers accumulate.
20. Press Station
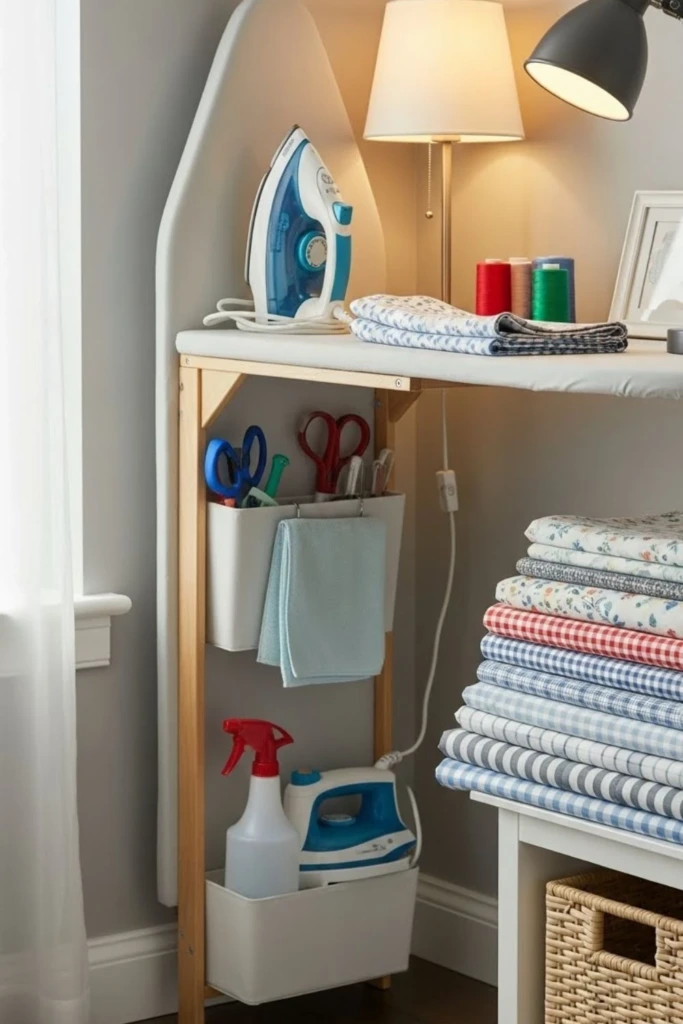
A dedicated pressing station helps streamline sewing tasks that require frequent ironing. A compact ironing board or heat-resistant pressing surface can sit near the sewing machine while still leaving room for other activities.
Store the iron, pressing cloths, sleeve board, and related accessories in a designated area. If you use a cabinet or shelf beneath the station, make sure it can safely accommodate the equipment and that the iron has cooled completely before being put away.
Keep the pressing area clear of loose fabric, paper patterns, and other heat-sensitive materials. Follow the manufacturer's instructions for safe use and storage, and unplug the iron when it isn't needed. A permanent pressing zone makes it easier to move between sewing and finishing without disrupting the rest of the room.
21. Measurement Zone
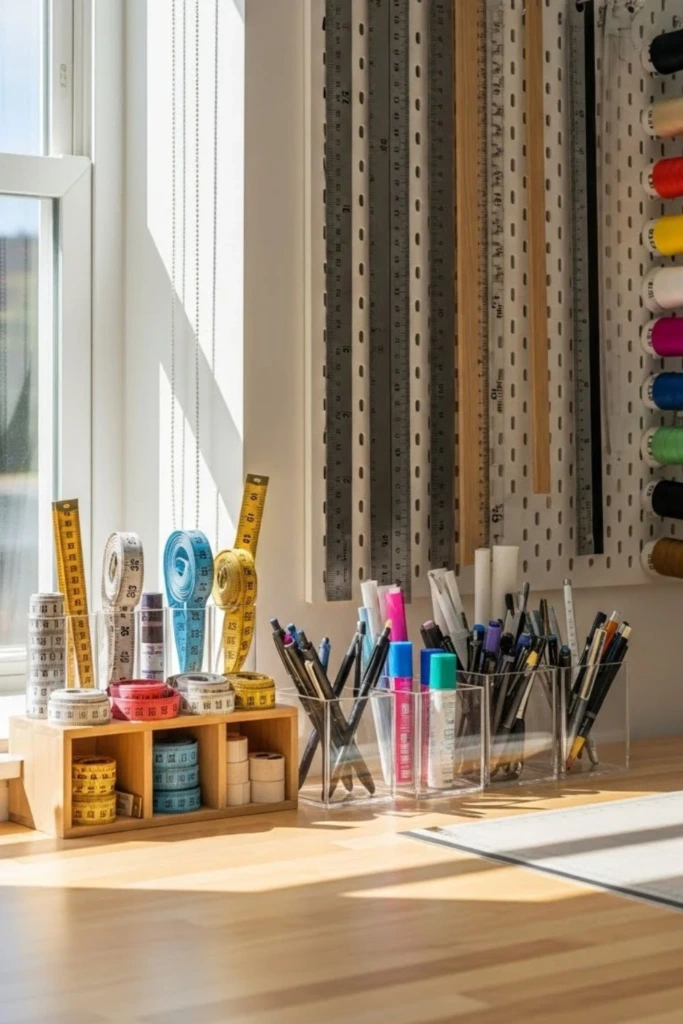
Measuring tools are essential for accurate sewing, but rulers and measuring tapes can easily become scattered across the workspace. Create a designated measurement zone using wall-mounted racks, ruler holders, or a narrow drawer with separate compartments.
Keep frequently used rulers, measuring tapes, seam gauges, and marking tools together. Position them close to the cutting table so that measuring and marking can happen without repeated trips across the room.
Use holders that support long rulers securely and prevent them from falling. Smaller measuring accessories can be stored in a labeled container nearby. Returning each tool to the same place after use reduces interruptions and helps prevent avoidable measuring mistakes.
22. Reset Routine
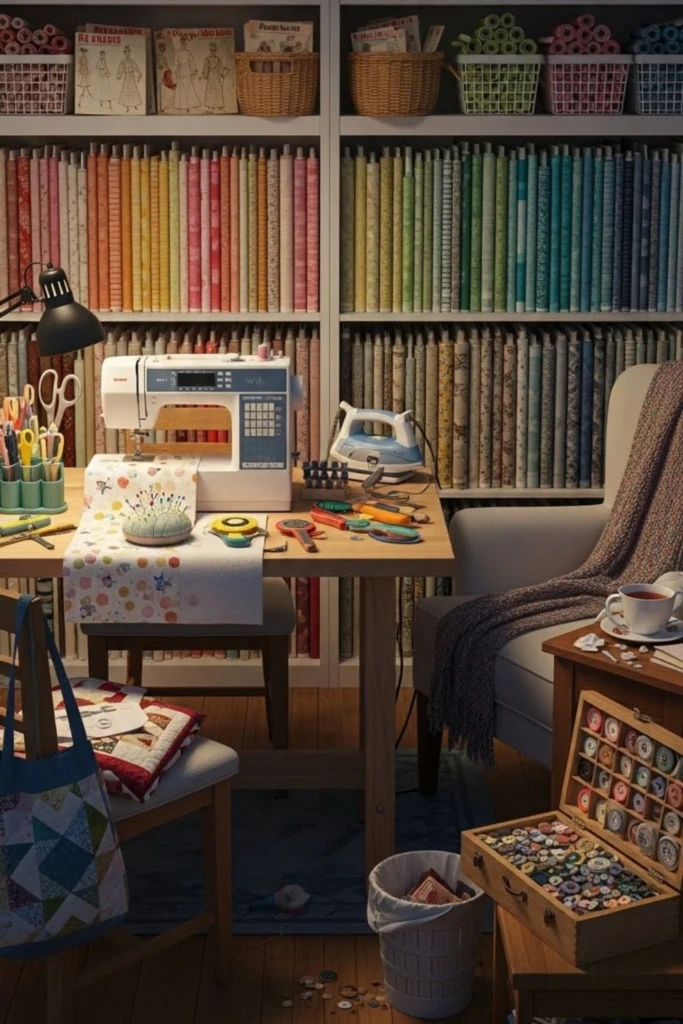
An organized sewing room stays functional when tidying becomes part of the sewing process. Spend a few minutes at the end of each session returning tools to their holders, folding unused fabric, and clearing the main work surfaces.
Place unfinished projects in their assigned containers, remove unusable scraps, and return patterns and accessories to their proper storage locations. Check that sharp tools are stored safely and that electrical equipment is switched off or unplugged as appropriate.
You don't need to complete a deep clean every day. A short, consistent reset prevents small messes from turning into a major organizing project. If you share the space with family members or use a multipurpose room, this habit also makes it easier to restore the room for its next activity.
How do I keep my sewing room organized once it’s finally clean?
The easiest way to maintain an organized sewing room is to make your storage system simple enough to use every day. Give each category of supplies a permanent home, label containers where necessary, and keep the items you use most often within easy reach.
Try to return tools as soon as you finish using them instead of leaving everything for the end of the day. Store unfinished projects in individual containers so their materials remain together, and remove unusable scraps before they accumulate.
A brief cleanup after each sewing session can make a significant difference. Every few weeks, review your storage to identify supplies that have migrated out of place or categories that need adjustment. Your system should evolve with your sewing habits rather than becoming another task to maintain.
Should I organize my sewing room for looks or for how I sew?
Function should come first, although there's no reason your sewing room can't look attractive as well. An arrangement that matches your workflow will save time, reduce unnecessary movement, and make it easier to concentrate on your projects.
Think about which tools you use at each stage of sewing. Place cutting equipment near the cutting surface, keep machine accessories beside the sewing desk, and position pressing supplies where you can use them comfortably. Store occasional-use materials farther away to prevent everyday areas from becoming crowded.
Once the practical layout works well, introduce matching storage containers, coordinated labels, or decorative touches that suit your style. The best sewing room is one that supports your creativity, keeps supplies accessible, and remains easy to tidy after every project.