How to Make a DIY Pegboard Tool Organizer – Ultimate Guide
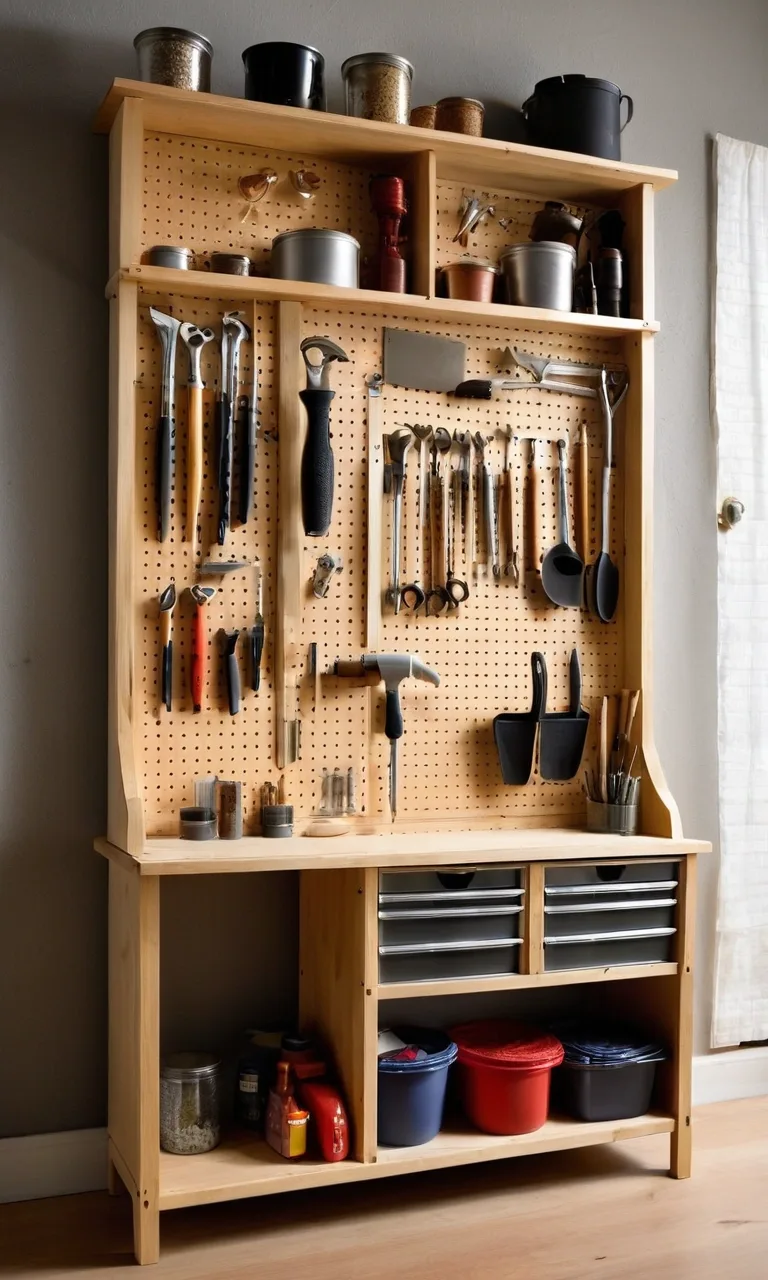
A disorganized workshop can turn even a small repair into a frustrating task. When screwdrivers disappear beneath other supplies and measuring tapes get buried in drawers, finding the right tool often takes longer than using it.
A DIY pegboard tool organizer offers a practical way to bring order to your garage, workshop, or home improvement area. It uses vertical wall space to keep essential equipment visible, accessible, and neatly arranged without requiring expensive storage cabinets.
The best part is that you can customize the layout to suit your tools and available space. Whether you have a compact workbench or an entire garage wall, a pegboard system can make your workspace more functional.
This guide explains how to build, install, and organize a pegboard tool storage system that is sturdy, convenient, and easy to maintain.
What You Need to Get Started
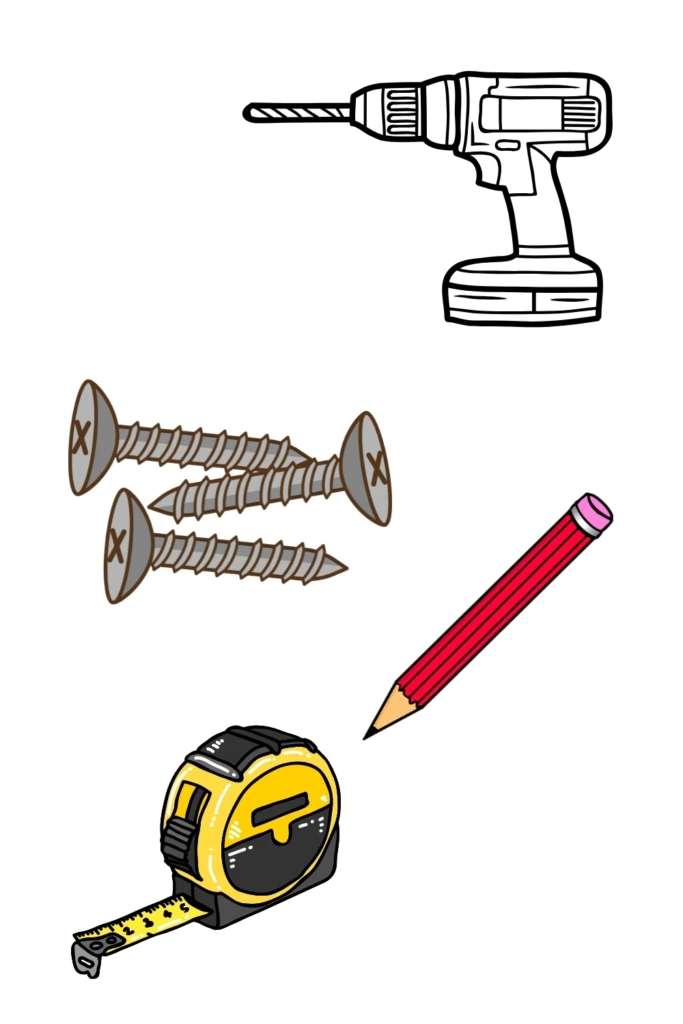
Before beginning your DIY pegboard project, gather the necessary materials and check that they are suitable for your wall and the tools you intend to store.
You will need:
Pegboard panel: Choose hardboard, metal, or another suitable material based on your storage needs.
Wooden furring strips or spacers: These create clearance behind the panel so hooks can be inserted properly.
Mounting screws: Select screws appropriate for the pegboard, supporting strips, and wall construction.
Wall anchors: Use properly rated anchors where fastening directly into structural supports is not possible.
Drill and drill bits: For preparing mounting holes and installing fasteners.
Measuring tape and pencil: To determine dimensions and mark attachment points.
Spirit level: To keep the installation straight.
Stud finder: To identify framing locations in suitable wall types.
Pegboard hooks and accessories: Include tool holders, baskets, and small storage containers.
Safety glasses are also important when drilling or cutting materials.
Pegboards come in several sizes and thicknesses. Standard hardboard panels are economical and suitable for many lightweight hand tools, while metal versions may provide greater durability when installed according to their manufacturer's specifications.
Check the hole diameter and spacing before purchasing accessories. Not all pegboard hooks fit every panel.
Step 1: Choose the Best Spot
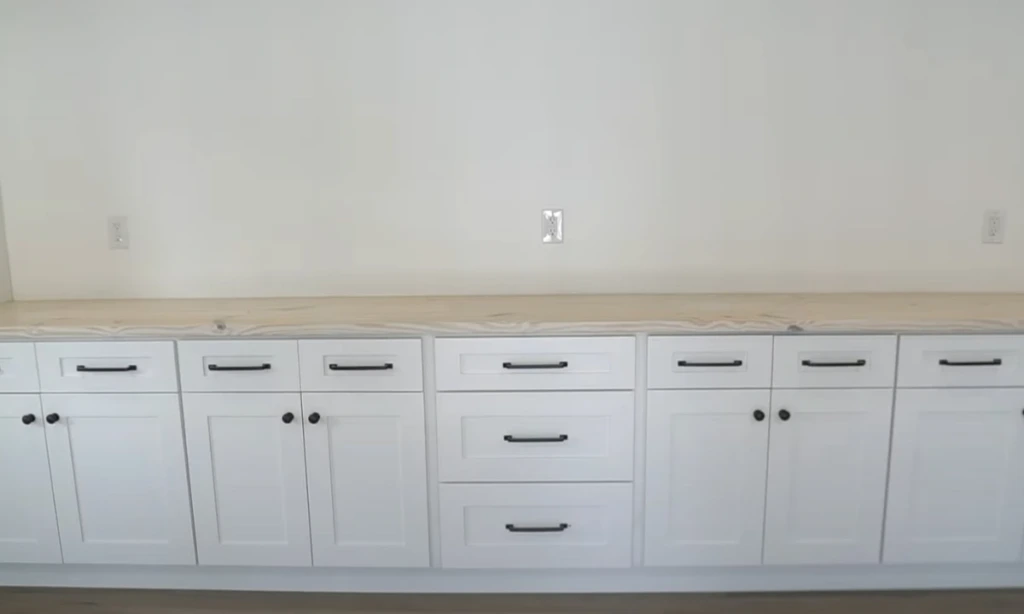
Selecting the right installation area is essential for making your organizer convenient to use.
Start by examining the wall around your main workbench. Ideally, the pegboard should be close enough that you can reach frequently used tools without leaving your working position.
Consider how much space is available above the bench and whether hanging equipment could interfere with shelves, cabinets, doors, or electrical outlets.
Keep the following factors in mind:
Choose a location with sufficient wall space for the panel and hanging tools.
Make sure the organizer will not obstruct walkways or working areas.
Position commonly used equipment within comfortable reach.
Avoid locations exposed to excessive moisture unless the materials are suitable.
Identify reliable mounting points capable of supporting the expected load.
For drywall installations, locating wooden or metal studs helps determine where supporting hardware can be secured.
Use appropriate methods to check for concealed electrical cables and plumbing before drilling. A basic stud finder alone cannot reliably identify every hidden hazard.
If your workspace is small, consider installing a narrow pegboard above the workbench rather than covering an entire wall.
Step 2: Prepare Your Pegboard and Wall
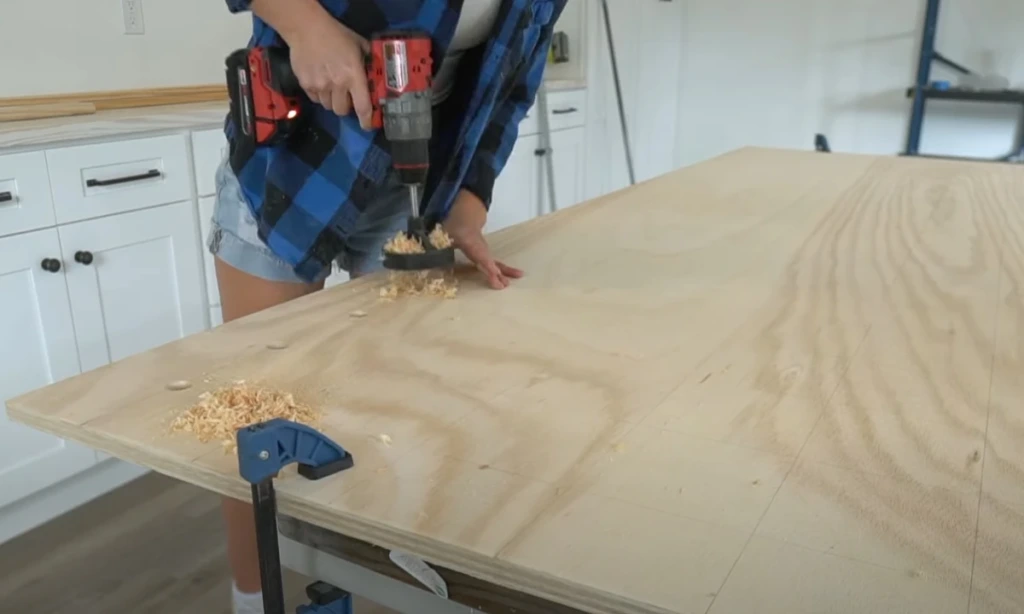
Accurate measurements and proper preparation make installation easier and help prevent alignment problems.
Begin by measuring the section of wall where the organizer will sit. Compare those dimensions with your pegboard panel, allowing enough clearance for nearby furniture and equipment.
If the panel requires trimming, mark a straight cutting line and use a suitable saw. Support the material during cutting to reduce splintering or damage.
Next, prepare the wall mounting system.
Most traditional pegboards require space behind the panel because the hooks extend through the holes. Wooden furring strips are a straightforward way to create this clearance.
Position the strips vertically or horizontally according to the panel's size and fastening requirements. Secure them to suitable wall supports, checking their alignment with a level.
A gap of approximately 3/4 inch is often sufficient for common pegboard hooks, although some accessories require different clearances.
Before mounting the panel, consider whether you want to change its appearance.
Painting a hardboard pegboard can help it match your workshop. Apply thin coats to avoid clogging the holes, and allow the finish to dry thoroughly.
For cut hardboard, sealing exposed edges can also help reduce moisture absorption.
Once the mounting strips are secure and the panel is ready, you can proceed with installation.
Step 3: Mount Your Pegboard
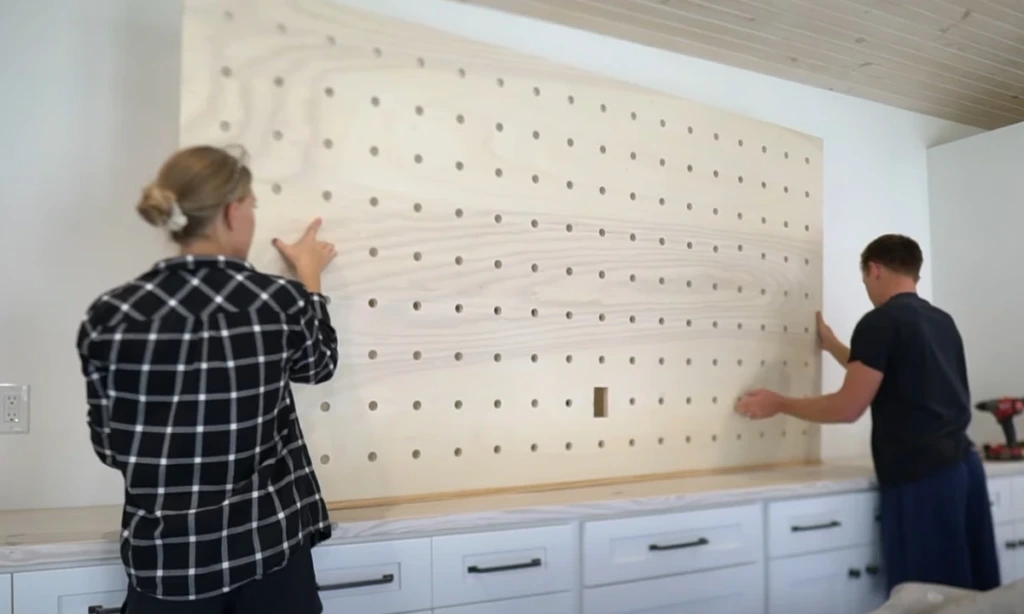
Installing the pegboard correctly is important because the mounting system must support both the panel and the equipment hanging from it.
Place the pegboard against the prepared supports and check its position with a level.
Mark the screw locations, ensuring they line up with the supporting strips. Predrill holes when recommended for your panel material to reduce the risk of cracking or splitting.
Fasten the panel using screws with heads or washers large enough to hold it securely without pulling through the holes.
For many conventional hardboard installations, fasteners spaced approximately 12 to 16 inches apart along supported edges are a reasonable starting point. However, always follow the panel manufacturer's mounting requirements, particularly for heavier loads.
Avoid overtightening screws, which can damage hardboard or distort the panel.
After installation, gently check for movement and inspect the supporting structure.
The organizer should remain firmly attached without excessive flexing. If you notice instability, correct the mounting before adding tools.
Remember that the overall weight capacity depends on the pegboard material, fasteners, wall structure, and how the load is distributed.
Step 4: Pick the Right Hooks and Accessories
The accessories you choose will determine how effectively your pegboard stores different tools.
Instead of filling the entire board with random hooks, identify the equipment you plan to hang and select holders that suit its shape and weight.
Several accessory types are especially useful:
Straight hooks: Suitable for hanging tools with handles or openings.
Double-prong hooks: Offer additional support for certain larger tools.
Curved hooks: Useful for equipment such as tape measures and some hand tools.
Tool racks: Keep screwdrivers, pliers, and similar items grouped together.
Small baskets: Hold lightweight supplies that do not hang conveniently.
Storage bins: Organize screws, nuts, washers, and other small hardware.
Specialized holders: Provide dedicated spaces for items such as drill accessories or wrench sets.
Metal hooks are often a durable option, but their strength depends on their design and the pegboard system they are intended for.
Choose accessories compatible with the panel's hole pattern and thickness.
If hooks loosen whenever you remove a tool, consider using locking clips or retaining accessories designed for your pegboard.
It is also worth leaving some empty space for future additions.
A thoughtfully selected collection of holders generally works better than an overcrowded arrangement.
Step 5: Organize Your Tools
Once the panel and accessories are installed, focus on creating a layout that makes everyday tasks easier.
Start by placing your most frequently used tools on the board. Arrange them temporarily before deciding on their permanent positions.
Grouping equipment by function is a practical approach.
For example, keep measuring and marking tools together, position screwdrivers in one section, and give pliers and wrenches their own areas.
Place frequently used items near the center of your comfortable reach zone. Tools needed only occasionally can occupy higher or less accessible sections.
Larger or heavier equipment should be mounted only on appropriately rated holders near adequate structural support. Storing heavier items lower can also reduce the consequences of an accidental fall.
Small containers work well for hardware that would otherwise get scattered across the workbench.
For even better organization, consider creating separate zones for different activities, such as woodworking, bicycle maintenance, or household repairs.
You can also outline tool shapes on the pegboard or add simple labels beneath hooks. These visual markers make it easier to identify missing items and return everything to its designated location.
Avoid using valuable pegboard space for equipment you rarely need. Store bulky or seldom-used items in drawers, cabinets, or other suitable storage areas.
The goal is not to display every tool you own but to make the tools you regularly use easy to locate and retrieve.
Step 6: Keep It Tidy and Up-to-Date
A pegboard organizer remains useful when you maintain a consistent storage routine.
After completing a project, return tools to their assigned positions instead of leaving them scattered across the workbench.
This small habit prevents clutter from gradually taking over your workspace.
Periodically inspect the pegboard for loose hooks, damaged holes, or mounting hardware that needs attention.
If you regularly struggle to reach a particular tool, move its holder to a more convenient position.
As your collection changes, rearrange accessories to accommodate new equipment.
It is also helpful to remove unnecessary items from the board occasionally. Keeping only useful tools within reach makes the entire system easier to manage.
For garages and workshops where dust accumulates quickly, wipe down the panel and storage accessories when needed.
A simple monthly inspection can help you identify small problems before they affect the organizer's safety or functionality.
Common Mistakes and How to Fix Them
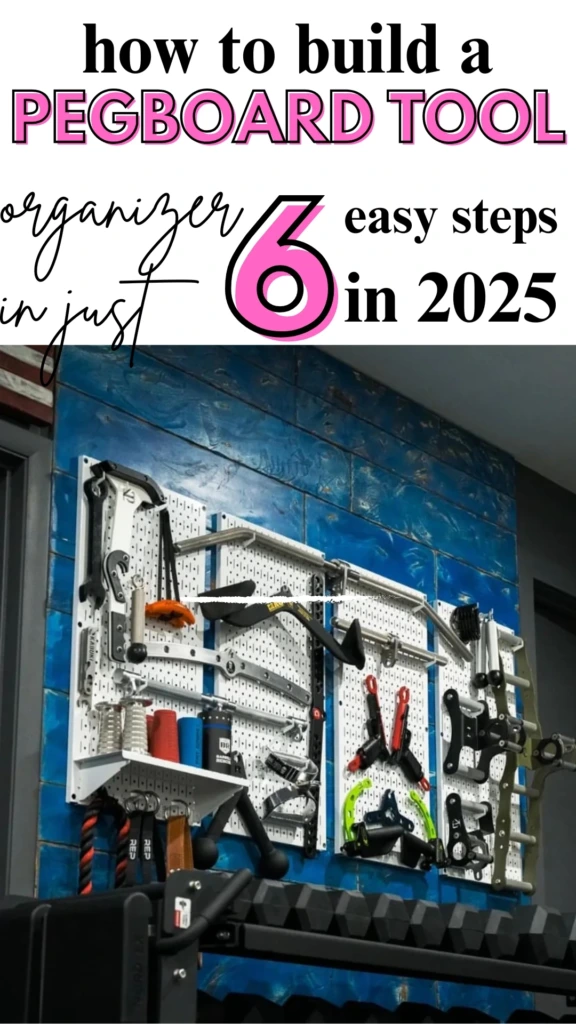
Although installing a pegboard is a manageable DIY project, certain mistakes can reduce its effectiveness or create safety concerns.
Understanding these problems beforehand can help you build a more reliable storage system.
Common Mistake
Practical Solution
Installing the board unevenly
Use a level when marking and securing the mounting supports.
Attaching the panel to weak wall surfaces
Fasten into suitable structural supports or use appropriately rated mounting hardware.
Overloading hooks or sections of the panel
Follow load ratings and distribute tools across supported areas.
Leaving insufficient clearance behind the board
Install spacers or furring strips that provide room for the selected hooks.
Using incompatible accessories
Match hooks and holders to the pegboard's hole size, spacing, and thickness.
Positioning tools too high
Keep regularly used equipment within a comfortable reaching distance.
Ignoring concealed wiring or plumbing
Check the wall carefully before drilling and avoid uncertain locations.
Crowding too many tools together
Leave enough room to remove and replace each item safely.
One particularly important consideration is weight distribution.
Even a securely mounted panel can become damaged if heavy equipment is concentrated on unsuitable hooks or unsupported sections.
For large power tools or especially heavy equipment, a dedicated shelf, cabinet, or purpose-built rack may be a better storage solution.
Taking time to correct these issues will help your pegboard remain functional and dependable.
Real-Life Benefits You’ll Notice
A properly arranged DIY pegboard tool organizer offers several advantages beyond improving the appearance of your workshop.
1. Faster access to essential tools
When equipment is visible and organized by category, you can identify what you need without searching through multiple drawers or containers. This makes routine repairs and DIY projects more convenient.
2. More usable workbench space
Moving hand tools onto the wall frees up valuable horizontal surfaces. With fewer items covering your workbench, you have more room for measuring, assembling, and completing projects.
3. Better awareness of your tool collection
A visible storage system helps you recognize which tools you already own. It can also make missing or misplaced equipment easier to notice before starting a project.
4. Flexible storage as your needs change
Unlike fixed drawer compartments, pegboard accessories can usually be repositioned without rebuilding the entire organizer. You can adapt the layout when purchasing new tools or changing the type of projects you work on.
5. Easier workspace maintenance
Giving every tool a designated location encourages consistent organization. Cleanup becomes simpler because you already know where each item belongs.
6. Improved use of limited space
Vertical storage is especially valuable in compact garages, sheds, and home workshops. It allows you to organize equipment without adding large storage furniture that occupies floor space.
7. A more comfortable working environment
An orderly workspace can make projects feel more manageable. When your tools are accessible and your work surface is clear, it becomes easier to concentrate on the task at hand.
These improvements can make a noticeable difference whether you work on occasional household repairs or regularly complete DIY projects.
Final Thoughts
Building a DIY pegboard tool organizer is a practical way to improve storage without making major changes to your garage or workshop.
With a suitable panel, secure mounting supports, and carefully chosen accessories, you can create a storage system tailored to your tools and working habits.
The most important steps are selecting an accessible location, preparing the wall correctly, mounting the panel securely, and arranging equipment according to how frequently you use it.
Once installed, your organizer can continue evolving as your tool collection grows.
Start with a manageable section of wall, organize your essential equipment, and adjust the layout as needed. A well-planned pegboard can turn an underused wall into a convenient storage area that makes everyday projects easier.