How to Build a Floating Shelf in Just 5 Easy Steps
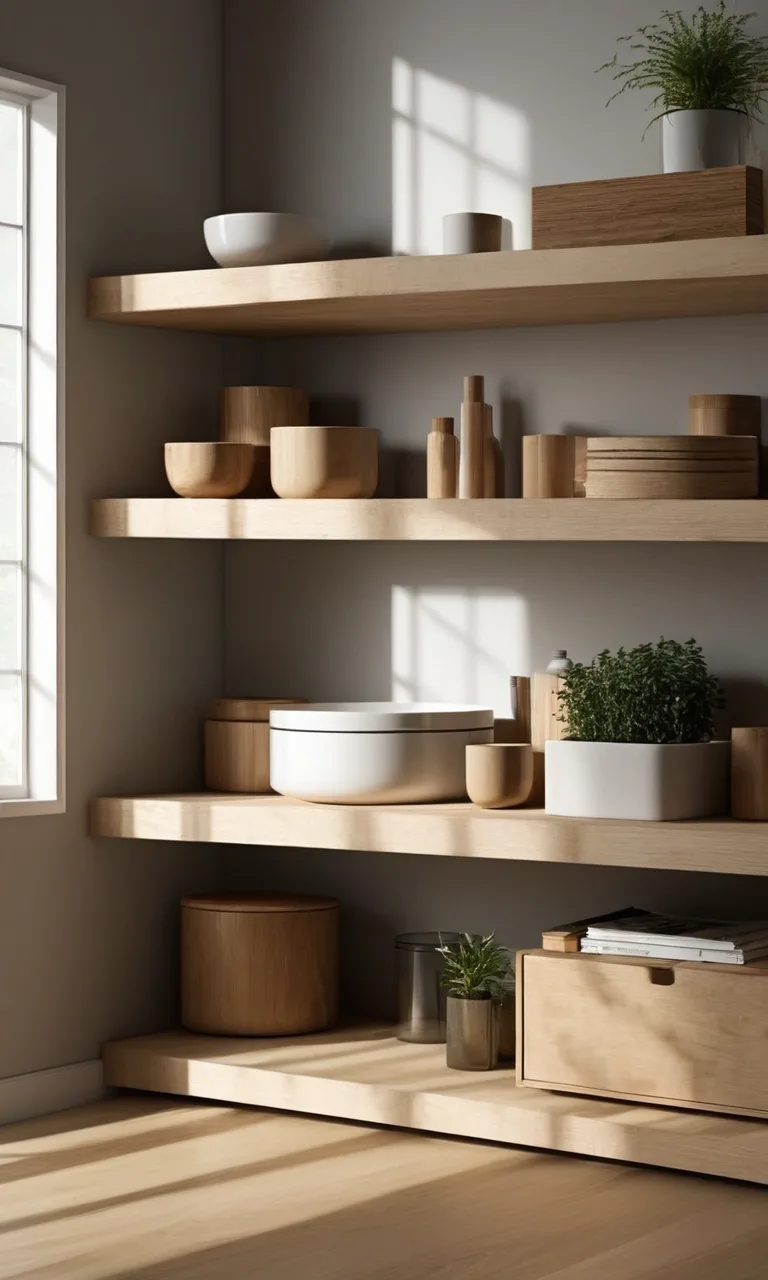
Floating shelves are a practical way to add storage and personality to your home without taking up valuable floor space. Whether you want to display decorative pieces in your living room, organize bathroom essentials, or create extra storage in your bedroom, a custom wooden shelf can make a noticeable difference.
Building one yourself also gives you control over its dimensions, material, and finish. You can create something that matches your existing furniture instead of settling for a store-bought option that doesn't quite fit.
The best part is that this project is manageable for beginners with basic woodworking tools and a little patience.
This guide explains how to build a floating shelf in five straightforward steps, including choosing suitable materials, installing secure supports, fixing common problems, and keeping your finished shelf looking its best.
Why Most Floating Shelf Guides Don’t Work
A floating shelf may look like a simple wooden board attached to a wall, but its strength depends on several details that aren't immediately visible.
Many DIY instructions focus on cutting wood and installing hardware without explaining how different wall materials affect the installation. Drywall, brick, concrete, and plaster can require different fasteners and mounting methods.
Another overlooked detail is the relationship between shelf depth and weight capacity. A deep shelf holding heavy objects places considerably more leverage on its mounting hardware than a shallow shelf displaying lightweight decorations.
Beginners can also encounter problems when walls aren't perfectly straight or when studs don't align with their preferred shelf position.
A successful installation requires more than attractive materials. You need to consider:
The type and condition of the wall.
The combined weight of the shelf and everything placed on it.
The strength and compatibility of the mounting hardware.
The spacing between support points.
The shelf's thickness, depth, and overall length.
Understanding these factors before starting helps prevent crooked shelves, damaged walls, and unstable installations.
What You Need (Tools & Materials)
Gathering your supplies beforehand makes the building process easier and reduces interruptions.
For a basic wooden floating shelf, you'll need the following tools:
Tape measure: For measuring the wall and determining shelf dimensions.
Stud finder: To identify suitable mounting points behind drywall.
Spirit level: To ensure the shelf sits horizontally.
Power drill: For creating pilot holes and installing fasteners.
Saw: For cutting the wood to the desired length.
Pencil: For marking measurements and drilling locations.
Sandpaper or sanding block: For smoothing rough edges.
Safety glasses: To protect your eyes while drilling and cutting.
Your main materials will include a solid wood board or another shelf material compatible with your chosen hardware, concealed floating shelf brackets, suitable screws, and any manufacturer-approved wall anchors.
For a beginner-friendly project, a wooden board approximately 24–36 inches long and 8–10 inches deep can be a convenient starting size. However, the exact thickness and dimensions must match the requirements of your mounting system.
If you're using concealed rod-style brackets, the shelf must be thick enough to accommodate the rods and their mounting holes without weakening the wood.
You can also purchase wood stain, paint, primer, wood filler, and a protective clear coat to customize the appearance.
Important: Not every bracket works with every shelf. Check the manufacturer's instructions for minimum wood thickness, drilling dimensions, supported wall types, and weight capacity before purchasing materials.
Step-by-Step: Building Your Floating Shelf
Once your tools and materials are ready, you can begin building your shelf.
The following process uses a wooden shelf board with concealed mounting hardware. Some brackets require special holes or channels in the wood, so always follow the instructions supplied with your particular hardware.
Step 1: Measure and Mark
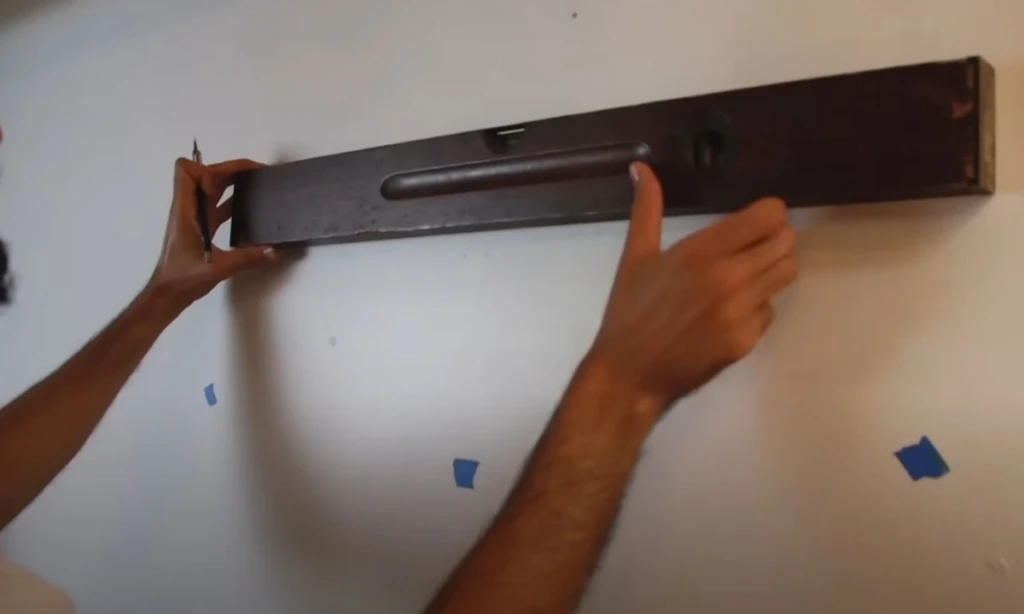
Start by deciding exactly where you want the floating shelf.
Consider its purpose before choosing the height. A decorative shelf above a sofa might sit higher than one intended for frequently used kitchen supplies.
Measure the available wall space and determine how long your shelf should be. Make sure there is enough clearance around doors, cabinets, switches, and nearby furniture.
Next, locate the wall studs with a stud finder. Confirm their positions according to the tool's instructions and mark the centers lightly with a pencil.
Use your level to establish a horizontal reference line where the mounting bracket will sit.
Before drilling, check for possible electrical wiring, plumbing, or other concealed services. Be especially careful around outlets, switches, and plumbing fixtures.
Take your time during this stage. Accurate measurements make the remaining installation considerably easier.
Step 2: Cut and Prep the Shelf
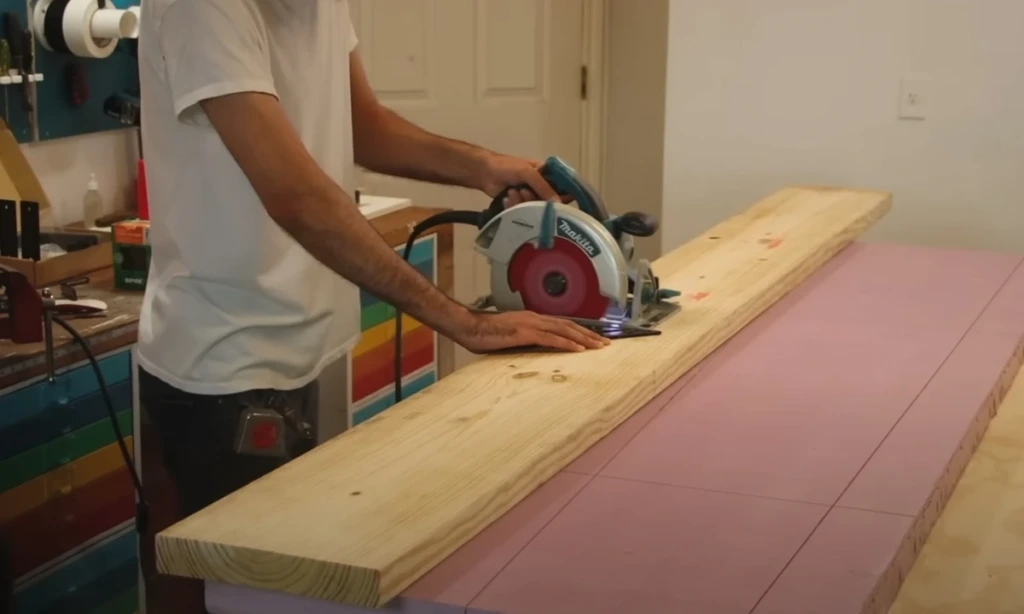
Transfer your chosen dimensions onto the wooden board.
Use a straightedge to draw a clear cutting line, then cut the wood using an appropriate saw. Secure the board firmly while cutting and follow the saw manufacturer's safety instructions.
After cutting, inspect the edges for splinters and uneven surfaces.
Sand the wood, beginning with a medium-grit abrasive and progressing to a finer grit for a smoother finish. Sanding along the grain generally produces a more attractive result on solid wood.
If your concealed brackets require holes in the back of the board, measure and drill them precisely according to the bracket specifications. The holes must align with the support rods and remain straight.
You can now apply your preferred finish.
For a natural appearance, use a wood stain followed by a compatible protective coating. For a painted shelf, apply primer when recommended and finish with suitable paint.
Allow all coatings to dry and cure according to their product instructions before mounting or loading the shelf.
Step 3: Install the Bracket
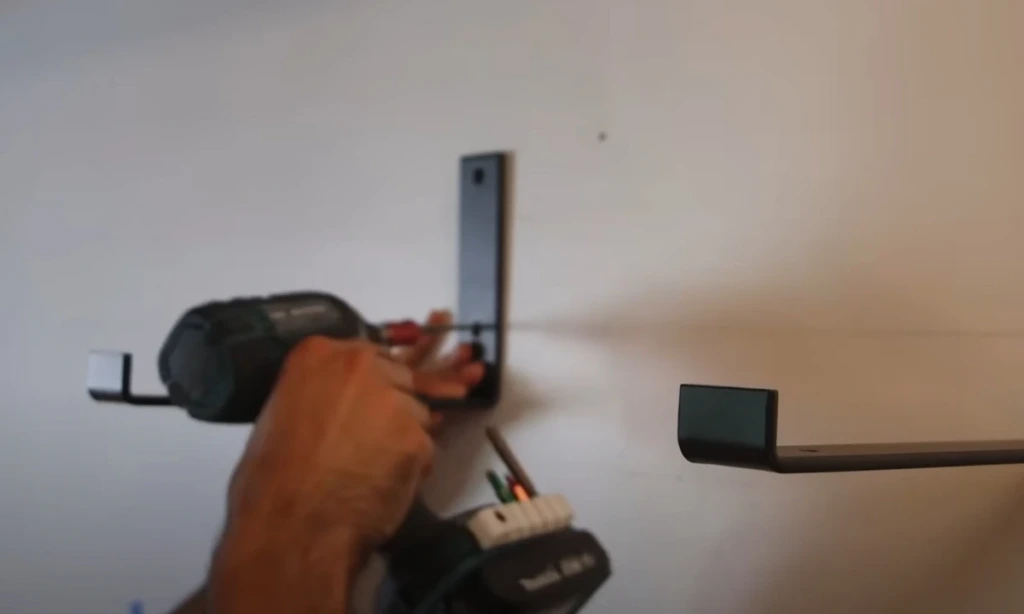
The mounting bracket is responsible for transferring the shelf's weight into the wall, making this one of the most important parts of the project.
Position the bracket against your reference line and check that it is level.
Mark the required screw locations, making sure the mounting points match the bracket manufacturer's instructions.
For drywall installations, fastening into solid wooden studs is generally preferable for supporting heavier shelves. Drill appropriately sized pilot holes and use structural fasteners approved for the bracket.
If your wall is masonry, you'll need suitable masonry drill bits and anchors designed for that material.
When studs aren't available in the necessary positions, do not assume ordinary drywall anchors will safely support the shelf. Some concealed floating shelf systems require direct attachment to structural framing.
Select an alternative mounting system or have additional structural support installed if necessary.
Tighten the mounting hardware according to the manufacturer's guidance and verify that the bracket remains level and firmly attached.
A properly installed bracket should not shift or rotate when checked gently by hand.
Step 4: Mount the Shelf
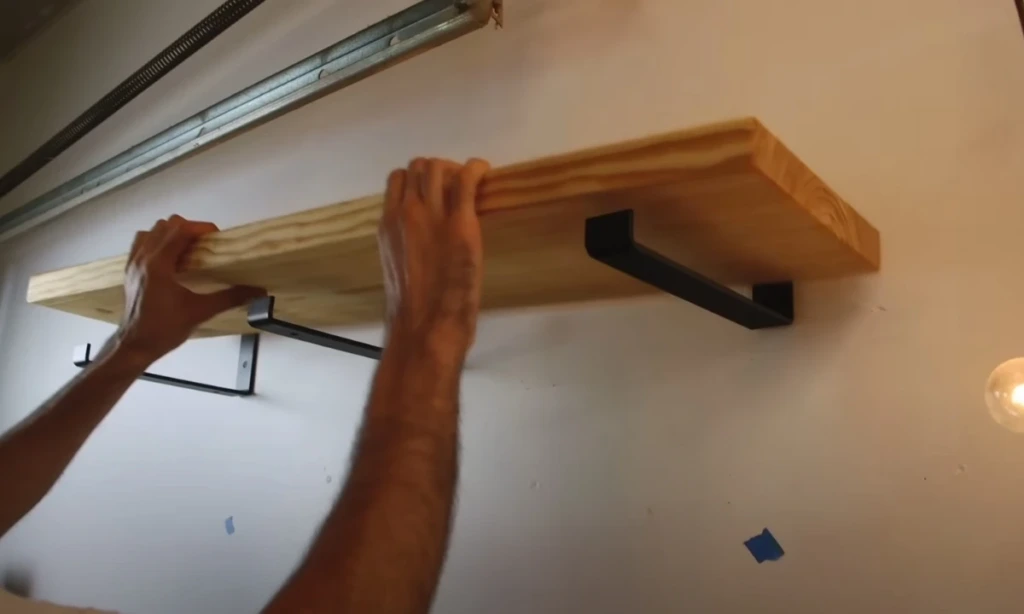
With the bracket securely installed, you're ready to attach the wooden shelf.
For concealed rod-style supports, align the holes in the back of the board with the projecting rods.
Carefully slide the shelf into position, keeping it straight to avoid damaging the wood or bending the hardware.
The shelf should sit close to the wall without requiring excessive force.
Some systems use locking screws or other retaining mechanisms to prevent the shelf from sliding forward. Install these components exactly as directed.
If your mounting system uses a concealed metal plate or another attachment design, follow its specific installation procedure rather than forcing the shelf onto incompatible hardware.
Once installed, check that the shelf is fully seated and properly secured.
Step 5: Check and Finish
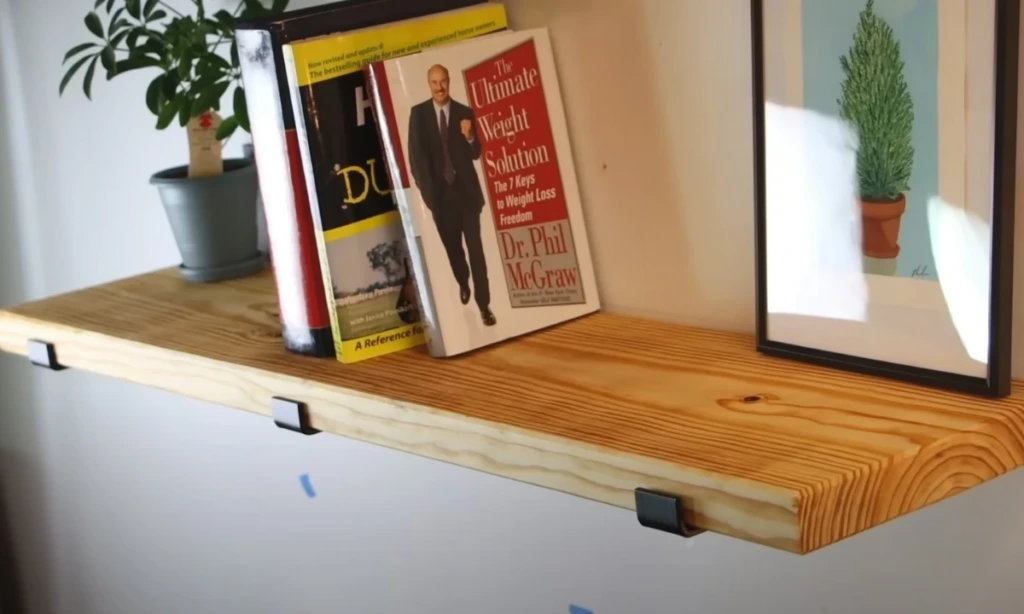
Before adding decorations, inspect the completed installation.
Place a spirit level across the shelf to confirm that it sits evenly.
Look closely at the connection between the wood and the wall. Check for movement, loose hardware, or signs that the bracket isn't seated correctly.
If the shelf tilts or shifts, remove it and correct the mounting problem before using it.
Cover any exposed screw holes with wood filler when appropriate. Allow the filler to dry, sand it smooth, and touch up the finish.
Clean away sanding dust and fingerprints using a soft cloth.
Finally, add items gradually while staying within the verified load rating of the complete installation.
Remember that the safe load depends on the shelf material, bracket design, fasteners, wall structure, and shelf depth—not simply the weight rating printed on the bracket packaging.
Common Issue During DIY Floating Shelf
Even with careful preparation, certain problems can appear during or after installation.
Most are related to mounting locations, inaccurate measurements, or hardware that isn't suited to the wall.
Here are six common issues and practical ways to address them.
Can’t Find Studs
Finding studs can be frustrating, especially in older houses with unusual framing or thick wall finishes.
Start by checking that your stud finder is calibrated and suitable for the wall material. Scan slowly from both directions to help identify the edges of a possible stud.
You can also use the location of nearby outlets as a clue, although electrical boxes aren't always mounted directly to studs.
If you're still uncertain, avoid drilling randomly into the wall.
For shelves that need substantial support, consider repositioning the shelf, using a mounting rail designed to span multiple studs, or installing appropriate structural blocking.
Heavy-duty hollow-wall anchors may be suitable for certain lightweight installations, but only when both the anchor and bracket manufacturers approve that mounting arrangement.
Shelf Leveling Issues
A floating shelf that slopes to one side can make an otherwise attractive installation look unfinished.
This often happens when bracket holes are marked inaccurately or the mounting hardware shifts during installation.
Start by checking the level of the bracket itself rather than judging only the wooden board.
If the bracket is crooked, remove the shelf and correct its position.
Some mounting systems include adjustment slots that allow small corrections. Others require properly relocating the mounting holes.
If the wall surface is uneven, manufacturer-approved noncompressible shims may help the bracket sit correctly.
Never rely on loosely fitted screws or unstable spacers to compensate for a poorly positioned bracket.
Loose Shelf
A floating shelf should feel securely attached to the wall.
If it moves when touched, first determine whether the movement comes from the shelf-to-bracket connection or the bracket-to-wall connection.
A loose retaining screw may be easy to correct, provided the rest of the installation is sound.
However, if the bracket moves against the wall, remove everything from the shelf immediately.
Inspect the fasteners and mounting surface for damage. Stripped holes, failed anchors, and inadequate framing attachment may require a complete reinstallation.
Avoid simply adding longer screws without confirming that they're suitable for the wall and bracket.
The correct solution is to restore a structurally sound mounting connection.
Gape Between Wall & Shelf
A visible gap between the back of the shelf and the wall can affect its finished appearance.
Minor gaps may result from uneven plaster, a slightly bowed board, or a mounting bracket that doesn't sit completely flush.
First, check whether the shelf has been pushed fully onto its supports.
Next, inspect the wall and the back edge of the wood for irregularities.
If the gap is purely cosmetic and the installation is secure, a small amount of paintable caulk may improve the appearance of a painted shelf.
For a stained wood shelf, leaving a narrow, consistent shadow line may look better than applying visible filler.
Larger gaps should be investigated rather than concealed, particularly if they indicate that the shelf isn't fully engaged with its mounting hardware.
How to Hide Visible Screw Holes
Exposed fasteners and small surface imperfections can distract from the clean appearance of a floating shelf.
For wooden surfaces, choose a filler compatible with your intended finish.
Press the filler into the hole, remove the excess, and let it dry completely.
Sand the repaired area gently until it blends with the surrounding surface.
Painted shelves are usually easier to repair because primer and paint can conceal the filled area.
For stained wood, use a color-matched filler and test it on an offcut first, since different fillers absorb stain differently.
If you want a completely seamless appearance, choose a concealed mounting system that doesn't require visible screws on the shelf's upper or front surfaces.
How Many Brackets
The number of brackets required depends on more than shelf length.
Shelf depth, material thickness, expected weight, wall construction, and bracket design all influence the amount of support needed.
For example, a short shelf displaying a few lightweight ornaments may require less support than a longer shelf holding books.
However, there is no universally safe rule that every shelf needs a bracket at a particular interval.
Use the manufacturer's specified bracket spacing and load ratings.
For longer shelves, a continuous mounting rail or multiple concealed supports may provide better load distribution when the system is designed for that arrangement.
If the middle of your shelf begins to sag, remove the load and assess the problem. Adding another bracket isn't always sufficient if the wood itself is too flexible.
Choosing a thicker or stiffer board and a properly engineered mounting system may be necessary.
Styling and Maintenance Tips
Once your floating shelf is securely installed, you can turn it into an attractive feature that complements your room.
The key is to balance appearance with practicality.
For living rooms, combine a small framed photograph, a decorative vase, and a few carefully selected books. Varying the heights of your objects creates visual interest without making the arrangement feel cluttered.
In bedrooms, floating shelves work well for lightweight accessories, framed artwork, and small decorative containers.
For kitchens, they can display mugs, jars, or everyday essentials, provided the installation is rated for the total load. Keep wooden shelves away from excessive heat and moisture.
Bathrooms benefit from moisture-resistant finishes and materials, particularly where humidity levels are high.
A few additional maintenance habits can help your shelf last longer:
Avoid overcrowding: Leave open space between decorative objects to maintain a clean appearance.
Distribute weight carefully: Keep heavier items closer to the wall, where they generally create less leverage on the supports.
Clean gently: Use a soft, lightly dampened cloth and dry the surface afterward.
Monitor moisture: Wipe up spills promptly and avoid prolonged exposure to water.
Inspect the hardware: Check periodically for movement, sagging, cracks, or separation from the wall.
Repair surface damage: Touch up scratches and worn finishes before moisture reaches exposed wood.
If you notice the shelf pulling away from the wall or developing an unusual downward angle, remove its contents and inspect the mounting system before continuing to use it.
For styling, you can also coordinate your shelf with other wooden furniture, cabinet finishes, or wall colors.
A natural oak finish creates a warm appearance, while a matte black or white painted shelf can complement contemporary interiors.
Whatever style you choose, keeping the display simple often produces the most attractive result.
Final Thoughts
Building a floating shelf is a rewarding home improvement project that combines useful storage with a clean, modern appearance.
By choosing suitable materials, measuring carefully, and installing the correct mounting hardware, you can create a customized shelf that fits your room and serves your everyday needs.
The most important part of the project is ensuring that the shelf is properly supported. Strong wall connections, compatible brackets, and realistic weight limits matter just as much as the wood's appearance.
Once installed, a little routine cleaning and occasional inspection will help keep your shelf in good condition.
Whether you're organizing a small bedroom, updating your living room, or adding storage to an unused wall, a thoughtfully built floating shelf can make your space more functional without sacrificing style.