Create Your Dream Makeup Station with These DIY Tips
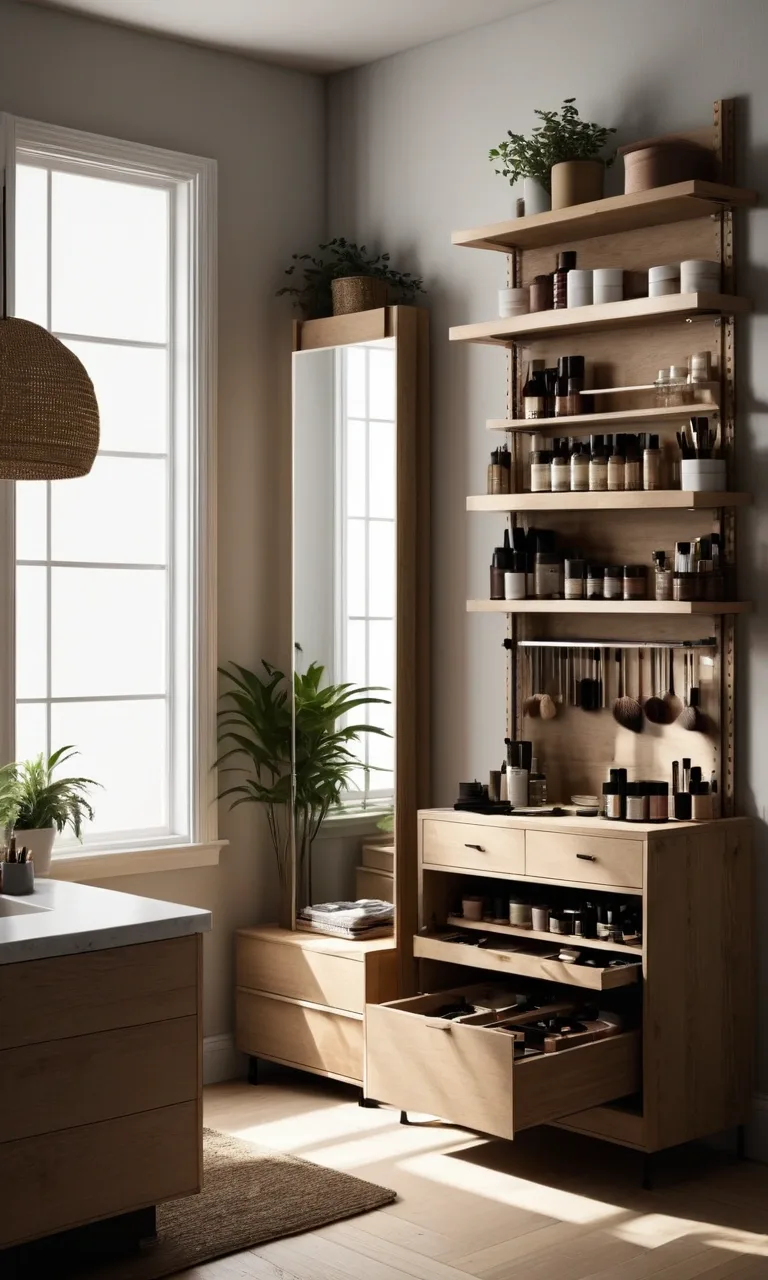
A dedicated makeup station can make your morning routine easier, keep your beauty products organized, and give your bedroom a more polished appearance. The best part is that you don't need an expensive vanity or a large room to create one.
With a few affordable supplies and some creative planning, you can transform an unused desk, small corner, or empty wall into a practical beauty space.
Whether you have a growing makeup collection or just a handful of everyday essentials, a DIY makeup station allows you to design a setup around your habits, available space, and personal style.
This guide covers everything from choosing furniture and arranging lighting to organizing cosmetics and adding decorative touches.
What You Need (Essentials and Budget Picks)
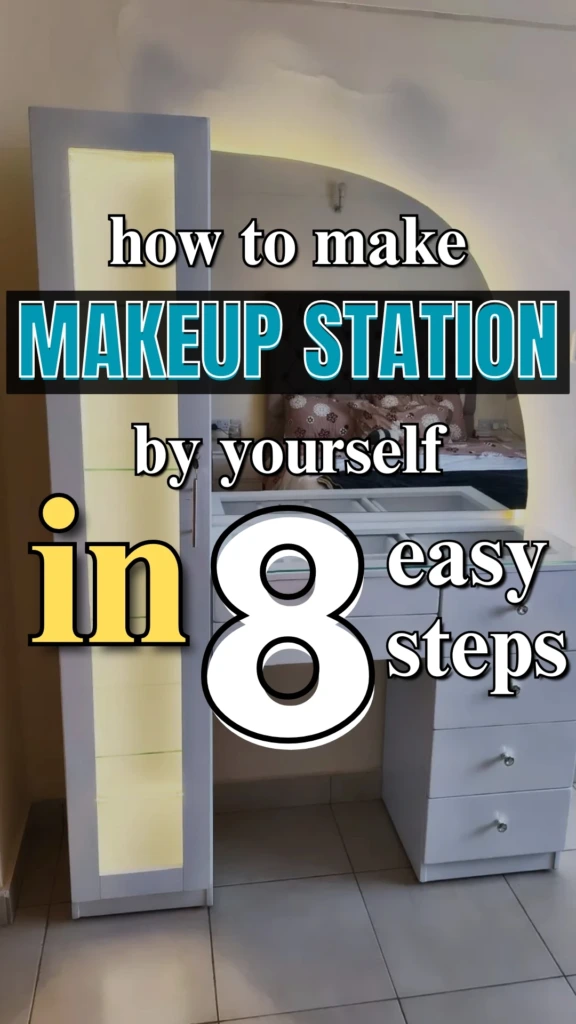
Before building your makeup station, consider how much room you have and which products you use regularly. This will help you avoid purchasing furniture or accessories that don't serve a purpose.
You can create a functional setup with a few basic items:
Desk or tabletop: A compact writing desk, console table, or repurposed furniture piece can provide a stable surface for your beauty essentials.
Mirror: Choose a tabletop mirror for flexibility or a wall-mounted option to preserve desk space.
Lighting: Natural daylight is useful, while adjustable LED lamps provide reliable illumination when sunlight is limited.
Makeup organizers: Small containers, drawer inserts, and trays help separate different cosmetics.
Comfortable seating: A padded stool or supportive chair makes longer makeup sessions more comfortable.
Electrical access: A conveniently located outlet is helpful for lighting and occasional hair-styling equipment.
Cleaning supplies: Keep a microfiber cloth nearby for removing powder, fingerprints, and cosmetic residue.
If you're working with a limited budget, look around your home before shopping. An unused bedside table might become your vanity, while empty jars can hold brushes and small accessories.
Secondhand furniture is another practical option. A sturdy used desk can often be refreshed with paint, new handles, or adhesive furniture film.
Focus your spending on a stable work surface, suitable lighting, and comfortable seating. Decorative accessories can come later.
How to Manage Cords and Hair Tools
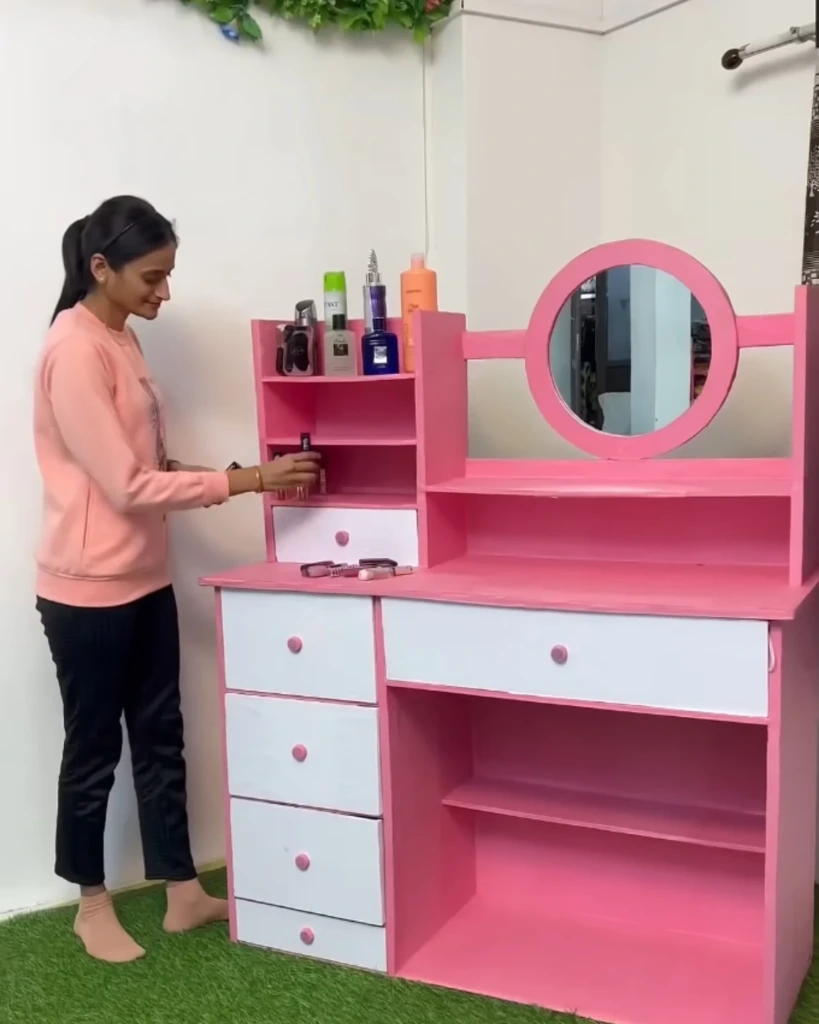
Electrical accessories can quickly make a small vanity feel crowded. Hair dryers, curling irons, straighteners, and illuminated mirrors often require separate cords, so planning their placement is important.
Start by identifying which devices you actually use at your makeup station. Keeping unnecessary appliances elsewhere reduces clutter and frees up valuable surface space.
Adhesive cable clips can guide lightweight cords along the back of a desk. Reusable hook-and-loop straps are useful for bundling unplugged cables without creating tight bends.
For additional organization, consider attaching a cable tray beneath the tabletop. This can keep low-voltage lighting adapters and excess cable lengths out of sight.
Hair tools require extra attention because they generate heat.
A few precautions will help keep your setup safer:
Place hot styling tools on a heat-resistant mat during use and cooling.
Allow appliances to cool completely before placing them in drawers or ordinary storage containers.
Keep cords away from water, cosmetics, and flammable decorations.
Avoid overloading outlets or connecting multiple power strips together.
Unplug heated appliances when you finish using them.
If you use a power strip, choose a properly rated, safety-certified model and follow the appliance manufacturer's electrical instructions. High-wattage hair tools may need to be plugged directly into a suitable wall outlet.
For smaller spaces, a dedicated heat-resistant holder can provide convenient temporary storage. Position it away from curtains, paper products, and other materials that could be damaged by heat.
Step-by-Step: Set Up Your DIY Makeup Station
Creating a makeup station is a manageable home project when you approach it in stages. You can complete a simple setup without advanced woodworking skills or expensive equipment.
The following steps will help you build a comfortable and organized beauty area.
Step 1: Choose Your Spot
Look for a location that provides enough space to sit comfortably and move your arms without bumping into nearby furniture.
A bedroom corner, unused wall, or space beside a window can work well.
Consider natural lighting, nearby electrical outlets, and the amount of foot traffic in the room. Avoid locations where your chair would block a doorway or walkway.
If possible, choose an area away from excessive humidity and direct heat. These conditions can affect cosmetic storage and the durability of certain products.
Measure the available floor space before choosing furniture, including the clearance needed to pull out your chair.
Step 2: Set Up the Table or Desk
Once you've selected a location, position your furniture and check that it sits level.
A typical desk height of approximately 28–30 inches works for many adults, although your ideal height depends on your chair and body proportions.
If you're repurposing older furniture, inspect it for loose joints, damaged legs, or unstable surfaces.
You can improve its appearance by sanding and repainting suitable surfaces or replacing worn drawer hardware.
For very small rooms, a securely installed wall-mounted desk may provide enough workspace without taking up much floor area. Follow the mounting hardware's load limits and anchor requirements.
Leave some clear tabletop space so you have room to apply makeup without constantly moving products.
Step 3: Add Your Mirror
The mirror should be positioned where you can see your face comfortably while seated.
A medium-sized mirror is usually sufficient for everyday makeup application. Larger mirrors can make a compact vanity feel more open, but they aren't essential.
If you choose a wall-mounted mirror, use appropriate fixings for your wall material and the mirror's weight.
An adjustable tabletop mirror is useful if several people share the station or you prefer changing the viewing angle.
You might also keep a small magnifying mirror for detailed tasks such as applying eyeliner or checking eyebrow shaping.
Step 4: Arrange Lighting
Lighting affects how accurately you can judge foundation coverage, blending, and color.
For a practical setup, position light sources in front of your face rather than directly behind you.
Two small lamps placed on either side of the mirror can provide more balanced illumination than a single overhead fixture.
Choose bulbs with a high color rendering index, preferably CRI 90 or above, to help makeup colors appear more natural.
Adjustable white lighting is especially useful because you can compare your makeup under different color temperatures.
Avoid placing extremely bright lights directly at eye level without diffusion, as glare can make your station uncomfortable to use.
Step 5: Organize Storage
Before filling your drawers, separate your cosmetics into categories.
Keep foundations, concealers, lip products, eye makeup, brushes, and skincare items in designated sections.
Use shallow organizers for smaller products and taller containers for items such as brushes or mascara tubes.
Place frequently used products within easy reach and reserve less accessible storage for occasional-use items.
Clear containers are convenient because you can identify their contents quickly, but inexpensive opaque baskets work just as well when labeled.
Try to leave part of the tabletop empty. A less crowded surface makes cleaning and daily use easier.
Step 6: Place Your Chair or Stool
Choose seating that allows you to sit close to the mirror without leaning forward excessively.
Your feet should rest comfortably on the floor or a footrest, and your shoulders should remain relaxed while applying makeup.
A cushioned stool is a space-saving choice for short routines. If you spend more time getting ready, a chair with back support may be preferable.
Check that the seat can slide beneath the desk when not in use.
For wooden or delicate flooring, add suitable furniture pads to prevent scratches.
Step 7: Set Up Power Strip
If your station requires additional electrical connections, select a suitable power strip with enough outlets for your intended equipment.
Place it somewhere accessible, dry, and well-ventilated.
Keep electrical connections away from open containers of water, liquid makeup spills, and heated styling tools.
Use cable clips to prevent loose wires from hanging across the work surface.
Avoid routing cords beneath rugs or through areas where furniture could crush them.
Before plugging in appliances, confirm that their combined power requirements remain within the electrical rating of the outlet and power strip.
Step 8: Add Cleaning Cloth
Finish your setup by creating a small cleaning area.
Store a clean microfiber cloth in a drawer for wiping the mirror and removing loose makeup powder.
You can also keep cotton pads, a small wastebasket, and suitable surface-cleaning supplies nearby.
Use cleaning products recommended for your tabletop and mirror finishes, and avoid spraying liquids directly onto electrical accessories.
A quick wipe after each makeup session will prevent residue from accumulating.
Once everything is arranged, sit down and test your setup. Adjust the mirror, lighting, and storage positions until your daily routine feels comfortable.
Personalize Your Makeup Station
Your makeup station should be functional, but it can also reflect your decorating preferences.
You don't need to fill the desk with accessories to make it attractive. A few carefully selected details can give the area a finished appearance.
Start by choosing a simple color scheme that complements the surrounding room. Neutral shades create a calm look, while pastel colors, warm wood, or metallic accents can add personality.
Consider these inexpensive decorating ideas:
Add greenery: A small artificial plant or low-maintenance houseplant can soften the appearance of the workspace.
Display framed artwork: A small print or photograph above the vanity creates a decorative focal point.
Upgrade drawer handles: Replacing basic knobs with modern hardware can refresh older furniture.
Use decorative trays: A tray can group perfumes, jewelry, or skincare bottles into one organized arrangement.
Choose coordinated containers: Matching brush holders and storage boxes can make inexpensive accessories look intentional.
Install a small shelf: A properly mounted shelf above the desk provides room for lightweight decorative items.
Add a comfortable rug: A small rug beneath the chair can help define the vanity area within a larger bedroom.
You can also give ordinary household objects a new purpose.
For example, a ceramic mug can become a brush holder, a shallow serving tray can organize perfume bottles, and a small wooden box can store hair accessories.
If you enjoy DIY decorating, repainting your vanity in a color that matches your room is another affordable upgrade.
Keep decorations away from heated appliances and electrical connections. If you like the appearance of candles, flameless LED versions are a safer choice around cosmetics and hair products.
The goal is to create a space that feels welcoming without interfering with your routine.
Smart Storage and Organization Tips
A well-organized makeup station should make it easy to find products, use them, and return them to their proper places.
The most effective storage arrangement depends on your collection size and available space.
Organization idea
How to make it work
Keep everyday makeup accessible
Store your most-used products in a small tray or top drawer so you can reach them quickly.
Divide drawers into sections
Use adjustable dividers or shallow containers to stop smaller items from mixing together.
Store brushes upright
Place clean, dry brushes in stable holders, preferably with protective covers when needed.
Separate products by purpose
Group face makeup, eye products, lip colors, and skincare into individual compartments.
Make use of vertical space
Install suitable shelves or use stable tiered organizers to increase storage without expanding the desk.
Reuse household containers
Repurpose clean jars, office supply trays, and small baskets for inexpensive storage.
Review your collection regularly
Check product condition, expiration information, and manufacturer guidance before deciding what to keep.
For additional organization, arrange products according to how often you use them.
Your everyday foundation, mascara, and lip balm should be easier to access than special-occasion makeup.
Drawer liners can help protect furniture from cosmetic spills and prevent containers from sliding around.
If you have limited storage, avoid keeping large quantities of backup products at the vanity. Store unopened extras separately according to their packaging instructions.
Makeup hygiene is another important consideration.
Wash reusable brushes and sponges regularly using suitable cleaning methods, and allow them to dry thoroughly before storage.
Never share eye makeup if doing so could spread contamination, and discard products that develop unusual smells, textures, or visible changes.
Mascara and other products used close to the eyes deserve particular attention because contamination can increase the risk of irritation or infection.
A brief organization session every few weeks can help prevent clutter from returning.
Lighting and Mirror Solutions That Work
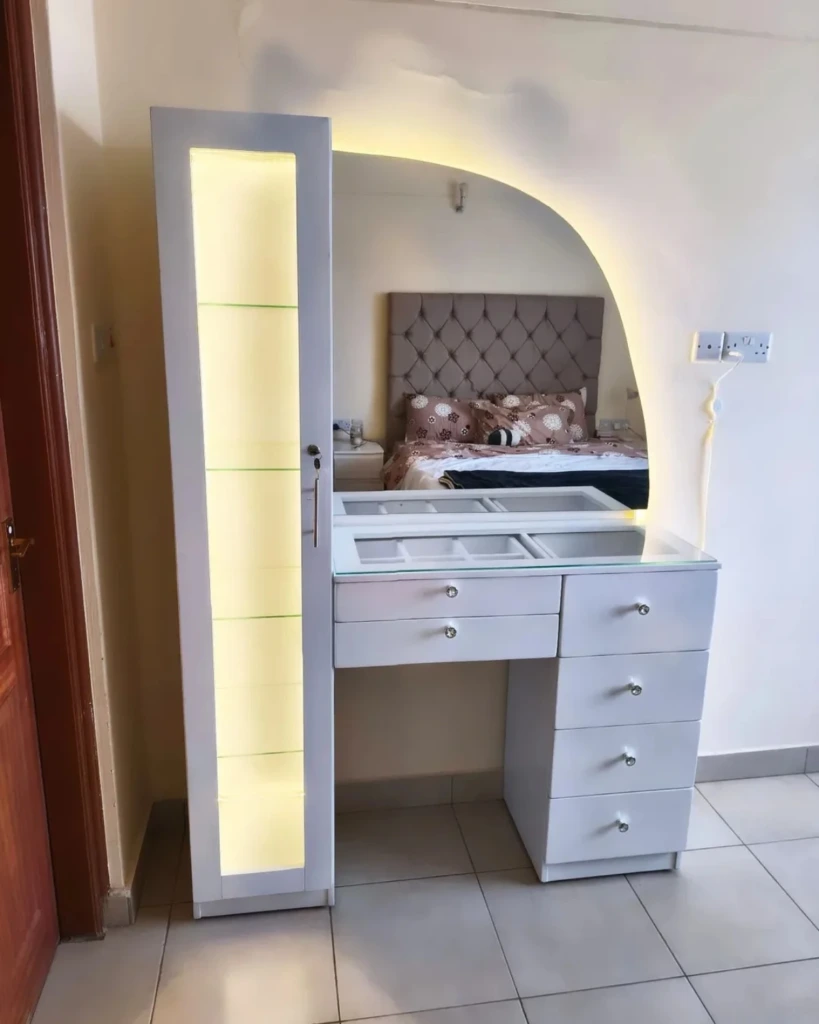
Your makeup station's lighting should allow you to see details clearly without creating strong shadows or distorting colors.
Natural daylight is a useful starting point, particularly when it enters the room indirectly.
Positioning your vanity near a window can help you assess makeup in lighting similar to what you'll encounter outdoors.
However, direct sunlight can create glare, uneven illumination, and unnecessary heat. A sheer curtain can soften harsh sunlight while maintaining brightness.
When natural light isn't available, artificial lighting becomes more important.
An adjustable LED vanity light can provide consistent illumination during early mornings and evenings.
For makeup application, consider lighting with these features:
A high color rendering index for better color accuracy.
Adjustable brightness to suit different times of day.
A neutral white setting, often around 4000–5000K.
Diffused illumination that reduces harsh facial shadows.
Stable mounting or a secure base that prevents accidental tipping.
A ring light can work for compact stations, although it may produce reflections in glasses and shiny surfaces.
Two diffused lights positioned on opposite sides of the mirror often provide more even facial lighting.
For mirrors, choose a size that suits both your desk and viewing distance.
A wall-mounted mirror saves countertop space, while a freestanding mirror allows easier repositioning.
If you frequently perform detailed makeup tasks, a separate magnifying mirror can be helpful. Use it alongside a regular mirror so you can check your overall appearance at a natural viewing distance.
Adhesive LED mirror strips can be a budget-friendly upgrade, but choose products designed for the intended installation surface and follow the manufacturer's electrical and mounting instructions.
Finally, keep your mirror clean. Fingerprints, powder, and dust can reduce clarity, especially when bright vanity lights are installed nearby.
Final Thoughts
Building a DIY makeup station is a practical way to create a dedicated beauty area without investing in expensive furniture.
A simple desk, well-positioned mirror, comfortable chair, and organized storage can provide everything you need for a smooth daily routine.
Good lighting deserves special attention because it affects both comfort and makeup application. Thoughtful storage is equally important for keeping your products accessible and your workspace manageable.
You can start with furniture and accessories you already own, then gradually improve the setup as your needs change.
Whether you're working with a spacious bedroom or a small unused corner, a thoughtfully planned makeup station can make getting ready more convenient while adding a personal touch to your home.