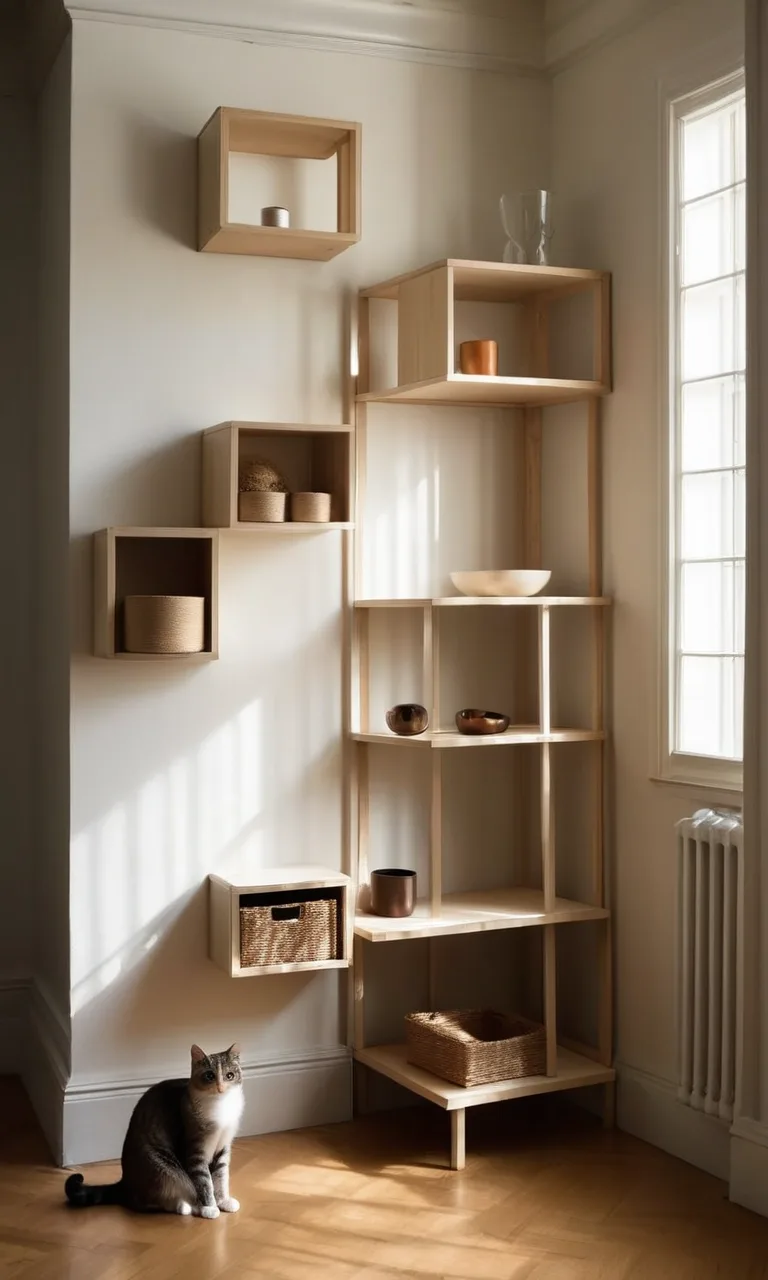
How to Make a Living Room DIY Built-In Cabinets with 5 Easy Steps
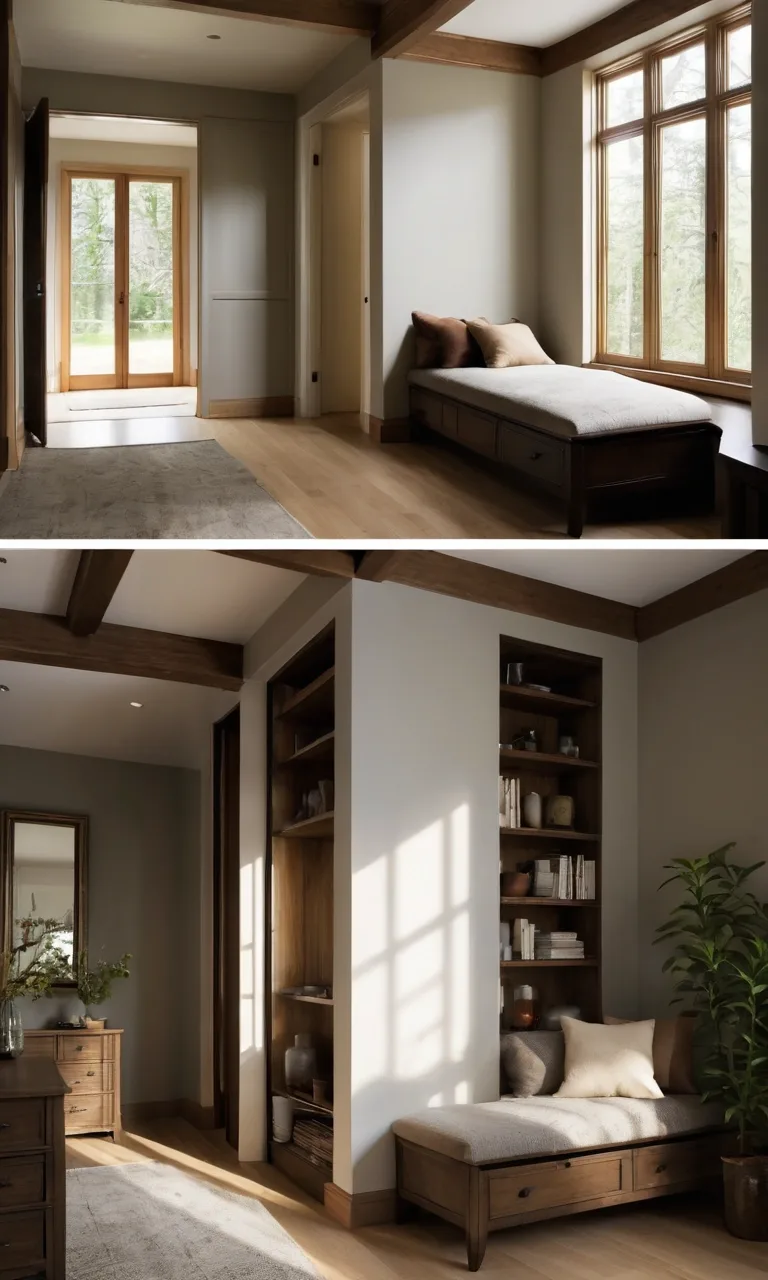
A living room should feel comfortable and organized, but finding enough storage without overcrowding the space can be difficult. Books, electronics, decorations, and everyday essentials often end up scattered across furniture and shelves.
Living room DIY built-ins offer a practical way to solve this problem while improving the appearance of your home.
Instead of purchasing expensive custom cabinetry, you can create attractive storage using affordable materials, ready-made cabinets, and simple woodworking techniques.
The key is to plan the layout carefully, build a stable foundation, and finish everything neatly.
Whether you're upgrading an empty wall or creating storage around your television, this guide explains how to build functional, stylish cabinets that complement your living room.
Why DIY Built-Ins Make Sense Today
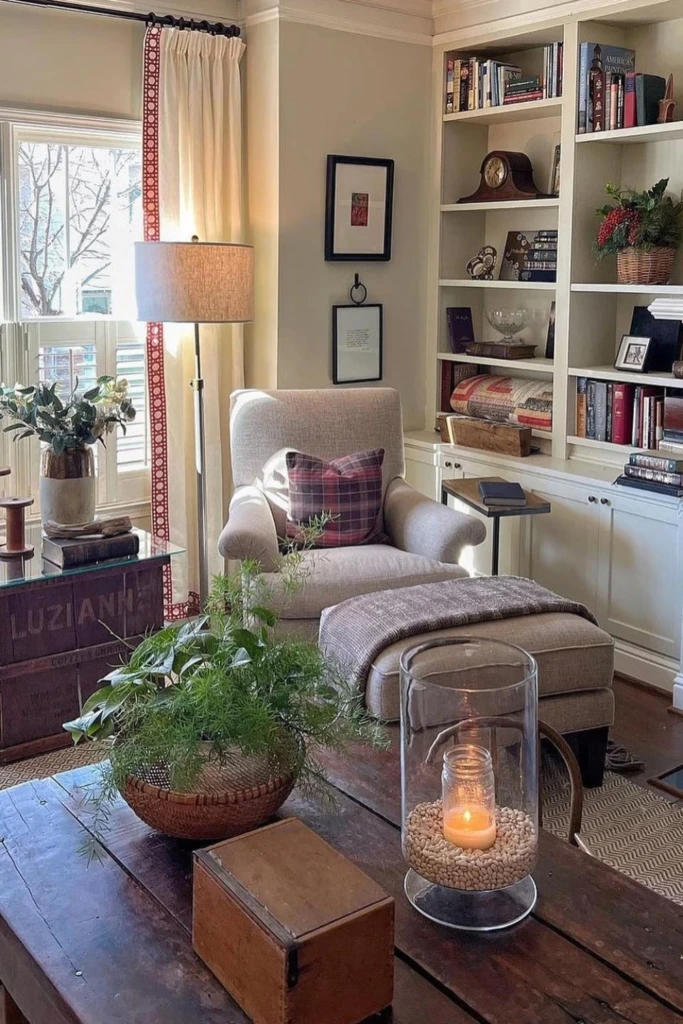
Built-in cabinets are a smart home improvement project because they turn unused wall space into practical storage.
Unlike freestanding furniture, built-ins can be designed around your room's exact dimensions. This makes them especially useful in homes with limited floor space or unusual layouts.
Another advantage is flexibility. You can combine enclosed cabinets with open shelving, creating separate areas for everyday belongings and decorative pieces.
DIY built-ins also offer several benefits:
Better organization: Keep books, games, electronics, and household essentials in designated spaces.
Customized design: Choose cabinet sizes, shelf heights, finishes, and hardware that suit your interior.
Affordable construction: Ready-made cabinets and standard lumber can reduce costs compared with fully custom cabinetry.
Efficient use of space: Tall shelving allows you to take advantage of vertical wall space.
Cohesive appearance: Matching trim and paint help the cabinets blend with existing architectural features.
A carefully designed installation can also make a plain living room wall more visually interesting.
You don't necessarily need professional woodworking experience. Starting with stock cabinets and adding your own shelves and trim makes the project more manageable for beginners.
Choose the Right Wall and Built-In Type
Before purchasing materials, decide where your built-ins will provide the greatest benefit.
Look for a wall that has enough room for storage without interfering with doors, windows, furniture, or walking paths.
The television wall is a popular choice because cabinetry can accommodate media equipment while surrounding shelves display books and accessories.
Walls beside fireplaces are another attractive option. Matching cabinets on both sides can create a balanced arrangement, provided the installation respects fireplace clearance requirements.
For smaller living rooms, consider narrow cabinets with shelves extending toward the ceiling. This provides additional storage without occupying too much floor space.
Your design should reflect what you intend to store.
Closed lower cabinets work well for items you prefer to keep hidden, while open upper shelves are suitable for photographs, plants, and decorative objects.
Take accurate measurements of the available space, including the wall width, ceiling height, and desired cabinet depth.
Check for electrical outlets, vents, switches, and other features that could affect construction.
Also, consider whether you want a symmetrical arrangement or a more flexible design with cabinets of different widths.
Creating a simple sketch with measurements before starting will help you avoid costly adjustments during installation.
Materials and Tools You Actually Need
You can complete many living room DIY built-in projects using commonly available building supplies.
The exact materials depend on whether you're constructing the cabinets yourself or modifying ready-made units.
For beginners, unfinished kitchen base cabinets or basic storage cabinets can provide a convenient starting point.
If you prefer building from scratch, cabinet-grade plywood is a reliable choice for shelves and structural panels. MDF is useful for painted decorative components in dry interior spaces, although it is heavier and more vulnerable to moisture.
Gather the following supplies before beginning:
3/4-inch cabinet-grade plywood or suitable MDF panels
Ready-made base cabinets, if using them
2×4 lumber for the supporting platform
Wood screws and appropriate cabinet fasteners
Wood glue and clamps
Wood shims for leveling
Decorative molding and 1×2 trim boards
Wood filler and paintable caulk
Primer and interior furniture or cabinet paint
Sandpaper in different grits
You'll also need basic tools such as a measuring tape, pencil, drill, stud finder, level, and saw.
A circular saw with a straightedge guide is useful for cutting large panels, while a miter saw makes trim installation easier.
Wear safety glasses and hearing protection when using power tools. Use appropriate dust extraction and respiratory protection when cutting MDF or other sheet materials.
Before cutting anything, prepare a detailed materials list based on your measurements.
This reduces unnecessary purchases and helps ensure the components fit together correctly.
Build the Base Because Foundation is Important
The supporting base determines how straight and stable your finished cabinetry will be.
Even a small leveling problem at floor level can become more noticeable once tall shelving is installed.
Follow these five steps to prepare a dependable foundation.
Step 1: Mark Your Base Area
Begin by identifying the exact position of your cabinets.
Measure the wall and mark the left and right boundaries of the planned installation.
Use a level to establish reference lines and check whether the floor slopes across the area.
Remember that walls and corners are not always perfectly square.
Measure the available width at several heights, especially if the cabinets will extend close to the ceiling.
Allow space for filler strips and finishing trim where the cabinets meet adjacent walls.
Accurate layout marks make the remaining construction much easier.
Step 2: Build/ Place the Base Frame
A raised wooden platform can support your lower cabinets and provide space for a recessed toe kick.
Cut the framing lumber to match your cabinet arrangement, accounting for the desired recess and any finishing panels.
Assemble the pieces into a rigid rectangular platform, adding cross supports where needed.
Check that the frame is square by comparing its diagonal measurements.
If you're installing ready-made cabinets, confirm whether they already include a suitable integrated base before building an additional platform.
For custom cabinets, construct the supporting structure according to the cabinet dimensions and expected load.
The platform should distribute weight evenly and provide secure attachment points.
Step 3: Level Everything Out
Place a long level across the supporting frame and check it from side to side and front to back.
If the floor is uneven, insert suitable shims beneath the low areas.
Avoid forcing the frame to follow an uneven floor because this can cause problems when fitting cabinet doors and shelves.
Continue adjusting until the entire platform is level and properly supported.
Once the position is correct, trim protruding shim ends so they won't interfere with the finished trim.
A properly leveled base makes aligning the upper sections considerably easier.
Step 4: Secure the Base to the Wall and Floor
A built-in cabinet must be secured against movement and tipping.
Locate the wall studs using a stud finder, then verify their positions before installing fasteners.
Attach the platform and cabinet assemblies using fasteners appropriate for the wall construction, cabinet material, and expected loads.
For standard wood-framed walls, secure the cabinetry into structural framing rather than relying on drywall alone.
Avoid drilling into hidden electrical wiring, plumbing, or other services.
Floor fastening may also be appropriate, depending on the installation, but check the flooring material and concealed services first.
Tall cabinets and shelving units require proper anti-tip anchoring even when they appear stable.
Step 5: Leave Space for Trim
Finishing details should be considered before the cabinets are permanently installed.
Determine how your existing baseboards, toe kicks, and decorative molding will connect to the new cabinetry.
You may need to recess the platform slightly so a face panel or baseboard can sit flush with the cabinet fronts.
Leave appropriate gaps along uneven walls for scribed filler pieces.
These finishing strips conceal irregular spaces and make the installation appear more intentional.
Once the cabinets are positioned, test-fit the trim before applying glue or driving finishing nails.
Add Shelves and Supports Like a Pro
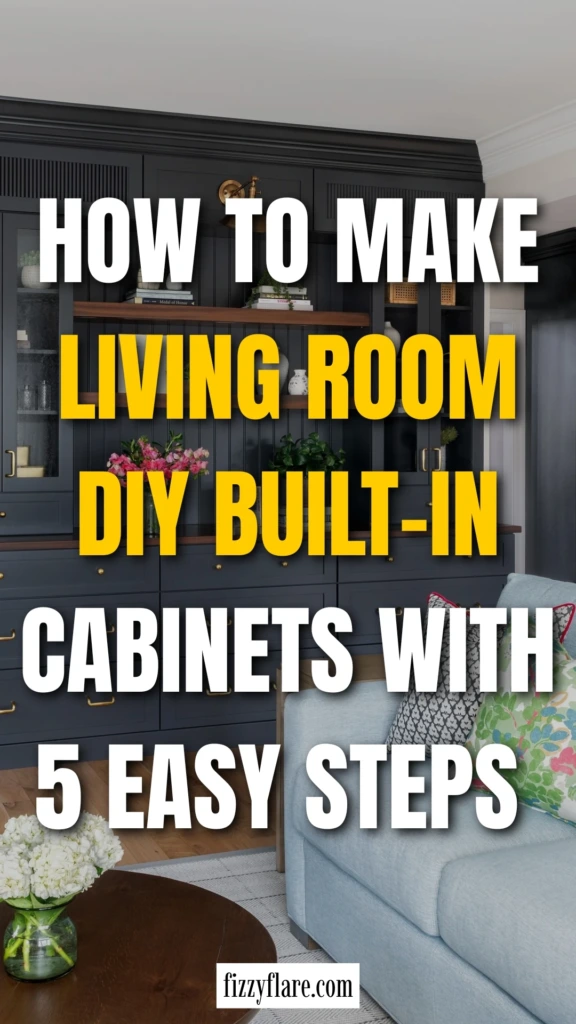
After completing the lower cabinetry, you can begin building the upper shelving sections.
Start by cutting vertical side panels to the required height and depth.
Use a level to position the panels correctly, then connect them to the cabinet structure and secure the completed assembly to suitable wall framing.
Next, decide how many shelves you need.
For general decorative storage, vertical spacing of approximately 12 to 15 inches works well. Taller vases, framed artwork, and larger objects may require additional clearance.
Mark shelf locations carefully so matching sections line up.
You can install fixed shelves using wooden cleats, dado joints, or suitable cabinet joinery.
Adjustable shelf pins are another option if you want to change the arrangement later.
Three-quarter-inch plywood is commonly used for shelving, but the maximum unsupported span depends on the material, shelf depth, load, and construction method.
For shelves carrying heavy books, reduce the span or add extra reinforcement.
A solid wood strip along the front edge can improve stiffness while creating a more substantial appearance.
Once the structure is assembled, install face frames or decorative trim to conceal exposed plywood edges and visible joints.
Fill small nail holes, sand rough areas, and prepare the surfaces for painting.
If you're incorporating a television or media equipment, plan cable access and ventilation before closing the cabinet backs. Keep ventilation openings clear and use electrical components according to their installation requirements.
Make It Beautiful: Styling Tips That Works
The finishing touches can transform basic storage cabinets into an attractive living room feature.
Start by selecting a paint color that complements the room.
White and warm off-white finishes create a bright, understated appearance, while muted greens, deep blues, and charcoal shades can add character.
For a seamless effect, consider painting the built-ins the same color as the surrounding walls.
Proper surface preparation is essential. Sand where needed, clean away dust, apply a compatible primer, and finish with durable cabinet paint.
Once the paint has cured sufficiently, begin arranging your decorative items.
Combine objects of different heights to create visual interest. For example, place a tall vase beside a short stack of books and a small framed photograph.
Mixing horizontal and vertical book arrangements also prevents the shelves from looking repetitive.
Try to maintain a consistent color palette rather than introducing too many competing shades.
Woven baskets, ceramic containers, and decorative boxes can add texture while keeping small belongings organized.
Avoid filling every available inch.
Leaving some open space between objects helps the display feel relaxed rather than crowded.
For additional character, consider adding battery-operated shelf lighting or professionally installed lighting suitable for cabinetry.
Built-In Ideas for Every Space
TV Wall
Create a media center with lower storage cabinets and shelving around the television. Include openings for cables, adequate airflow for electronics, and space for future equipment upgrades.
Fireplace Sides
Install coordinating shelving units beside the fireplace to make the wall feel balanced. Use closed cabinets underneath to store blankets or seasonal accessories, and maintain required clearances from heat-producing components.
Full Wall
Transform an empty wall into a combination of bookshelves, display niches, and concealed cabinets. This design is particularly useful when you need substantial storage without adding several separate pieces of furniture.
Window Wall
Frame a window with narrow shelving towers while preserving natural light. If space allows, a built-in window seat with storage underneath can create a comfortable reading area.
Corner Spot
Make an underused corner functional with compact shelving or a narrow storage cabinet. Keeping the upper section open can prevent the arrangement from feeling bulky in a smaller room.
Don’t Mess Up These Common Steps
Building your own cabinetry is achievable, but certain mistakes can affect both appearance and safety.
One of the most common problems is measuring only once. Floors, walls, and ceilings often have slight variations, so take measurements at multiple points before cutting materials.
Another mistake is installing cabinets without leveling the base. This can produce uneven gaps around doors and cause shelves to appear crooked.
Pay particular attention to the following details:
Use proper wall anchors: Tall cabinetry should be securely connected to structural framing or an appropriately engineered anchoring system.
Check shelf strength: Consider the weight of books, electronics, and other items when choosing materials and support spacing.
Prepare surfaces correctly: Fill imperfections, sand as needed, and use the right primer before applying paint.
Choose suitable screws: Fasteners must match the materials and loads; drywall screws are not a substitute for structural cabinet fasteners.
Account for trim thickness: Decorative molding, face frames, and filler strips can affect the final dimensions.
Check cabinet door clearance: Make sure doors and drawers can open without striking walls or nearby furniture.
Plan electrical access: Never conceal electrical junction boxes behind permanently fixed cabinetry, and arrange professional electrical work where required.
It's also worth assembling and dry-fitting major components before completing the final finish.
This gives you an opportunity to correct alignment problems without damaging freshly painted surfaces.
Take your time with the visible details. Straight trim joints, consistent gaps, and smooth paintwork make a significant difference in the finished result.
Final Thoughts
Living room DIY built-ins are an effective way to add storage, improve organization, and create a more cohesive interior.
You can achieve an attractive result without commissioning entirely custom cabinetry, especially when you combine ready-made base units with carefully planned shelving and trim.
Successful installation begins with accurate measurements, a level foundation, strong supports, and secure wall anchoring.
Once the structure is complete, thoughtful paint choices and simple decorative arrangements help bring everything together.
Whether you're creating a television wall, framing a fireplace, or making better use of an empty corner, DIY built-ins can turn ordinary wall space into a practical and attractive feature that serves your home for years.