The Best DIY Kitchen Makeover on Budget Straight From Real Homes
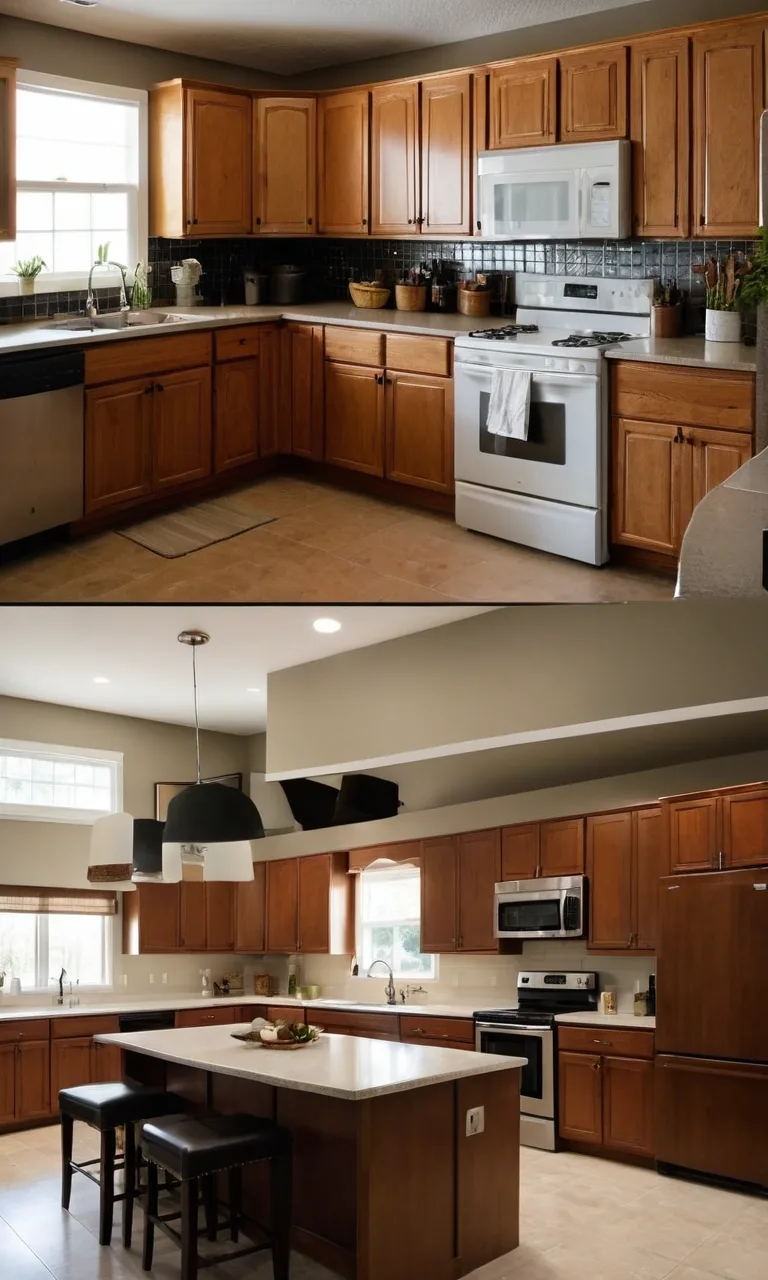
A kitchen makeover doesn't have to involve expensive renovations, new cabinets, or professional designers. Sometimes, the most impressive transformations come from simple improvements that make an existing space more attractive and functional.
Whether you're dealing with outdated cabinets, dull walls, worn countertops, or poor lighting, there are plenty of affordable ways to refresh your kitchen.
The secret to a successful DIY kitchen makeover on a budget is knowing which changes will have the greatest visual impact without requiring major construction.
From painting cabinets and replacing hardware to installing removable backsplash tiles and improving storage, small projects can make your kitchen feel completely different.
With thoughtful planning and a few basic tools, you can create a beautiful kitchen that fits your personal style and spending limit.
Why Your Kitchen Feels Stuck (And It’s Not Just the Cabinets)
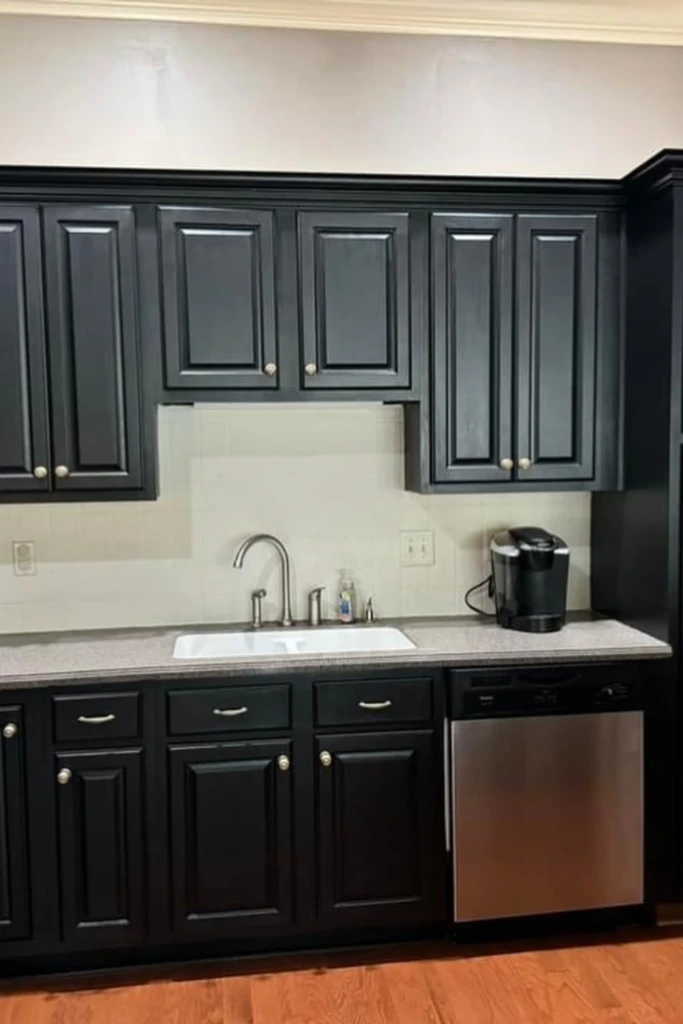
An outdated kitchen isn't always the result of old appliances or damaged cabinetry. Often, several minor design problems combine to make the entire room feel tired.
Poor lighting can make even a clean kitchen appear gloomy. Crowded countertops reduce usable workspace, while mismatched accessories create visual confusion.
Wall colors also influence how spacious and welcoming a kitchen feels. Dark or faded paint may make a small room appear more enclosed, especially when natural light is limited.
Before buying anything, examine your kitchen carefully. Identify what bothers you most and separate cosmetic problems from functional issues.
For example, if your cabinets are structurally sound but look outdated, painting them may be more practical than replacing them.
Similarly, reorganizing countertop appliances and adding better lighting can improve the room without requiring permanent alterations.
The goal is to work with what you already have instead of assuming everything needs replacing.
Set a Real Budget That Actually Works
Planning your expenses before starting helps prevent unnecessary purchases and unfinished projects.
Begin by identifying your priorities, checking material prices, and estimating how much paint, adhesive, or hardware you'll need.
Set aside approximately 10–15% of your budget for unexpected supplies.
On a $100 Budget:
A $100 kitchen refresh works best when you concentrate on a few noticeable details rather than attempting several major projects.
Consider these improvements:
Paint one accent wall or a small section of cabinetry.
Replace cabinet knobs or drawer pulls.
Install an inexpensive removable backsplash in a limited area.
Organize countertops using existing containers.
Refresh decorative accessories with thrifted finds.
For the best results, select one main project and use any remaining money for smaller finishing touches.
On a $300 Budget:
With $300 available, you can tackle more substantial cosmetic improvements.
Possible projects include:
Repainting a modest number of cabinet doors.
Replacing outdated cabinet hardware.
Installing adhesive backsplash panels.
Adding plug-in or rechargeable under-cabinet lighting.
Updating a small countertop section with a suitable decorative covering.
Purchasing inexpensive organizers or decorative shelves.
Check your cabinet dimensions and the total area requiring coverage before purchasing materials.
Combining two or three coordinated improvements usually creates a more polished appearance than spreading the budget across unrelated accessories.
On a $500 Budget:
A $500 budget offers greater flexibility, particularly when you complete the work yourself.
You might consider:
Painting most or all existing cabinets.
Installing new cabinet handles and drawer pulls.
Adding removable backsplash tiles.
Updating an existing light fixture with professional electrical assistance where necessary.
Installing compatible self-adhesive flooring in a small kitchen.
Adding shelves or practical storage accessories.
Avoid changing plumbing locations, electrical circuits, or the kitchen layout when working within this budget.
These modifications can quickly increase expenses and may require licensed professionals.
Weekend-Ready DIY Projects That Change the Game
You don't need weeks of construction to improve your kitchen's appearance.
Several beginner-friendly projects can be completed over a weekend, although painting and adhesive installations may require additional drying or curing time.
Paint Your Cabinets
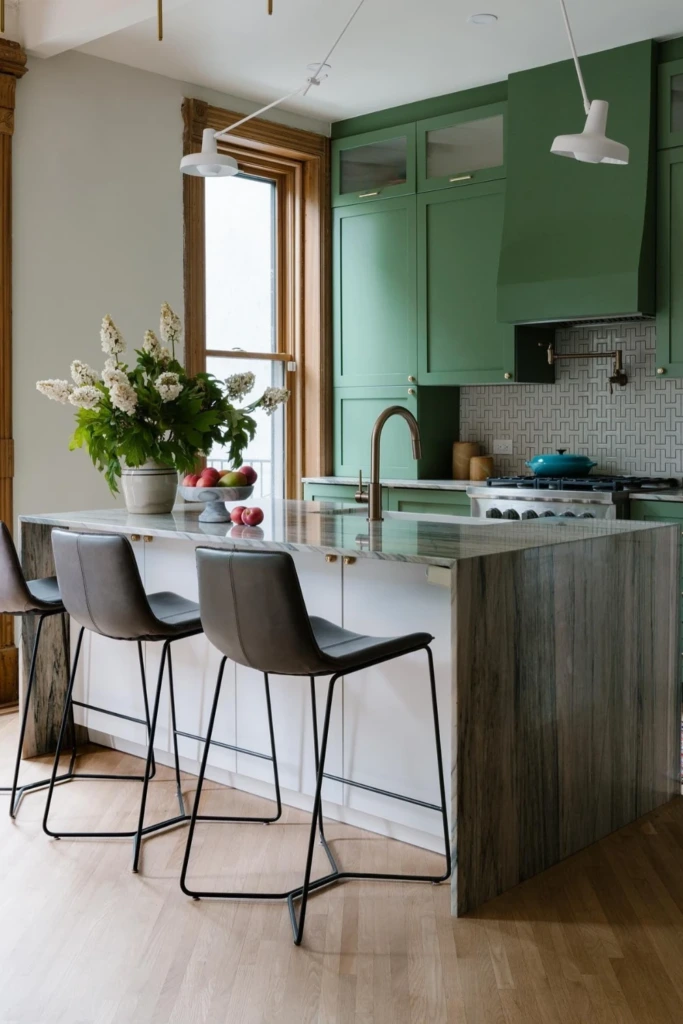
Cabinet painting is one of the most effective ways to update an older kitchen without replacing the cabinetry.
Choose a color that complements your countertops, flooring, and available natural light.
Warm white creates an airy appearance, while muted green adds subtle character. Dark blue or charcoal can work beautifully when balanced with lighter surfaces.
Start by removing the cabinet doors and hardware. Clean away grease, prepare the surface according to the paint manufacturer's directions, and apply a compatible primer when needed.
Use thin, even coats of cabinet-grade paint and allow adequate drying and curing time before reinstalling everything.
Proper preparation is essential for achieving a finish that withstands daily use.
Change the Hardware
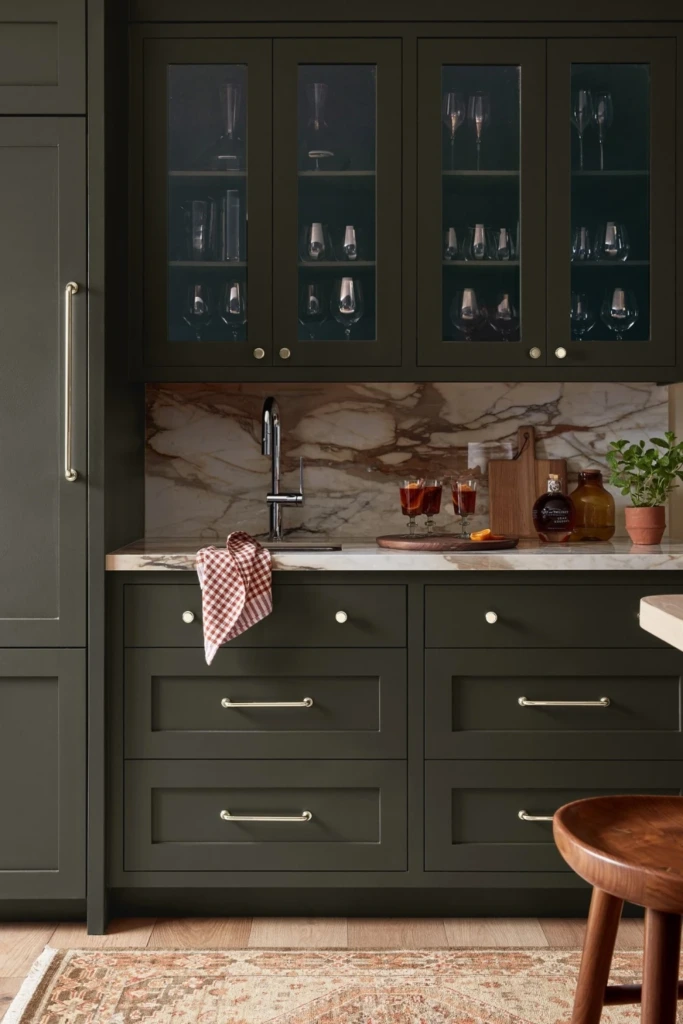
Replacing cabinet hardware is a straightforward project that can modernize your kitchen in a short amount of time.
Consider brushed nickel for a timeless appearance, matte black for contemporary contrast, or antique brass for a warmer finish.
Before shopping, measure the distance between the screw holes on your existing handles.
Choosing replacements with matching hole spacing eliminates the need to drill additional holes or fill old ones.
For a coordinated appearance, select hardware that complements your faucet, lighting, and other visible metal finishes.
Add a Peel-and-Stick Backsplash
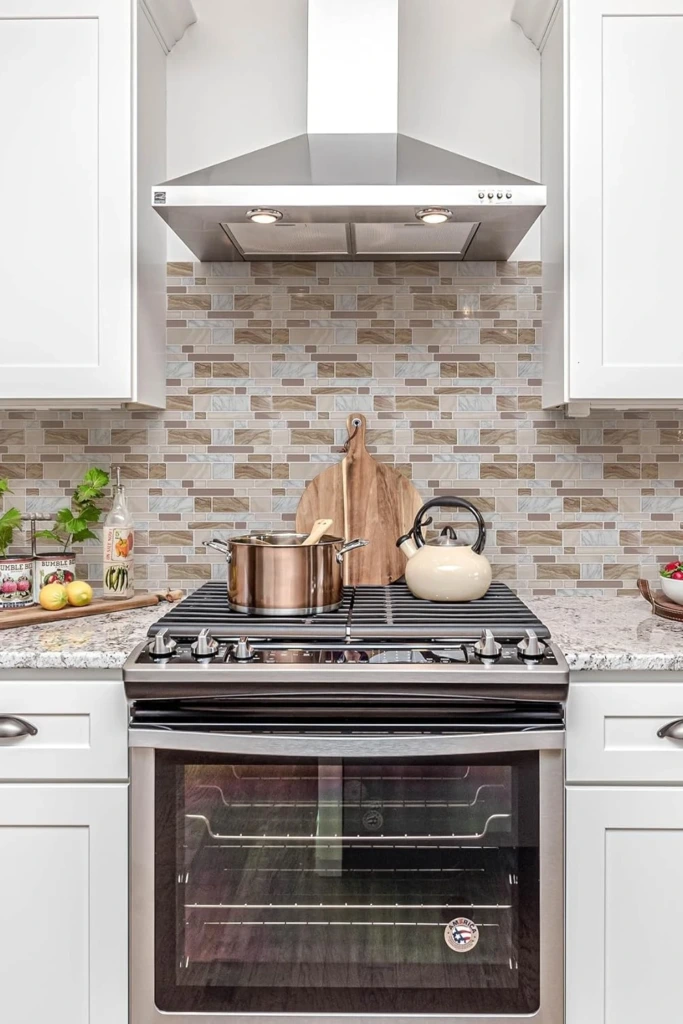
Self-adhesive backsplash panels provide a convenient alternative to traditional tile installation.
They are available in numerous finishes, including subway tile patterns, geometric designs, and stone-inspired textures.
Measure the backsplash area carefully and purchase a little extra material for trimming and mistakes.
Clean and dry the wall thoroughly before installation. Start from a straight reference line and smooth each panel into place to reduce trapped air.
Choose products specifically rated for kitchen use, and follow the manufacturer's clearance requirements around stovetops and other heat sources.
Upgrade the Lighting
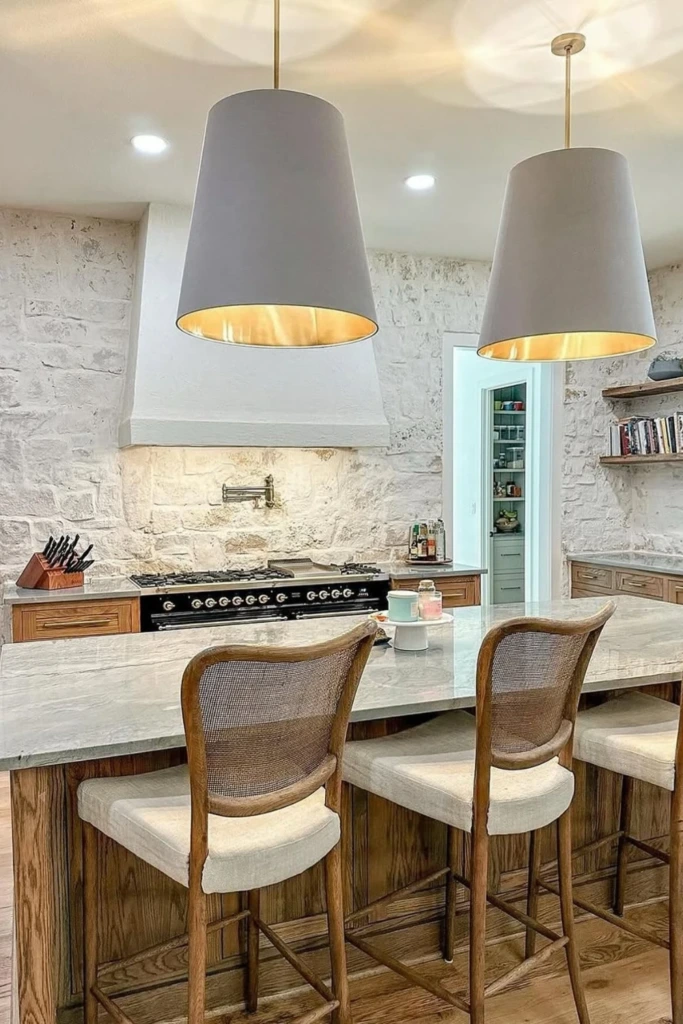
Lighting has a significant influence on how your kitchen looks and functions.
Under-cabinet LED strips can brighten food preparation areas while creating a softer atmosphere during the evening.
Rechargeable puck lights are useful when electrical outlets are limited.
For general illumination, consider brighter bulbs with a suitable color temperature and compatible fixture rating.
A warm-neutral light often provides a comfortable balance between visibility and atmosphere.
If replacing a hardwired fixture, use a qualified electrician unless you have the necessary skills and local regulations permit DIY installation.
The Power of Paint – Cabinets, Walls & Even Tiles
Paint is a versatile makeover material because it allows you to change colors without removing existing surfaces.
However, different kitchen materials require different preparation methods and coatings.
Choosing the correct product matters just as much as selecting an attractive color.
Start with the Cabinets
Kitchen cabinets experience frequent touching, moisture, grease, and cleaning.
For this reason, ordinary wall paint is generally unsuitable for cabinet surfaces.
Use a durable cabinet coating compatible with the existing material, whether it's wood, MDF, or previously painted laminate.
Clean thoroughly with an appropriate degreaser, repair minor damage, and prepare the surface as directed.
When choosing colors, consider how they will look alongside your countertops and flooring.
Cream, mushroom beige, olive green, and muted blue are versatile choices that work with various kitchen styles.
Freshen Up the Walls
A fresh wall color can improve the appearance of an entire kitchen with relatively little expense.
Light neutrals can make the room feel more open, while warmer shades help soften kitchens dominated by stainless steel and hard surfaces.
Use washable paint suitable for kitchens, particularly near cooking and food preparation areas.
Before painting, patch holes, remove grease, and protect cabinets and countertops with painter's tape and drop cloths.
Test paint samples under both daylight and artificial lighting before making your final decision.
Paint the Tiles
Painting existing tiles may be an affordable option when the surfaces are in good condition but the colors no longer suit your kitchen.
Select a coating specifically approved for the tile material and its intended location.
Thorough cleaning and surface preparation are essential for adhesion.
Keep in mind that painted floor tiles experience more wear than decorative wall tiles.
Some coatings are also unsuitable for direct food-contact surfaces, high-heat areas, or locations exposed to standing water.
Follow the product's application and curing instructions carefully to achieve the most durable finish possible.
Peel-and-Stick Kitchen Makeover Table
Removable and self-adhesive materials are useful for refreshing selected kitchen surfaces without extensive renovation.
The following table compares common options and their approximate material costs.
Kitchen Area
Problem Addressed
Budget-Friendly Solution
Estimated Cost (USD)
Main Benefit
Backsplash
Plain or outdated wall finish
Kitchen-rated adhesive tile panels
$20–$60
Adds visual interest without traditional tile installation
Countertops
Unattractive laminate surfaces
Decorative countertop vinyl
$15–$40 per roll
Changes the appearance without replacing the countertop
Flooring
Dated vinyl or worn-looking flooring
Self-adhesive vinyl floor tiles
$1–$3 per sq. ft.
Provides an affordable cosmetic flooring update
These are general material estimates, not guaranteed retail prices. Costs vary according to product quality, coverage, location, and installation requirements.
Before purchasing, confirm that the material is suitable for your existing surface.
Countertop films are not substitutes for heat-resistant work surfaces, and hot cookware should never be placed directly on them.
Likewise, adhesive flooring requires a properly prepared, stable, and sufficiently smooth subfloor.
Add Personality with Styling (Without Clutter)
After completing the main improvements, decorative details can make your kitchen feel more comfortable and personalized.
The challenge is finding the right balance between attractive styling and everyday practicality.
Choose accessories that serve a purpose or contribute meaningfully to the overall design.
Add Texture with Rugs and Curtains
Kitchen textiles can soften a room filled with cabinets, appliances, and hard flooring.
A washable, low-profile rug adds comfort near the sink or preparation counter.
Choose a non-slip backing or suitable rug pad to reduce movement.
For windows, lightweight curtains can introduce texture without making the kitchen feel crowded.
Cotton and linen-blend fabrics work well in casual spaces, while simple roller shades suit modern interiors.
Keep fabric away from burners and other heat sources.
Keep Open Shelves Simple
Open shelving can make a kitchen feel lighter, but excessive decoration quickly creates a cluttered appearance.
Arrange frequently used dishes alongside a small number of attractive accessories.
For example, combine matching bowls, clear drinking glasses, and a wooden serving board.
Group similar items together and leave some visible space between arrangements.
Avoid placing heavy objects on shelves that aren't properly anchored.
Open shelving works particularly well when it provides convenient access to everyday essentials.
Hang Small Art or DIY Wall Decor
Kitchen walls offer opportunities to introduce personality without occupying valuable countertop space.
Consider framed botanical illustrations, vintage food prints, or simple handmade artwork.
You can also repurpose inexpensive frames with printed designs that match your chosen color scheme.
A narrow wall beside the dining area or an empty section near the doorway can be an ideal location.
Keep decorations away from direct heat, excessive moisture, and areas where grease accumulates.
Bring Life with Plants or Herbs
Plants introduce natural color and help make a kitchen feel welcoming.
Small herb pots are particularly useful because they combine decoration with practical cooking ingredients.
Basil, parsley, mint, and chives can grow indoors when they receive appropriate light and care.
Choose containers with adequate drainage and place them where they won't interfere with food preparation.
If your kitchen receives limited sunlight, select plants suited to lower-light conditions or consider realistic artificial greenery.
A few carefully positioned plants are often more effective than filling every available surface.
Avoid DIY Mistakes That Waste Money
Budget-friendly improvements can become expensive when materials are purchased incorrectly or installation steps are rushed.
Understanding common problems before starting helps protect both your time and money.
Skip Surface Preparation
One of the biggest painting mistakes is applying new coatings directly over dirty or poorly prepared surfaces.
Kitchen cabinets and walls often contain invisible layers of grease that prevent paint from adhering properly.
Clean surfaces thoroughly, allow them to dry, and follow the recommended sanding and priming procedures.
For older homes, assess the possibility of lead-based paint before disturbing existing coatings.
Good preparation takes time, but it reduces the likelihood of peeling, bubbling, and premature wear.
Using the Wrong Adhesives
Not every adhesive product works on every surface.
Some removable tiles require smooth, painted walls, while others can be applied over specific existing finishes.
Textured surfaces, moisture, and excessive heat can interfere with adhesion.
Read the manufacturer's installation requirements before purchasing.
Testing a small, inconspicuous section can help determine whether a product is appropriate.
Renters should also verify whether adhesive products can be removed without damaging the original finish.
Ignore Measurements
Incorrect measurements lead to wasted materials, awkward gaps, and unnecessary additional purchases.
Measure cabinet handles, backsplash dimensions, countertop sections, and flooring areas before ordering supplies.
For flooring and patterned coverings, account for cutting waste and pattern alignment.
Draw a simple sketch showing dimensions and any obstacles, including outlets, corners, and plumbing fixtures.
Accurate planning makes installation easier and helps keep spending under control.
Overdoing the Lighting
More lighting doesn't automatically create a better kitchen.
Excessively bright bulbs can produce glare, while poorly positioned fixtures may cast shadows over work areas.
Use a combination of general lighting and targeted task lighting.
Check bulb wattage limits, fixture compatibility, and electrical safety requirements.
Avoid overloading outlets or relying on unsuitable extension cords.
For electrical modifications beyond basic plug-in accessories, professional installation is the safer choice.
Pick a Style and Build Around It (Mini Moodboards)
A consistent design direction helps inexpensive improvements look intentional.
Before purchasing materials, choose a small color palette and decide which finishes will appear throughout the room.
You don't need to follow every detail of a particular decorating style. Instead, use it as a guide for coordinating your choices.
Modern Farmhouse
Modern farmhouse kitchens combine comfortable textures with simple, functional design.
To achieve this appearance affordably, consider:
Cabinet colors: Creamy white, light gray, or muted sage.
Hardware: Black metal handles or brushed nickel knobs.
Backsplash: Classic white subway tile patterns.
Accessories: Wooden boards, ceramic containers, and woven baskets.
Textiles: Subtle stripes, checks, or neutral cotton fabrics.
Natural wood accents are particularly effective for adding warmth to an otherwise light kitchen.
Avoid excessive rustic decorations, which can make smaller rooms feel crowded.
Moody Minimalist
Moody minimalist kitchens use rich colors, uncluttered surfaces, and carefully selected details.
This style works especially well when you want a sophisticated appearance without adding numerous decorative items.
Try these combinations:
Cabinet colors: Deep green, graphite, or dark blue.
Hardware: Brushed brass or understated black pulls.
Backsplash: Simple stone-inspired or solid-color panels.
Accessories: Minimal ceramics, glass containers, and a single framed print.
Lighting: Warm under-cabinet illumination and streamlined fixtures.
Dark cabinetry can look attractive in small kitchens when balanced with sufficient lighting and lighter countertops.
Keep visible accessories limited so the overall design remains calm and organized.
Earthy Boho
An earthy boho kitchen emphasizes natural materials, relaxed styling, and warm colors.
It is particularly suitable for DIY decorating because secondhand accessories and repurposed items fit naturally into the design.
Consider the following elements:
Cabinet colors: Warm cream, olive, clay, or muted terracotta.
Hardware: Aged brass or copper-toned finishes.
Backsplash: Geometric patterns or handmade-tile-inspired designs.
Accessories: Woven trays, pottery, and natural wood utensils.
Plants: Small herbs, trailing greenery, and simple terracotta pots.
Mixing textures creates visual interest without requiring expensive materials.
Use a consistent color palette to keep the space from feeling overly busy.
Quick Tips to Keep It Stylish and Low-Cost
A successful kitchen refresh depends on thoughtful decisions rather than the number of things you purchase.
Reuse existing materials: Refresh old containers, trays, and accessories instead of replacing everything.
Shop secondhand: Look for sturdy shelves, decorative ceramics, and affordable hardware.
Compare material costs: Calculate coverage and total project expenses before buying.
Work in stages: Finish one improvement before beginning another.
Choose durable finishes: Select products designed to withstand kitchen moisture, cleaning, and everyday use.
Improve organization: Drawer dividers, cabinet risers, and wall hooks can make existing storage more useful.
Keep your design consistent: Repeating a few colors and finishes helps the kitchen feel cohesive.
Prioritize practical upgrades: Better lighting and improved storage often provide more lasting value than decorative purchases.
Take before-and-after photographs as you complete each project. They can help you evaluate which improvements make the biggest difference and guide future decisions.
Final Thoughts
Creating a beautiful kitchen doesn't require a complete renovation or an unlimited decorating budget.
By concentrating on existing surfaces, improving lighting, updating cabinet hardware, and introducing coordinated accessories, you can make meaningful changes without major construction.
The most effective DIY kitchen makeover on a budget starts with identifying what genuinely needs improvement and choosing projects that match your skills, available time, and spending limit.
Whether you have $100 for a few finishing touches or $500 for several coordinated upgrades, careful preparation and practical material choices can help you achieve attractive, lasting results.
Start with one manageable project, pay attention to the details, and build a kitchen that looks inviting while continuing to work well for everyday life.