How to Build a DIY Plywood Storage Bench – Stylish, Affordable, and Functional
A cluttered entryway, crowded bedroom, or messy living room can make even a spacious home feel smaller. A storage bench offers a practical solution by providing comfortable seating while keeping everyday belongings neatly tucked away.
Building a DIY plywood storage bench allows you to create furniture that fits your available space without relying on expensive, ready-made options. You can customize its dimensions, storage capacity, and appearance to suit your home.
Plywood is particularly suitable for this project because it offers reliable strength, comes in large sheets, and can be finished in several attractive ways.
Whether you're relatively new to woodworking or already comfortable using basic tools, this guide explains how to plan, assemble, reinforce, and finish a plywood storage bench that is both useful and attractive.
Why People Build a Plywood Storage Bench Themselves
Making your own storage bench offers advantages beyond simply having another piece of furniture.
One of the biggest benefits is customization. Furniture sold in stores follows standard dimensions, which may not work well in narrow hallways, small bedrooms, or awkward corners. A homemade bench can be designed around the exact measurements of your space.
Cost is another consideration. Plywood is often more economical than purchasing a comparable solid-wood storage bench, particularly when you already own the necessary tools.
A DIY design also gives you control over the construction. You can reinforce the seating area, include additional compartments, and select hardware that suits your intended use.
Storage flexibility makes the project even more appealing. Depending on where you place the bench, it can hold shoes, blankets, children's toys, seasonal accessories, or household supplies.
You can also match the finish to your existing furniture. Natural plywood works beautifully in modern interiors, while painted surfaces complement traditional, farmhouse, and contemporary decorating styles.
Most importantly, building the bench yourself gives you the opportunity to create something that meets your actual storage needs rather than settling for a design that only partially works.
Tools and Materials You Actually Need
A plywood storage bench doesn't require complicated woodworking equipment. Accurate measurements, suitable materials, and dependable fastening methods are more important than owning expensive tools.
For a straightforward rectangular design, the following equipment and supplies will cover most of the construction process.
Tools
Circular saw or table saw: Cuts plywood into the panels needed for the bench. A straightedge guide helps produce accurate cuts.
Cordless drill and driver: Creates pilot holes and installs screws without damaging the wood.
Tape measure: Helps determine the bench dimensions and mark individual pieces.
Combination square: Checks corners and ensures cutting lines are perpendicular.
Woodworking clamps: Keep panels aligned during drilling and assembly.
Random orbital sander: Smooths exposed surfaces and prepares plywood for finishing.
Pencil: Marks measurements, cutting lines, and hardware locations.
Countersink bit: Allows screw heads to sit neatly below the plywood surface.
Wear safety glasses, hearing protection when using power tools, and an appropriate dust mask or respirator while cutting and sanding.
Materials
For a typical compact storage bench, gather:
3/4-inch cabinet-grade plywood for the main structure and seat
Wood screws appropriate for plywood construction
Quality wood glue
A continuous hinge or several appropriately rated cabinet hinges
Small wooden cleats or support strips
Wood filler for visible screw holes
Sandpaper in medium and fine grits
Primer and paint, or wood stain and a compatible clear protective finish
Iron-on edge banding or decorative wooden trim
A suitable lid stay or soft-close support to prevent accidental closing
A standard 4-by-8-foot plywood sheet may provide enough material for a compact bench, depending on the final measurements and cutting arrangement.
Choose plywood with minimal warping, sound internal layers, and a surface appropriate for your desired finish.
Plan the Right Bench Size for Your Space
A successful build begins with determining where the finished bench will sit and how it will be used.
Measure the available floor area carefully. Consider nearby doors, walking paths, baseboards, and other furniture. A bench that technically fits but blocks movement will quickly become inconvenient.
For many residential applications, the following dimensions provide a useful starting point:
Measurement
Suggested size
Width
36–48 inches
Finished seat height
17–19 inches
Depth
16–18 inches
Plywood thickness
3/4 inch
These measurements can be adjusted to accommodate children, taller adults, or unusually narrow spaces.
If you intend to add a thick seat cushion, include its compressed thickness when calculating the final sitting height.
Think about what will go inside the bench as well. Blankets require more open space, while shoes and smaller accessories may benefit from separate compartments.
A simple sketch can help you visualize the finished project. Draw the front, side, and top views, then record the measurements of each panel.
Remember that plywood thickness affects the dimensions of adjoining pieces. For example, if the front and back panels fit between two 3/4-inch side panels, their lengths must account for a combined 1 1/2 inches of material.
Planning these details before cutting reduces waste and prevents assembly problems later.
Step-by-Step: How to Build the Storage Bench Frame
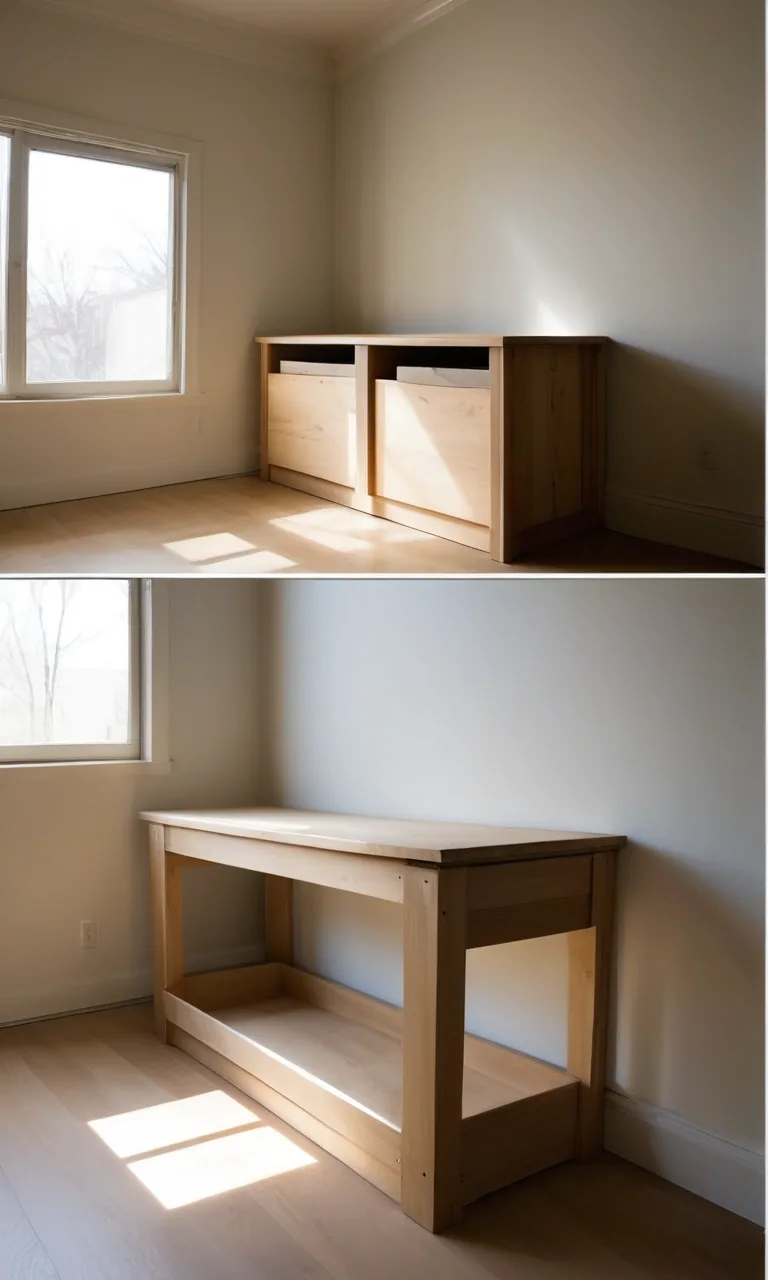
The main structure of a plywood bench is essentially a reinforced wooden box. Keeping the panels square and properly supported is essential for a stable finished piece.
The following steps describe a basic enclosed design with a hinged top.
Step 1: Cut the Plywood to Size
Transfer the dimensions from your sketch onto the plywood using a tape measure and square.
For a standard storage bench, you will generally need six main components: a front panel, back panel, two ends, a bottom, and a top.
You may also need an internal partition if the bench is particularly wide or requires separate storage sections.
Before making any cuts, check how the pieces fit together. Labeling each panel helps avoid confusion during assembly.
Support the plywood fully while cutting, and use a straightedge guide when working with a circular saw. Position the sheet so that neither the main section nor the offcut can drop unexpectedly.
For cleaner edges, use a sharp blade designed for plywood and avoid forcing the saw through the material.
If cutting large sheets is difficult, many lumber suppliers offer panel-cutting services. Having the major pieces cut professionally can simplify the project considerably.
Step 2: Build the Box Frame
Arrange the front, back, and side panels on a level work surface.
Start by joining one side panel to the front. Apply a thin, even layer of wood glue to the connecting edge, position the pieces, and hold them with clamps.
Drill pilot holes before installing screws. This is especially important near plywood edges, where poorly placed fasteners can split or separate the layers.
Repeat the process for the remaining corners until the four walls form a rectangular enclosure.
Check the diagonals from corner to corner. When both measurements match, the frame is square.
If the measurements differ, adjust the assembly before the glue sets.
Use screws designed for plywood or cabinet construction, with lengths suited to the joint. Avoid driving long screws through the outer face of adjoining panels.
Step 3: Add the Bottom Panel
The bottom panel provides a surface for stored items and helps keep the bench rigid.
For a simple design, install wooden support cleats along the inside lower edges of the frame. These supports create a secure ledge for the plywood bottom.
Cut the bottom panel to fit the opening, allowing enough clearance for easy positioning.
Apply glue where the panel meets the supports, lower it into place, and fasten it with screws.
Check that the bottom sits evenly and does not rock or flex.
If you plan to store heavy objects, strengthen the bottom with additional cross supports. A thin or poorly supported panel may bend under concentrated weight.
For benches used on hard flooring, consider adding protective feet or a recessed base to reduce moisture contact and prevent scratches.
Step 4: Add Internal Support or Dividers
Internal supports are particularly useful when the bench has a long seating span.
A vertical plywood partition can divide the storage compartment while transferring some of the seating load toward the base.
Measure the inside height and depth, then cut the partition to fit snugly between the front and back panels.
Position it perpendicular to the front panel and secure it using suitable joinery, glue, and screws.
For additional rigidity, install wooden rails beneath the seating area or along the upper inside edges.
The required support arrangement depends on the bench dimensions, plywood quality, expected loads, and joint design. A wider bench may need more than one support.
If uninterrupted storage is important, consider reinforcing the lid with properly sized wooden members instead of dividing the entire compartment.
Step 5: Check All Joints
Before installing the seat, inspect the completed box.
Look for uneven corners, loose connections, protruding screws, and gaps between adjoining panels.
Place the bench on a flat surface and check whether it rocks. Minor unevenness may come from the floor, but movement within the frame indicates that the joints need attention.
Use a square to verify the corners and confirm that the top opening remains consistent from front to back.
Remove excess glue before it hardens completely, especially if you intend to apply stain. Dried glue can prevent the wood from absorbing stain evenly.
Allow the adhesive to cure according to the manufacturer's instructions before putting the structure under load.
A carefully assembled base makes the remaining construction easier and helps the finished bench remain stable during everyday use.
How to Reinforce the Bench So It Holds Adult Weight
A storage bench designed for seating must handle more demanding loads than an ordinary storage cabinet.
The top needs to resist bending, while the sides and joints must transfer the weight safely toward the floor.
Start with good-quality 3/4-inch plywood and avoid sheets containing large internal voids or damaged edges.
For additional strength, consider these construction improvements:
Install a central plywood partition beneath a long seat.
Add wooden rails around the upper inside perimeter to support the lid when closed.
Reinforce long, unsupported spans with appropriately sized structural members.
Use properly fitted joints, glue, and mechanical fasteners rather than relying on screws driven into unsupported plywood edges.
Ensure the base transfers loads evenly to the floor.
Pay particular attention to the front edge of the seat, where people often place substantial weight while sitting down or standing up.
A continuous support rail beneath this area can help reduce flexing.
The lid should also rest on fixed supports when closed. Hinges are intended to control movement, not carry the full weight of a seated person.
There is no universal weight capacity for a homemade plywood bench. Actual strength depends on dimensions, materials, joinery, reinforcement, and workmanship.
If the bench will regularly support multiple adults or unusually heavy loads, use a properly engineered design rather than assuming plywood thickness alone guarantees safety.
Install the Lid Without Gaps or Wobble
The hinged seat is one of the most important parts of the project because it must function as both a comfortable sitting surface and an accessible storage cover.
Begin by positioning the lid over the assembled box.
Check the alignment along the front and sides. A slight overhang can create a more finished appearance, but it should remain consistent.
Leave enough clearance at the back for the lid to rotate freely without scraping against the frame or wall.
The correct gap depends on the hinge type and installation geometry, so follow the hardware manufacturer's recommendations.
A continuous piano hinge distributes attachment points along the rear edge, while individual hinges can also work when properly sized and positioned.
Mark the screw locations, drill pilot holes, and attach the hardware carefully.
Open and close the lid several times to check its movement. It should travel smoothly without shifting sideways or binding.
For safety, install a lid support designed to prevent the top from falling unexpectedly. This is especially important in households with children.
A soft-close mechanism can make the bench more pleasant to use, but make sure it is compatible with the lid's weight and dimensions.
Finally, check that the closed lid rests firmly on the support rails. Add protective bumpers where appropriate to reduce noise and prevent hard contact between wooden surfaces.
Finishing Touches That Make It Look Store-Bought
A well-constructed bench becomes much more attractive when the exposed surfaces receive careful finishing.
Begin by inspecting the plywood for splinters, rough patches, and visible fastener holes.
Fill unwanted gaps and recessed screw heads with a wood filler suitable for the chosen finish. Once dry, sand the repaired areas until they blend into the surrounding surface.
Sand the entire bench with medium-grit sandpaper, then move to a finer grit for a smoother result.
Take care around thin plywood veneers, which can be sanded through if too much pressure is applied.
Exposed plywood edges can be finished with iron-on veneer banding, solid-wood edging, or decorative trim. This small improvement can significantly change the appearance of the furniture.
For a painted bench, apply a primer compatible with the plywood and follow with durable furniture or cabinet paint.
If you prefer to show the wood grain, use a suitable stain followed by a protective clear finish. Test the stain on leftover plywood first, since different veneers absorb color differently.
A removable seat cushion can improve comfort and introduce texture or color. Choose a fabric that is easy to clean, particularly for an entryway or family room.
Other useful details include a recessed finger pull, decorative molding, protective floor pads, or removable baskets inside the compartment.
Allow all coatings to dry and cure as directed before placing cushions or stored belongings inside.
Final Thoughts
A DIY plywood storage bench is a practical woodworking project that combines extra seating with valuable hidden storage.
With thoughtful measurements, carefully assembled panels, and appropriate reinforcement, you can create a bench suited to your home's layout and everyday needs.
The most important parts of the process are planning the dimensions accurately, building a stable structure, supporting the seat properly, and installing safe, reliable lid hardware.
Once construction is complete, simple finishing choices such as paint, edge banding, and a comfortable cushion can transform basic plywood into attractive furniture.
Whether you place it near the front door, at the end of a bed, or beneath a window, a thoughtfully designed storage bench can make your space more organized while adding a useful piece of furniture you built yourself.