23 Cheap Walkway DIY Ideas for 2026
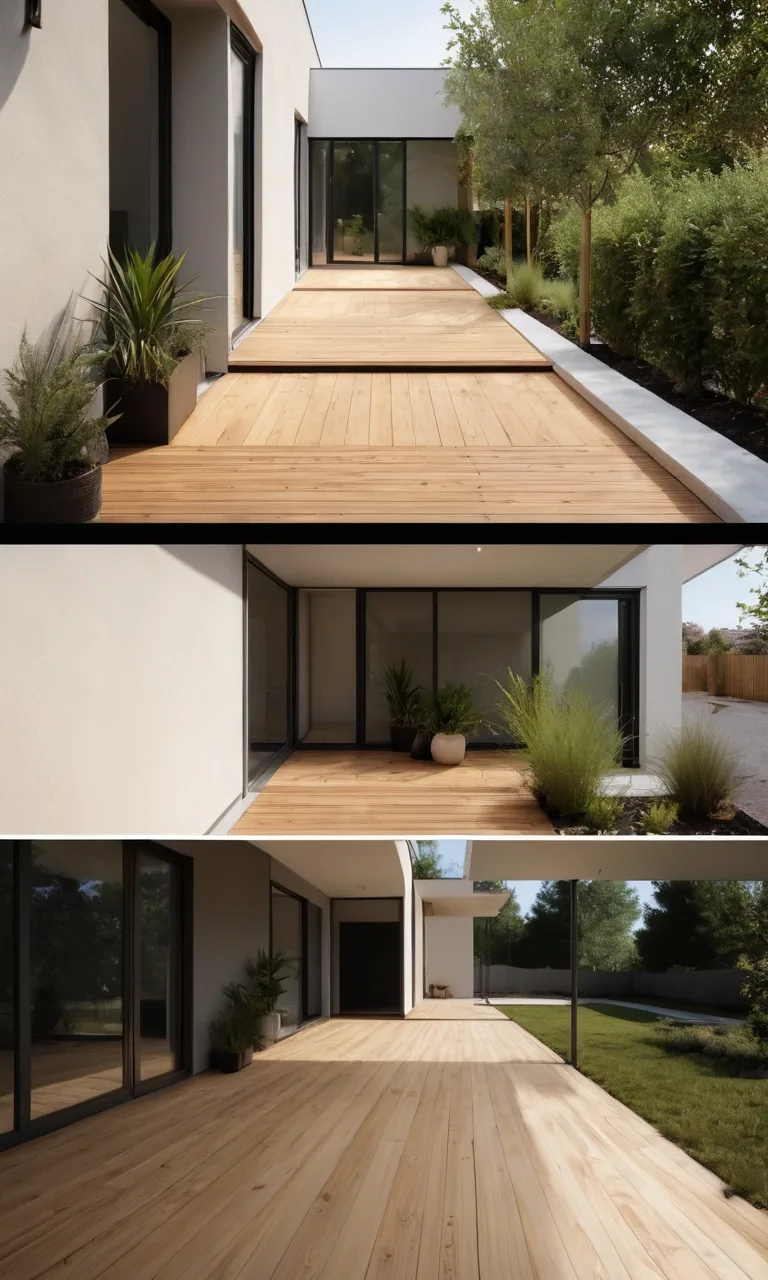
A beautiful garden walkway doesn't have to cost a fortune. With affordable materials, a practical layout, and a little creativity, you can build an attractive path that improves your outdoor space without hiring a landscaping contractor.
Whether you're connecting your patio to the garden, improving your front entrance, or creating a convenient route through the backyard, there are plenty of inexpensive options. Gravel, concrete pavers, reclaimed bricks, wooden boards, and natural stones can all become functional walkways with the right preparation.
The best design depends on your yard's size, soil conditions, drainage, and daily foot traffic. Some paths can be completed over a weekend, while others require a stronger foundation and more careful installation.
These 20 cheap walkway DIY ideas offer practical inspiration for different outdoor spaces, from small urban gardens to spacious country yards.
1. Wooden Slab and Gravel Walkway
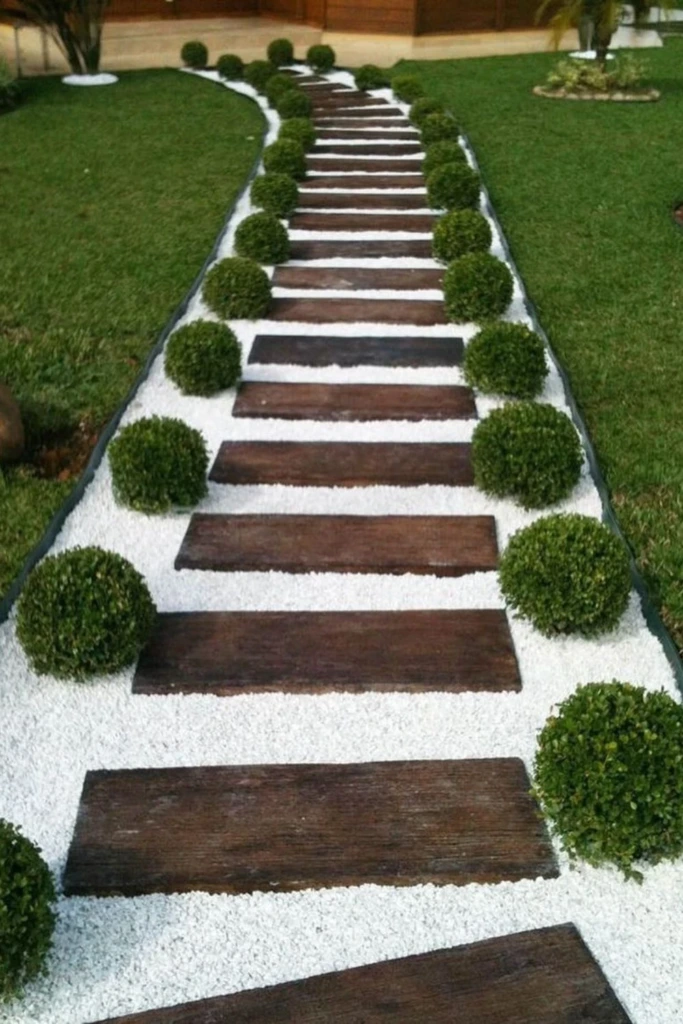
Combining wooden slabs with gravel creates a welcoming pathway that works especially well in rustic and contemporary gardens. The contrasting textures add visual interest without requiring complicated construction.
Begin by outlining your desired route and excavating enough soil to accommodate a compacted aggregate foundation. Install suitable outdoor timber slabs at comfortable walking intervals, then distribute decorative gravel around them.
Choose naturally durable or appropriately treated wood, and avoid pieces that become slippery when wet. Proper drainage and occasional wood maintenance will help preserve the walkway.
This design is particularly attractive beside flower beds, patios, and backyard seating areas.
2. Stepping Stones in Pea Gravel
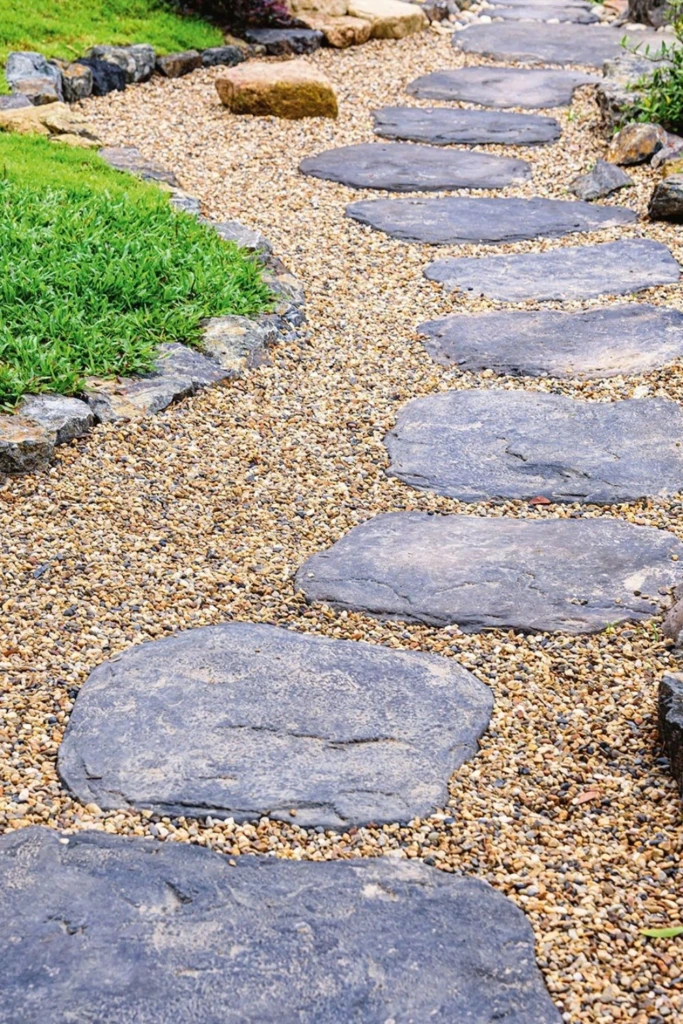
A pea gravel walkway with stepping stones provides a budget-conscious alternative to fully paved garden paths. It combines the decorative appearance of loose stones with larger, more comfortable stepping surfaces.
Start with a well-prepared base and secure edging to contain the gravel. Position broad, flat stepping stones along the route, making sure each one rests firmly without rocking.
Use the gravel to fill the surrounding spaces, keeping the stones sufficiently exposed for comfortable footing.
Although pea gravel is attractive, its rounded particles can move underfoot. Larger, stable stepping stones make this design more practical for everyday garden use.
3. Stone Steps Through a Sloped Garden
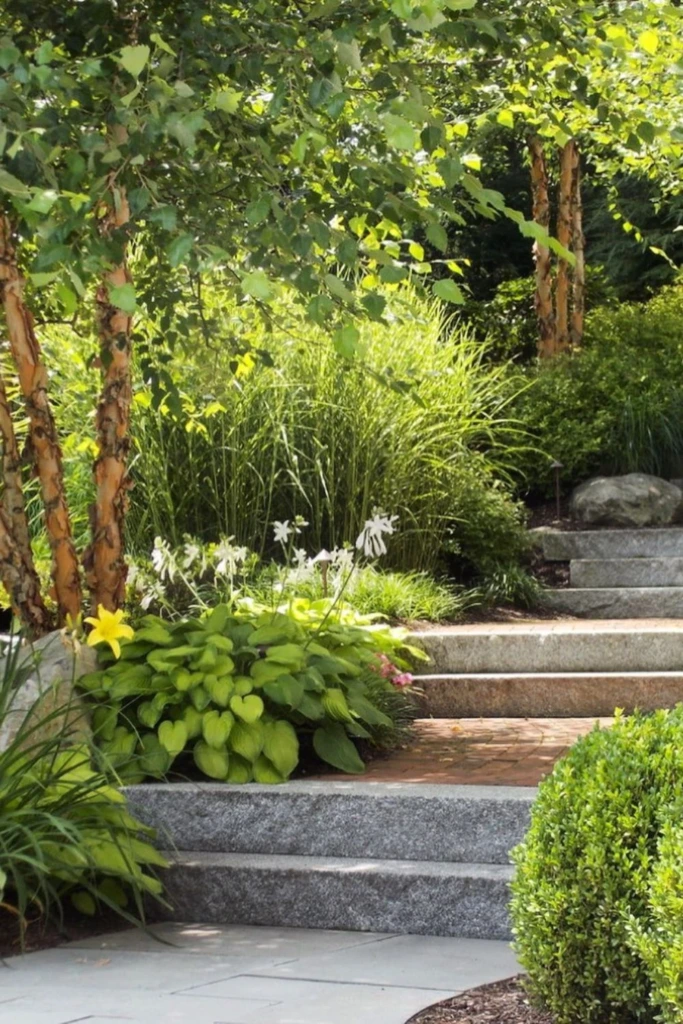
An inclined backyard can become easier to navigate with carefully positioned natural stone steps. This approach is particularly suitable for informal landscapes where traditional concrete stairs might appear too rigid.
Select substantial, flat stones with enough depth for secure footing. Excavate individual terraces into the hillside and create compacted foundations before placing each step.
Keep the step heights consistent and ensure the stones cannot shift during use. Add appropriate drainage to prevent runoff from washing away supporting soil.
For steep slopes or areas requiring retaining structures, professional guidance may be necessary.
Low-growing plants along the sides can help the finished steps blend naturally into the surrounding landscape.
4. Concrete Stepping Stones With Grass
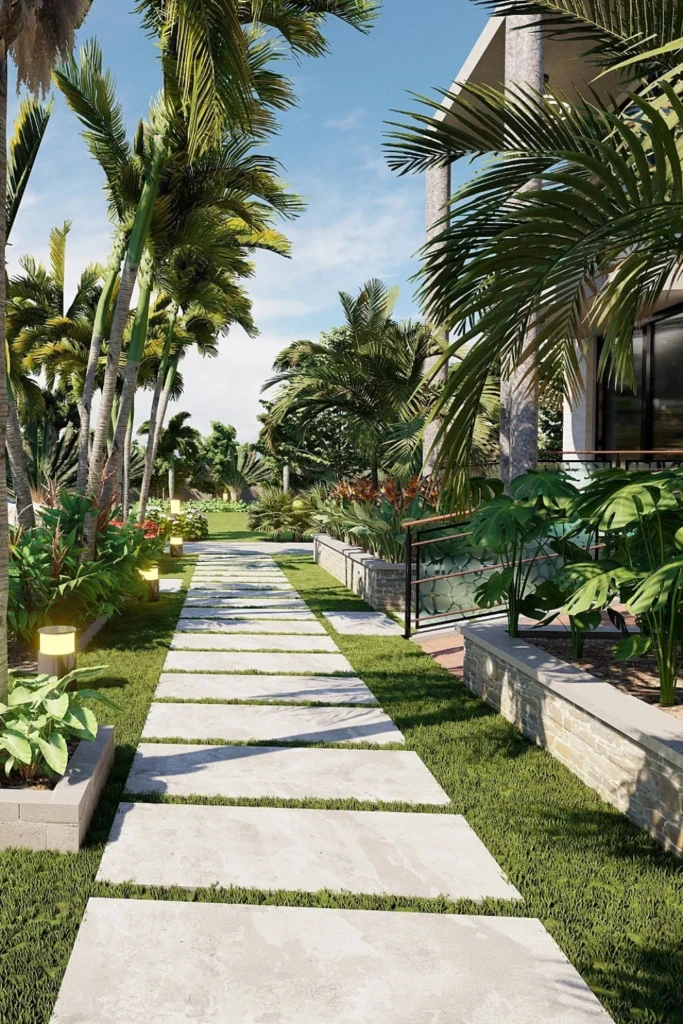
Concrete stepping stones surrounded by grass create a simple, contemporary walkway while preserving much of the lawn's greenery.
Instead of covering the entire route with concrete, install individual slabs with consistent gaps between them. This reduces the amount of paving material required and creates an open, uncluttered appearance.
Excavate beneath each slab, prepare a stable bedding layer, and position the finished surface close to lawn level.
Choose grass varieties suited to your climate and the amount of sunlight the area receives. Remember that grass between stepping stones may need additional watering and trimming.
This walkway works particularly well in modern backyards and garden courtyards.
5. Square Pavers in the Lawn
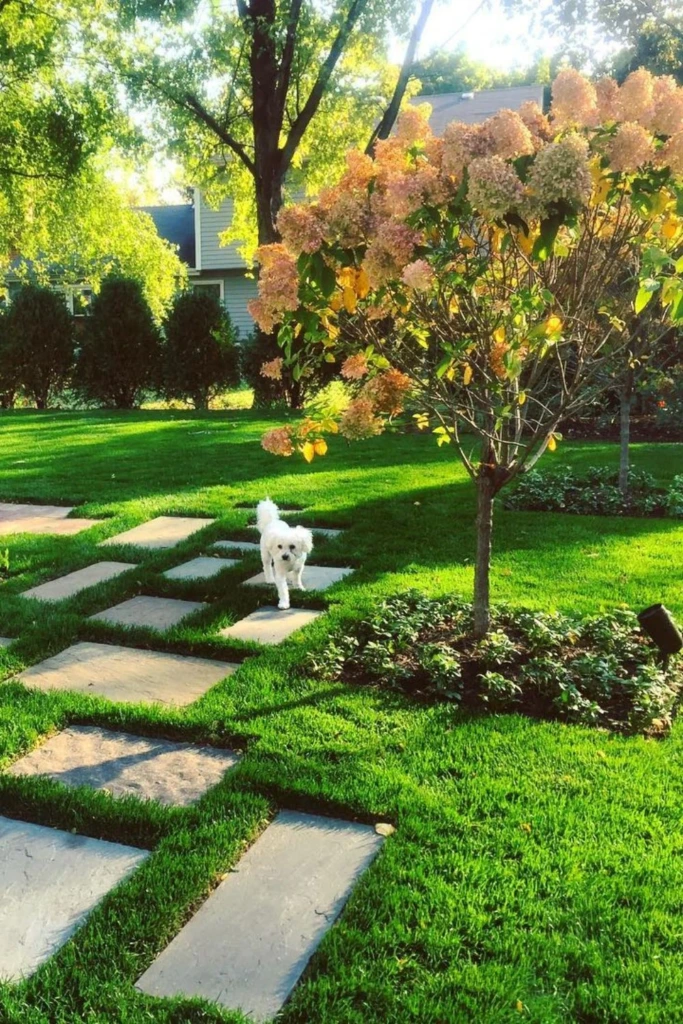
Square concrete pavers offer one of the simplest ways to create a defined walking route across an existing lawn.
Measure the intended path and arrange the pavers on top of the grass before beginning installation. Walk along the layout to check whether the spacing feels natural.
Once satisfied, mark each position, remove the turf, and excavate enough space for the necessary bedding material.
Set each paver securely and check its level with the surrounding lawn. Proper installation helps prevent movement and reduces interference with mowing.
For a cohesive appearance, choose pavers that complement nearby patios, retaining walls, or outdoor furniture.
6. Simple Timber Boardwalk
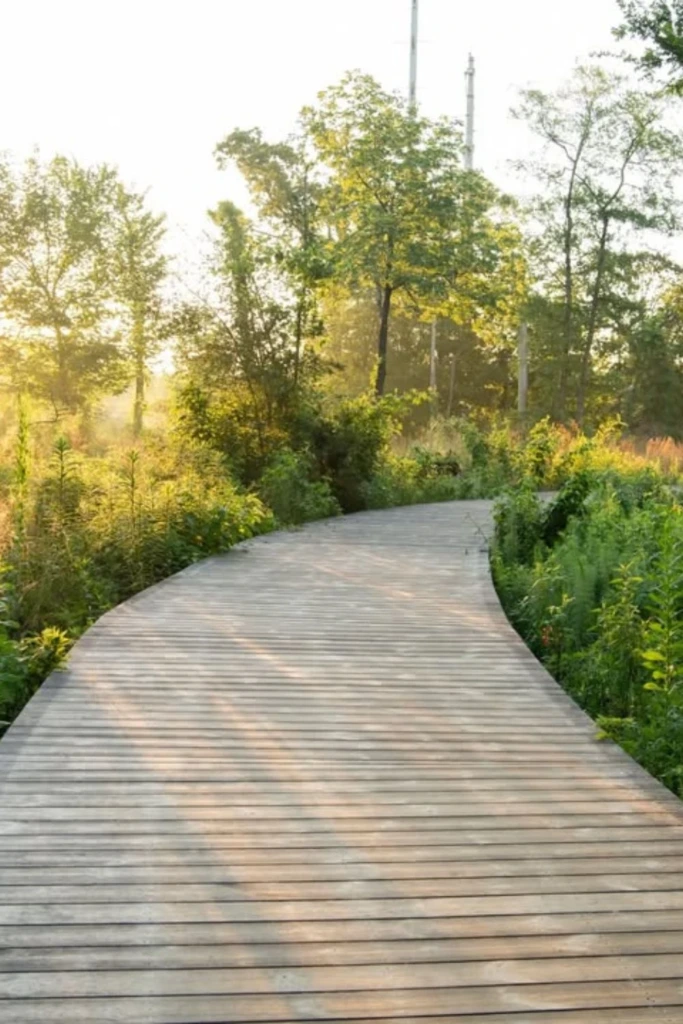
A timber boardwalk can provide a useful passage through damp garden sections, uneven terrain, or areas where conventional paving is difficult.
Build a straightforward framework using exterior-rated structural lumber and suitable supports. Attach decking boards with corrosion-resistant fasteners, leaving the recommended spacing for drainage and natural wood movement.
Keep the structure properly ventilated and avoid direct contact between untreated wood and wet soil.
A low-profile boardwalk can be particularly effective beside raised garden beds or through landscaped areas.
Because elevated structures must support people safely, use appropriate framing dimensions and secure foundations rather than relying on unsupported boards.
7. Large Pavers With Small Stone Edging
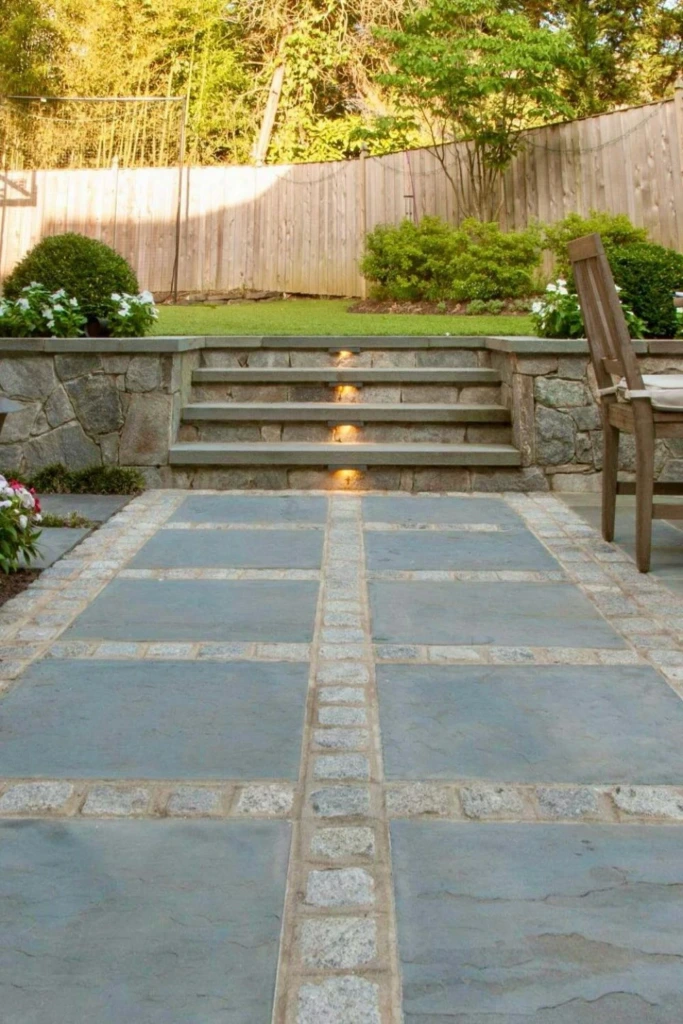
Large paving slabs surrounded by smaller decorative stones can create an elegant walkway without the expense of covering every inch with premium paving.
Choose rectangular or square concrete slabs for the primary walking surface. Install them over a compacted base, then fill the outer sections with crushed stone or decorative gravel.
Use rigid edging where necessary to keep loose material in place.
The smaller stones can also accommodate slight variations in the walkway's width, making this design useful for narrow side yards and irregular garden spaces.
For a polished appearance, maintain consistent spacing and choose complementary materials rather than mixing too many colors.
8. Rustic Wood Slice or Plank Path
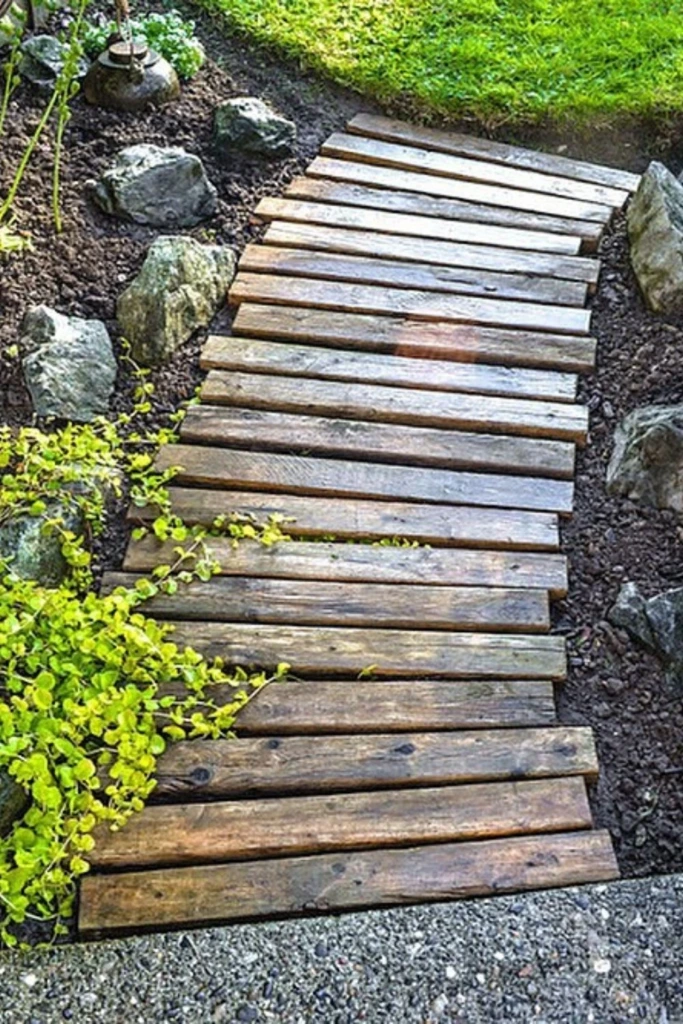
Reclaimed wooden planks or thick log slices can create an informal pathway with plenty of natural character.
This project is especially appealing for woodland gardens, vegetable patches, and small backyard trails.
Use sound, durable wood that can withstand outdoor exposure. Arrange the pieces over a prepared gravel or mulch foundation, ensuring they sit firmly and do not tip when stepped on.
Thick planks generally provide a more predictable walking surface than irregular log slices.
Wood can decay or become slippery in shaded, damp environments, so inspect the path regularly and replace damaged pieces promptly.
For frequently used entrances, a more uniform paving material is usually the better choice.
9. Mixed Paver Walkway
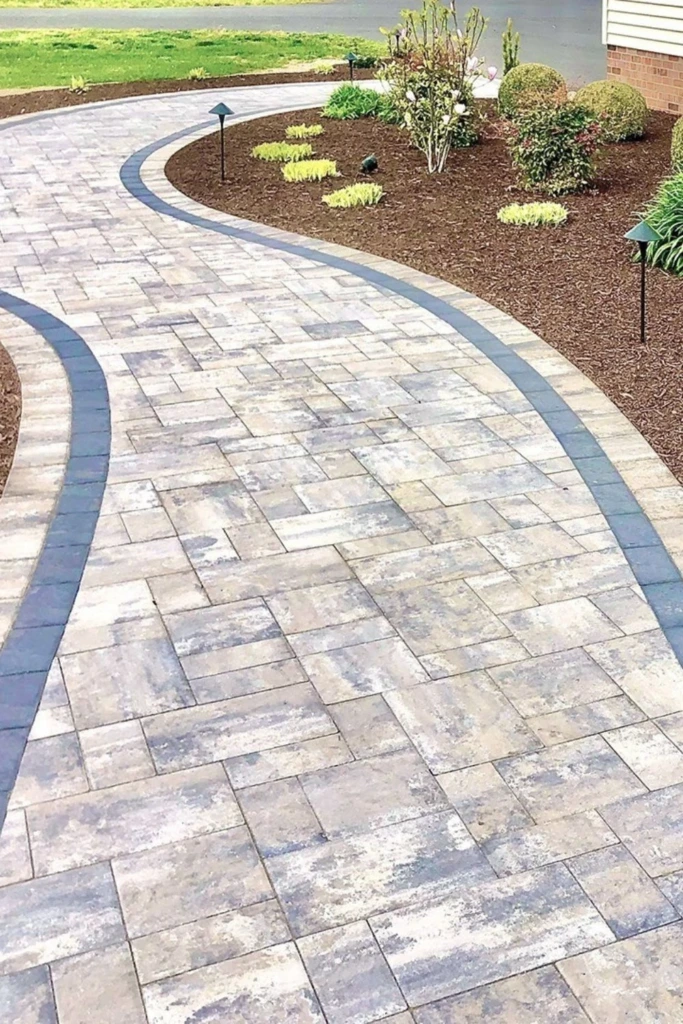
A walkway made from different paver sizes allows you to create an interesting pattern while taking advantage of discounted or leftover materials.
Look for compatible concrete pavers at building supply stores, landscaping yards, or local material reuse centers.
Before installation, arrange the pieces into a balanced layout. Mixing rectangular and square shapes can produce an attractive design without requiring complicated cuts.
Prepare the foundation carefully, and make sure all pavers have similar thicknesses or can be bedded to the same finished height.
A consistent border can visually unify the different shapes and make the walkway look deliberately designed.
10. Simple Country-Style Path
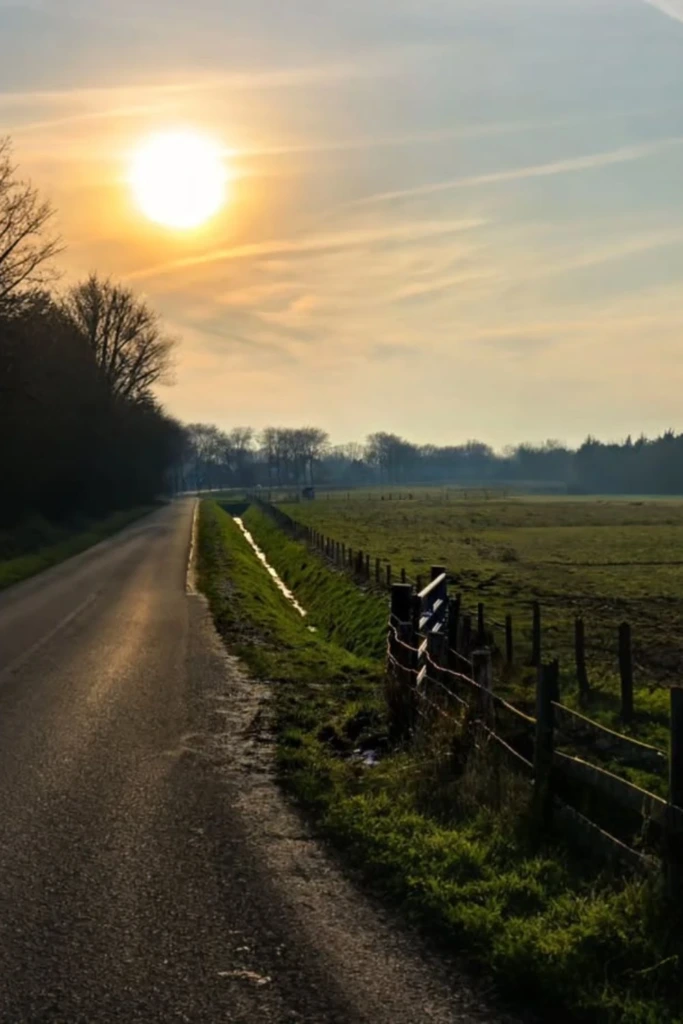
A country-style walkway is ideal for larger yards, rural properties, and gardens where a relaxed appearance feels more appropriate than formal paving.
Compacted crushed stone is a practical material because it can cover long distances without the cost of individual paving slabs.
Mark a gently winding route, remove unwanted vegetation, and prepare a firm base. Spread suitable aggregate in manageable layers and compact it thoroughly.
For better durability, choose angular stone that locks together rather than relying entirely on rounded gravel.
The surrounding landscape provides much of the visual appeal. Native grasses, wildflowers, timber fencing, or simple planting beds can make the path feel like a natural part of the property.
11. Accessible Sloped Walkway
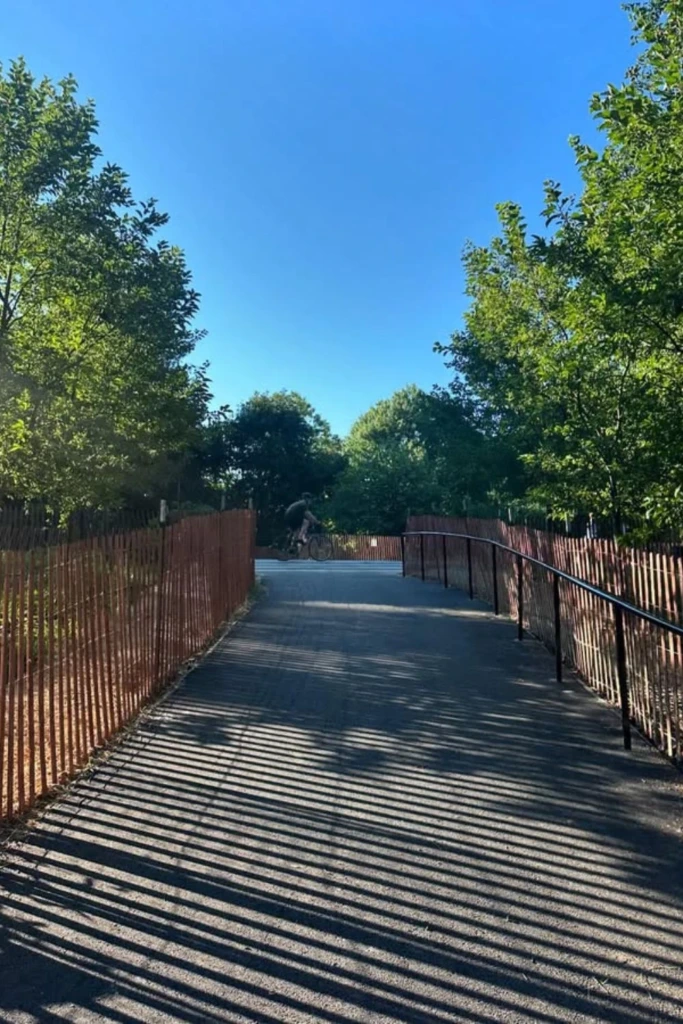
A sloped walkway should prioritize safe movement, stability, and ease of use.
For a route intended for wheelchairs, walkers, or people with limited mobility, choose a firm, slip-resistant surface rather than loose gravel or widely spaced stepping stones.
The walkway should provide sufficient clear width, appropriate gradients, level resting areas where required, and effective drainage.
Concrete, suitable asphalt, or properly constructed interlocking paving may offer better accessibility than loose decorative materials.
Accessibility standards and local building requirements can specify slope limits, landings, edge protection, and handrails. These details should be checked before construction.
Although accessible pathways may require a larger investment, thoughtful planning can help avoid unnecessary excavation and expensive alterations later.
12. Pebble or Resin-Style Path
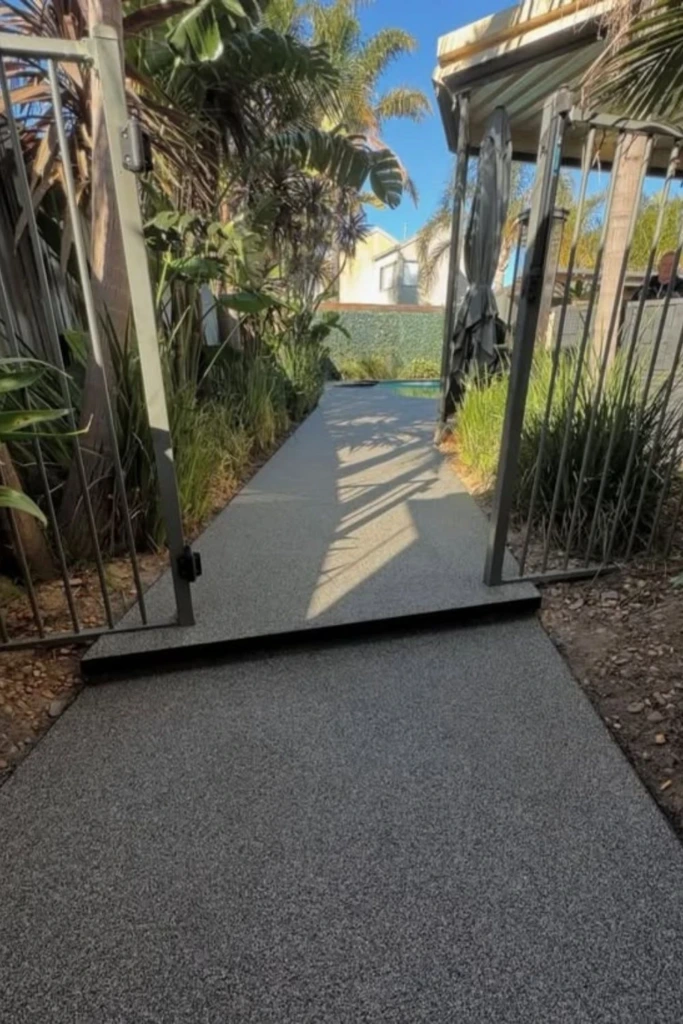
Pebble pathways can give narrow gardens and side entrances a tidy, decorative appearance.
For an economical DIY version, install compacted crushed stone with a finer decorative aggregate on top. Strong edging will help contain the material and preserve the walkway's shape.
If you prefer a continuous surface, resin-bound aggregate is another option, although it generally requires more specialized materials and careful substrate preparation.
Resin-bound systems are not the same as loose gravel, and their drainage performance depends on the complete installation.
For most budget projects, a well-compacted aggregate walkway offers a simpler solution.
Choose a stone size that is comfortable underfoot and easy to maintain.
13. Herringbone Paver Path
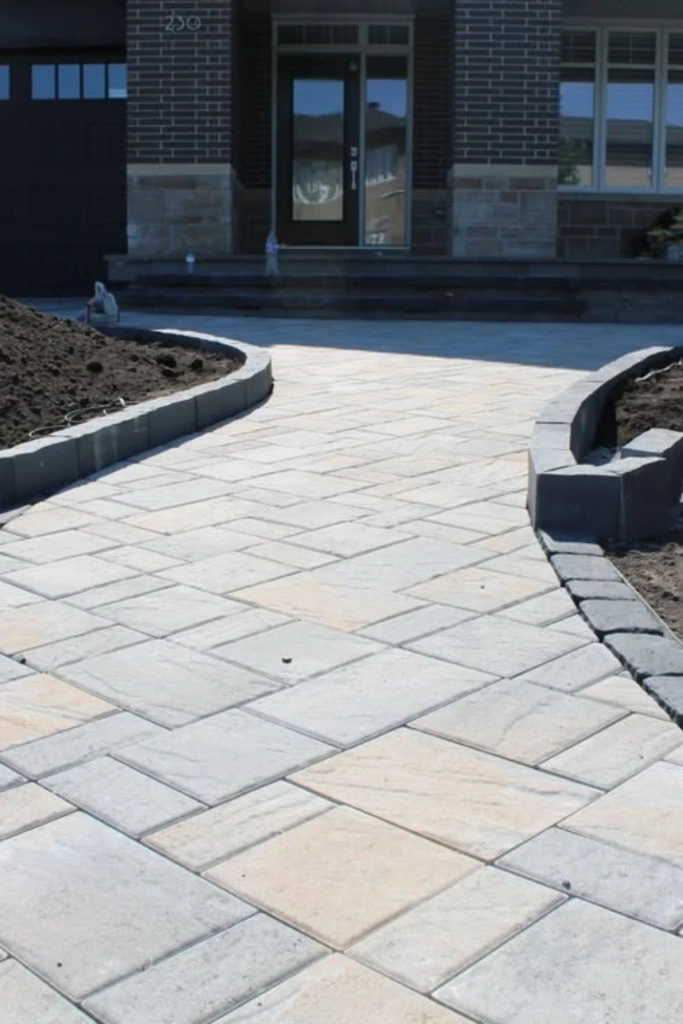
A herringbone pattern can transform inexpensive rectangular pavers into a distinctive walkway with a traditional appearance.
The design uses pavers arranged at alternating angles, creating a repeated zigzag effect.
Begin with accurate measurements and a properly compacted foundation. Install secure edge restraints and work from a straight reference line to keep the pattern aligned.
Some pavers will need cutting around borders, curves, or corners. Planning the dimensions carefully can reduce material waste.
Herringbone paving is particularly attractive for front entrances and pathways connecting outdoor living areas.
Using one affordable paver style throughout the design keeps the appearance coordinated and the material selection straightforward.
14. Irregular Natural Stone Path
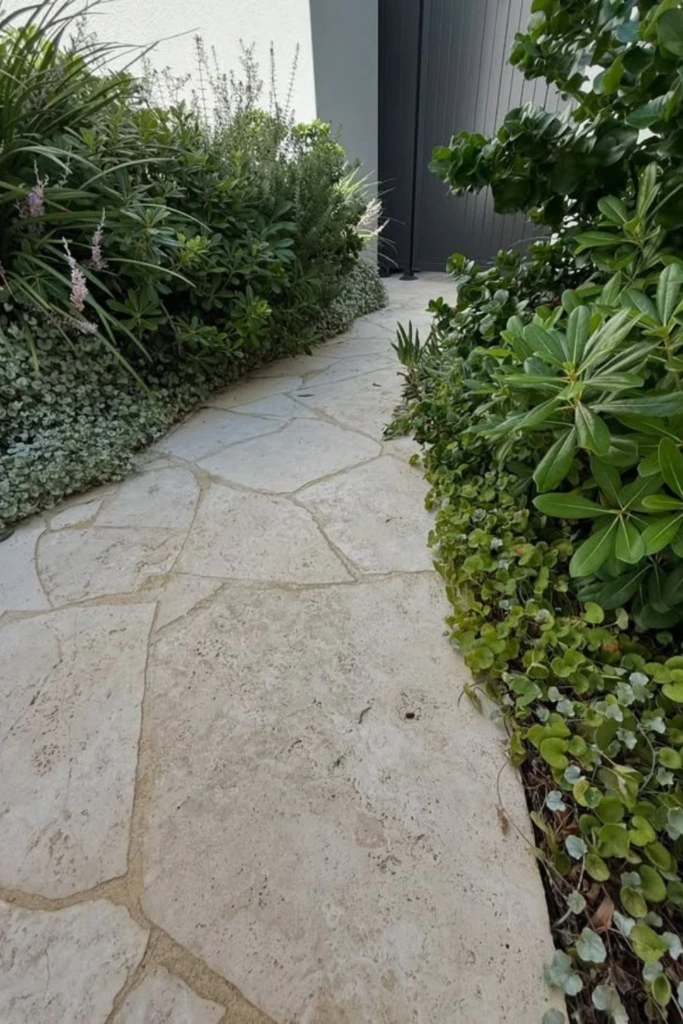
Irregular stone paving creates a relaxed, organic walkway that suits cottage gardens and natural landscapes.
Instead of purchasing uniformly shaped slabs, consider locally sourced flagstone or suitable leftover pieces from landscaping projects.
Arrange the stones with their broadest, flattest faces upward. Position them to create comfortable walking distances, then install each piece on a stable prepared foundation.
Fill the spaces with gravel or an appropriate low-growing groundcover, depending on the amount of foot traffic.
Avoid leaving sharp edges or noticeable height differences that could cause tripping.
The natural variation in stone shapes gives this walkway its character, so an overly symmetrical arrangement isn't necessary.
15. Raised Wooden Walkway
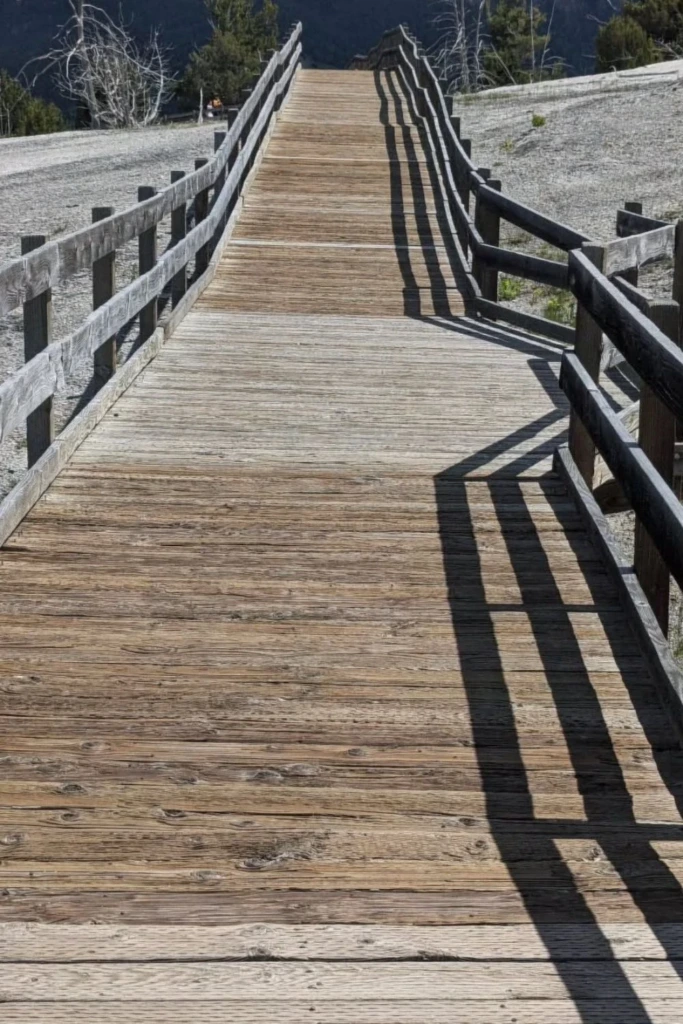
A raised wooden walkway offers a practical way to cross uneven ground while minimizing major changes to the existing landscape.
It can be especially useful in gardens with exposed roots, shallow depressions, or areas that remain damp after rainfall.
Construct a properly supported frame using suitable exterior-grade materials. Install durable decking boards and provide enough clearance underneath for ventilation and drainage.
Use structural connectors and fasteners rated for outdoor exposure.
The height, span, loading, and ground conditions determine the support requirements. Elevated walkways may also need guardrails or permits under local regulations.
Although this project requires more carpentry than a basic gravel path, it can create a long-lasting solution for challenging terrain when designed and constructed correctly.
16. Gravel Path Under Trees
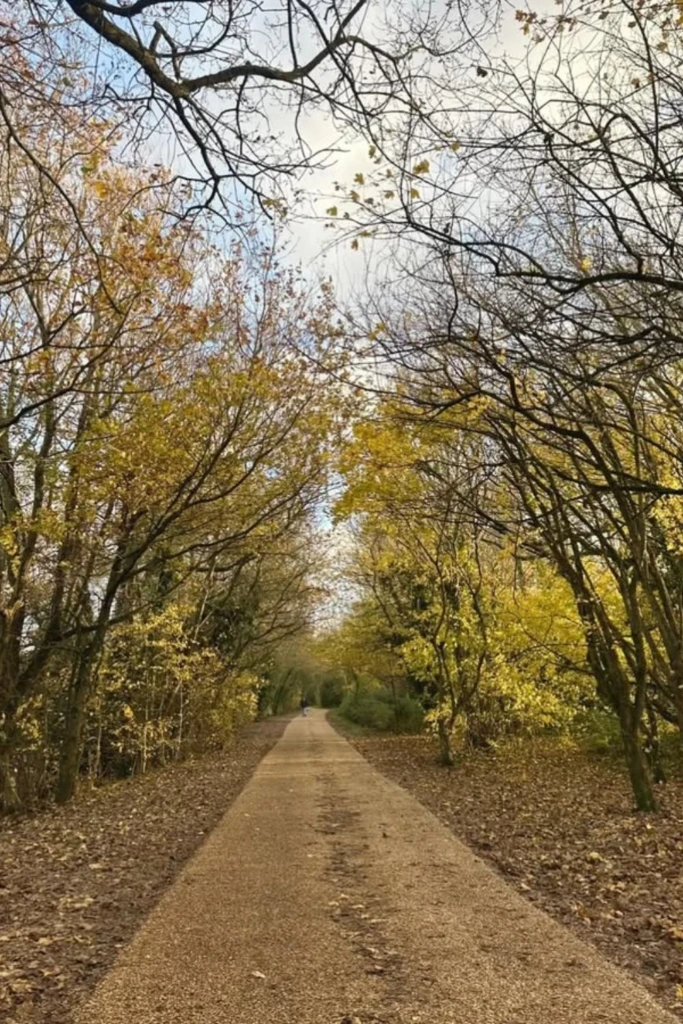
A gravel walkway is a useful option beneath mature trees, particularly where limited sunlight makes it difficult to maintain healthy grass.
Create a route that avoids damaging major surface roots. Remove weeds and loose debris, then prepare the surface with minimal disturbance to the tree's root zone.
Where appropriate, use a permeable separation layer and a shallow layer of suitable aggregate to define the walkway.
Avoid deep excavation, heavy compaction directly over important roots, or burying the tree's trunk flare.
Simple edging can help keep gravel away from nearby planting areas.
The finished path provides an attractive contrast to tree trunks, foliage, and shaded garden beds without requiring a traditional lawn.
17. Stone Steps Toward a Garden Feature
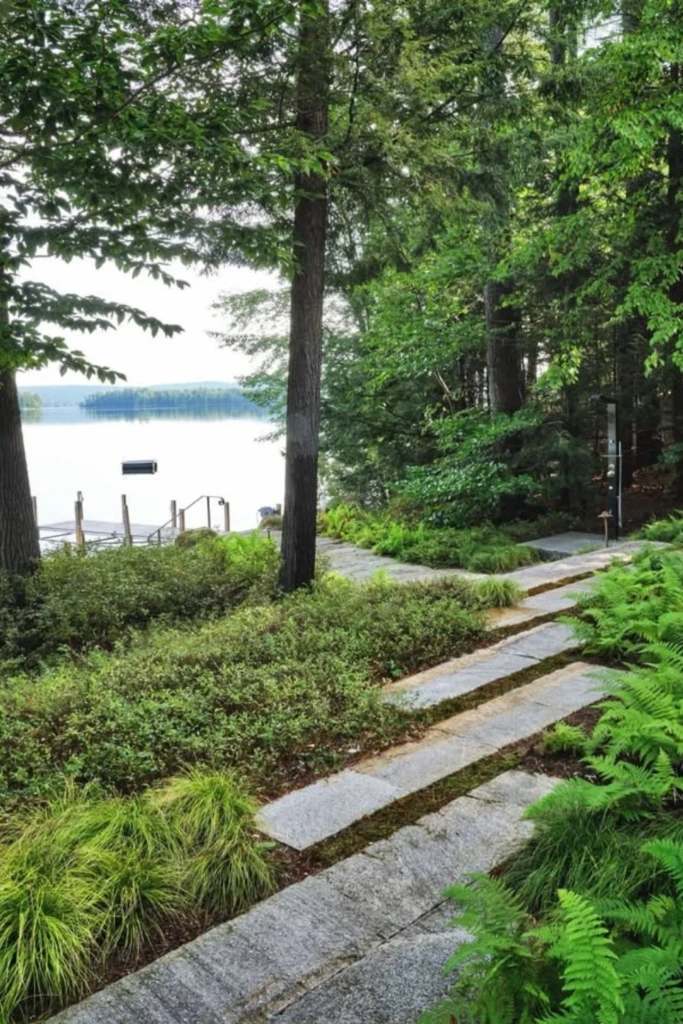
Stepping stones can guide visitors toward a focal point such as a garden bench, decorative fountain, greenhouse, or outdoor seating area.
Begin by identifying the most convenient route. A gentle curve can create visual interest, but the path should still feel natural to walk along.
Choose wide stones with relatively even surfaces and install them securely at comfortable intervals.
Surround the stones with lawn, mulch, or low-growing plants to integrate them into the landscape.
For an especially attractive result, position the final stones to frame the destination rather than ending the walkway abruptly.
This design can turn an ordinary garden feature into a more intentional part of the outdoor layout.
18. Stone and Pebble Mix
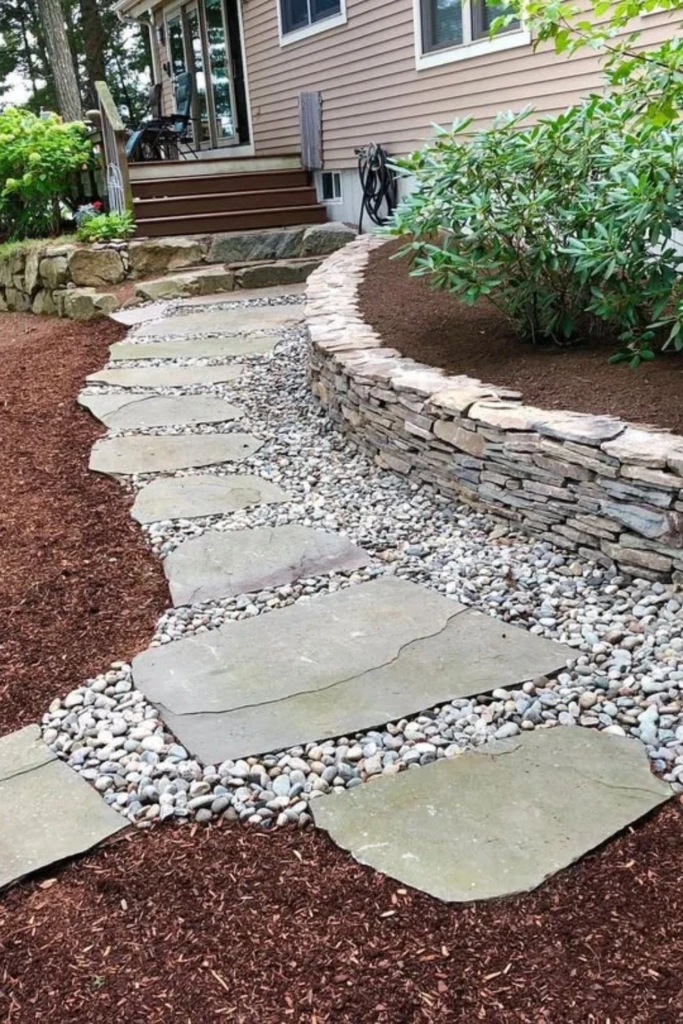
Combining large stepping stones with smaller pebbles creates a textured walkway that can complement both modern and traditional landscaping.
Select durable, flat stones for the areas where people will step. Use smaller decorative aggregate around them to fill the remaining space.
A properly compacted base is essential to prevent settlement and uneven surfaces.
Consider using angular gravel beneath or around the stepping stones where stability matters, reserving smooth river pebbles for decorative sections.
Choose colors that work with the surrounding garden materials. Gray slabs paired with light pebbles create a contemporary appearance, while warm natural stone produces a softer effect.
19. Simple Dirt Garden Path
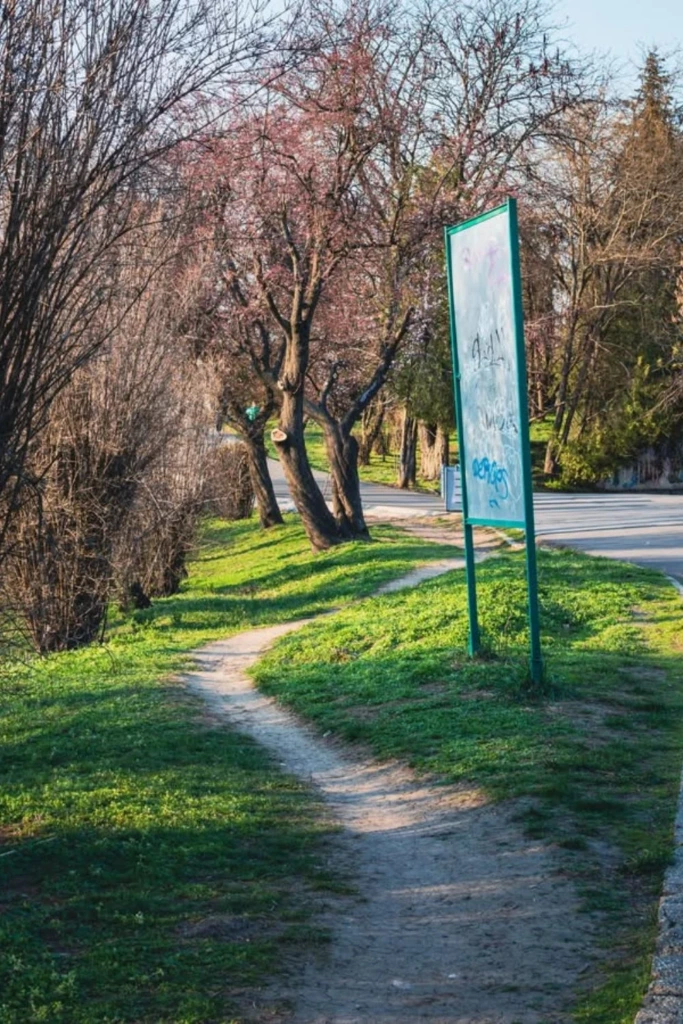
An existing dirt trail can become a useful garden walkway with surprisingly little expense.
This approach works best in dry locations with relatively firm soil and limited pedestrian traffic.
Identify the natural route, remove weeds and obstructions, and smooth out small ruts or depressions. Trim the edges regularly to keep the pathway visible.
Avoid removing unnecessary soil around established plants and trees.
Where the surface becomes muddy, a layer of suitable mulch or compacted aggregate can improve usability.
A dirt path will generally require more attention after heavy rainfall and may not be suitable for accessible routes or heavily used entrances.
For informal vegetable gardens and low-traffic backyard spaces, however, it can be an extremely economical choice.
20. Tropical Gravel Walkway
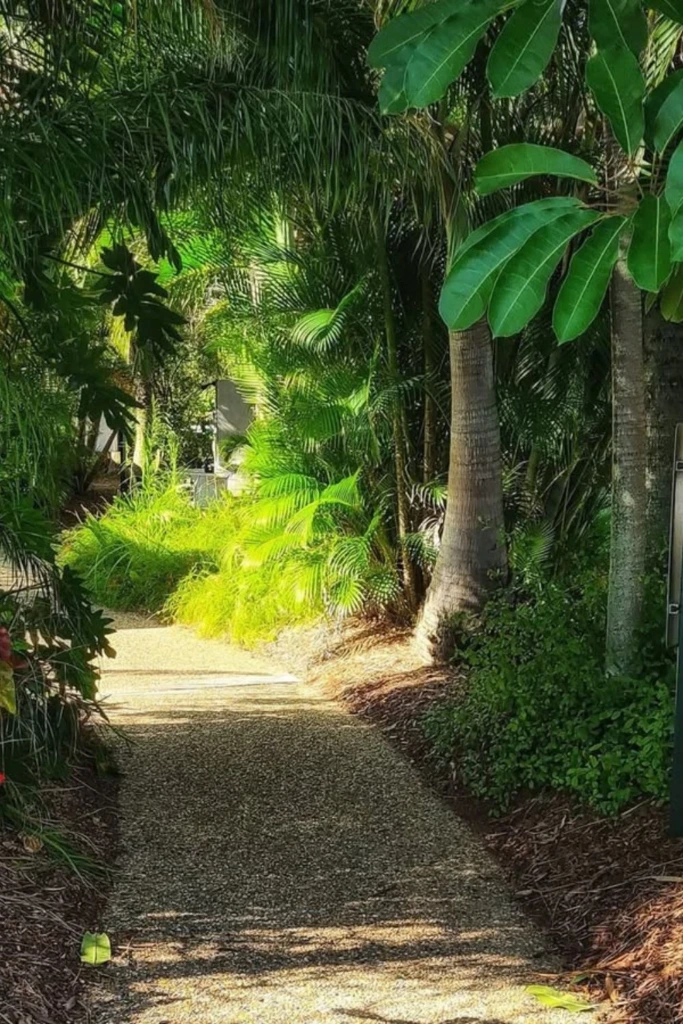
A tropical-inspired gravel path combines simple hardscaping with lush, layered planting.
The walkway itself can be made from inexpensive compacted gravel, while surrounding foliage provides the decorative effect.
Create a gently curving route and install edging to separate the walking surface from garden beds.
Choose plants that suit your local climate and available sunlight. Palms, ferns, ornamental grasses, and broad-leaved shrubs can all contribute to a tropical appearance where growing conditions allow.
Leave sufficient space for mature plant growth so foliage doesn't obstruct the walkway.
Using a restrained selection of paving materials allows the greenery to become the main attraction without increasing construction costs.
21. How to Make a Cheap Walkway Look Better

An inexpensive walkway can look thoughtfully designed when its proportions, borders, and surrounding landscaping work together.
Start with clean, consistent edging. Reclaimed bricks, timber borders, metal edging, or natural stones can create a defined separation between the path and nearby grass or garden beds. This also helps reduce gravel migration and makes routine maintenance easier.
Next, consider the walkway's relationship to nearby plants. Small flowering perennials, compact shrubs, and low-growing groundcovers can soften hard edges without overcrowding the walking area.
A limited color palette often produces a more cohesive appearance. For example, combining gray pavers with matching gravel creates a unified design, while warm stone and natural timber suit rustic settings.
The path's width and shape also influence its appearance. Straight walkways tend to complement modern homes, while gentle curves can feel more natural in informal gardens.
Finally, keep the surface clean and well-maintained. Remove weeds, replace displaced gravel, and address uneven paving before minor problems become more noticeable.
Prefer an Easy Ready-Made Lighting Option?
Solar pathway lighting is a convenient choice for homeowners who want to improve nighttime visibility without installing underground electrical wiring.
Stone-style solar lights can blend into gravel paths, planting beds, and decorative borders while providing subtle illumination.
When choosing solar lights, consider their brightness, weather resistance, battery capacity, and the amount of direct sunlight available for charging.
Position fixtures near changes in direction and other areas where extra visibility is useful. Keep lights outside the main walking surface to avoid creating obstacles.
Solar decorative lights can enhance a garden's atmosphere, but they shouldn't replace adequate safety lighting on steps or frequently used routes.
22. Before You Start Your Walkway
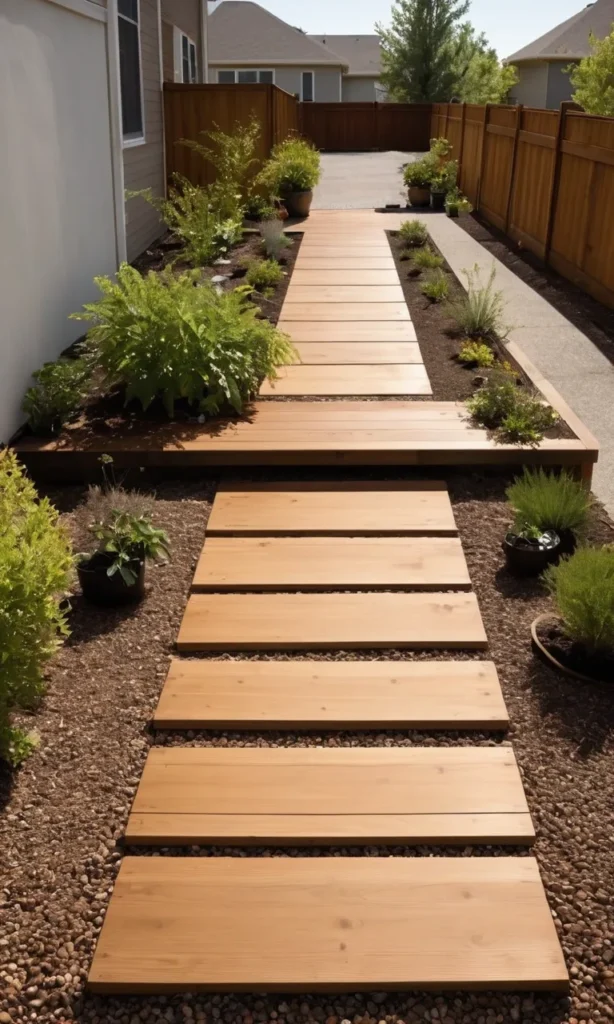
Building a successful DIY walkway begins with understanding the site rather than immediately purchasing materials.
First, decide how the walkway will be used. A decorative garden trail has different requirements from a main entrance that handles daily foot traffic, deliveries, or wheeled equipment.
Measure the route and mark its boundaries with stakes and string or a garden hose. Walk through the proposed layout to check that it provides comfortable movement and convenient access.
Next, examine the ground conditions. Look for areas that collect rainwater, soft soil, exposed roots, and noticeable changes in elevation.
Drainage deserves particular attention. A walkway should not direct runoff toward your home's foundation or neighboring property. Depending on the site, grading adjustments or additional drainage measures may be necessary.
For gravel and paver walkways, proper excavation and foundation preparation are essential. The required base depth depends on the soil, climate, intended loads, and paving system.
A compacted crushed-stone foundation generally provides better support than installing pavers directly on loose soil. Suitable bedding materials and edge restraints can further improve stability.
Before digging, identify buried utilities and follow local requirements for excavation.
It's also worth comparing the long-term maintenance needs of different materials. Gravel may need occasional replenishment, timber requires inspection for deterioration, and vegetation between paving stones needs regular care.
If your budget is limited, consider completing the project in sections. Focus on the most frequently used portion first, then extend the walkway as time and resources allow.
Taking care with the foundation, drainage, and layout usually provides greater long-term value than spending extra money on decorative materials.
23. More Outdoor DIY Ideas
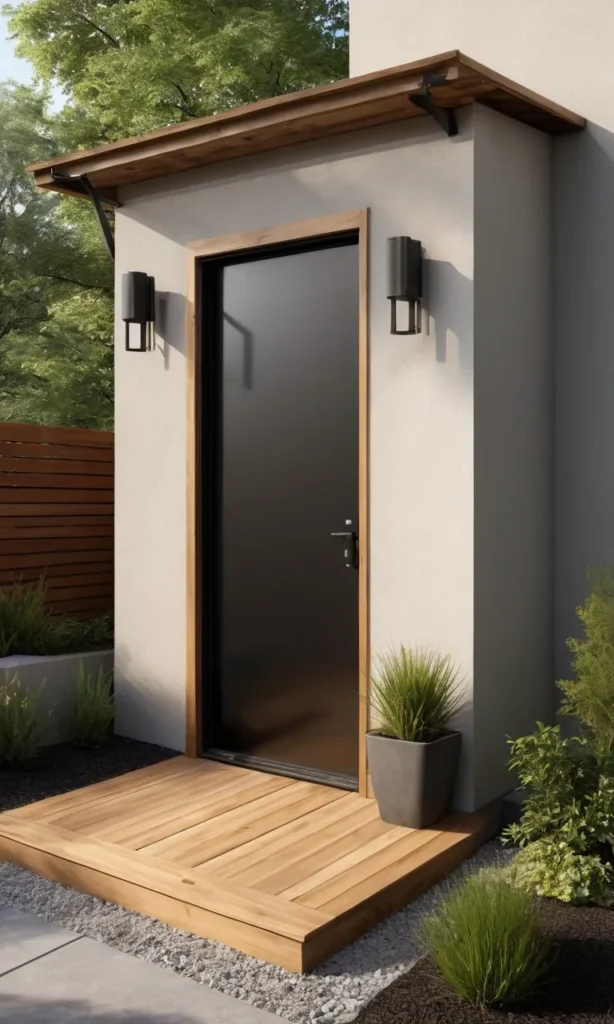
Once your walkway is complete, other affordable improvements can make the surrounding landscape more attractive and functional.
DIY Dry Creek Bed for Drainage Ideas: Use decorative stone channels to manage suitable surface runoff while adding natural texture to your garden.
DIY Outdoor Bench Ideas: Build a comfortable seating area beside your new walkway using lumber or appropriate reclaimed materials.
DIY Firepit Backyard Ideas: Create an inviting gathering space with a properly located firepit and suitable noncombustible surroundings.
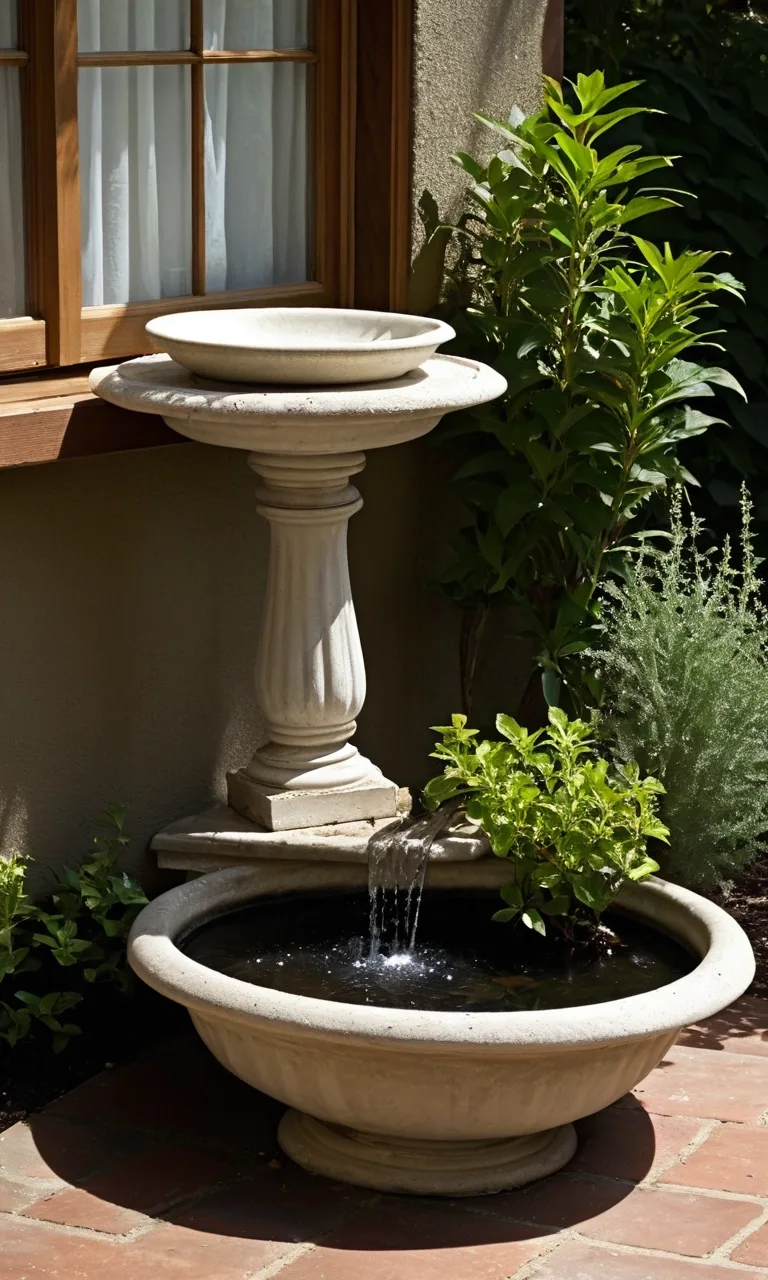
DIY Water Fountain Ideas: Add a small garden water feature that complements your walkway and surrounding plants.
A beautiful outdoor pathway doesn't require expensive landscaping materials or an elaborate design. The most successful projects combine affordable supplies with careful installation and a layout that genuinely improves how the yard functions.
Whether you choose natural stone, gravel, concrete pavers, or wood, prioritize a secure walking surface, reliable drainage, and manageable maintenance.
With thoughtful planning and a little DIY effort, even a modest walkway can make your garden feel more organized, welcoming, and complete.