20 Camping Gear Storage Ideas for 2026
Camping trips are easier to plan when your tents, sleeping bags, cooking supplies, and outdoor accessories have designated storage spaces. Without a proper system, bulky equipment can quickly take over closets, garages, and spare rooms. The right camping gear storage setup helps protect your equipment, make better use of available space, and ensure everything is ready when adventure calls.
Whether you have a dedicated garage, a small apartment, or a backyard shed, these 20 camping gear storage ideas offer practical ways to keep your equipment organized, accessible, and in good condition.
Which Smart Storage Solutions Work Best for Bulky Camping Gear?
Bulky camping equipment requires storage solutions that balance capacity, accessibility, and protection. Tents, folding chairs, sleeping pads, and coolers can occupy considerable space, so choosing the right arrangement makes a noticeable difference.
Start by separating equipment according to its purpose, size, and frequency of use. Heavy items belong on sturdy lower shelves, while lightweight accessories can go into labeled containers or overhead compartments. Tall shelving units make use of vertical space, and wall-mounted hooks keep chairs, backpacks, and other hanging equipment off the floor.
Moisture control is equally important. Always dry tents, tarps, and sleeping bags thoroughly before storing them. Breathable bags are preferable for many sleeping bags, while sealed containers can work well for dry cooking accessories and other moisture-sensitive supplies. Keep fuel and other hazardous materials separate, following their manufacturers' storage instructions.
The most effective system combines several storage methods rather than relying on one oversized cabinet or container.
1. Gear Wall
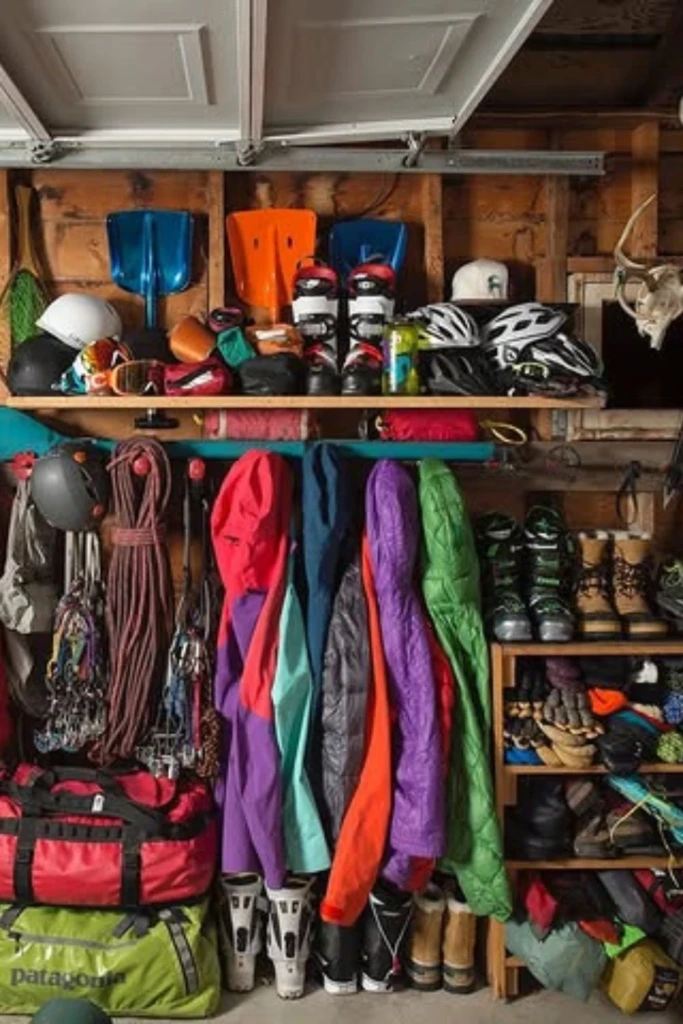
A gear wall turns an unused garage or utility-room wall into an organized home for frequently used camping equipment. By moving suitable items off the floor, you can free up valuable space for bicycles, vehicles, or larger equipment.
Install sturdy hooks, brackets, or a modular wall-mounted rail system to accommodate backpacks, folding chairs, lanterns, and lightweight tools. Place heavier objects on supports specifically rated for their weight, and secure the mounting hardware to appropriate wall studs or masonry anchors.
Arrange equipment by category so that related items stay together. For example, keep hiking accessories near backpacks and place lighting equipment close to your camping tool kit.
A gear wall works particularly well for households that camp regularly and want to grab essential items without opening multiple storage boxes.
2. Closet Station
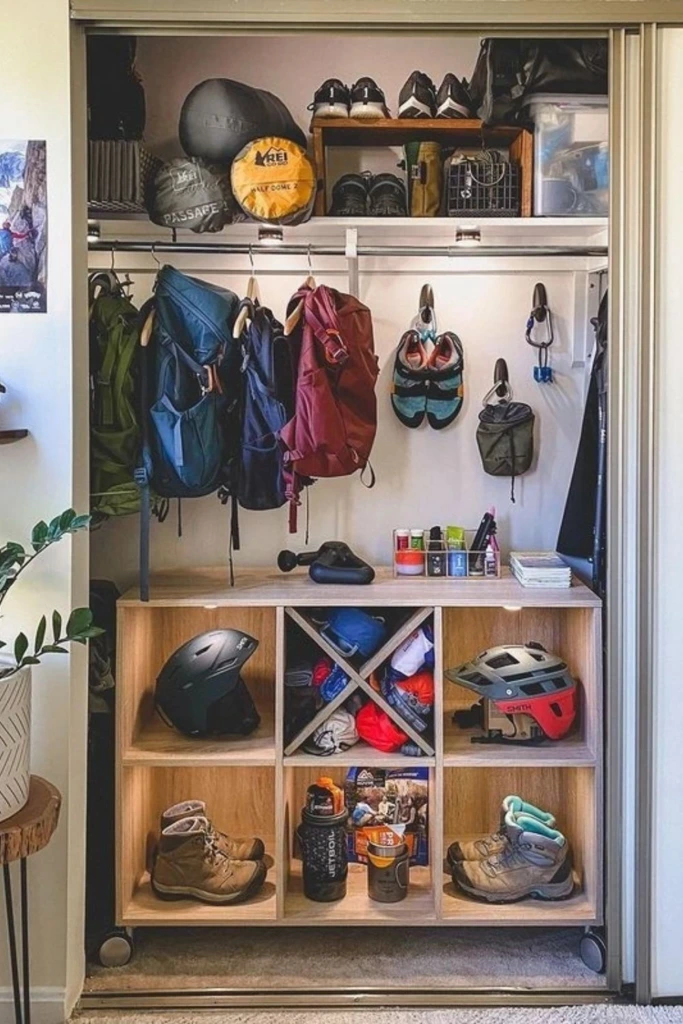
A closet station is an excellent option for people who lack a garage or dedicated equipment room. An existing hallway closet, spare-room wardrobe, or utility cupboard can become a compact camping supply center with a few thoughtful adjustments.
Use adjustable shelves for cookware, compact stoves, water bottles, and repair kits. Place small accessories in divided organizers or clear containers so they remain easy to identify. Hanging organizers can accommodate headlamps, gloves, lightweight rainwear, and other small essentials.
Reserve the lower section for heavier items, such as packed tents or cooking equipment, provided the shelf or floor can support the load. Store sleeping bags and clothing in a way that preserves their loft and keeps them clean.
A simple inventory attached to the inside of the closet door can help you check supplies before every trip.
3. Gear Shelving
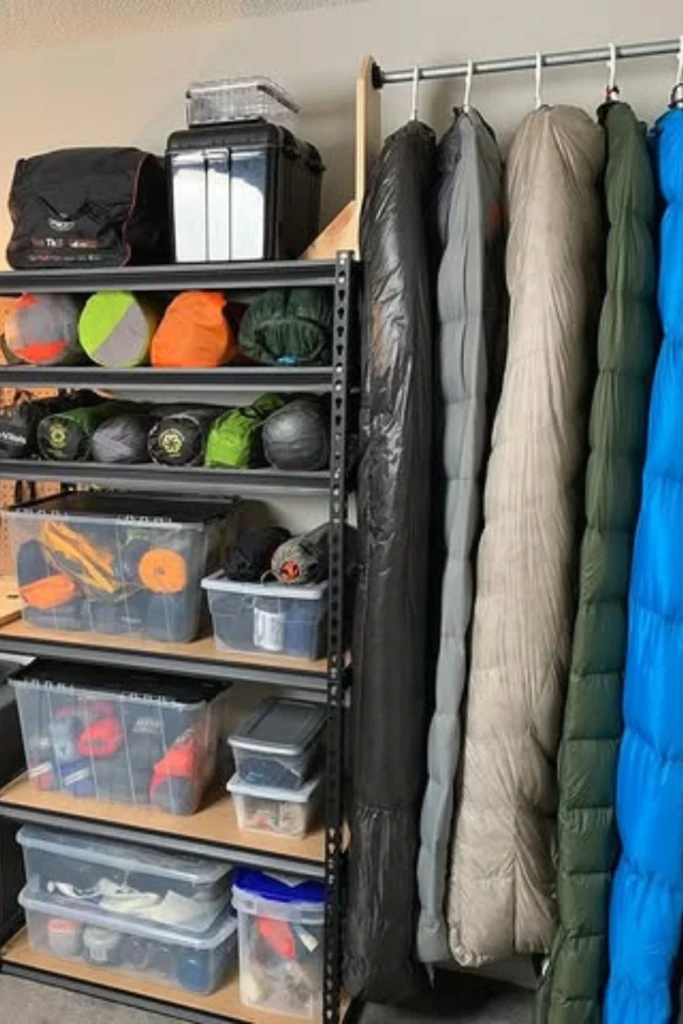
Freestanding shelving provides flexible storage for camping equipment of different shapes and sizes. It is especially useful in garages, basements, sheds, and spare rooms where wall-mounted solutions alone cannot accommodate everything.
Choose shelving with sufficient depth for large backpacks and plastic storage containers. Adjustable shelves allow you to create taller openings for coolers, sleeping pads, and folded camp chairs. Metal shelving can be useful in utility spaces, while sturdy resin units may suit areas where occasional dampness is a concern.
Arrange the shelves according to weight and frequency of use. Put heavy equipment on lower levels, frequently needed supplies around waist height, and lightweight seasonal items higher up.
Avoid packing shelves so tightly that equipment becomes difficult to remove. Leaving a little clearance around containers makes the entire system more convenient.
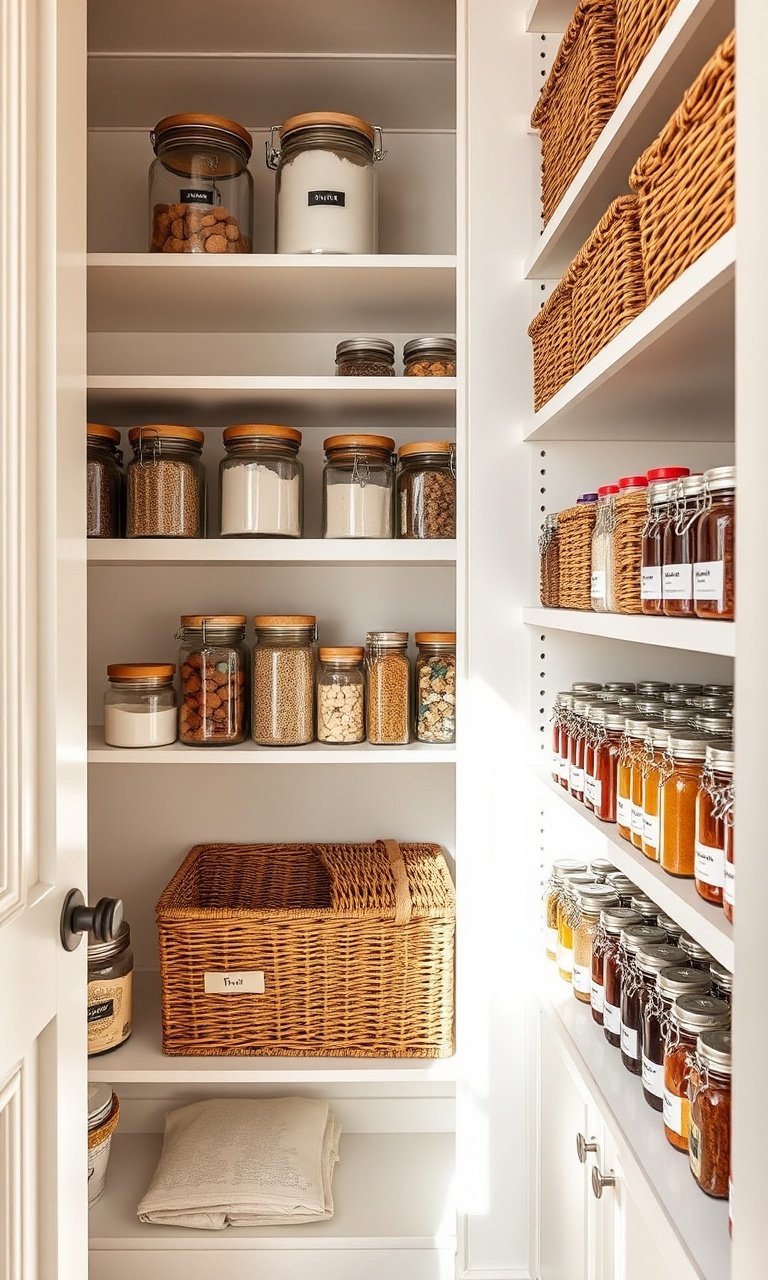
4. Camp Pantry
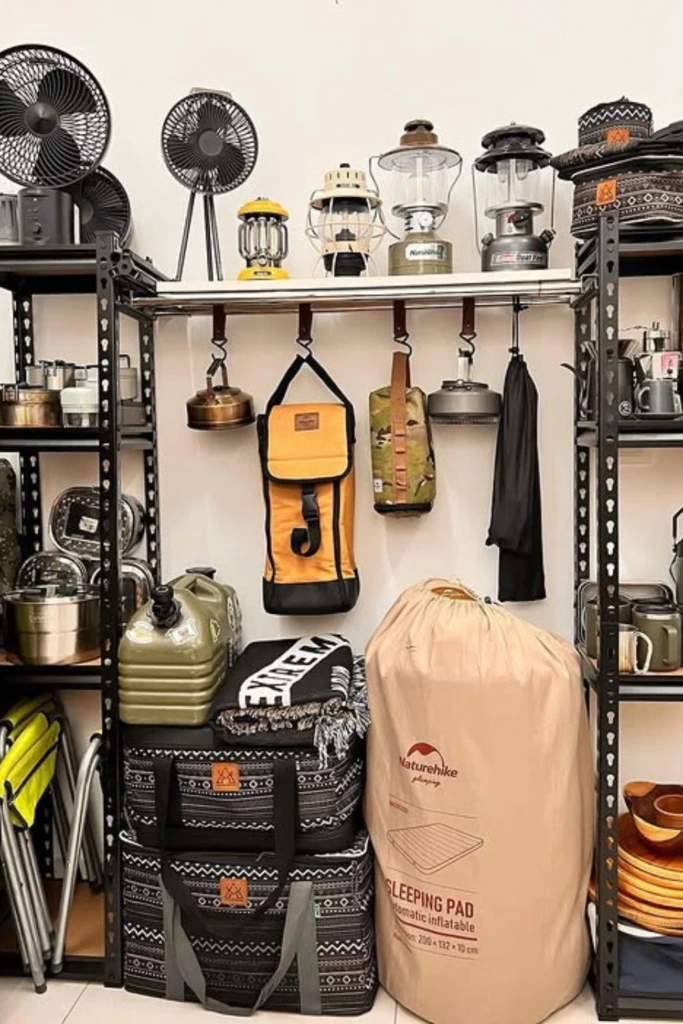
A camp pantry keeps outdoor cooking supplies together, reducing the time spent searching for utensils, seasonings, cookware, and other essentials before departure.
Dedicate a shelf or cabinet to camping kitchen equipment. Use smaller bins to separate cooking tools, reusable tableware, water-treatment supplies, and cleaning accessories. A separate container for meal-preparation equipment helps you assemble a complete kitchen kit quickly.
Keep food out of storage containers intended for general equipment unless those containers are clean, food-safe, and suitable for the purpose. Store dry food in appropriate airtight packaging, check expiration dates, and avoid leaving food residues on cookware or utensils.
Fuel canisters and liquid fuels should be stored separately in accordance with product labels and local safety requirements. Do not place them near heat sources or in unsuitable enclosed spaces.
A well-organized camp pantry makes meal preparation simpler and helps prevent essential cooking items from being forgotten.
5. Gear Hub
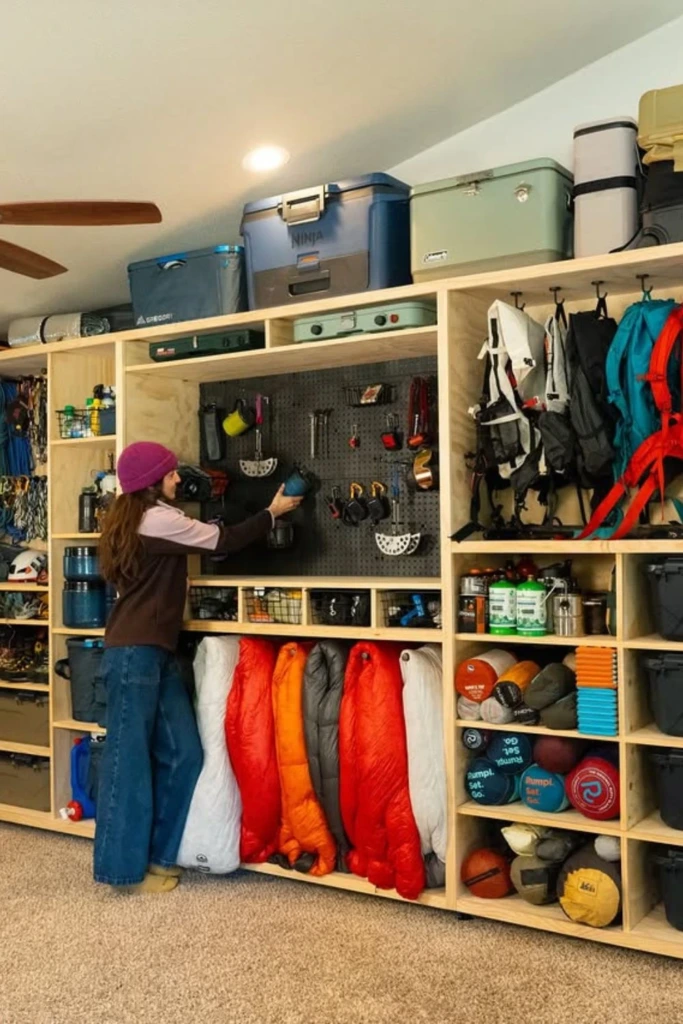
A gear hub serves as the central collection point for all your camping supplies. Instead of distributing equipment throughout the house, create one designated area where major items and trip essentials can be found together.
A garage corner, mudroom, basement section, or spare room can work well. Combine shelves for containers, hooks for backpacks, and a small work surface for sorting equipment or preparing checklists.
Group supplies into practical categories such as shelter, sleeping, cooking, clothing, lighting, and navigation. Keep a small checklist nearby to help you confirm that every category is covered before leaving home.
If multiple people use the equipment, label shelves clearly and assign each person responsibility for returning their items after a trip.
The biggest advantage of a gear hub is consistency. Everyone knows where equipment belongs, making packing, unpacking, and maintenance easier.
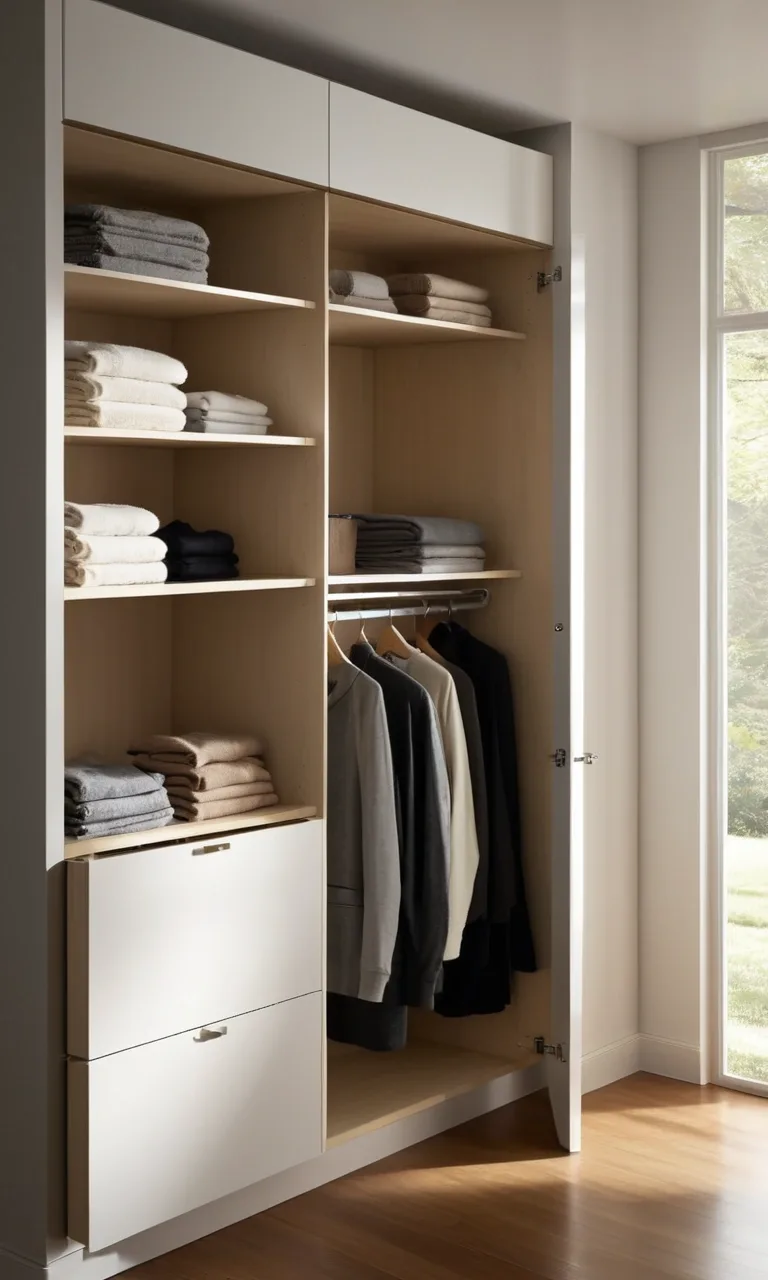
6. Gear Closet
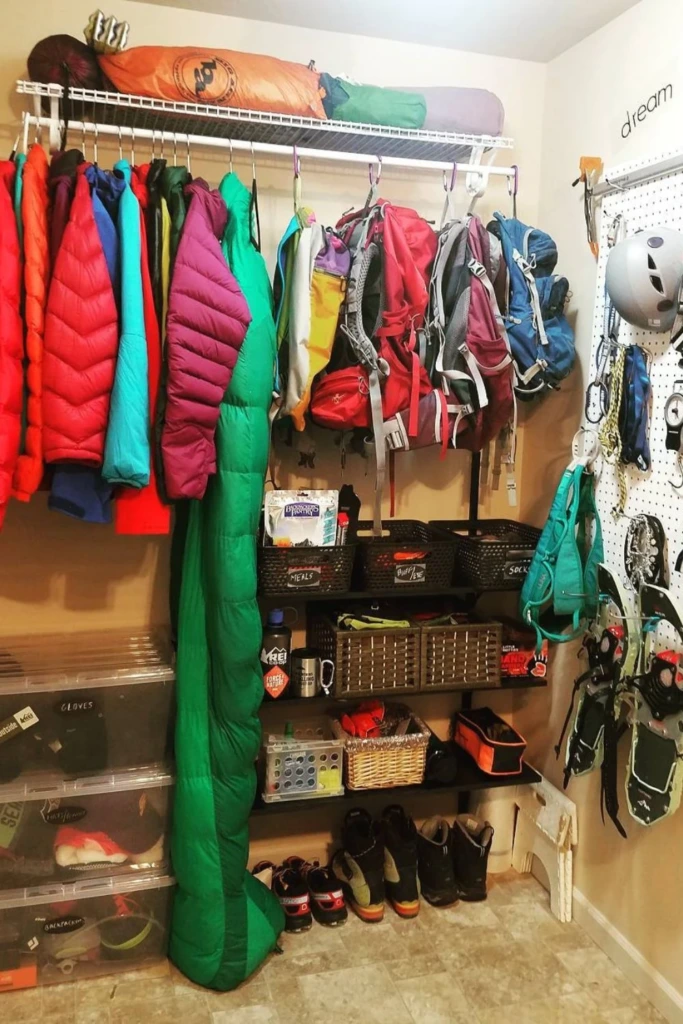
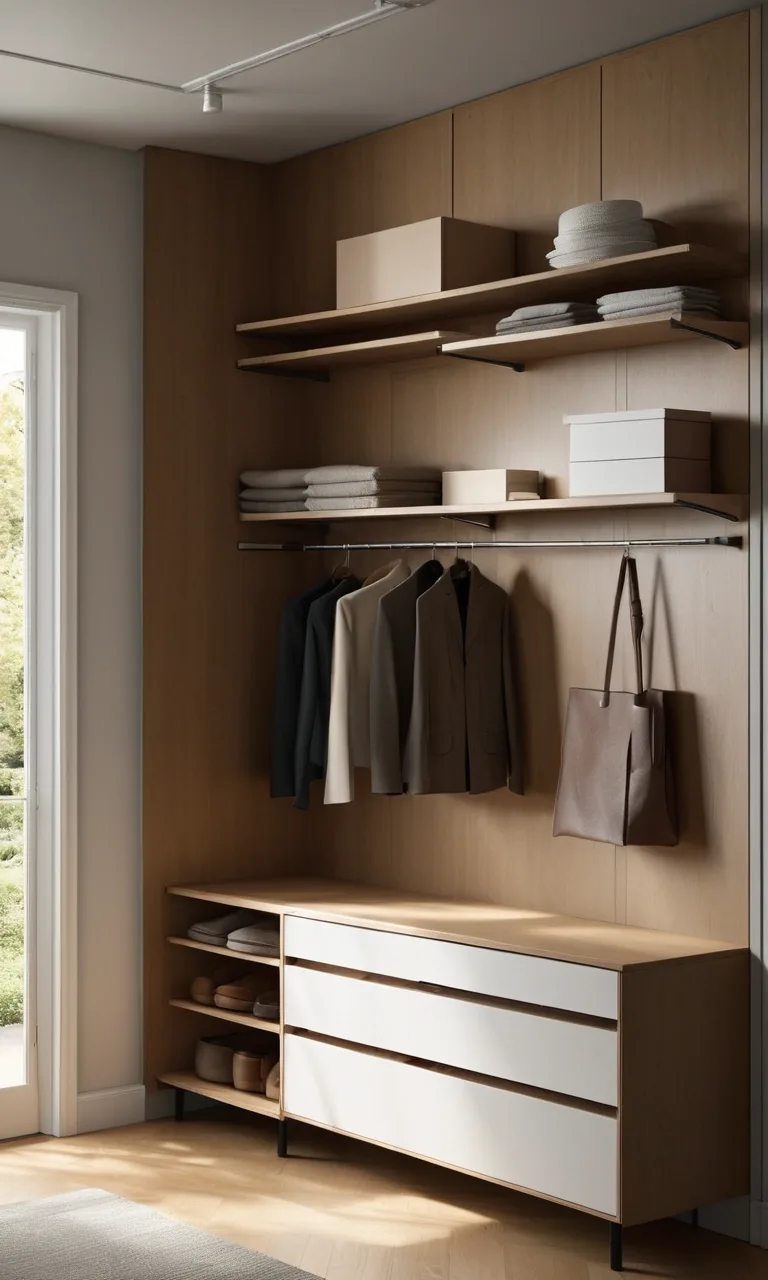
A gear closet offers enclosed storage for people who prefer a tidy living space without visible camping equipment. It can also help protect clean supplies from dust, pets, and everyday household activity.
Use a combination of shelves, hanging space, and floor-level storage to accommodate different equipment types. Smaller accessories can go into labeled boxes, while backpacks and lightweight garments can hang from suitable hooks.
Avoid squeezing sleeping bags into permanently compressed spaces, particularly if their care instructions recommend loose storage. Allow damp-prone equipment to dry fully before placing it inside the closet, and ensure the area remains reasonably dry and ventilated.
For narrow closets, use the full height of the available space while keeping frequently accessed items within easy reach. A step stool may help with lighter equipment stored overhead, but heavy containers should remain lower.
An enclosed gear closet is especially useful when camping equipment shares space with ordinary household belongings.
7. Climb Rack
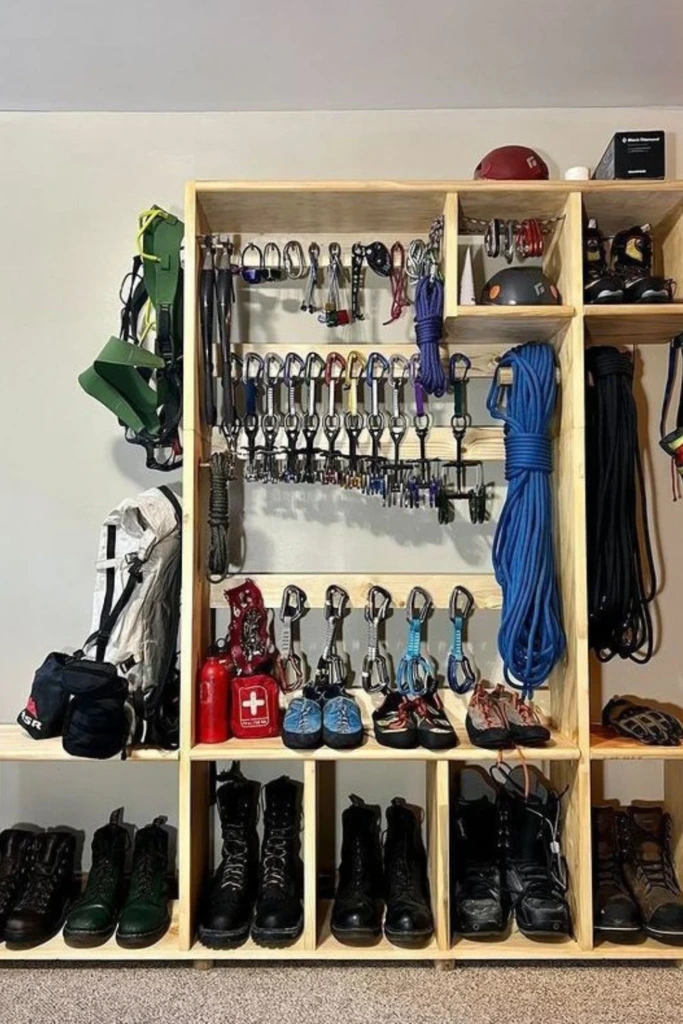
A climb rack uses vertical storage to accommodate long or awkward outdoor equipment that does not fit neatly on standard shelves. Depending on its design, it can hold trekking poles, paddles, folded camp chairs, walking sticks, and similar items.
Choose a rack intended for the equipment you plan to store. Check its weight limits, mounting requirements, and spacing before installation. Padding or protective sleeves can prevent scratches on equipment with delicate finishes.
Keep long objects secured so they cannot slide out or fall when another item is removed. Store sharp tools with their protective covers fitted, and position frequently used pieces where they can be retrieved without moving everything else.
This approach is particularly helpful for households that combine camping with hiking, kayaking, or other outdoor activities.
8. Grid Panels
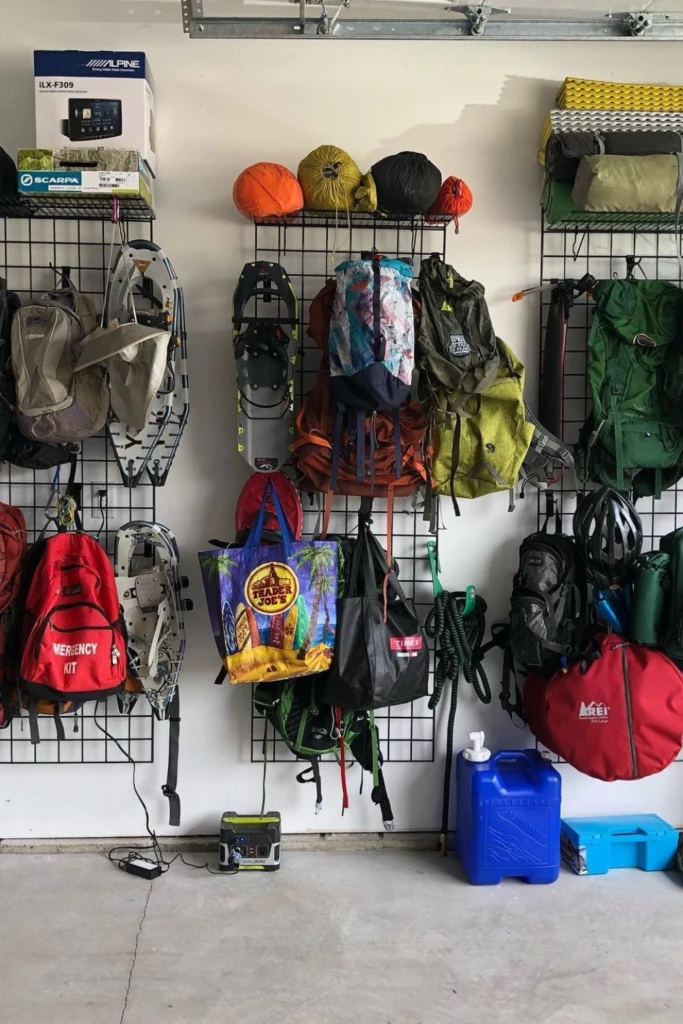
Grid panels provide a customizable alternative to fixed hooks and traditional shelving. Their open structure makes it easy to see stored equipment and rearrange attachments as your collection changes.
Mount a suitable metal grid panel on a stable wall and add compatible hooks, baskets, or clips. Small accessories such as whistles, compasses, headlamps, gloves, and repair tools can occupy baskets, while lighter hanging equipment can use hooks.
Arrange items by activity or purpose rather than simply filling every available space. Leave enough room to remove equipment without disturbing neighboring items.
Make sure the panel and its mounting system are rated for the intended load. Large backpacks or heavy tools may require dedicated supports instead of ordinary grid hooks.
Grid panels work especially well in compact garages and utility rooms because they provide visible, adaptable storage without requiring a large footprint.
9. Pegboard Display
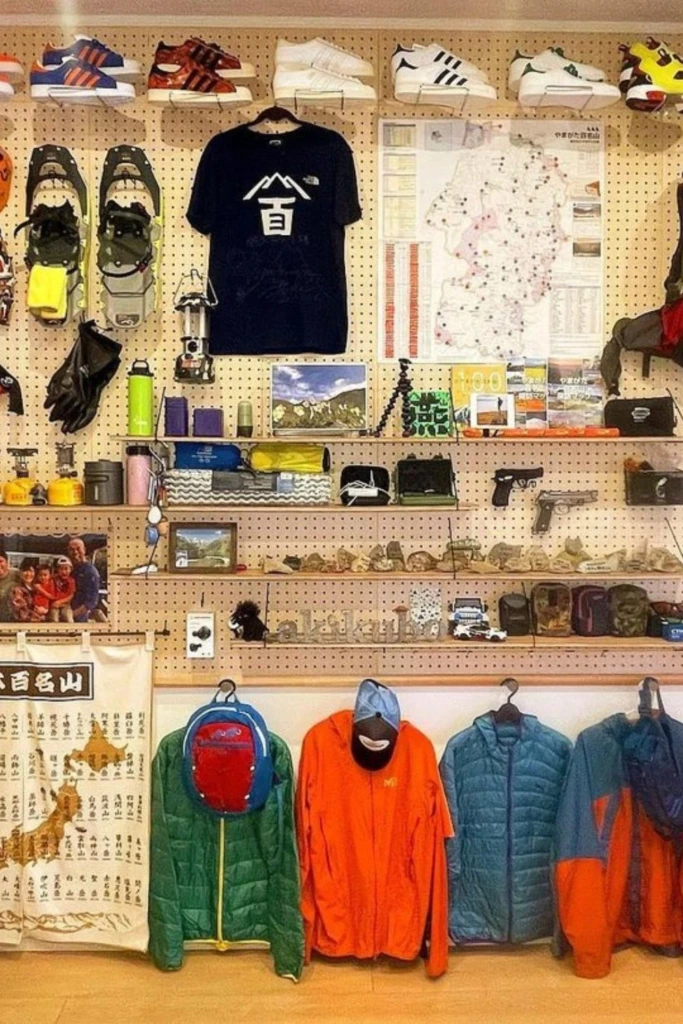
A pegboard display transforms a plain wall into an organized storage area for small camping accessories and lightweight tools. Its adjustable pegs and hooks make it easy to change the arrangement whenever you purchase new equipment.
Use the board for headlamps, compasses, multitools, repair kits, whistles, carabiners, and other small items that are easy to misplace. Small baskets can hold batteries, tent-repair patches, cord locks, and similar accessories.
Create separate sections for different purposes, such as navigation, lighting, repairs, and personal accessories. Labels or simple outlines can make it obvious where everything belongs.
Choose a board and mounting arrangement suitable for the weight of the items. Heavy equipment should be supported by appropriate brackets or stored on stronger shelving rather than relying on lightweight pegs.
A pegboard is especially useful when you want a quick visual check of your small essentials before heading outdoors.
10. Utility Rack
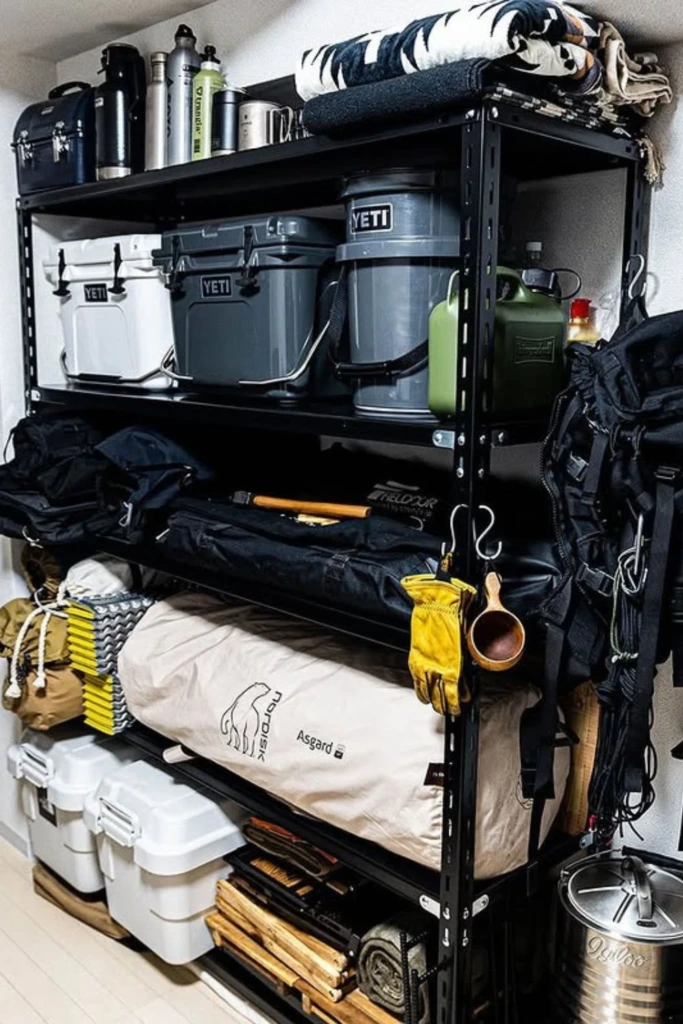
A utility rack is a practical choice for storing bulky camping gear in a garage, laundry room, shed, or basement. Its open design makes it easier to accommodate equipment that varies in height and shape.
Use lower shelves for coolers, water containers, and heavier cooking equipment. Middle shelves can hold labeled bins of accessories, while the upper levels can accommodate lighter items that are used less frequently.
Select a rack with a suitable load rating and enough clearance for the largest pieces of equipment. Adjustable shelves are helpful when your collection includes unusually tall items.
If the rack sits in a damp or dusty location, choose materials appropriate for that environment and use containers that protect sensitive equipment. Keep the surrounding floor clear to make it easier to remove large items safely.
A utility rack provides a straightforward storage solution without requiring permanent cabinetry or extensive installation.
11. Gear Board
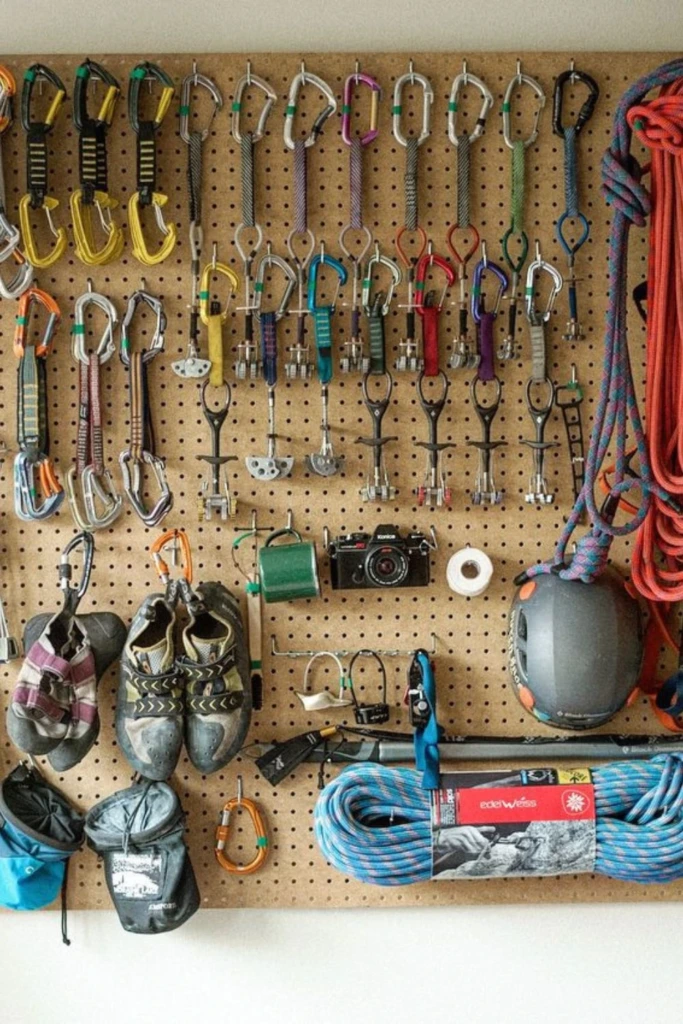
A gear board provides a dedicated place to arrange smaller pieces of camping equipment so they remain visible and easy to retrieve. It can be a corkboard, magnetic board, or purpose-built organizer, depending on the items you need to manage.
Use it to keep track of checklists, campsite reservations, packing reminders, route notes, and lightweight accessories. Small labeled pockets can hold paper maps, permit documents, and instruction booklets, while magnetic attachments can organize suitable metal items.
Avoid placing heavy equipment on a board that is not designed to support it. Paperwork should be protected from moisture, and any sensitive personal information should be kept secure.
A gear board works best when paired with shelves or bins for larger equipment. Its primary purpose is to organize information and small essentials rather than replace substantial storage furniture.
12. Rope Wall
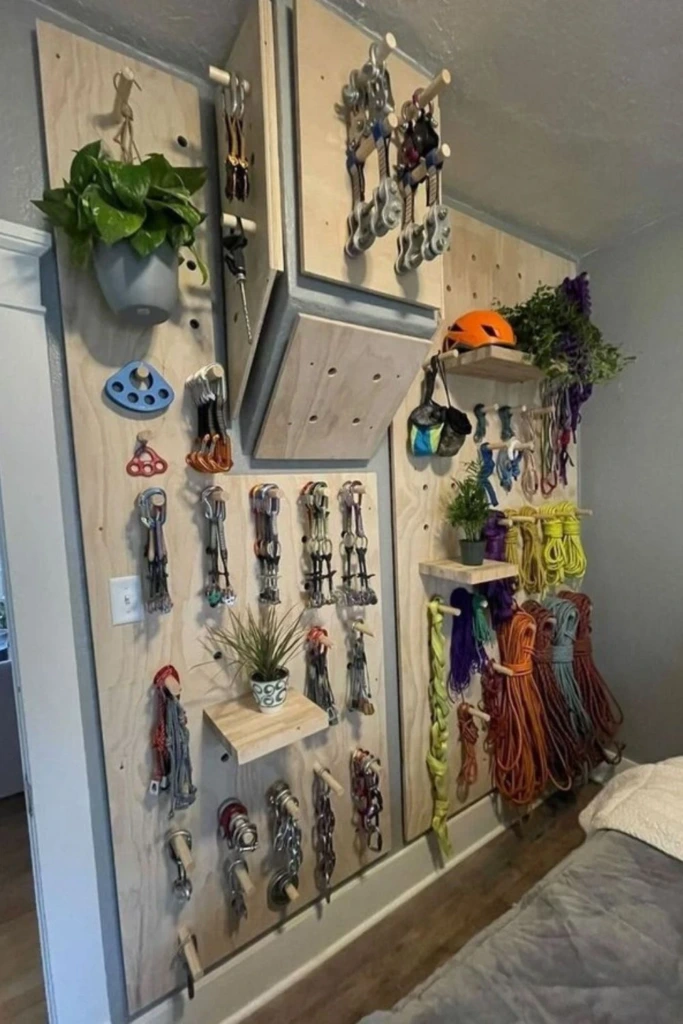
A rope wall can help organize suitable lengths of cordage, guy lines, and other flexible camping accessories that otherwise become tangled in storage boxes.
Install a purpose-built rack or a set of secure hooks to hold neatly coiled ropes. Use separate loops, bags, or labeled holders for tent guy lines, spare paracord, and other cords so they do not become mixed together.
Before storing any rope, check it for fraying, abrasion, damaged stitching, or other signs of wear. Clean and dry it according to the manufacturer's recommendations, then coil it in a manner appropriate for its construction.
Never assume that a decorative rope-storage arrangement is suitable for climbing or life-safety equipment. Specialized ropes require appropriate care, inspection, and storage practices.
A rope wall is particularly valuable for campers who frequently use tarps, large tents, or multiple shelters that require separate lines.
13. Shed Shelves
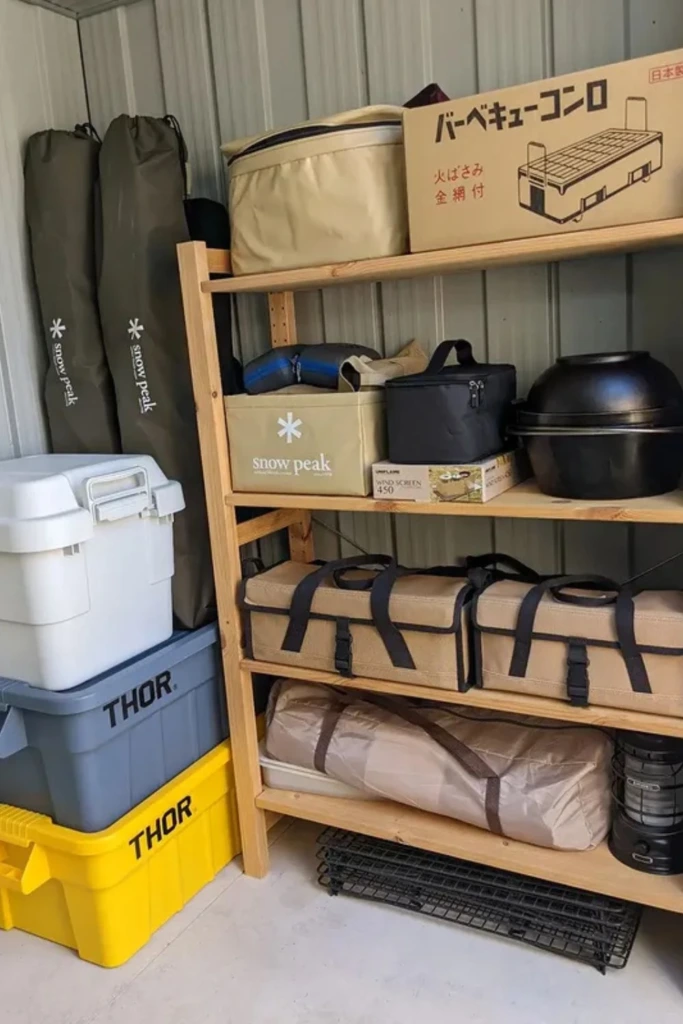
A backyard shed can provide valuable extra space for camping gear, particularly when indoor closets and garages are already full. Proper shelving helps transform this area into a functional equipment store.
Install durable shelves that suit the shed's dimensions and expected load. Keep heavy containers on lower levels, and use labeled bins to separate tent accessories, cooking equipment, ground protection, and other supplies.
Sheds can experience temperature fluctuations, condensation, dust, and pests, so consider the environment before storing sensitive equipment there. Use suitable sealed containers for items that need extra protection, but avoid trapping damp gear inside them.
Sleeping bags, inflatable mattresses, and other materials with specific storage requirements may be better kept indoors if the shed becomes very hot, cold, or humid.
Leave a clear path through the shed so you can reach stored equipment without moving heavy objects unnecessarily.
14. Gear Studio
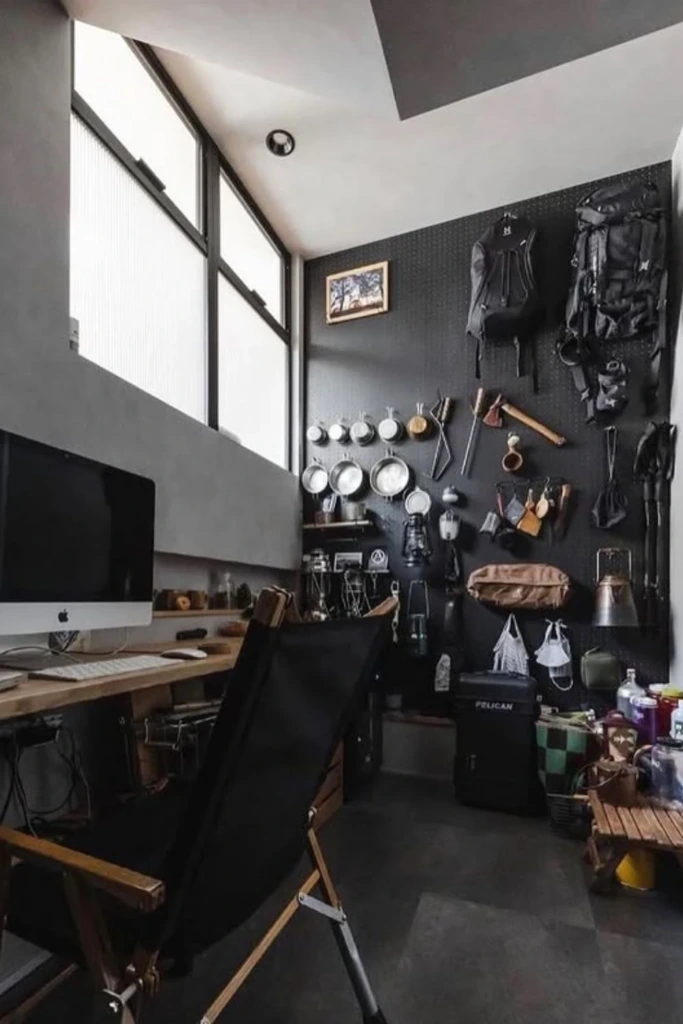
A gear studio is a dedicated room or section of a room where camping equipment can be stored, maintained, and prepared for upcoming trips. It is especially useful for families or outdoor enthusiasts with extensive equipment collections.
Combine shelves, work surfaces, hooks, and storage bins to create separate zones for different tasks. One area might hold shelter equipment, another could contain cooking supplies, and a third could be reserved for cleaning, repairs, and packing.
A sturdy table makes it easier to inspect tent seams, sort small accessories, replace batteries, and organize repair materials. Keep tools and sharp objects in secure storage, particularly if children have access to the room.
Use an inventory sheet or digital checklist to track equipment that needs cleaning, replacement, or repair. After every trip, return items to their assigned locations and note anything that needs attention.
A gear studio makes sense when camping is a regular hobby and equipment maintenance is an important part of trip preparation.
15. Labeled Bins
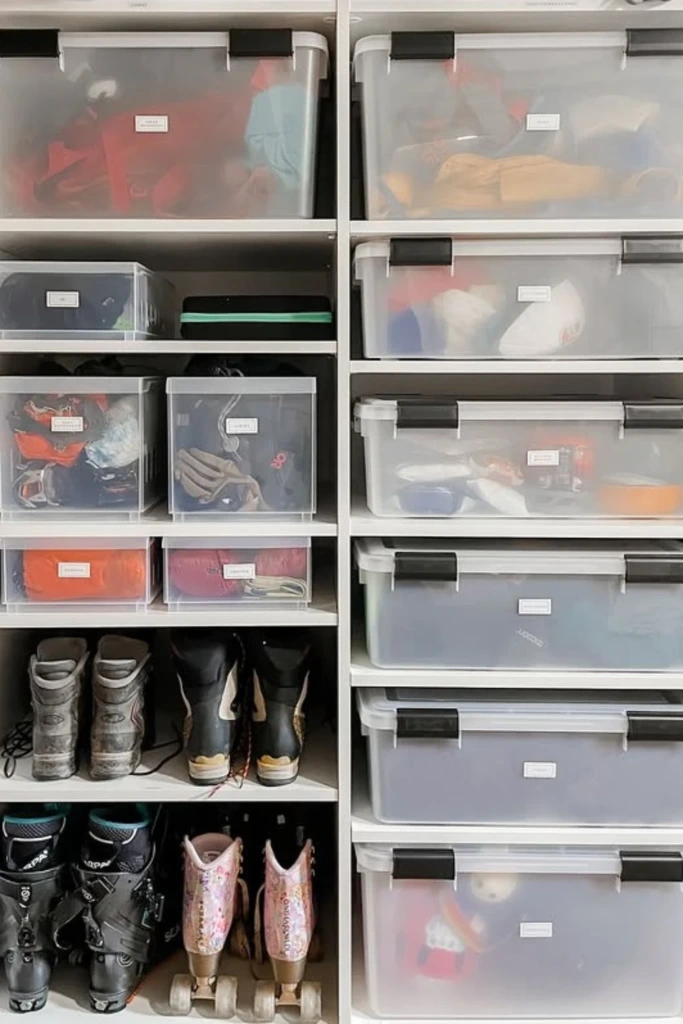
Labeled bins are among the simplest ways to bring order to a large camping collection. They group similar items together, protect equipment from dust, and make it easier to transport supplies from storage to your vehicle.
Choose container sizes based on what they will hold rather than buying a matching set that may not suit every item. Smaller boxes are useful for first-aid supplies, repair kits, and utensils, while larger containers can accommodate camp kitchen accessories and selected pieces of equipment.
Use clear bins when visibility matters or opaque containers when light protection is preferable. Add specific labels such as "Tent Accessories," "Camp Kitchen," or "Lighting and Batteries" instead of vague descriptions like "Outdoor Stuff."
Avoid putting wet tents, damp clothing, or moisture-containing equipment into airtight containers. Keep chemicals, fuel, and other hazardous materials separate from ordinary camping supplies.
A consistent labeling system allows anyone in the household to find the right equipment without opening every container.
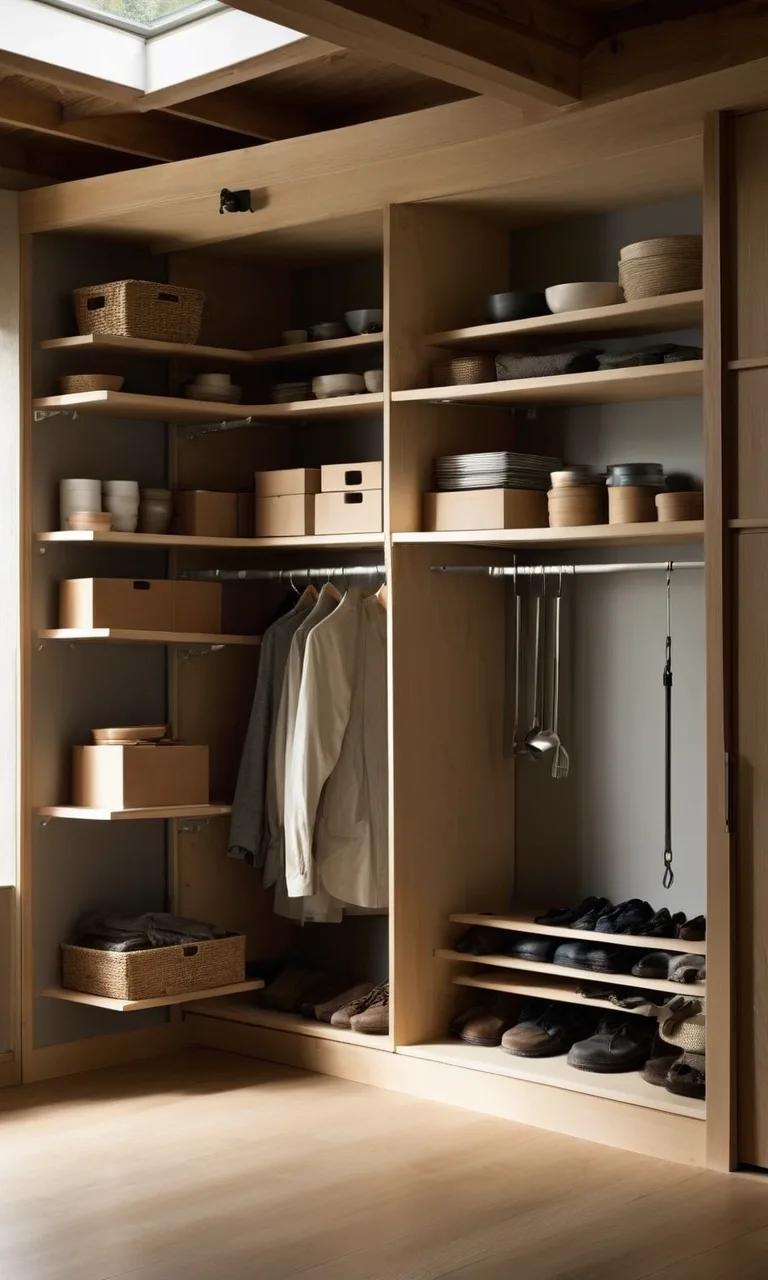
16. Gear Wardrobe
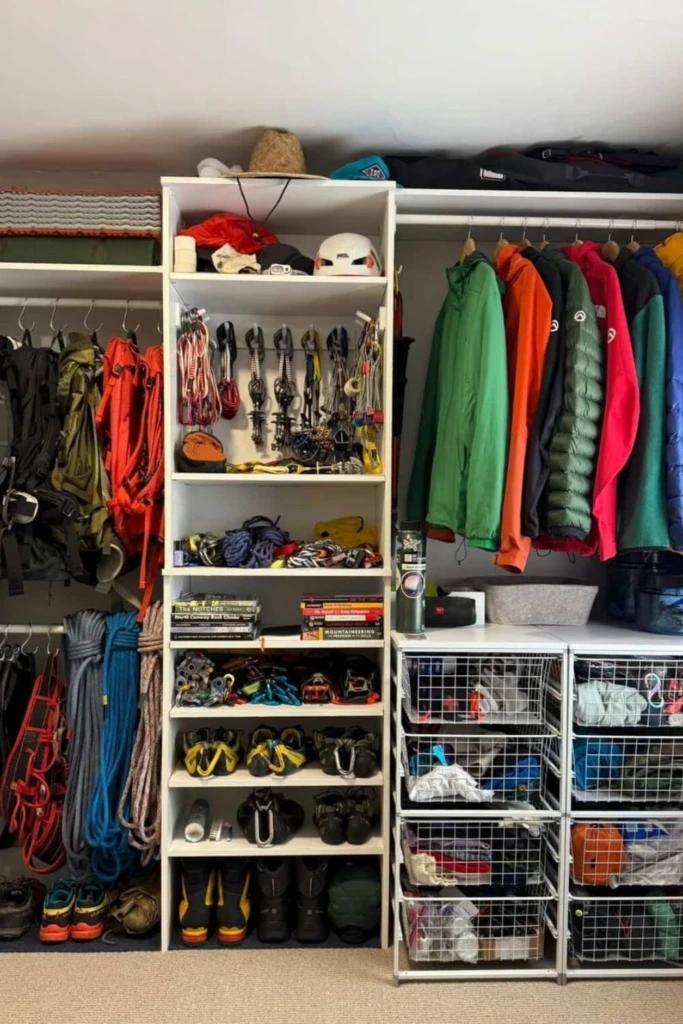
A gear wardrobe provides enclosed, compartmentalized storage for camping supplies in homes where a garage or dedicated equipment room is unavailable.
A sturdy wardrobe with adjustable shelves can accommodate backpacks, folded camp chairs, cooking kits, and small accessory boxes. If the unit includes hanging rails, they can hold suitable outdoor clothing, rain jackets, or lightweight equipment bags.
Organize the interior according to access frequency. Keep essentials you use on nearly every trip at the front and place seasonal or rarely used items farther back. Heavy objects should rest on a suitably strong lower shelf rather than on an unsupported hanging rail.
For fabric equipment, follow the manufacturer's instructions regarding compression, ventilation, and long-term storage. Avoid crowding the wardrobe so tightly that gear becomes difficult to remove or inspect.
A gear wardrobe combines the convenience of a dedicated equipment cabinet with a clean, furniture-like appearance.
17. Camp Wall
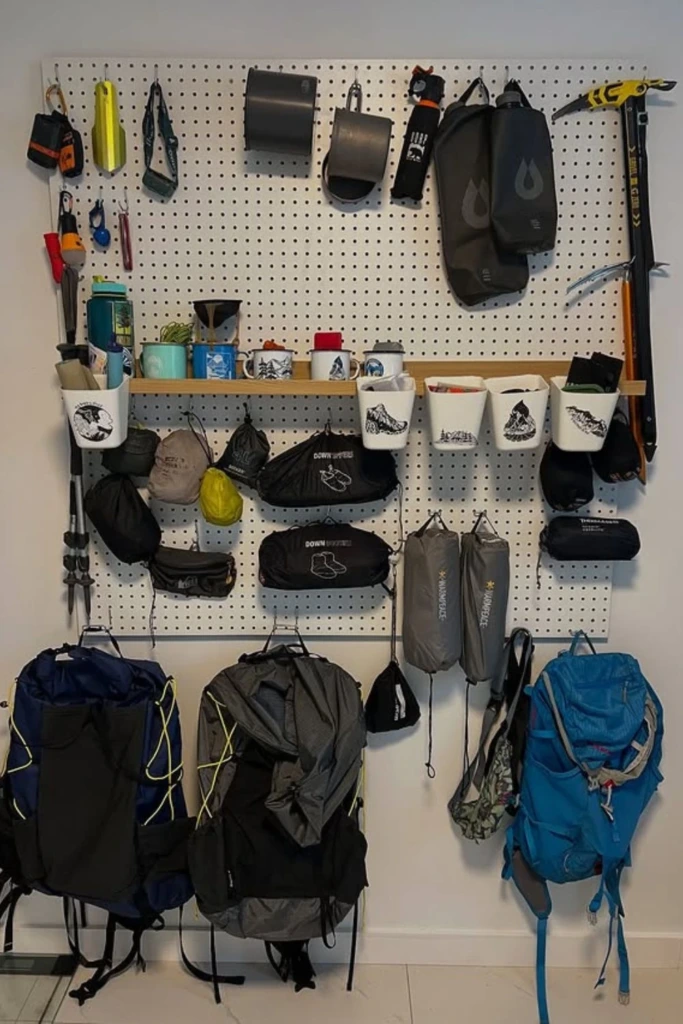
A camp wall is a designated wall section where camping equipment is arranged into easy-to-reach categories. Unlike a general storage wall, it can be planned around the sequence of activities involved in setting up and using a campsite.
For example, place shelter accessories near tent storage, keep lighting and navigation equipment together, and position cooking accessories near the containers used for camp meals.
Use a mixture of hooks, baskets, wall-mounted organizers, and shelves to accommodate different item sizes. Keep sharp tools protected and heavy objects securely supported.
If space is limited, focus on the gear you use most frequently rather than trying to display your entire collection. Larger or less frequently used equipment can remain in bins underneath the wall.
A camp wall gives your equipment a clear organizational structure and makes it easier to notice when a commonly used item is missing.
18. Gear Corner
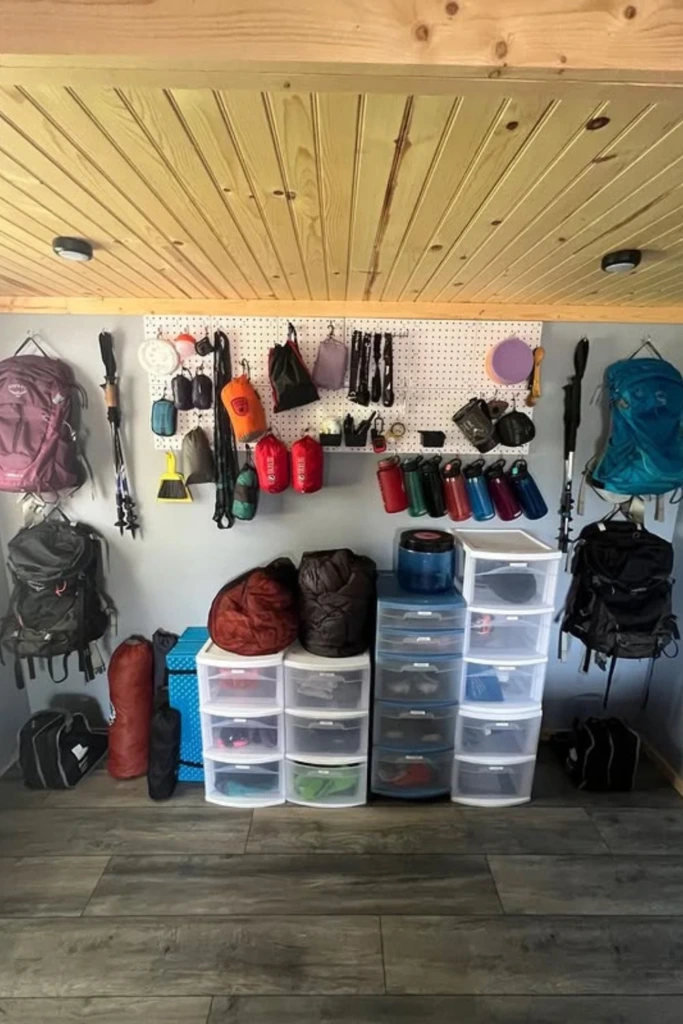
A gear corner is a compact storage arrangement designed for homes without room for a full equipment station. A spare corner in a garage, bedroom, laundry area, or utility room can often hold a surprising amount of camping gear.
Start with a narrow shelving unit or a small stack of appropriately rated storage containers. Add wall hooks for lightweight backpacks or folding chairs, and use smaller organizers to contain loose accessories.
Take advantage of vertical space while keeping frequently used items within comfortable reach. If the corner is near a door, make sure stored equipment does not obstruct the opening, narrow a walkway, or create a tripping hazard.
For shared living spaces, matching containers and discreet labels can make the arrangement look tidier. A small inventory list can also help you identify missing supplies without unpacking everything.
This solution is ideal for occasional campers who need accessible storage but do not have enough equipment to justify a separate room.
19. Camp Workshop
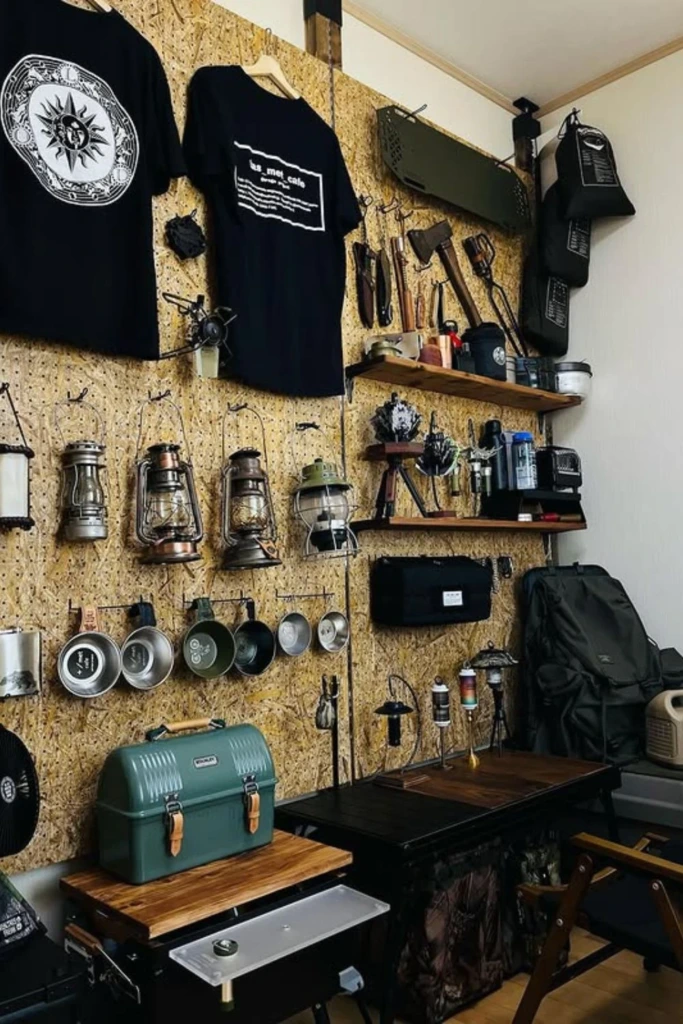
A camp workshop combines storage with a practical area for cleaning, inspecting, and repairing equipment. It is particularly useful for people who camp frequently or maintain tents, tarps, stoves, and other gear themselves.
Set aside a sturdy workbench or table with good lighting. Store repair tape, compatible adhesives, spare buckles, tent patches, sewing supplies, and basic tools in clearly labeled drawers or containers.
Keep clean equipment separate from dirty items awaiting maintenance. After a trip, remove mud and debris, allow wet gear to dry, and inspect zippers, seams, poles, straps, and fasteners before putting everything away.
Follow the instructions supplied with each piece of equipment when carrying out repairs. Fuel-burning appliances should be serviced and stored according to their manufacturer's safety guidance.
A camp workshop helps prevent minor equipment problems from becoming unpleasant surprises at the campsite.
20. Cabin Shelves
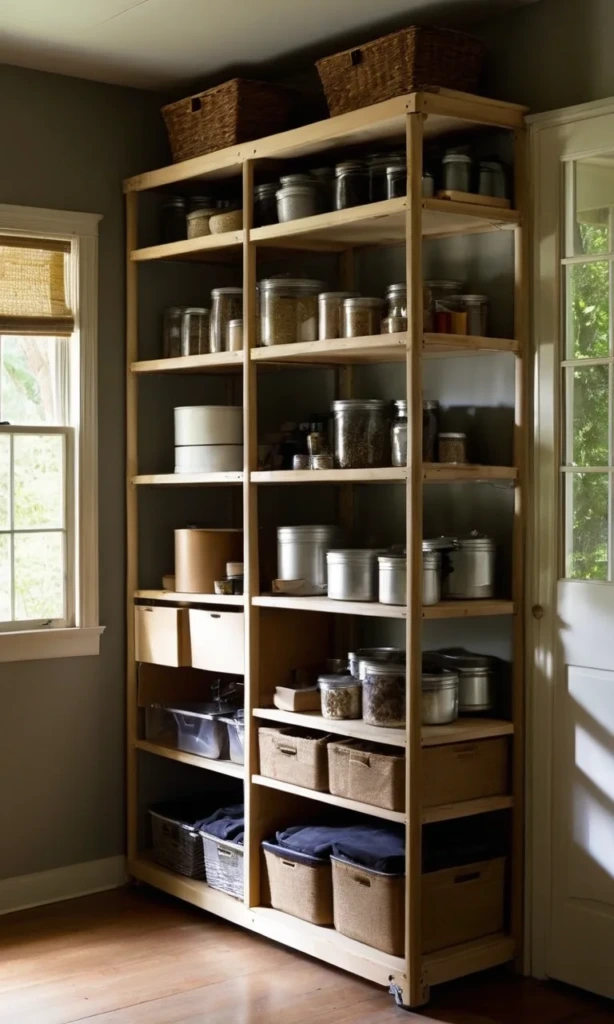
Cabin shelves are a useful storage option for camping equipment kept in a holiday cabin, vacation property, or dedicated outdoor retreat. They allow you to leave selected supplies at the property instead of transporting every item for each visit.
Use sturdy shelving to separate bedding, cooking utensils, lanterns, games, and other frequently used camping essentials. Clearly mark which supplies belong to the property and which items visitors should bring themselves.
If the cabin remains unoccupied for long periods, consider the effects of humidity, temperature changes, insects, and rodents. Use suitable protective containers, inspect stored supplies periodically, and avoid leaving food or scented products that could attract pests.
Keep emergency supplies and essential safety equipment easy to locate. Heavier items should remain on lower shelves, and shelves should be securely installed to prevent tipping.
A well-organized cabin storage area makes repeat visits more convenient while reducing the amount of gear you need to pack from home.
FAQs
Organizing camping equipment becomes easier when you choose storage methods that suit your available space, the size of your collection, and how often you go outdoors. The following answers address two common challenges: managing bulky equipment and preparing efficiently for your next trip.
How do you store bulky camping gear without taking up too much space?
The best approach is to combine vertical storage, compact organization, and sensible grouping.
Start by identifying the largest items, such as tents, coolers, sleeping pads, camp chairs, and sleeping bags. Store them according to their size and manufacturer's care instructions. Use sturdy shelves for heavy containers, wall-mounted hooks for suitable lightweight equipment, and adjustable racks for awkwardly shaped items.
Make use of the height of your storage area instead of spreading everything across the floor. Stack only containers designed to stack safely, and keep frequently used equipment at accessible levels.
Separate small accessories into labeled bins to prevent them from occupying unnecessary space. Store sleeping bags and other insulated products according to their recommended long-term storage methods rather than compressing them indefinitely.
Finally, review your collection before each season. Remove damaged equipment, donate usable items you no longer need, and avoid keeping duplicate supplies that serve no practical purpose.
What is the best way to organize camping gear for quick trip preparation?
Create a consistent system based on camping activities, and return every item to the same place after each trip.
Divide your equipment into categories such as shelter, sleeping, cooking, clothing, lighting, navigation, hygiene, and first aid. Keep the smaller items for each category together in clearly labeled containers or organizers.
Prepare ready-to-go kits for common needs. A cooking kit might include utensils, cookware, and cleaning accessories, while a shelter kit could contain compatible tent poles, stakes, guy lines, and repair supplies. Check that the contents match your particular tent or cooking setup before packing.
Maintain a master checklist and review it before departure. After returning home, clean and dry equipment, replenish consumables, charge rechargeable devices, and record any items that need repairs or replacement.
If you camp with other people, make the system easy for everyone to understand. Clearly labeled storage and a shared checklist reduce confusion, prevent forgotten essentials, and make packing much faster.
Final Thoughts
A well-planned camping gear storage system saves space, protects valuable equipment, and makes preparing for outdoor adventures less stressful. From wall-mounted organizers and sturdy shelving to labeled bins and dedicated gear rooms, the best solution is one that fits your home and the equipment you actually use.
Begin with a small, manageable area, assign each category a permanent place, and build your system as your needs change. With consistent organization and proper equipment care, you can spend less time searching for supplies and more time enjoying your next camping trip.