20 Solar System Projects for Kids in 2026
Solar system projects give children an exciting way to explore space without leaving home or the classroom. With a few everyday craft supplies, kids can turn planets, stars, and orbits into colorful models they can touch, build, and explain.
Whether you're helping with a school assignment, planning a science fair display, or looking for a creative weekend activity, the best project is one that combines hands-on fun with a clear scientific idea. Some children may enjoy painting planets, while others will prefer building moving models or designing a space-themed poster.
In this guide, you'll find 20 solar system project ideas for different ages, skill levels, and available materials. Each activity offers a practical way to introduce astronomy while encouraging creativity, observation, and problem-solving.
What is the Solar System for Kids?
The solar system includes the Sun and everything held by its gravity, including eight planets, their moons, dwarf planets, asteroids, and comets. The planets travel around the Sun along paths called orbits, while many moons orbit their respective planets.
For children, a model can make these relationships easier to understand. A large ball can represent the Sun, smaller balls can stand for planets, and curved lines can show their orbital paths. Color, labels, and simple comparisons help children remember important facts.
The eight planets, in order from the Sun, are Mercury, Venus, Earth, Mars, Jupiter, Saturn, Uranus, and Neptune. They differ in size, composition, temperature, and distance from the Sun. Earth is the only world currently known to support life, thanks to a combination of conditions that allow liquid water and other necessities.
Keep one scientific detail in mind when creating a model: most classroom displays are not built to scale. Planet sizes and distances are often adjusted to make everything visible. Explaining this difference gives children a more accurate understanding of how enormous space really is.
1. Interactive Foam Ball Solar System
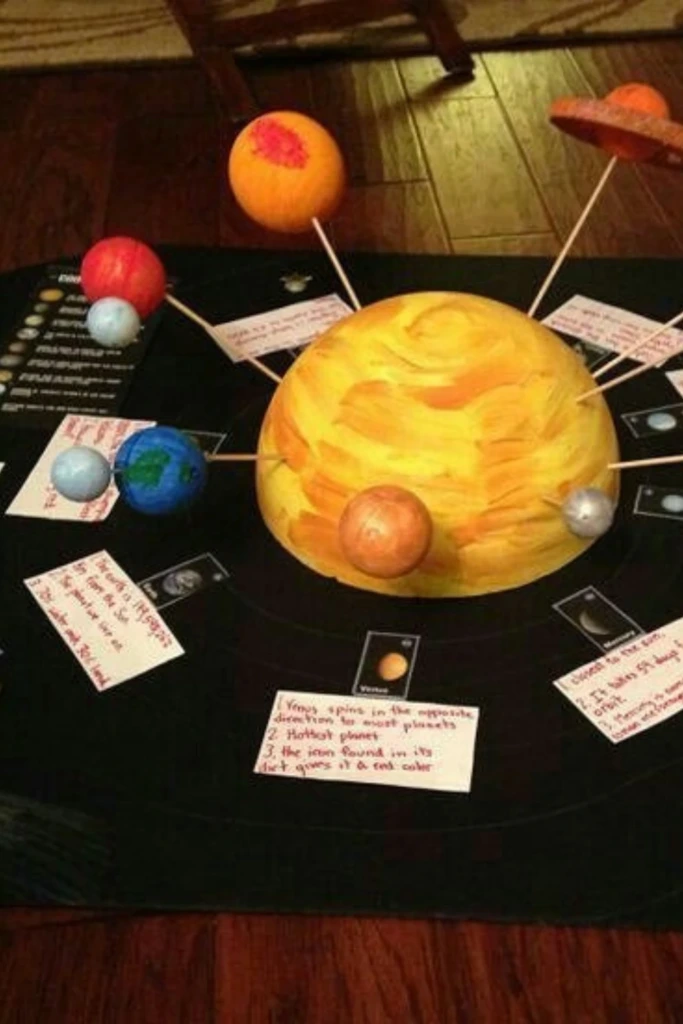
Create a three-dimensional solar system using foam balls, paint, wooden skewers, and a sturdy base. Choose different ball sizes to distinguish the planets, then paint each one using recognizable colors and patterns.
Place the Sun in the center and arrange the planets around it. You can attach the planets to supports at different heights to make the display more interesting. Add name tags and brief facts so children can explain their model during a presentation.
For an interactive element, let children rotate the planets gently by hand or point out each planet as they learn its name. If you add decorative lights, use a battery-operated set and keep electrical components away from paint and moisture.
2. Realistic Planet Lineup Display
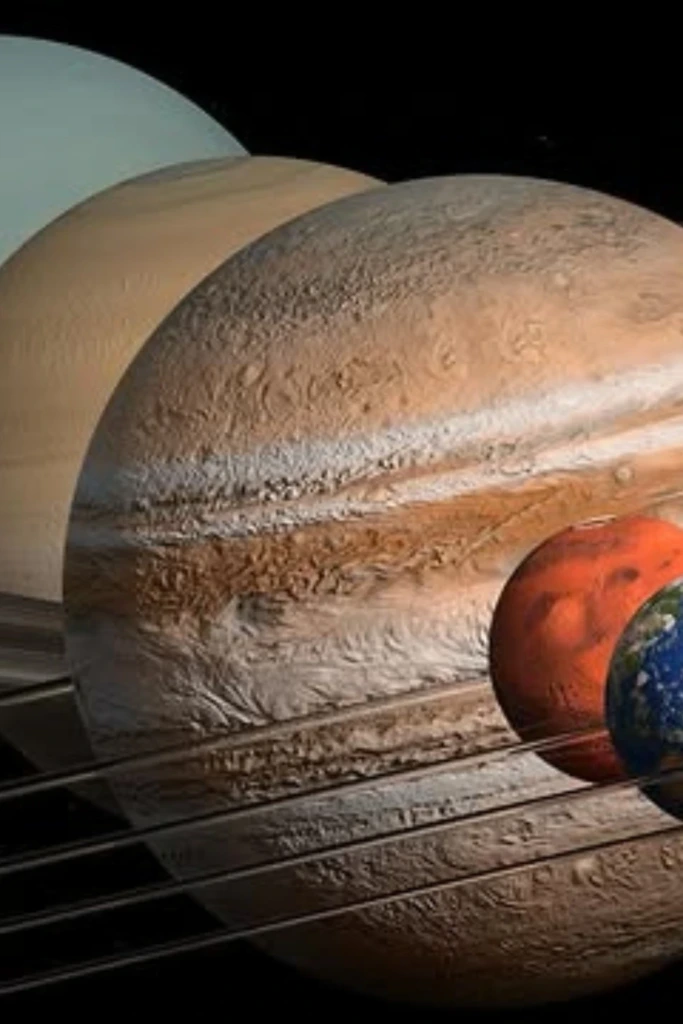
A planet lineup is an excellent choice for children who need to learn the order of the planets. Use painted balls, cardboard circles, or printed planet pictures arranged horizontally on a long board.
Begin with Mercury and continue through Neptune. Make sure each planet has a readable label, and use noticeably different sizes where practical to introduce comparisons between rocky planets and gas or ice giants.
Add short descriptions beneath the planets, such as Earth's liquid-water environment or Saturn's prominent ring system. You can also include a scale note explaining that the display shows the order correctly but may not represent actual planetary distances.
This project works well on classroom walls, science fair tables, and bedroom study areas.
3. Hanging Solar System Mobile
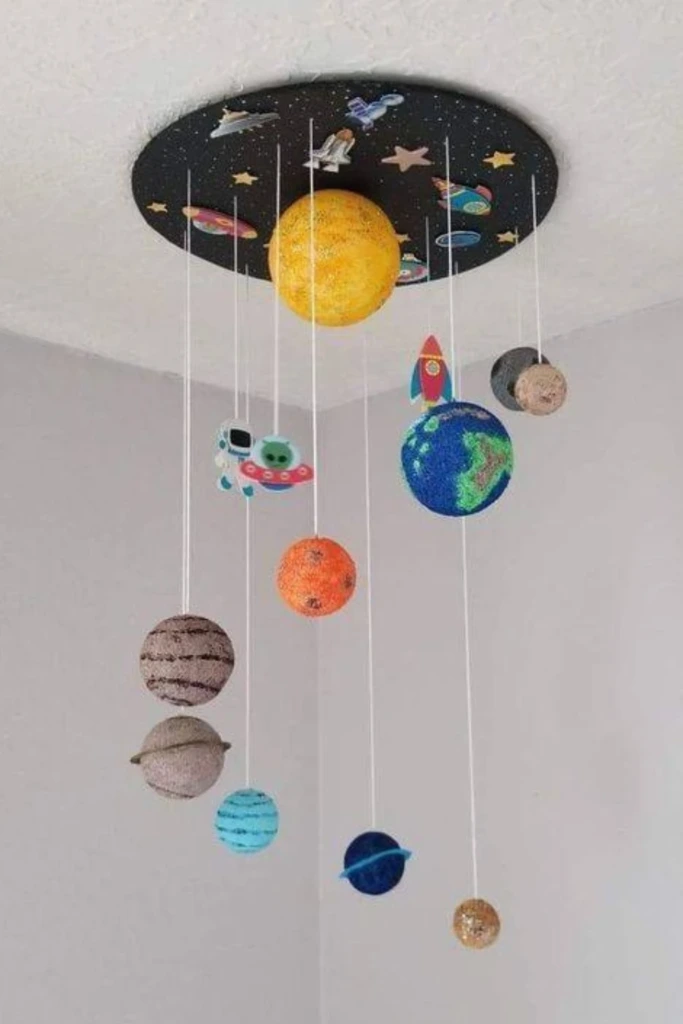
Turn a collection of lightweight planets into a space-themed mobile that hangs above a desk or in a classroom corner. You'll need lightweight cardboard or foam balls, string, paint, and a sturdy circular support.
Paint the planets before attaching them to individual strings. Hang each one at a different length to create depth, and arrange them in the correct order from the Sun. A small label on each planet makes the mobile useful for revision as well as decoration.
An adult should secure the hanging structure to a suitable support and keep it out of reach of young children. Avoid placing it above a sleeping area where parts could fall.
The finished mobile provides a simple introduction to the planets and gives children a creative way to display their work.
4. Glowing Orbit Model
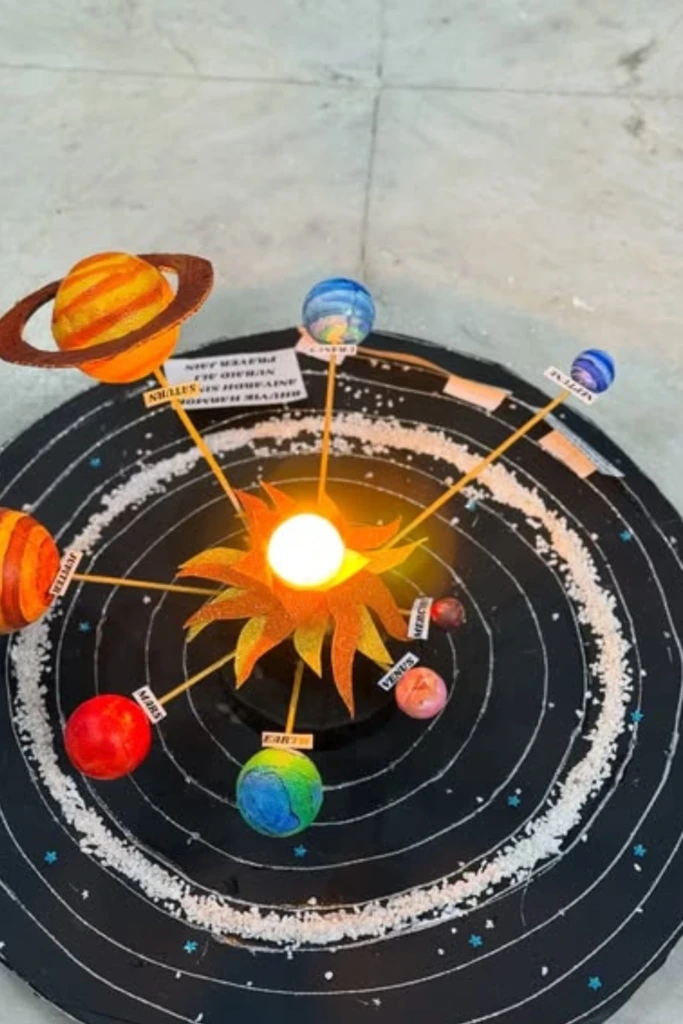
Build a solar system model that draws attention to the Sun and the paths followed by the planets. Use a black cardboard base, foam planets, flexible craft wire, and a small battery-powered LED.
Mark the orbital paths with thin wire or painted lines. Position the Sun in the middle, then attach the planets along their respective paths. Use different colors for the orbits to make the layout easy to follow.
A soft LED near the Sun can make the model stand out during a classroom exhibition. Explain that the light represents sunlight, while the curved lines represent the planets' paths rather than physical tracks in space.
Keep the construction simple enough that children can identify each component and describe what it represents.
5. Solar System Wall Chart
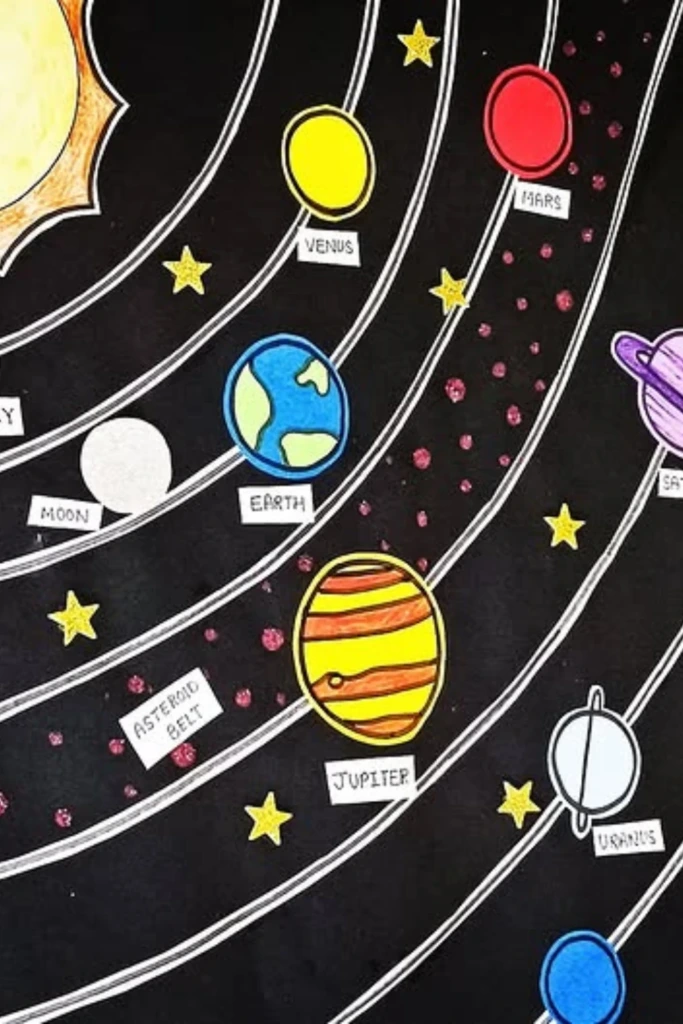
A wall chart is a practical project for children who enjoy drawing, coloring, and writing. Start with a large sheet of dark paper or poster board, then draw the Sun and the planets in their correct sequence.
Use colored pencils, paint, markers, and star-shaped paper cutouts to decorate the background. Add arrows to indicate the direction of the planets' orbits and write each planet's name beside its illustration.
For a stronger educational focus, include a small information box with the number of planets, the names of the terrestrial planets, and a comparison between inner and outer planets.
Children can complete the chart individually or divide the work among classmates. The finished poster is lightweight, inexpensive, and easy to display in a classroom or playroom.
6. Stand-Up Solar System Display
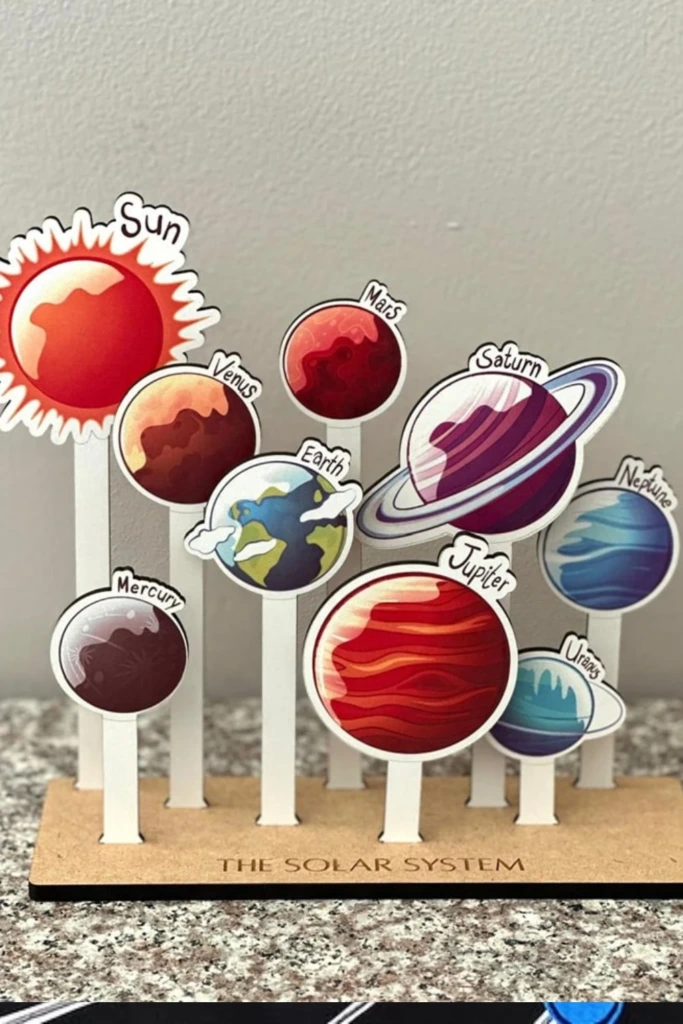
Make an upright solar system display that fits on a desk or science fair table. A folded cardboard backing or foam board provides support, while printed planet images or lightweight craft models create the main design.
Arrange the planets in a clear sequence and attach their names directly beneath them. Use raised cardboard pieces or small spacers to give selected planets a three-dimensional appearance.
You can divide the display into inner and outer planets, helping children notice that Mercury, Venus, Earth, and Mars are rocky worlds, whereas Jupiter, Saturn, Uranus, and Neptune are giant planets.
Include a short explanation of the Sun's role and a few interesting facts. Because the model stands upright, it is convenient for classroom demonstrations and does not require much table space.
7. Orbit Path Project Board
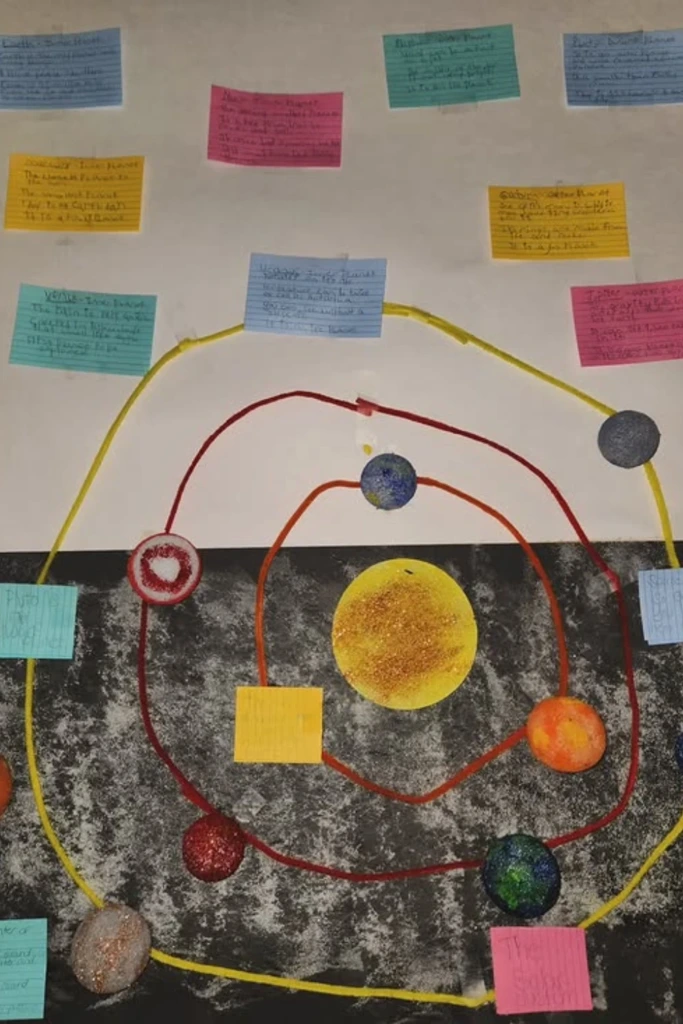
This project focuses on the paths planets follow around the Sun. Use a large dark board, colored yarn, pipe cleaners, paper circles, and labels to create a simplified orbital diagram.
Draw the Sun near the center, then add elliptical paths around it. Place a planet marker on each path and label the orbits so viewers can follow the layout easily.
Children can write a fact card for each planet, including its position from the Sun or a distinctive feature. This turns the board into a combination of art project and science reference.
Explain that planets generally follow elliptical orbits and that the distances and shapes in a classroom diagram are simplified. The project is particularly useful for students learning the difference between a planet's orbit and its rotation.
8. Hanging Planet Garland
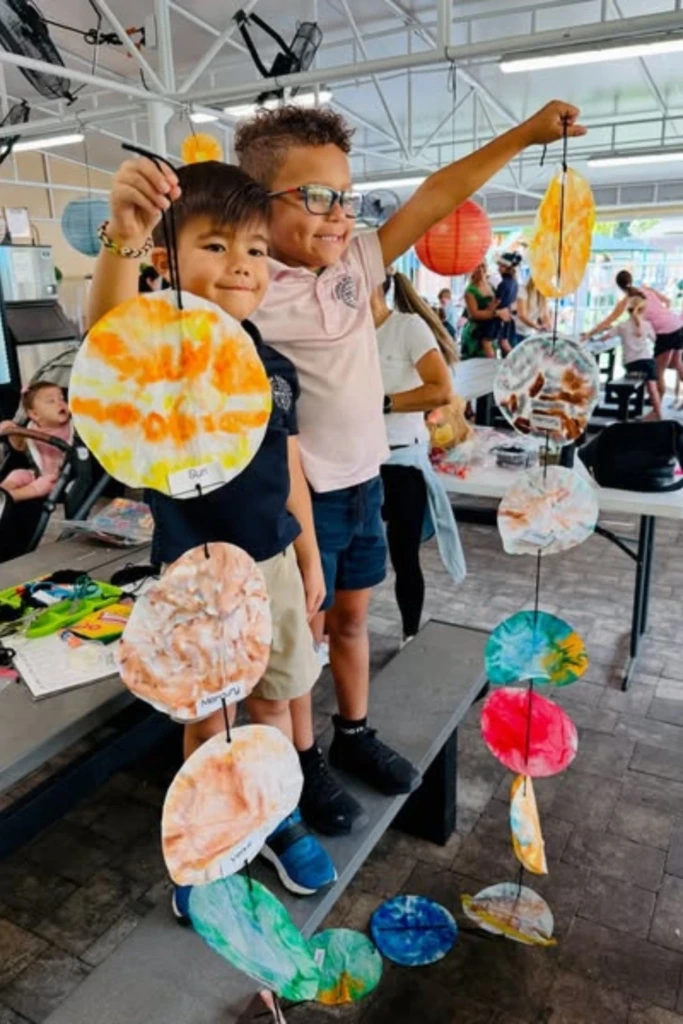
A planet garland offers a quick craft for children who enjoy painting and paper art. Cut circles from cardstock, then decorate them to resemble the eight planets and the Sun.
Use different shades and simple patterns to distinguish the planets. Saturn can have a paper ring, Earth can feature blue oceans and green land, and Jupiter can include broad colored bands.
Once the artwork is dry, attach the circles to a long piece of ribbon or string in the correct order. Leave enough space between the pieces so that each planet remains visible.
Hang the garland along a classroom display board, bedroom wall, or window. If you want to include extra learning material, attach a small fact card beneath each planet.
Use child-safe scissors where appropriate and have an adult assist with any cutting or hanging that requires additional care.
9. 3D Foldable Solar System Board
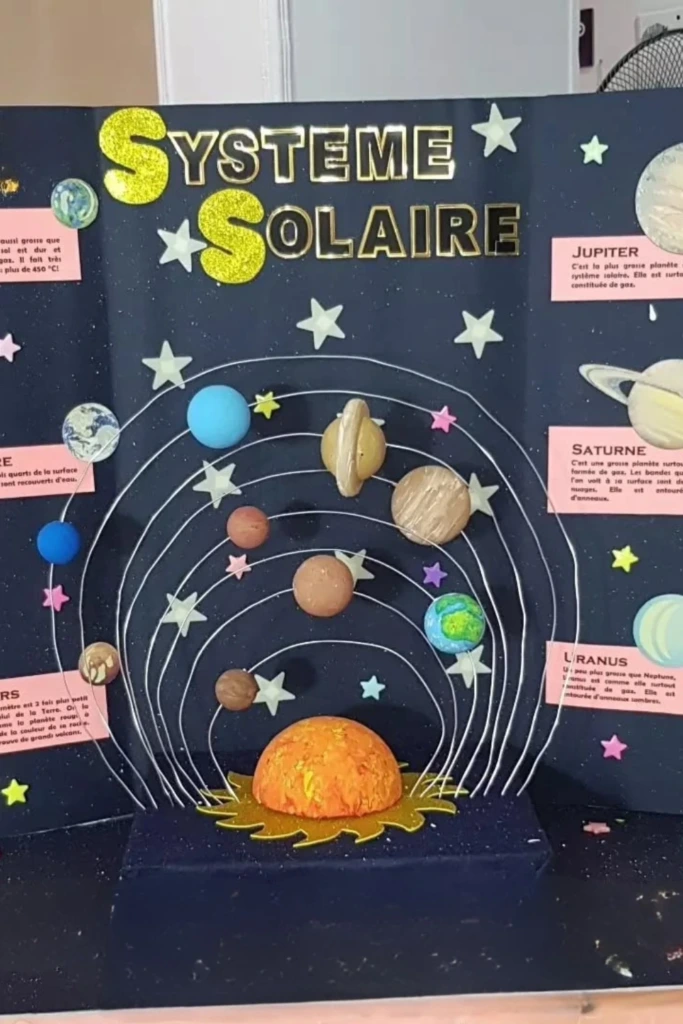
A foldable solar system board is useful for children who need to transport their project between home and school. Use a tri-fold presentation board, colored paper, lightweight planet models, and adhesive labels.
Cover the central panel with a space background, then place the Sun and the main planet display in the middle. The two side panels can contain planet facts, comparisons, and illustrations of moons or asteroids.
Lightweight foam or layered paper creates depth without making the board difficult to carry. Keep the materials securely attached so that the display can be folded and reopened without damage.
This format gives students room to organize their information into sections. They can explain the planet sequence in the center and use the side panels to discuss what makes individual planets different.
10. Presentation Board Solar System
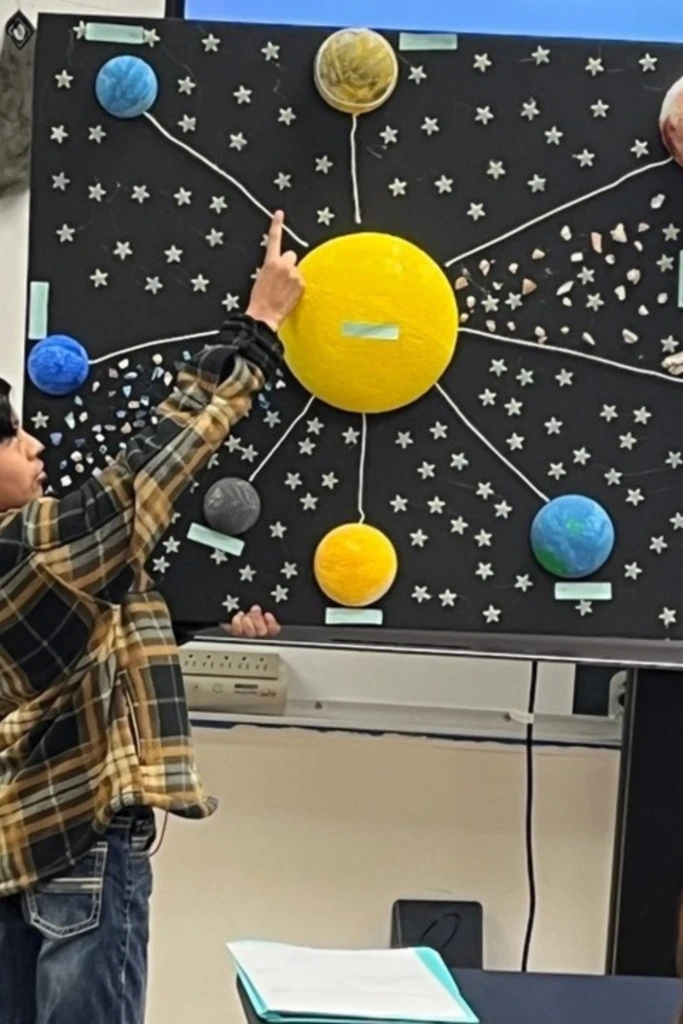
A presentation board helps children communicate what they have learned about the solar system. Choose a sturdy board, dark paper, planet illustrations, markers, and clear headings.
Place the main diagram where it can be seen easily from a short distance. Add concise explanations around it, including the names of the planets, the role of gravity, and the difference between rotation and revolution.
For example, Earth rotates on its axis, producing the cycle of day and night, and revolves around the Sun over the course of a year. These ideas give the display more educational value than a collection of planet pictures alone.
Children should practice explaining their diagrams in their own words rather than reading every sentence directly from the board. A well-organized display helps them present confidently at school exhibitions and science fairs.
11. Classroom Orbit Activity Table
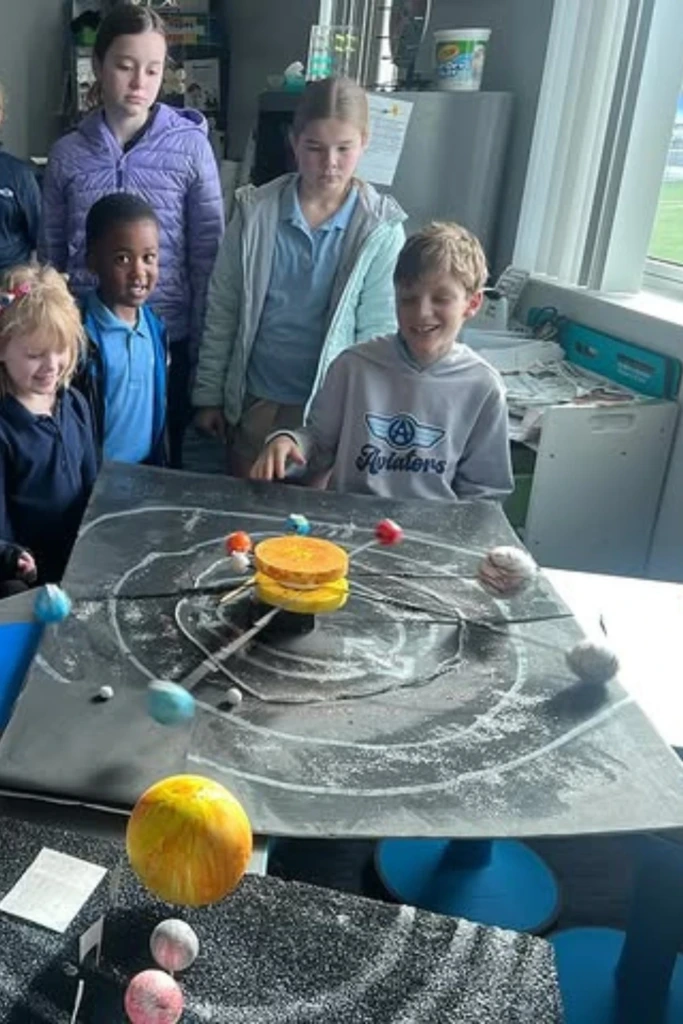
Transform a classroom table into a hands-on space activity. Use a large sheet of paper or a circular base to draw orbital paths, then add planet models, a central Sun, and simple instruction cards.
Students can place each planet in its approximate position, identify the inner and outer planets, and compare the different sizes of the worlds. Teachers can also ask children to match planet names with descriptions.
For a movement-based activity, have students take turns representing the planets and walking around a marked Sun. This helps introduce the idea that each planet has its own orbit and orbital period.
Keep the activity focused on scientific relationships rather than exact distances, which are too large to represent conveniently on a classroom table. The setup encourages discussion, teamwork, and active participation.
12. Planet Layers Learning Station
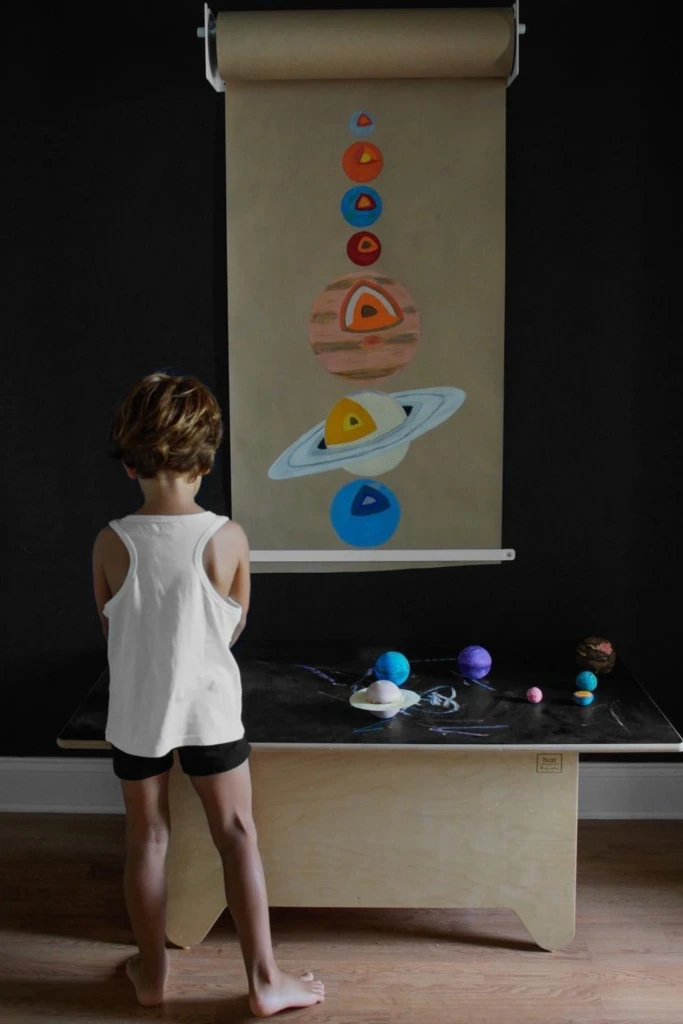
Help children explore the interiors of planets with a project that combines art and earth science. Use modeling clay, play dough, or foam spheres to create cross-sections showing the different layers inside selected planets.
For example, an Earth model can show the crust, mantle, outer core, and inner core. A simplified Jupiter model can illustrate its layered atmosphere and deep interior without suggesting that it has a solid surface like Earth.
Cutaway illustrations are useful because the interiors of planets cannot usually be observed directly. Explain that the models are based on scientific evidence and are simplified representations rather than exact pictures.
Set out labels, diagrams, and short fact cards so children can compare the planets. This activity works especially well as a classroom learning station where small groups explore one model at a time.
13. Focused Planet Display Board
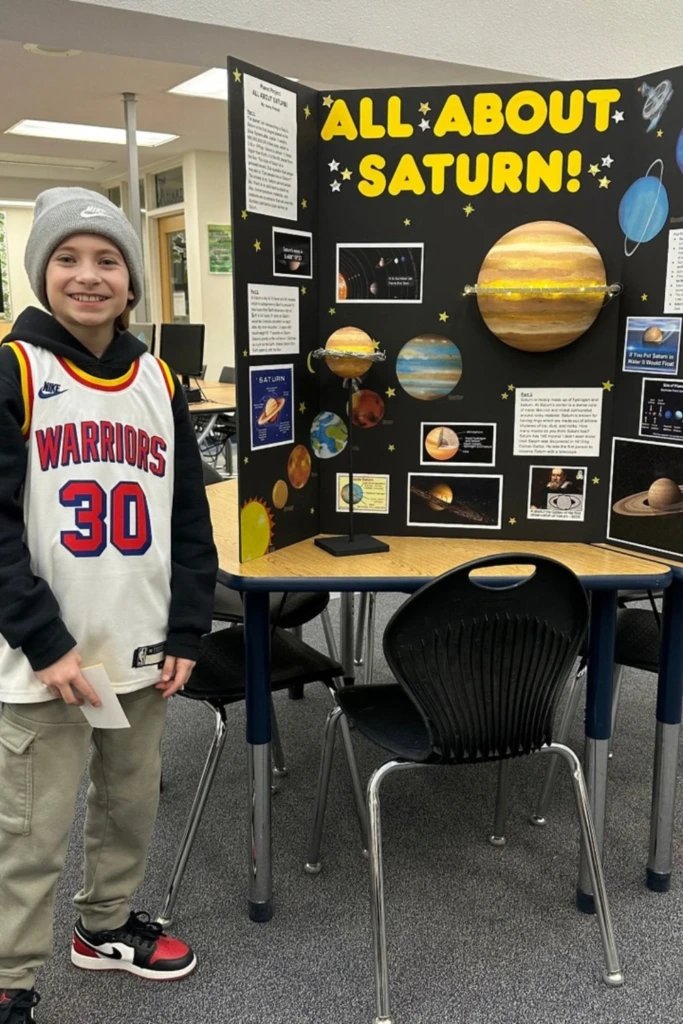
Instead of covering the entire solar system, choose one planet as the main subject of a detailed display. Saturn, Mars, Jupiter, and Earth are popular choices because each offers plenty of interesting features to explore.
Use a tri-fold board or large sheet of cardboard, then place a large illustration or model of the chosen planet in the center. Surround it with sections covering its atmosphere, surface or composition, moons, temperature, and other notable characteristics.
If you choose Saturn, for instance, you could explain its extensive ring system and its status as a gas giant. A Mars display might focus on its reddish appearance, polar ice, and evidence of ancient water activity.
Adding a small solar system diagram helps viewers understand where the featured planet belongs. This focused approach is ideal for students who want to explore one topic in greater depth.
14. Planet Art Card Series
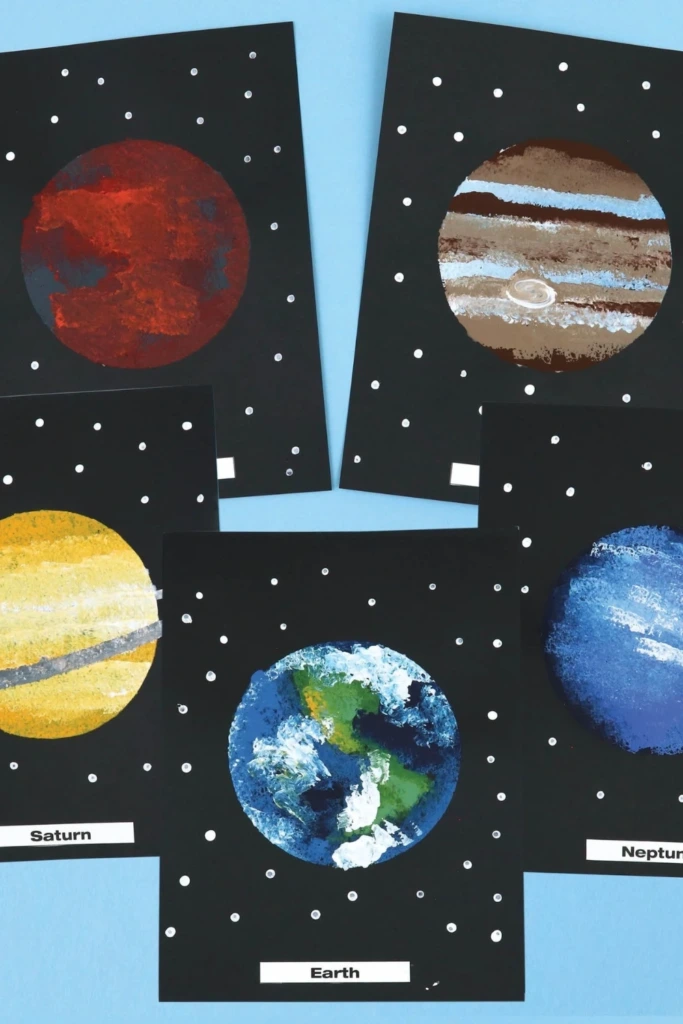
Planet art cards combine a creative activity with a useful study resource. Prepare eight pieces of cardstock and let children illustrate one planet on each card.
Use paint, crayons, colored pencils, or sponges to create different textures. Add rings to Saturn, cloud bands to Jupiter, and blue and green regions to Earth. Each card should include the planet's name and one or two accurate facts.
Arrange the finished cards in order from Mercury to Neptune. Children can also use them for matching games, memory practice, or short oral presentations.
For a classroom display, mount the cards on a dark background decorated with small stars. The cards can be removed and rearranged easily, making them useful for repeated learning activities.
15. Handheld Solar System Model
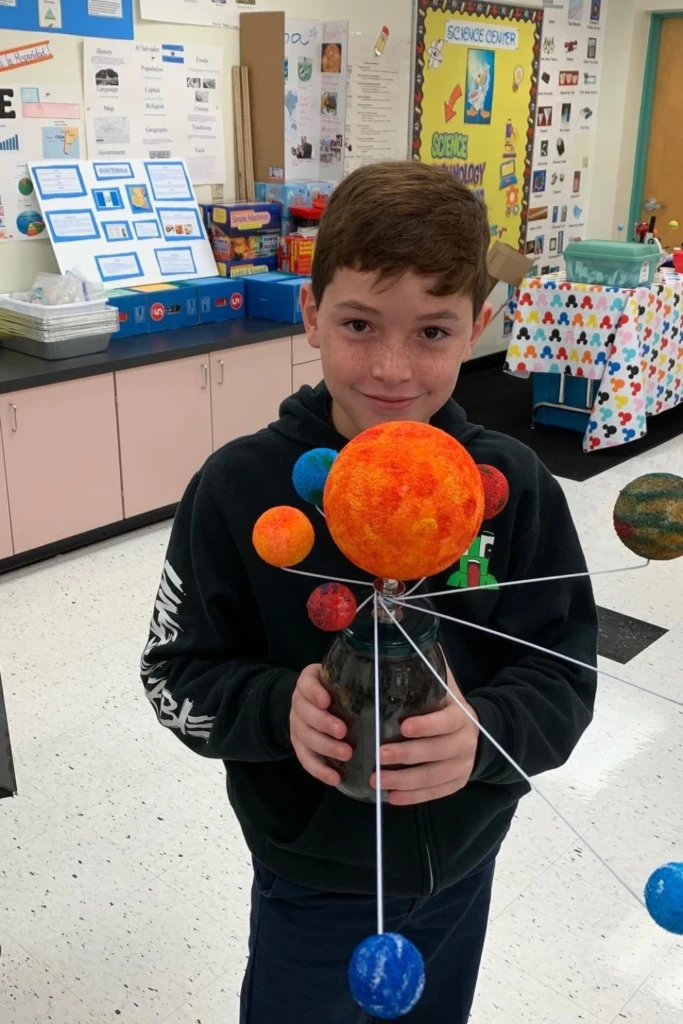
A handheld solar system model is a convenient option for students who need to explain their project while standing or moving around a classroom. Build the display using a lightweight cardboard base, small foam planets, and secure supports.
Attach the Sun and planets in a layout that clearly shows their sequence. Keep the model compact enough to carry comfortably, but leave sufficient space between the planets so each remains visible.
Use planet labels or a small reference card to support the presentation. Students can point to each world while explaining its position and one distinctive feature.
Check that all supports are firmly attached and avoid sharp skewers or exposed wire, particularly when younger children will handle the model. A sturdy, lightweight construction makes this project practical for classroom demonstrations and science fairs.
16. Interactive STEM Solar System Kit
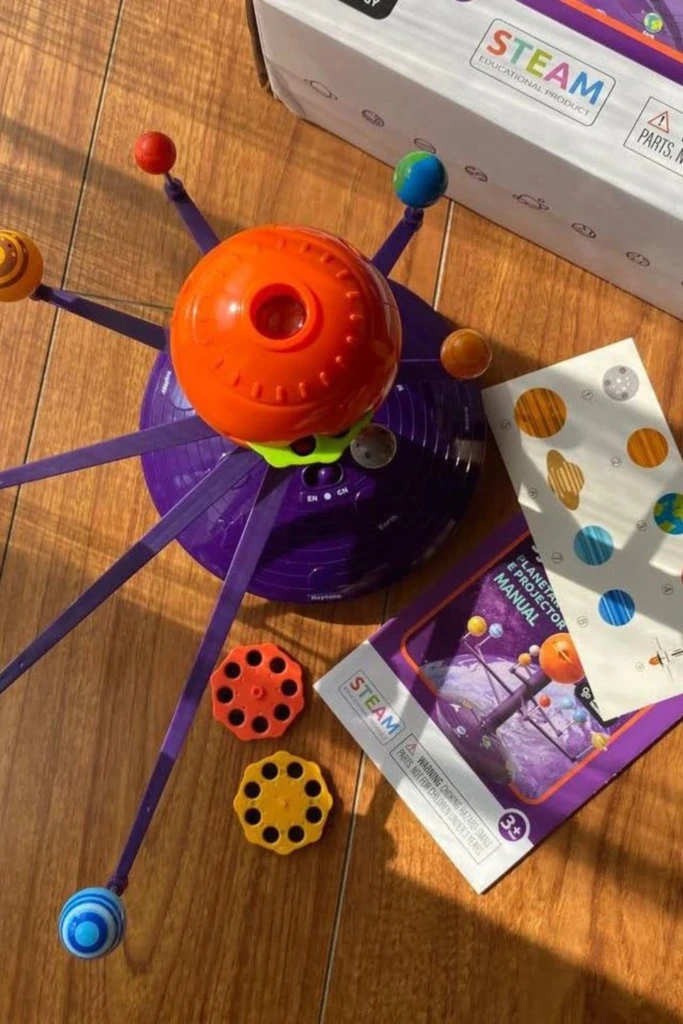
A solar system STEM kit can introduce children to planetary motion through a ready-made or partly assembled model. Depending on the kit, it may include planet pieces, connecting arms, a central Sun, gears, or a small motor.
Follow the manufacturer's instructions to assemble the model and identify each planet. Once it is ready, children can observe how the components move and compare the positions of the planets.
Some kits include lights, while others focus on mechanical movement. Either type can be useful, provided the child understands what the model demonstrates and where it simplifies real astronomy.
Ask questions during the activity, such as why Earth takes longer than Mercury to complete an orbit. This encourages children to connect the physical model with scientific concepts instead of treating assembly as the entire lesson.
Choose an age-appropriate kit and supervise small parts, batteries, and electrical components when necessary.
17. Solar System Galaxy Poster
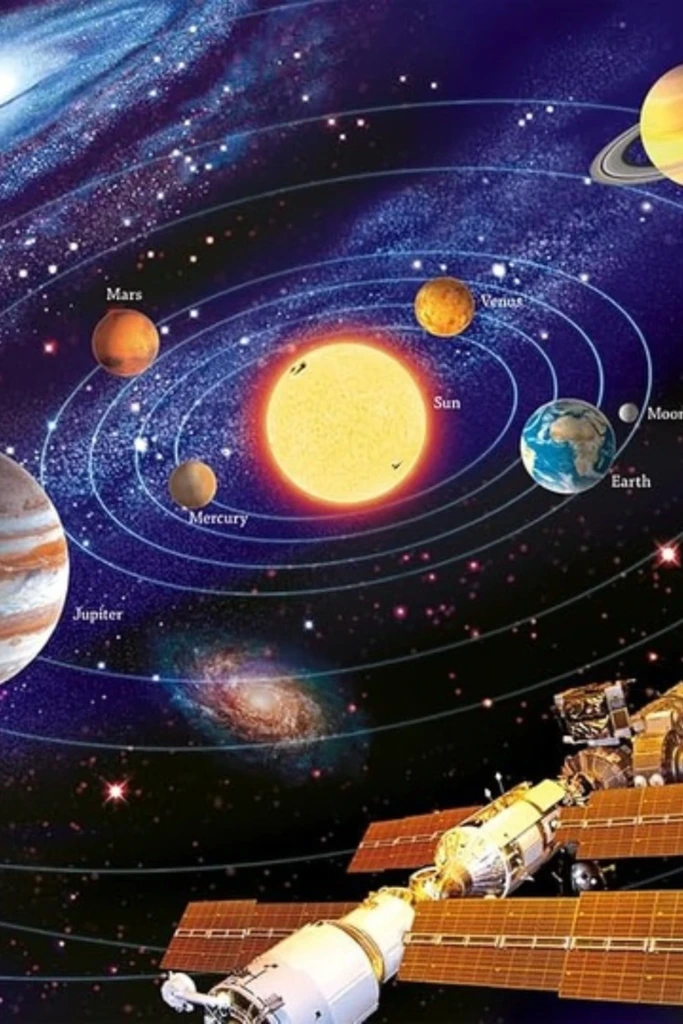
Create a large space-themed poster that brings the Sun, planets, and surrounding celestial objects together in one colorful scene. Use poster paper or canvas, dark paint, brushes, and printed or hand-drawn illustrations.
Place the Sun and eight planets in their correct order. Add selected moons, comets, asteroids, or distant stars to provide additional context without overcrowding the design.
A title and short fact panel can explain what the solar system contains and how gravity helps keep planets in orbit around the Sun. Make sure the artwork distinguishes objects within our solar system from distant stars and other galaxies.
This project suits children who prefer drawing and painting to building three-dimensional models. It can also become a collaborative classroom activity, with each student contributing a planet or a section of the background.
18. Student Presentation Models
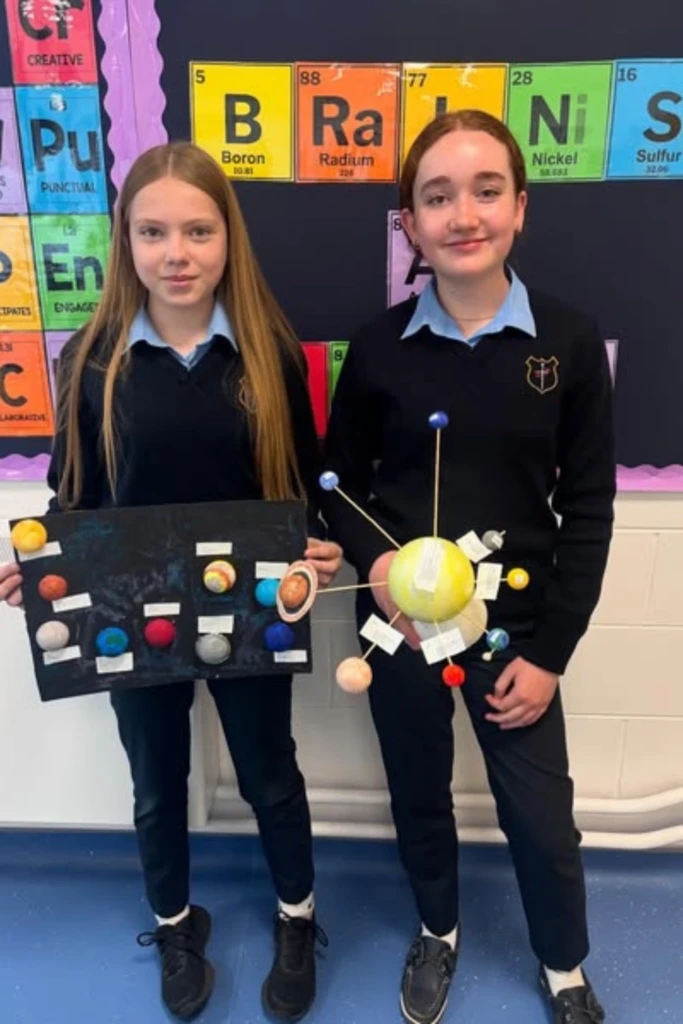
A presentation model is designed to help children explain the solar system clearly to an audience. Start with a stable base and use lightweight spheres, paper planets, or printed illustrations to represent the Sun and planets.
Arrange the components so viewers can identify the planet sequence at a glance. Include short labels and avoid adding so many decorations that the scientific information becomes difficult to see.
Students can work together by assigning different roles, such as explaining the Sun, describing the inner planets, or introducing the outer planets. Each child can contribute one fact and point to the relevant part of the model.
Encourage students to explain the difference between the model and the real solar system, particularly the relative sizes and distances. This small detail demonstrates an understanding of the science behind the display.
The format is flexible enough for individual assignments, group projects, and school science exhibitions.
19. Solar System Projector Display
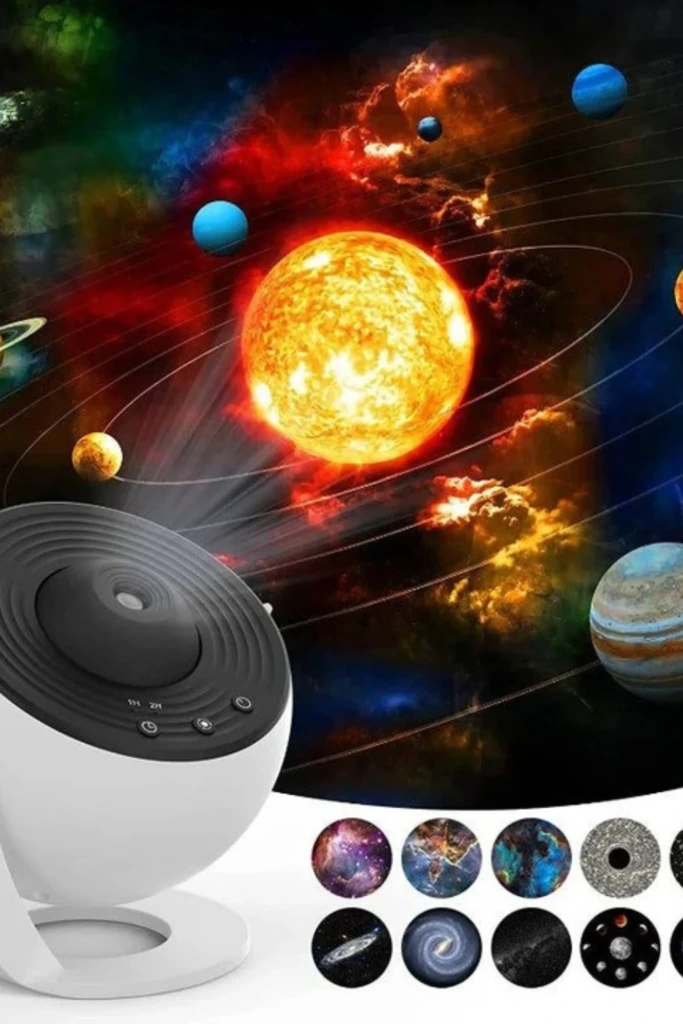
A projector display offers a different way to explore space without constructing a large physical model. Use a suitable planetarium projector or an educational space projection resource to display stars, planets, and other celestial scenes on a wall or ceiling.
Choose a projection that matches the child's age and learning goals. Some devices focus on decorative stars, while educational planetarium tools can help introduce constellations and the night sky.
After setting up the projector according to its instructions, ask children to identify familiar planets or describe patterns they notice. Pair the visual experience with a book, diagram, or short discussion so the activity remains educational.
Keep the projector on a stable surface and follow its safety instructions. Avoid looking directly into the light source, and supervise younger children around cables and electrical equipment.
This option works well for quiet learning corners, astronomy-themed evenings, or classrooms looking for a visual introduction to space.
20. Outdoor Solar System Circle Time
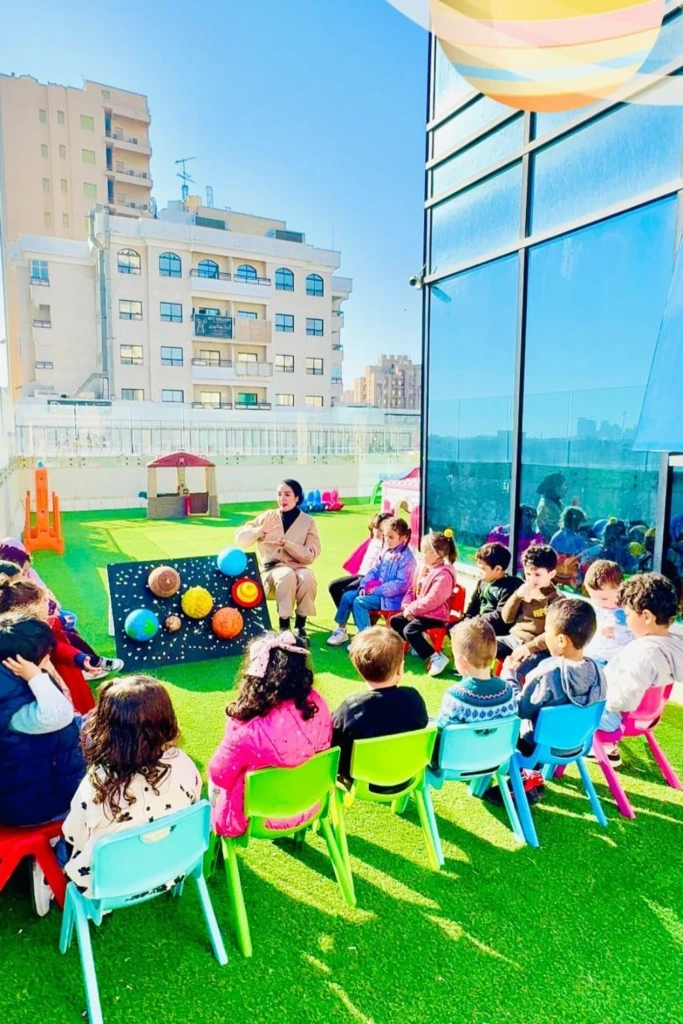
Take solar system learning outdoors with a large ground display or a group demonstration. Use chalk, rope, paper planet markers, or lightweight models to create a simplified representation of the Sun and planets in an open area.
Mark the Sun's position and lay out the planets in order along a large path. Children can stand beside individual planet markers and share a fact about their assigned world.
For a movement activity, students can walk along a marked orbital route while discussing how planets revolve around the Sun. Explain that the demonstration is a simplified teaching model; the real planets orbit at different distances and speeds.
Outdoor space makes it possible to spread the display out more than a typical classroom allows. Choose a level area, check the weather, and keep walkways clear so children can participate comfortably.
This activity is especially useful for group lessons because it combines movement, cooperation, and astronomy in one engaging experience.
How to start a solar project?
Begin by choosing a project that suits the child's age, available time, and materials. A paper planet chart is a good starting point for younger children, while older students may enjoy a three-dimensional model or a presentation board.
Before building, write down the materials you need and sketch a basic layout. Check the order of the planets and decide which scientific ideas the project should explain. This prevents the display from becoming purely decorative.
Build the main structure first, then add planet details, labels, and fact cards. Allow paint or glue to dry before moving the finished model.
For school assignments, review the teacher's instructions and make sure the project answers the required question. An effective solar system project does not need expensive supplies or complicated lighting. Clear scientific information, careful construction, and a confident explanation are what make it successful.
Why is the solar system important?
Studying the solar system helps children understand Earth's place in space and how our planet relates to the Sun, Moon, and other worlds. It introduces important scientific ideas such as gravity, planetary motion, rotation, and revolution.
These concepts help explain familiar observations, including day and night, the changing appearance of the Moon, and Earth's yearly journey around the Sun. Learning about other planets also allows children to compare different environments and understand why Earth is suitable for life as we know it.
Solar system activities can strengthen observation, creativity, research, and problem-solving skills. They also encourage children to ask questions and investigate evidence instead of relying only on memorization.
Most importantly, studying space helps children recognize how much there is still to discover. A simple classroom model or craft project can be the beginning of a lasting interest in astronomy and science.