Rolling Under Bed Storage DIY for Small Apartments
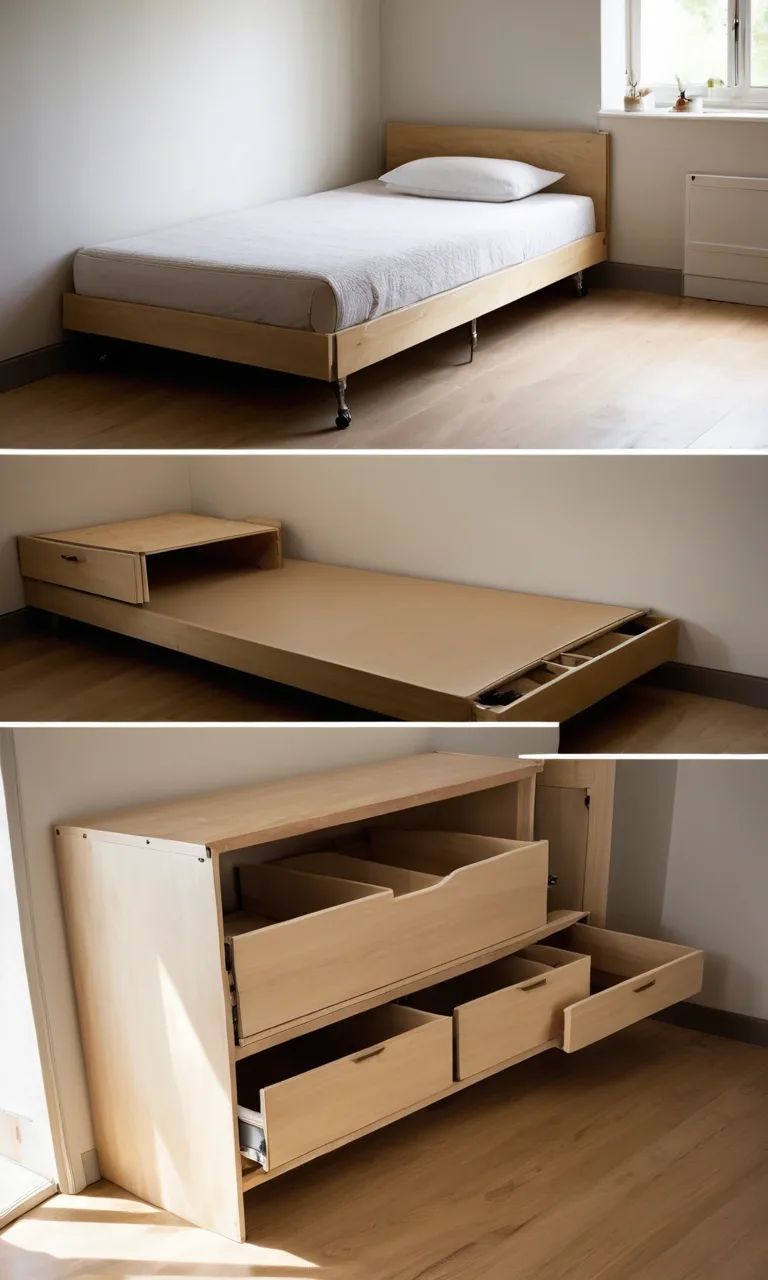
Living in a small apartment often means finding creative ways to store your belongings without making your bedroom feel crowded. Closets fill up, drawers become packed, and seasonal items end up taking valuable space.
One area that frequently goes unused is the space beneath your bed. With a simple rolling under bed storage DIY project, you can transform that empty area into practical storage for clothing, shoes, bedding, and other essentials.
Building your own storage drawer also allows you to control its dimensions, materials, and appearance. Instead of struggling with containers that barely fit, you can create something designed specifically for your bedroom.
This guide explains how to build a durable rolling storage box using basic tools, affordable materials, and straightforward construction techniques.
Why You Need Rolling Under Bed Storage
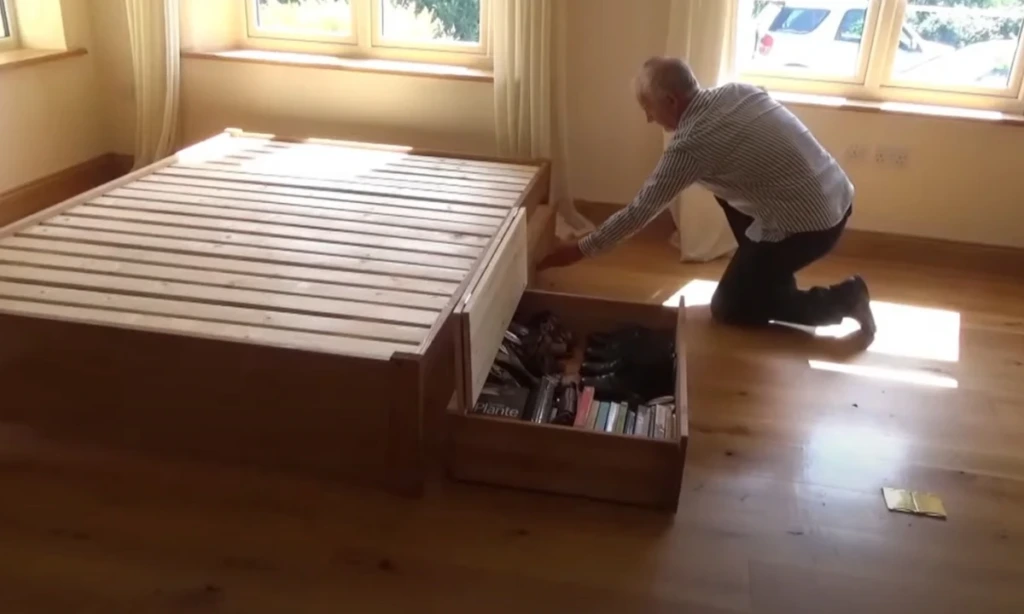
Small bedrooms benefit from storage solutions that make use of existing space rather than adding more furniture. The area beneath a bed can provide valuable storage without reducing the room's walking space.
Rolling drawers make this space particularly convenient because you can reach stored belongings without moving the bed or lifting heavy containers.
A well-designed rolling storage box offers several practical advantages:
More usable space: Store extra blankets, clothing, shoes, and accessories without occupying shelves or closet space.
Convenient access: Wheels allow you to pull containers forward whenever you need something.
Better organization: Separate drawers can keep different categories of belongings neatly arranged.
Custom dimensions: A homemade drawer can accommodate unusual bed frames or limited clearance.
Affordable construction: Plywood, basic hardware, and inexpensive handles are often enough to complete the project.
Flexible appearance: Paint or stain can help the finished drawer coordinate with your bedroom furniture.
Rolling storage is particularly useful in studio apartments, shared bedrooms, dorm rooms, and rental properties where permanent storage modifications may not be possible.
It also makes seasonal organization easier. Winter clothing, spare bedding, and occasionally used accessories can remain protected and accessible without occupying everyday storage areas.
Tools and Materials You’ll Need
Preparing your supplies before construction helps prevent unnecessary interruptions. Most rolling storage drawers can be assembled with common woodworking tools and materials available at hardware stores.
Tools:
Measuring tape for checking bed clearance and board dimensions
Pencil and straightedge for marking cutting lines
Circular saw, jigsaw, or handsaw for cutting wooden panels
Power drill with suitable drill bits
Screwdriver or driver bits for assembling the drawer
Sandpaper or an electric sander for smoothing surfaces
Clamps for holding wooden pieces during assembly
Safety glasses and hearing protection when using power tools
Paintbrush or small roller for applying the finish
A carpenter's square is also helpful for keeping corners aligned during assembly.
If you do not own a saw, many lumber suppliers offer cutting services. Having plywood cut to your measurements can simplify the project considerably.
Materials:
Plywood, preferably around 1/2 inch thick for a lightweight storage box
Four low-profile caster wheels with an appropriate combined load rating
Wood screws suitable for the plywood thickness
Wood glue for reinforcing joints
Small wooden corner blocks or mounting supports for caster installation
Cabinet handle, drawer pull, or sturdy rope handle
Wood filler for covering visible screw holes
Primer, paint, stain, or clear protective finish
Optional thin plywood panel or fabric for a removable cover
Choose materials based on what you intend to store. Lightweight bedding requires less structural support than books or other dense belongings.
For most small apartment projects, plywood provides a useful balance between strength, cost, and manageable weight.
How to Measure for a Perfect Fit
Accurate measurements are essential because even a small mistake can prevent your finished drawer from sliding beneath the bed.
Start by measuring the available space rather than assuming that the dimensions of your mattress represent the usable storage area.
1. Measure the available height
Measure from the floor to the lowest fixed part of the bed frame. Check several locations because support rails may hang lower than the outer frame.
Remember that the total drawer height includes the wooden box, caster wheels, and any handles or raised components.
Leave approximately one inch of vertical clearance where possible to prevent rubbing.
2. Determine the usable width
Measure the distance between bed legs and other structural components.
If you plan to build two separate drawers, divide the available space while allowing enough room for each drawer to move independently.
3. Check the storage depth
Measure how far a drawer can travel beneath the bed without hitting a center support or the opposite side of the frame.
Also consider how much open floor space is available when pulling the drawer outward.
4. Identify potential obstructions
Look underneath the bed for support beams, adjustable legs, electrical cables, or other objects that could interfere with movement.
Do not modify structural bed supports to create additional storage space.
5. Calculate the final dimensions
For example, if the available height is 9 inches and your installed casters add 2 inches, a 6-inch-tall box would leave approximately 1 inch of clearance.
Check the caster manufacturer's dimensions carefully because the total installed height may differ from the wheel diameter.
Write down your measurements and verify them before purchasing or cutting materials.
Step-by-Step: Making a Rolling Under Bed Storage Box
Once your measurements and materials are ready, you can begin building the drawer.
This project uses a simple rectangular wooden box with an open top, four casters, and a front handle.
Step 1: Cut the Wood
Begin by cutting the plywood into pieces for the bottom, front, back, and two sides.
The exact dimensions depend on your available space and chosen assembly method.
For a straightforward design, position the side panels around the bottom panel, accounting for plywood thickness when calculating the finished exterior measurements.
Mark each cutting line using a straightedge and pencil.
Cut slowly to keep the edges straight and reduce splintering. Support the plywood securely while cutting, and follow the saw manufacturer's safety instructions.
After cutting, arrange the pieces on a flat surface to confirm that everything fits together correctly.
Step 2: Sand the Edges
Freshly cut plywood often has rough edges that can catch fabric or cause splinters.
Use medium-grit sandpaper to smooth the cut surfaces, then switch to finer sandpaper for a cleaner finish.
Pay particular attention to the upper edges of the box because these surfaces will frequently come into contact with your hands and stored belongings.
Slightly rounding sharp corners can make the drawer more comfortable to handle.
Remove sanding dust with a clean cloth or vacuum before assembling the pieces.
Step 3: Build the Box
Place the bottom panel on a stable work surface and position the surrounding panels according to your design.
Apply wood glue to the joining surfaces if desired, then secure the pieces using appropriately sized screws.
Drill pilot holes before driving screws near plywood edges to reduce the risk of splitting.
Check that the corners remain square throughout assembly. Clamps can help keep the panels aligned while you work.
For additional reinforcement, install small wooden blocks inside the corners.
Avoid using screws that are long enough to penetrate through the opposite face of the plywood.
Once assembled, place the box on a level surface and check for twisting or uneven joints.
Step 4: Attach the Casters
Turn the completed box upside down to install the wheels.
Position one caster near each corner, ensuring the mounting plates have adequate support.
Thin plywood may not hold caster screws securely on its own, especially when the drawer carries substantial weight. Adding wooden mounting blocks or reinforcement plates helps distribute the load.
Mark the mounting holes, drill suitable pilot holes, and fasten each caster using the recommended hardware.
Make sure the screws do not extend into the storage compartment.
For hard flooring, soft polyurethane or rubber-tread casters can reduce noise and minimize scratching.
On carpet, choose wheels with sufficient diameter and clearance to roll without sinking deeply into the pile.
After installation, turn the box upright and test its movement before loading it.
Step 5: Add a Handle
A front handle makes it easier to retrieve the drawer without reaching underneath the bed.
Choose a low-profile handle that will not catch on the bed frame.
Cabinet pulls are a practical option because they are available in many finishes and sizes.
Measure the center of the front panel and mark the handle's mounting points.
Drill the required holes and secure the handle according to its installation instructions.
For a softer appearance, consider a leather strap or rope pull. Use washers or other suitable reinforcement if the handle will experience frequent pulling.
Test the handle gently to confirm that it remains secure.
Step 6: Finish the Look (Optional)
A decorative finish can make your homemade drawer look like part of a coordinated bedroom furniture set.
For a modern appearance, consider white, charcoal, or another neutral paint color.
A natural wood stain works well in rustic or minimalist bedrooms, while a clear protective finish preserves the plywood's original appearance.
Apply primer when recommended for your chosen paint and wood surface.
Allow each coat to dry according to the product instructions.
You can also decorate the drawer front with peel-and-stick wallpaper or add a fabric liner inside the box.
If you want to protect stored belongings from dust, consider adding a lightweight removable lid. Make sure the lid does not increase the overall height beyond the available clearance.
Step 7: Load Up and Roll
Before placing anything inside, confirm that all adhesives and finishes have fully cured as required by their manufacturers.
Roll the empty drawer across the floor to check whether the wheels rotate freely.
Next, place a few lightweight items inside and test the movement again.
Distribute the contents evenly rather than concentrating heavy objects at one end.
Suitable items include folded clothing, spare pillowcases, lightweight blankets, accessories, and seasonal decorations.
Avoid exceeding the capacity of the casters, mounting hardware, or wooden box.
Once everything moves comfortably, slide the drawer beneath your bed.
Your unused floor space is now a convenient storage area that remains hidden when not needed.
Mistakes to Avoid for a Smooth DIY
Even a simple woodworking project can become frustrating when important details are overlooked.
The following mistakes are particularly common when building rolling under bed storage.
Common mistake
How to prevent it
Incorrect height measurements
Include the installed caster height and leave enough clearance beneath the bed.
Forgetting bed supports
Inspect the entire storage path before deciding on drawer dimensions.
Choosing unsuitable plywood
Select material thick and strong enough for the expected contents.
Installing wheels without reinforcement
Use appropriate mounting blocks or plates where additional support is necessary.
Selecting wheels that struggle on carpet
Choose casters designed for the flooring and expected load.
Leaving rough wooden edges
Sand exposed surfaces thoroughly before using the drawer.
Using excessively long screws
Match screw length to the combined thickness of the materials.
Adding too much weight
Stay within the lowest-rated component's safe capacity.
Ignoring floor protection
Use nonmarking casters and keep the wheels free of grit.
Skipping the movement test
Check the empty and partially loaded drawer before regular use.
Another issue worth considering is moisture.
If your bedroom has a damp floor or experiences high humidity, avoid storing sensitive fabrics in an uncovered wooden drawer.
Ensure the items are completely dry before storage and allow adequate airflow to discourage musty odors.
Taking care of these details during construction can improve the drawer's durability and everyday convenience.
Problems People Face With Under Bed Storage
Under bed storage sounds straightforward, but several practical challenges can make it less useful than expected.
Understanding these problems helps you create a storage solution that works with your bedroom rather than against it.
Limited clearance beneath the bed
Some bed frames sit only a few inches above the floor, leaving insufficient room for conventional storage boxes.
Low-profile casters and shallow wooden drawers may help, but always calculate the complete installed height before building.
Drawers that become difficult to move
Poor-quality wheels, uneven floors, and overloaded containers can make rolling storage frustrating.
Use casters suited to your flooring and distribute the weight across the bottom panel.
Dust collecting on stored belongings
The area beneath a bed can accumulate dust quickly, especially in rooms with carpeting or pets.
A removable cover, washable fabric storage bags, or regularly cleaned containers can help protect stored items.
Storage boxes that waste space
Ready-made containers rarely match every bed frame perfectly.
Custom construction allows you to use more of the available width and depth while maintaining necessary clearance.
Heavy drawers that are uncomfortable to pull
Large drawers can become difficult to handle when packed with books or other dense objects.
Instead of constructing one oversized unit, consider building two smaller drawers that are easier to move independently.
Wheels scratching wooden floors
Hard caster wheels may leave marks, particularly when dirt becomes trapped beneath them.
Choose nonmarking wheels intended for delicate flooring and inspect them periodically for debris.
Stored items becoming disorganized
A large open drawer can quickly turn into a collection of unrelated belongings.
Small dividers, fabric organizers, and labeled storage pouches help keep contents separated.
Handles catching on the bed frame
Protruding handles may prevent the drawer from fitting properly or create a tripping hazard.
Recessed pulls, flexible straps, or shallow cabinet handles are often better choices for compact spaces.
Difficulty cleaning beneath the bed
Storage drawers can collect dust around their wheels and along the floor.
Because the containers are mobile, you can remove them periodically to vacuum and clean the area underneath.
Addressing these challenges makes rolling storage easier to maintain and more useful over time.
Final Thoughts
A rolling under bed storage DIY project is an effective way to create additional organization without adding bulky furniture to a small apartment.
With carefully measured plywood, properly installed casters, and a comfortable handle, you can build a storage drawer tailored to your bedroom's available space.
The most important steps are checking the clearance, choosing materials that can support your belongings, and making sure the finished drawer moves smoothly across your floor.
You can keep the design simple or personalize it with paint, decorative hardware, and interior organizers.
Whether you need somewhere to store seasonal clothing, extra bedding, or everyday accessories, a homemade rolling drawer can help you make better use of space that would otherwise remain empty.
A little planning and basic woodworking can turn the area beneath your bed into practical, accessible storage while keeping your bedroom cleaner and more organized.