20 Nail and Screw Organization Ideas for 2026

Keeping nails, screws, bolts, and other small hardware organized can make home repairs and DIY projects much easier. When everything is scattered across drawers, toolboxes, and shelves, finding the correct fastener becomes an unnecessary challenge.
A practical storage system helps you identify sizes quickly, avoid buying hardware you already own, and maintain a cleaner workspace. You don't need an expensive workshop setup to achieve this. Simple containers, divided drawers, and wall-mounted organizers can make a noticeable difference.
These 20 nail and screw organization ideas offer useful solutions for small apartments, home garages, and busy workshops.
How Do You Organize Nails and Screws at Home?
The easiest way to organize nails and screws is to separate them according to their purpose, dimensions, and material. Begin by gathering loose hardware from your toolbox, cabinets, and work surfaces.
Discard damaged or heavily corroded pieces, then arrange the remaining items into categories such as wood screws, machine screws, finishing nails, bolts, nuts, and washers.
Choose storage containers that match the amount of hardware you own. Transparent boxes work well for small collections, while drawer cabinets and wall organizers are better for larger quantities.
Label each section with the fastener type and size. For screws, including the diameter and length can prevent mistakes during future projects.
1. Compartment Tool Box
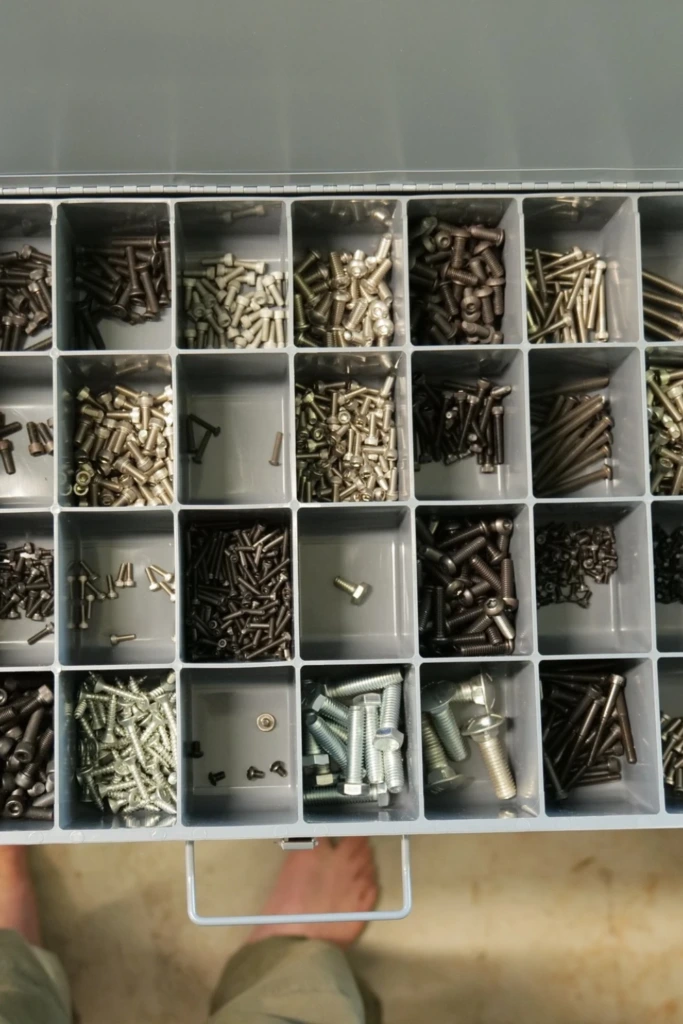
A compartment toolbox provides a convenient way to store different fasteners without allowing them to mix. Its individual sections keep small pieces separated while making everything accessible in one portable container.
Choose a model with secure latches and removable dividers. Place commonly used screws in larger sections and reserve smaller compartments for nails, washers, and specialty hardware.
A transparent lid makes identifying supplies easier before opening the box. This arrangement is especially useful for homeowners who frequently move between indoor repairs and outdoor projects.
2. Drawer Zone Sorting
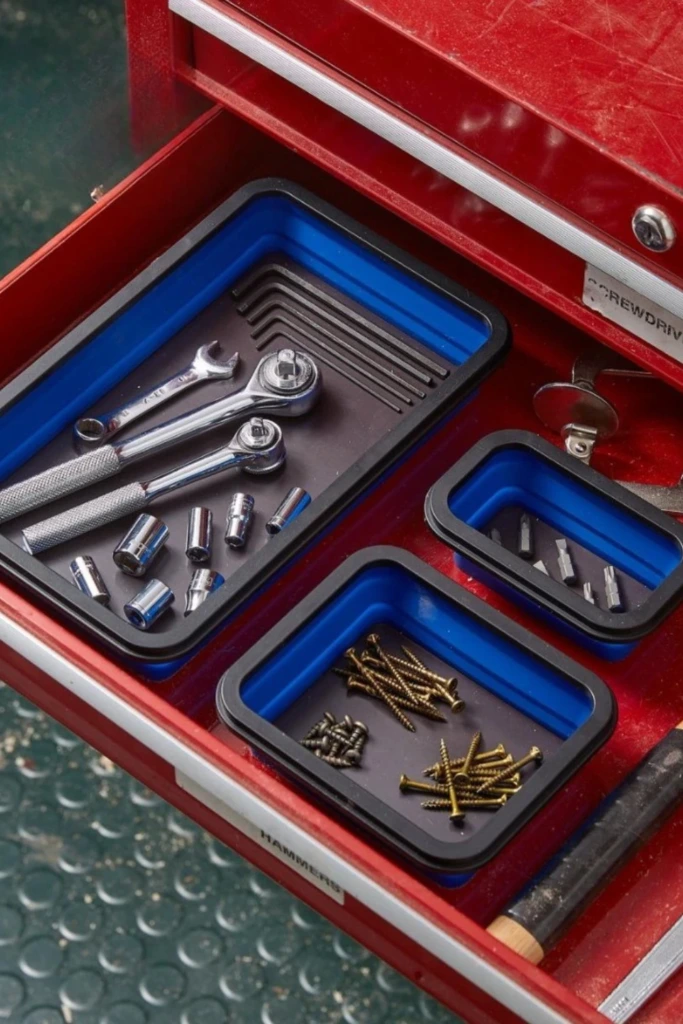
Organizing hardware into designated drawer zones makes a workbench more efficient. Instead of filling a drawer with loose items, divide the available space into clearly defined storage areas.
Use shallow trays, small containers, or adjustable drawer organizers to create separate sections. Arrange hardware according to its function, such as furniture assembly, woodworking, or general household repairs.
Keep frequently needed fasteners toward the front of the drawer. Adding nonslip liners beneath the containers helps prevent movement whenever the drawer opens or closes.
3. Deep Drawer Bins
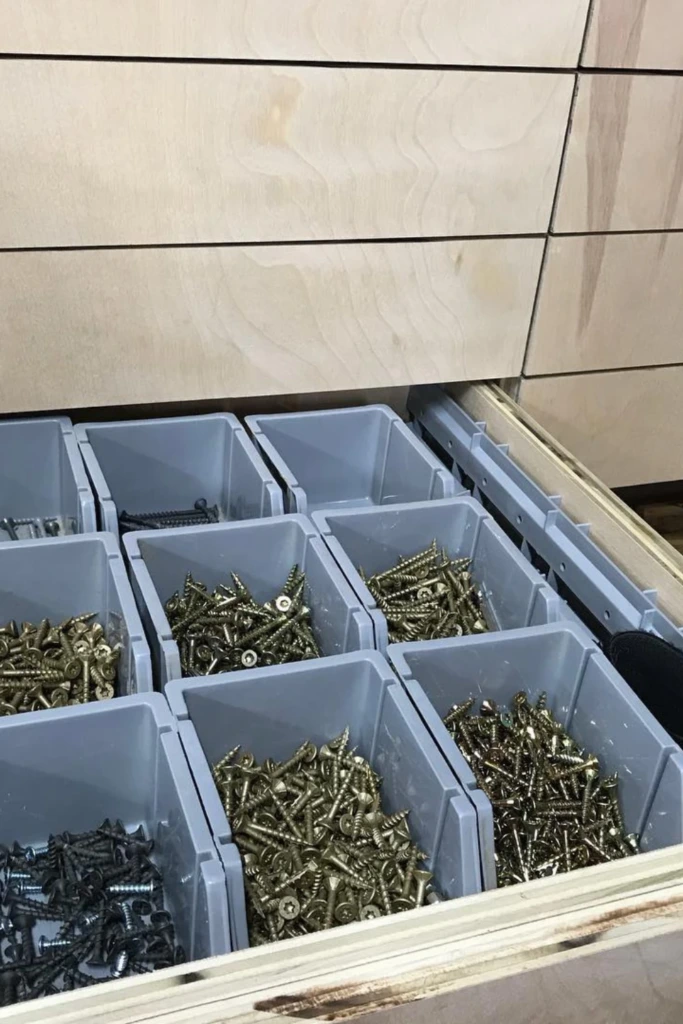
Deep drawers offer excellent storage capacity for people who maintain larger collections of nails and screws. Individual bins allow you to use the available depth without creating messy piles.
Select durable containers that fit comfortably inside the drawer. Group similar fasteners together, and avoid filling bins so high that their contents spill when the drawer moves.
For easier identification, attach labels to the upper edges of each container. This setup works particularly well in garage cabinets and workshop storage units where heavier hardware needs a permanent home.
4. Color-Coded Grid
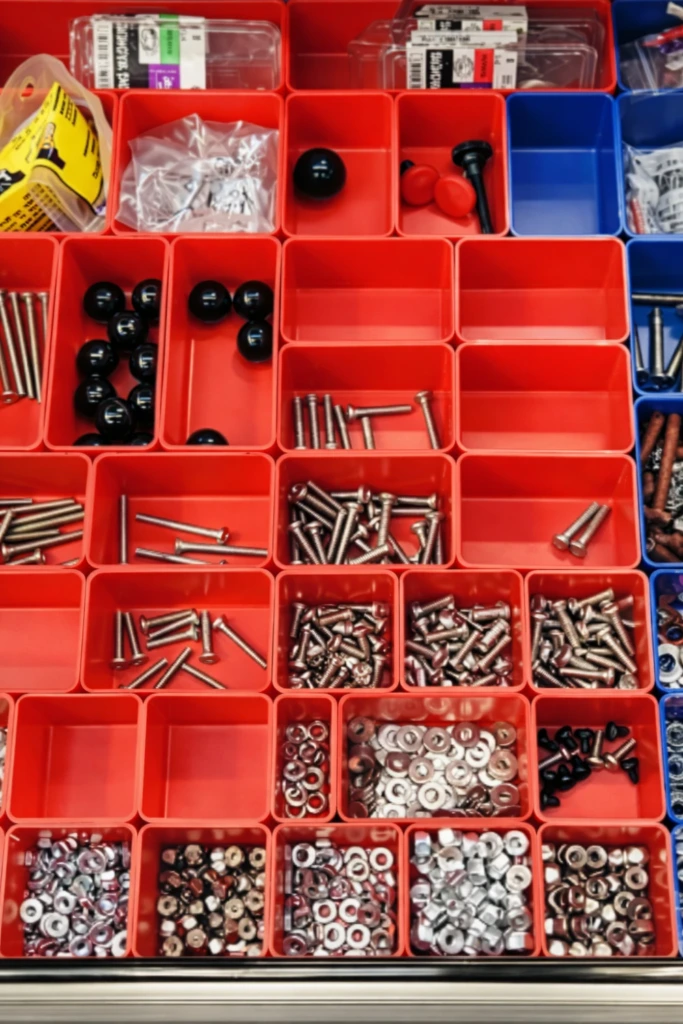
A color-coded storage grid creates a simple visual system for identifying different hardware categories. It is particularly helpful when several people share the same workshop.
Assign a specific container color to each group. For example, blue bins could hold wood screws, yellow bins could contain nails, and green bins could store nuts and bolts.
Arrange the containers in a consistent grid inside a drawer or cabinet. Include written labels as well, since colors alone may not distinguish individual sizes or accommodate everyone's needs.
5. Pocket Pill Storage

Empty pill containers can become compact storage solutions for small quantities of screws, nuts, and washers. Their lightweight design makes them useful for apartment toolkits and occasional household repairs.
Use clean, completely dry containers with secure lids. Place one type and size of fastener inside each bottle, then write the measurements on an adhesive label.
Store the bottles upright in a small basket or toolbox to prevent them from rolling around.
Remove or cover old medication labels to avoid confusion, and keep these containers away from children. For very small hardware collections, this approach saves space without requiring specialized organizers.
6. Wall Drawer Cabinet
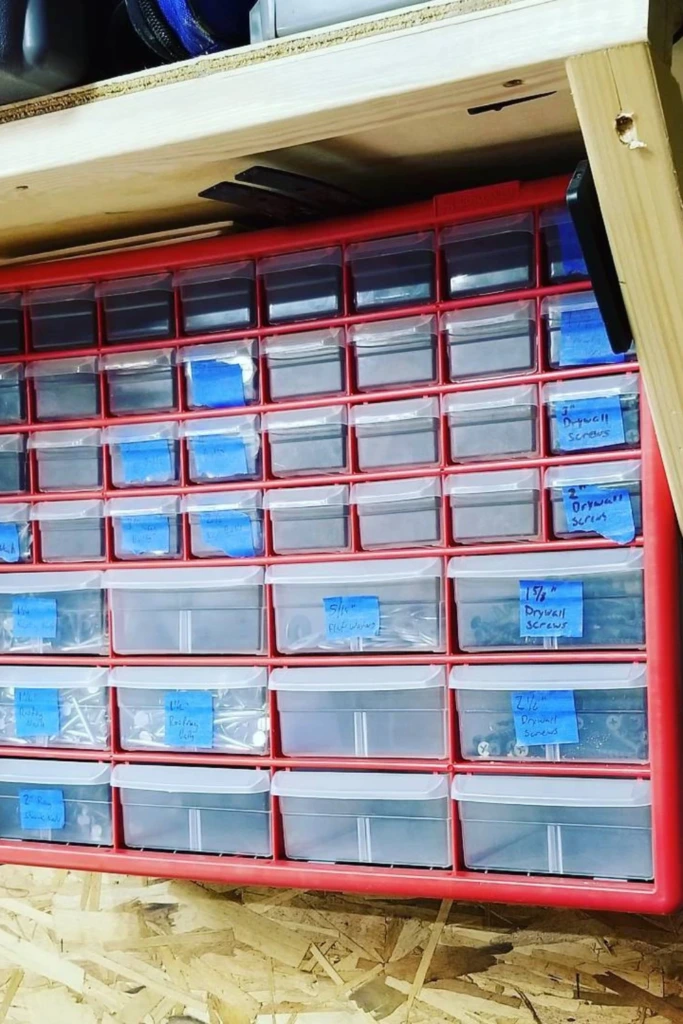
A wall-mounted drawer cabinet keeps small hardware organized while freeing valuable workbench space. It is a practical option for garages where floor and countertop storage are limited.
Look for a cabinet with multiple small drawers, preferably with transparent fronts. Assign individual drawers to different fastener sizes and label them clearly.
Install the cabinet at a comfortable reaching height using appropriate wall anchors or studs. Heavier supplies should remain in lower sections or sturdier storage units.
Positioning the cabinet near your main work area makes retrieving and returning hardware more convenient.
7. Custom Drawer Grid
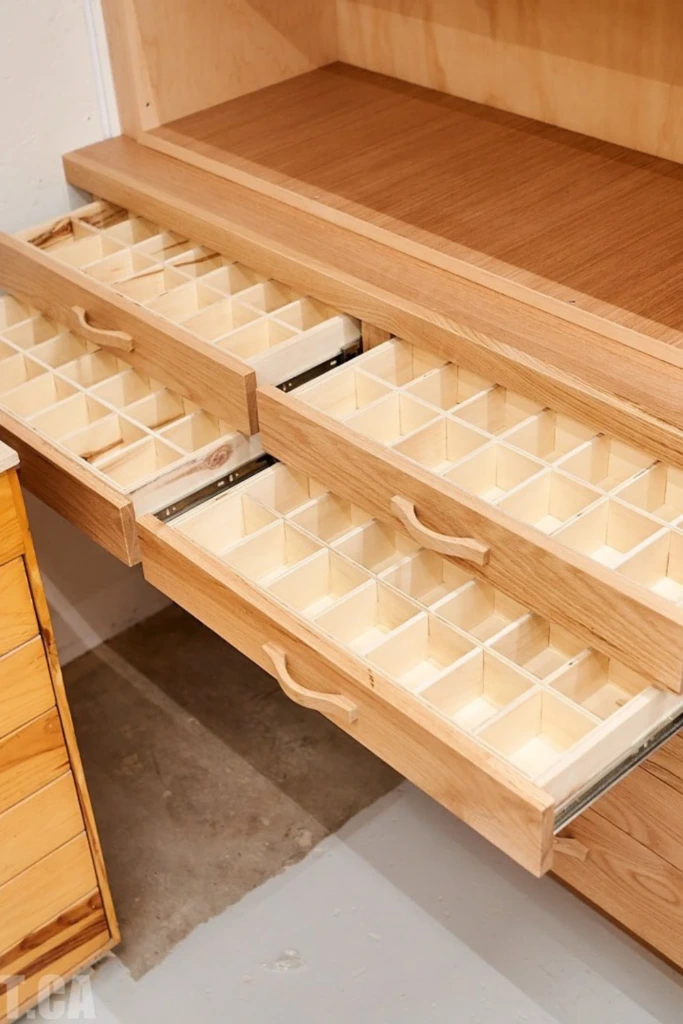
A custom drawer grid allows you to design storage compartments around your specific hardware collection. This option works well when standard organizers do not fit your drawers properly.
Thin plywood, hardwood strips, or plastic dividers can be used to create individual sections. Measure the drawer carefully before cutting materials so the finished grid fits securely.
Make larger compartments for frequently used screws and narrower spaces for smaller items such as washers and finishing nails.
A custom layout also allows you to leave room for future additions without completely rearranging the storage system.
8. Box Shelf Storage
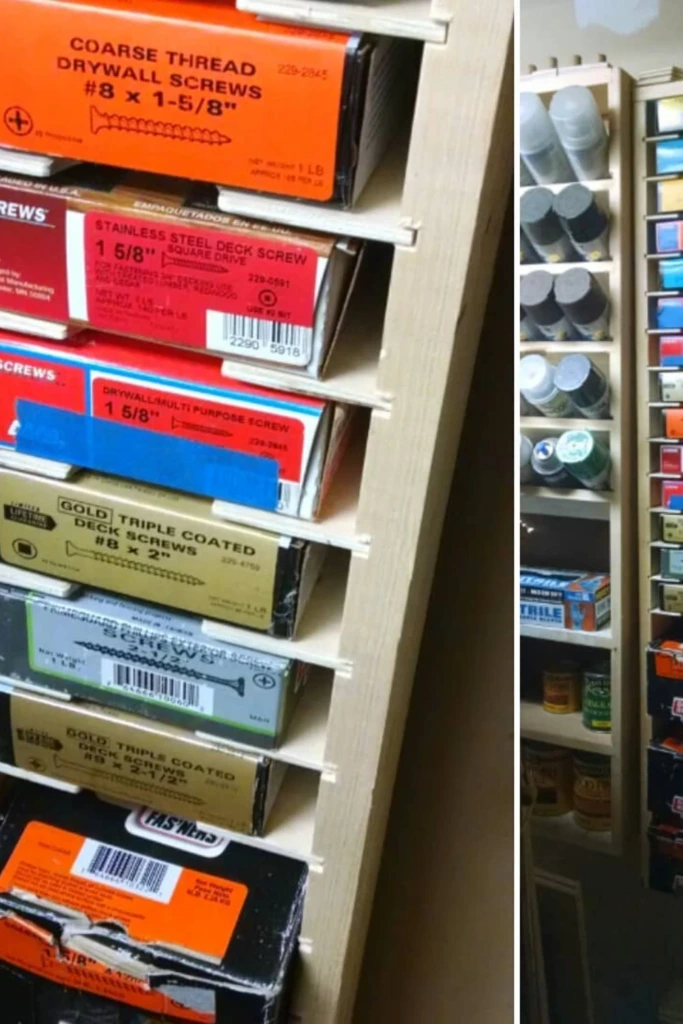
Keeping screws in their original packaging is often the simplest way to preserve important product information. A dedicated shelf system makes those boxes easier to organize and retrieve.
Install shallow shelves inside a garage cabinet or along a workshop wall. Arrange screw boxes by diameter, length, or application, with the printed descriptions facing outward.
Place heavier boxes on lower shelves and avoid stacking packages so high that they become unstable.
If a box becomes damaged, transfer its contents into a sturdy container and attach the original product label. This helps retain details about the screw type, coating, and intended use.
9. Cabinet Jar Rack
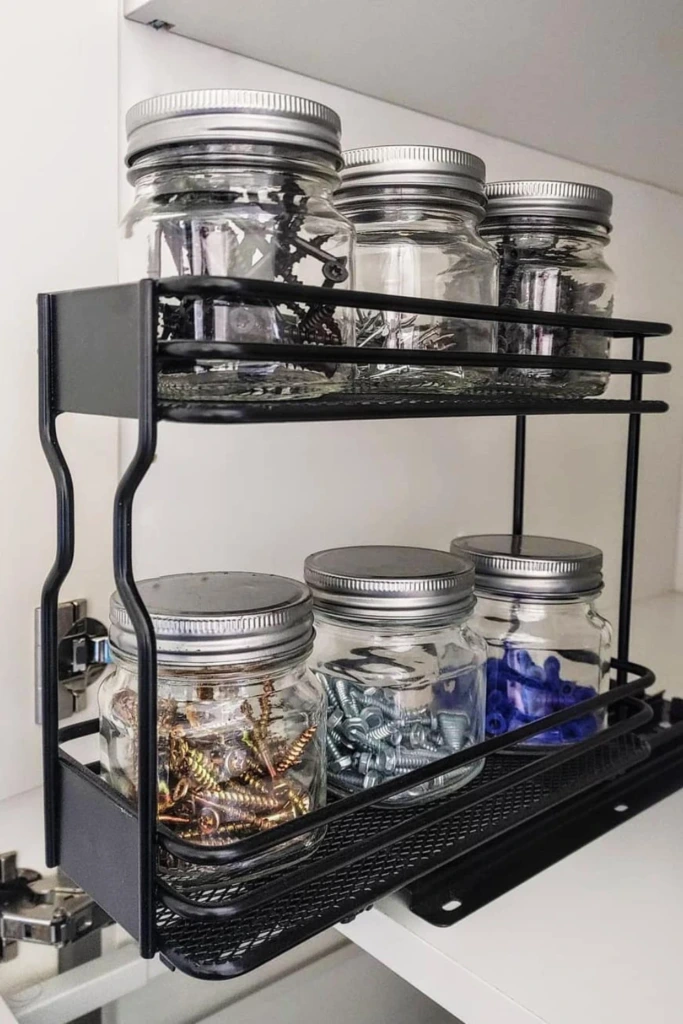
A cabinet jar rack transforms unused shelf space into an organized hardware storage area. Clear jars make it easy to monitor supplies without opening every container.
Choose sturdy plastic jars or glass jars with reliable lids. Plastic is generally preferable in busy workshops because it is less likely to break if dropped.
Arrange the jars on a tiered shelf or pull-out rack, grouping similar fasteners together. Label the lids or front surfaces with accurate measurements.
For cabinets with limited visibility, a battery-powered light can make reading labels easier. Avoid overloading pull-out racks beyond their rated capacity.
10. Bench-Top Organizer
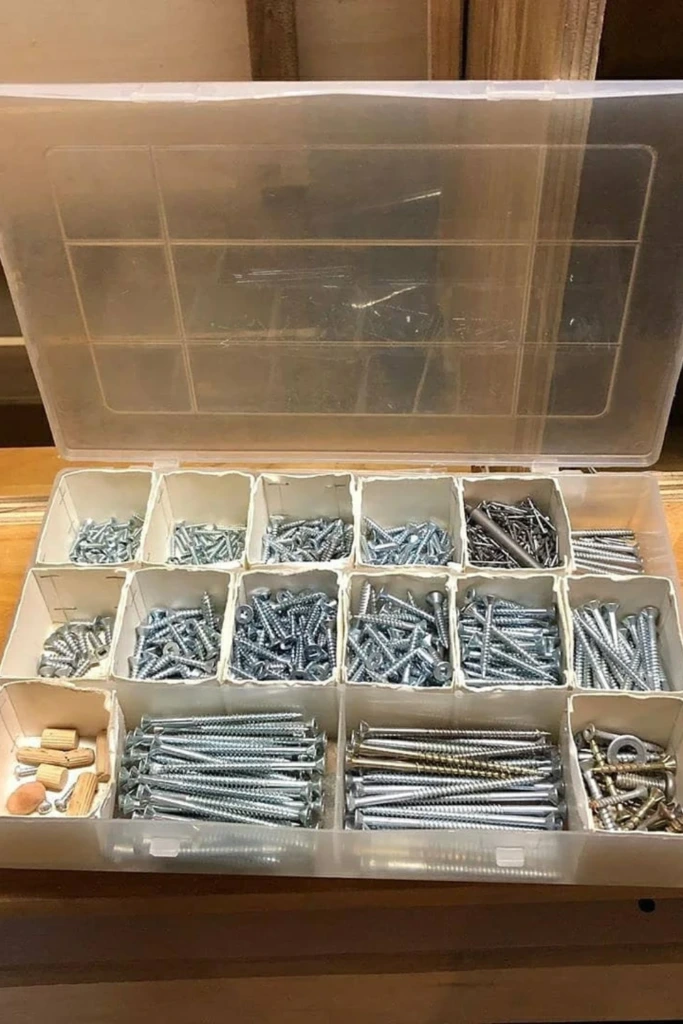
A bench-top organizer keeps frequently used nails and screws close to your working area. It is particularly useful for repetitive tasks such as assembling furniture or completing woodworking projects.
Choose a shallow organizer with several compartments and a secure cover. Place your most-used fasteners in the easiest-to-reach sections.
Arrange the contents logically, such as from shorter screws to longer screws, so selecting the correct piece becomes intuitive.
When the project is finished, close the organizer and return any unused hardware to its assigned compartment. This small habit prevents clutter from accumulating on the workbench.
11. Label-First Drawers
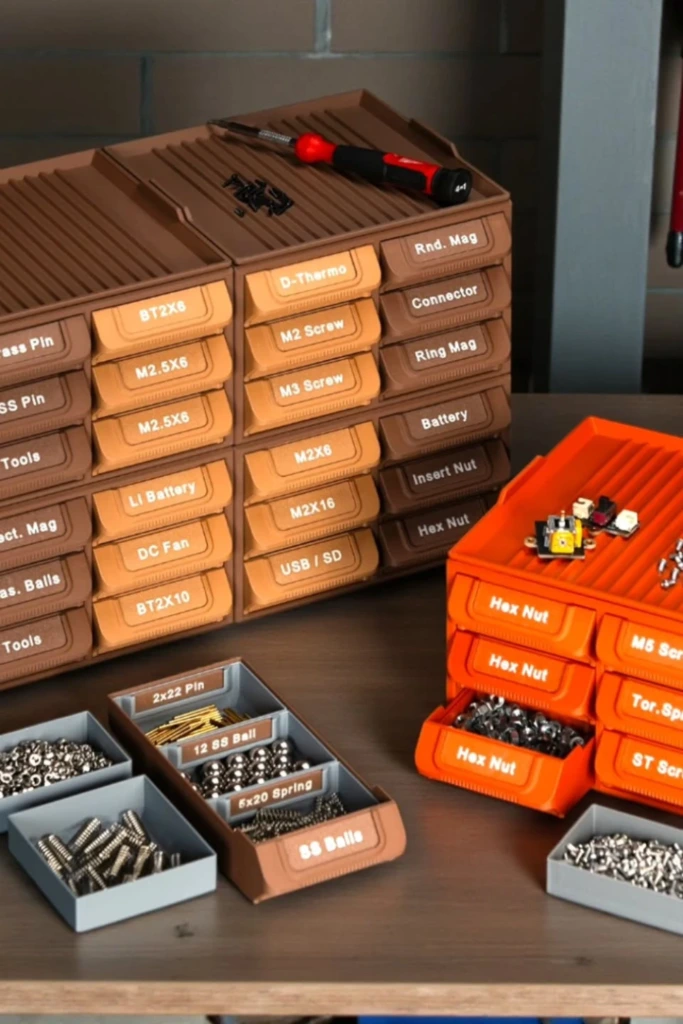
A label-first system focuses on creating clear storage categories before placing hardware inside drawers. It helps maintain consistency as your collection grows.
Begin by deciding which fasteners deserve their own drawers. Common categories might include wood screws, masonry anchors, machine screws, and finishing nails.
Create labels that describe the contents precisely. Including screw diameter, length, and head type is particularly helpful when similar-looking fasteners are stored nearby.
Use durable adhesive labels or a label maker for easy readability. Leave some space in each drawer so newly purchased hardware can be added without overcrowding.
12. Job site Carry Case
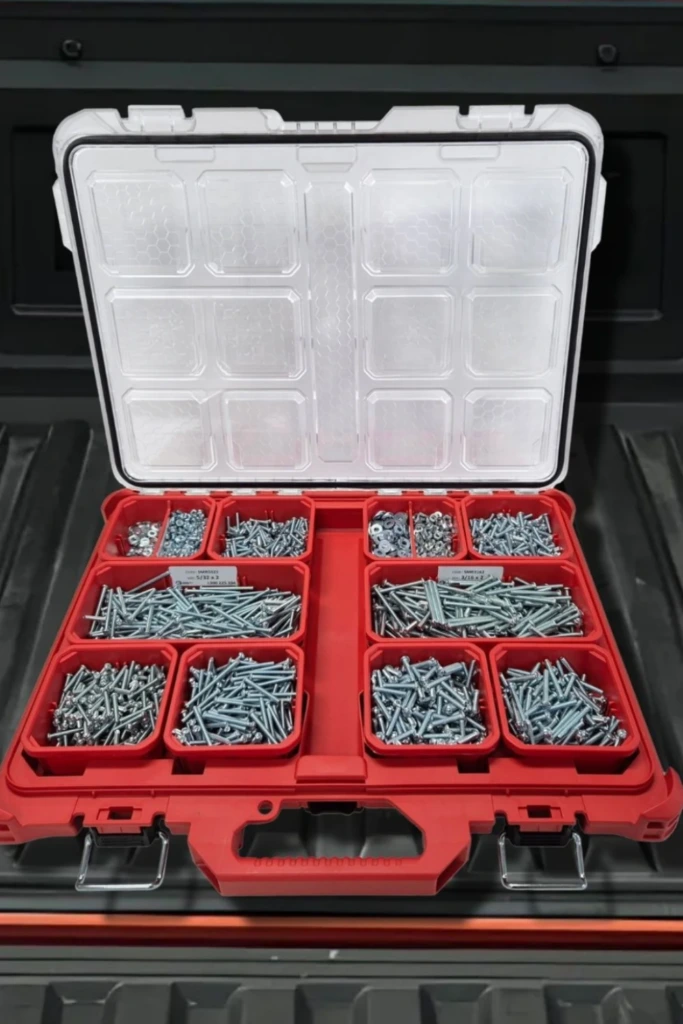
A portable carry case protects hardware during transportation and keeps essential supplies ready for projects away from home.
Choose a sturdy case with dependable locking mechanisms and compartments that remain separated when the lid closes. Removable trays can make it easier to bring selected hardware directly to the work area.
Organize screws and nails according to the projects you commonly perform. Keep compatible wall anchors, washers, and nuts in nearby sections.
Before transporting the case, check that all dividers are seated correctly and the lid is securely fastened. This reduces the risk of hardware spilling or mixing during travel.
13. Size-Sorted Inserts
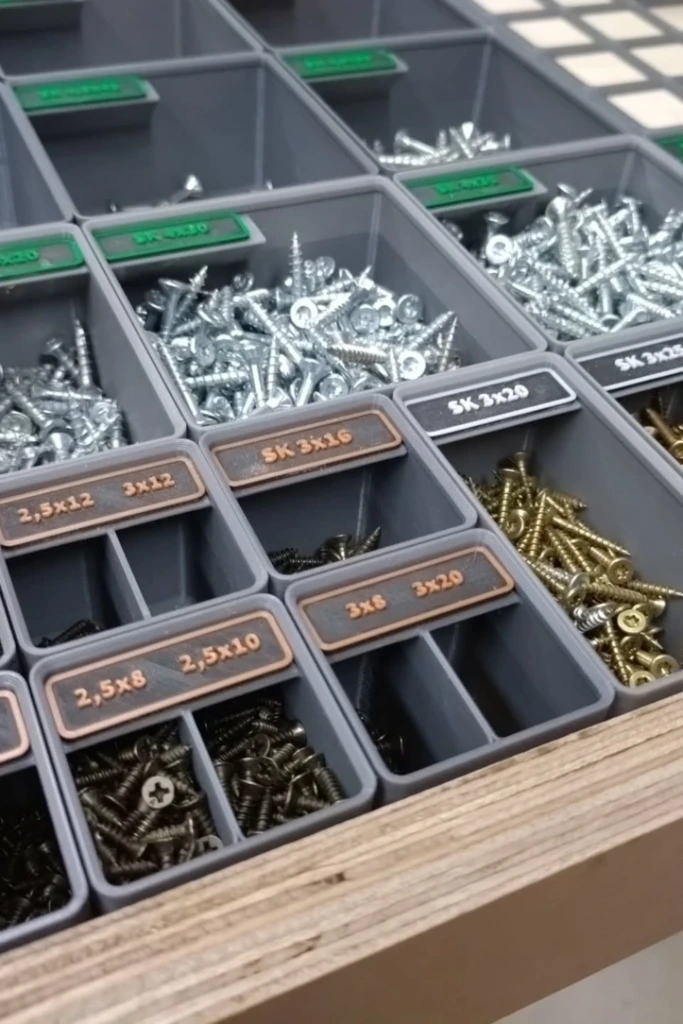
Size-sorted inserts are useful when you own multiple lengths and diameters of similar fasteners. They create a consistent arrangement that makes selecting the correct dimensions easier.
Use modular trays or custom inserts with separate spaces for each measurement. Arrange screws from smallest to largest within their categories.
Label each compartment using the measurement system printed on the packaging. Keep metric and imperial sizes clearly distinguished to prevent accidental substitutions.
This method is especially valuable for furniture assembly, mechanical repairs, and precision woodworking, where selecting the wrong fastener can affect the finished project.
14. Vertical Slot Rack
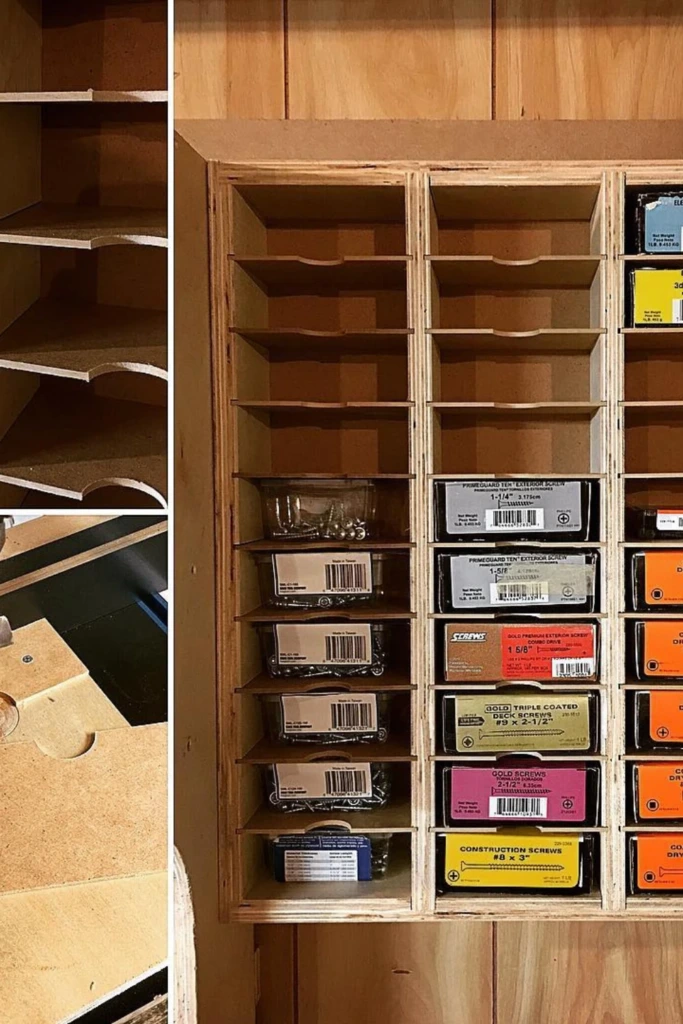
A vertical slot rack makes effective use of wall or cabinet height while keeping boxed hardware neatly arranged.
Construct a narrow rack using plywood or another sturdy material, with horizontal supports sized to accommodate your screw boxes or small storage trays.
Position each container so its label remains visible from the front. Arrange frequently used hardware at a comfortable height and store less-used supplies above or below.
Secure the rack properly to prevent tipping or movement. This design is particularly helpful in workshops with limited floor space but available vertical storage.
15. Zip Bag Sorting
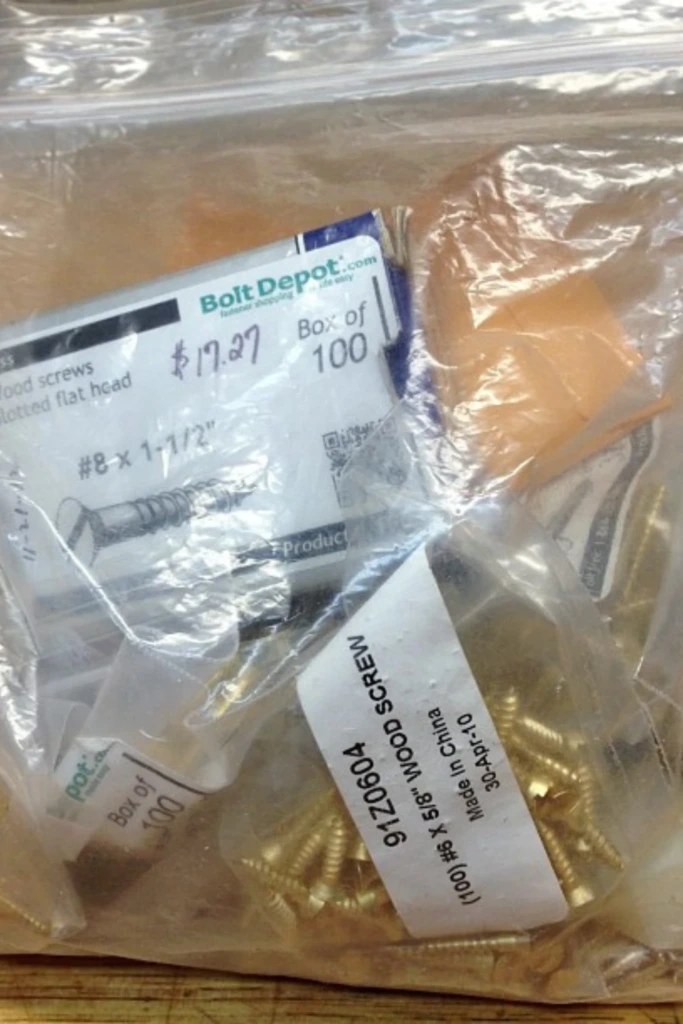
Heavy-duty resealable bags provide an affordable and flexible way to organize small quantities of hardware. They are useful for leftover screws from furniture kits, occasional repairs, and project-specific supplies.
Separate hardware into individual bags based on size or intended use. Include a paper label or the original packaging information inside each bag.
Store the sealed bags upright in a divided box or small filing container so they remain easy to browse.
For sharp nails or heavy screws, use thicker bags or rigid containers to prevent punctures. This system is best suited to lighter quantities rather than bulk hardware storage.
16. Open Bin Wall
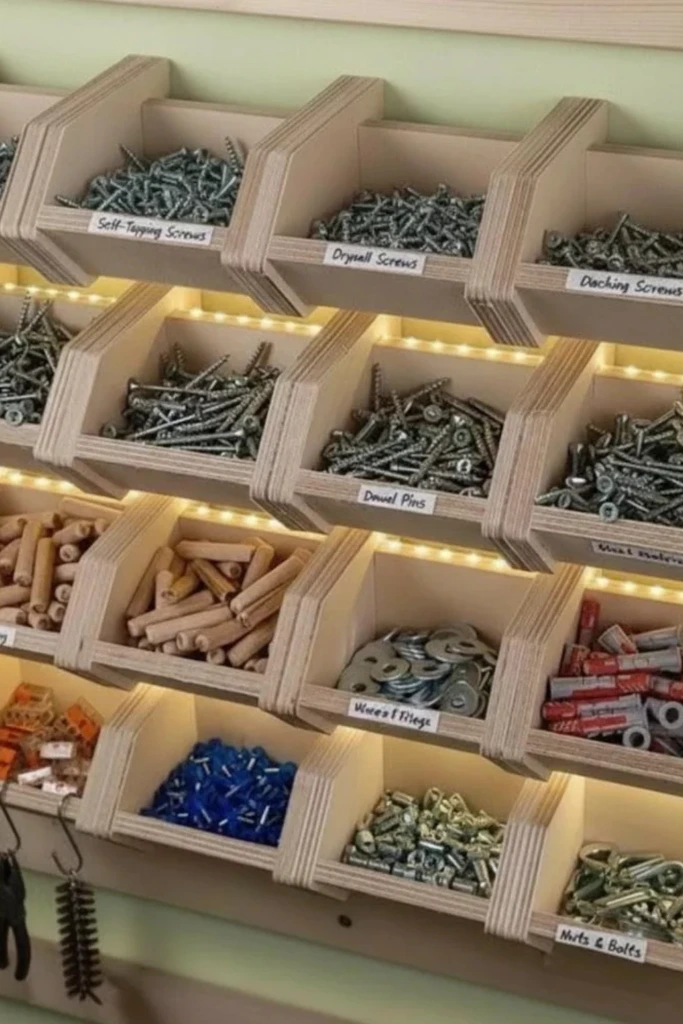
An open bin wall creates a dedicated hardware station where frequently used fasteners remain visible and easy to reach.
Mount a series of durable bins on a compatible wall rail or storage panel. Arrange the containers in rows and give each one a clearly labeled category.
Position everyday supplies at arm level, while reserving higher or lower rows for less frequently used items.
Open bins are convenient for active workshops, although they may collect dust over time. Avoid placing them where vibration or accidental contact could cause contents to spill.
17. Stack able Case System
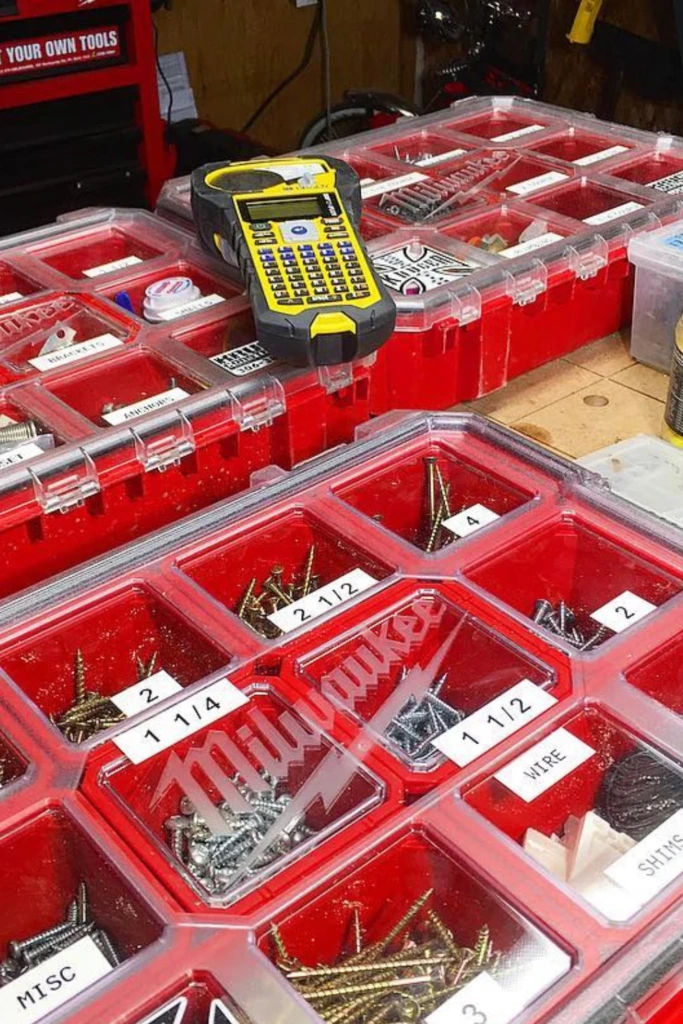
Stackable storage cases allow you to expand your hardware collection without taking up excessive shelf space. They are ideal for garages and utility rooms where storage needs change over time.
Choose cases with matching dimensions and secure lids so they stack evenly. Divide hardware into broad categories, such as woodworking screws, household fasteners, and specialty fittings.
Place heavier cases at the bottom and keep the most frequently used supplies near the top.
Attach labels to the front or side of each case so you can identify its contents without unstacking everything. Avoid building stacks that are too tall or unstable.
18. Mixed Fastener Tray
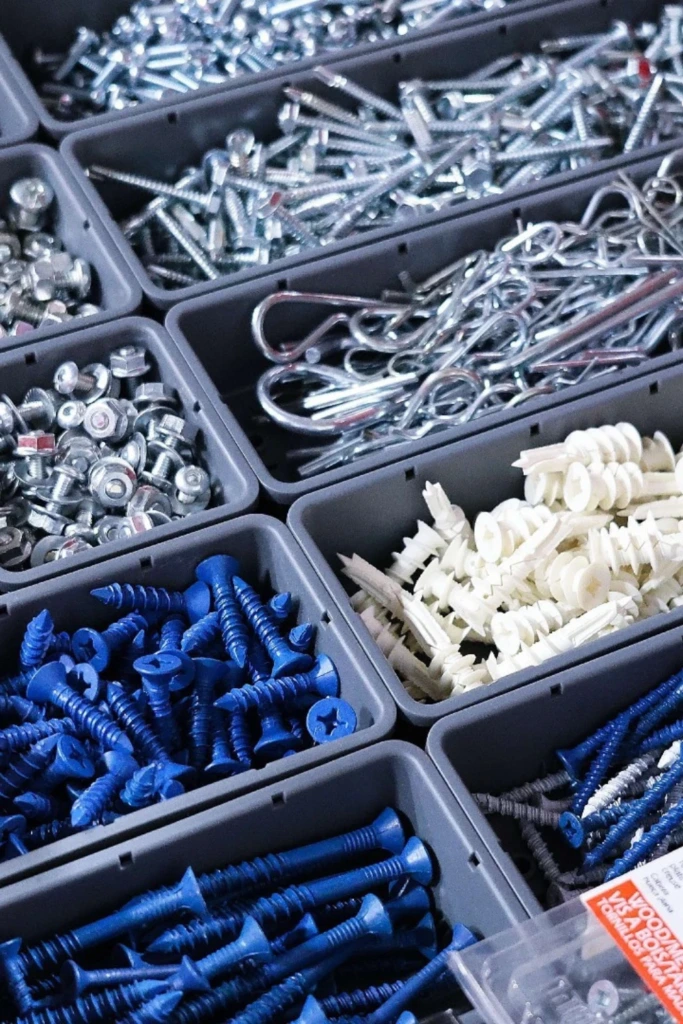
A mixed fastener tray keeps related components together while maintaining separation between different hardware types.
For example, a tray dedicated to wall mounting could contain screws, anchors, washers, and small brackets in individual compartments.
Another tray might hold the nuts, bolts, and washers needed for furniture assembly.
This project-based approach reduces the need to search through multiple containers. Use shallow trays with secure dividers so smaller pieces remain visible and cannot easily migrate between sections.
19. Clear Grid Layout
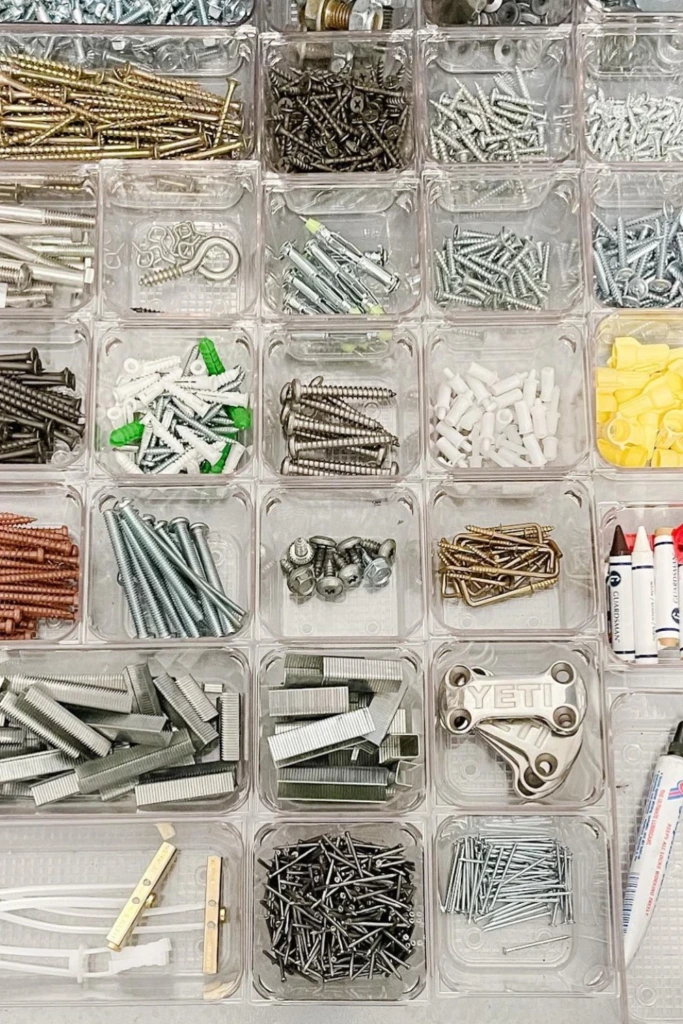
A clear grid layout creates an orderly arrangement using transparent containers of similar dimensions. It works particularly well inside wide drawers and shallow cabinets.
Select square or rectangular bins that fit together with minimal wasted space. Give each container a specific purpose, separating hardware by type and measurement.
Arrange the bins in a predictable order, such as grouping nails on one side and screws on the other.
Transparent containers help you check remaining quantities quickly. Add labels to the upper edges so you can identify individual sizes even when the containers are nearly empty.
20. Adjustable Divider Case
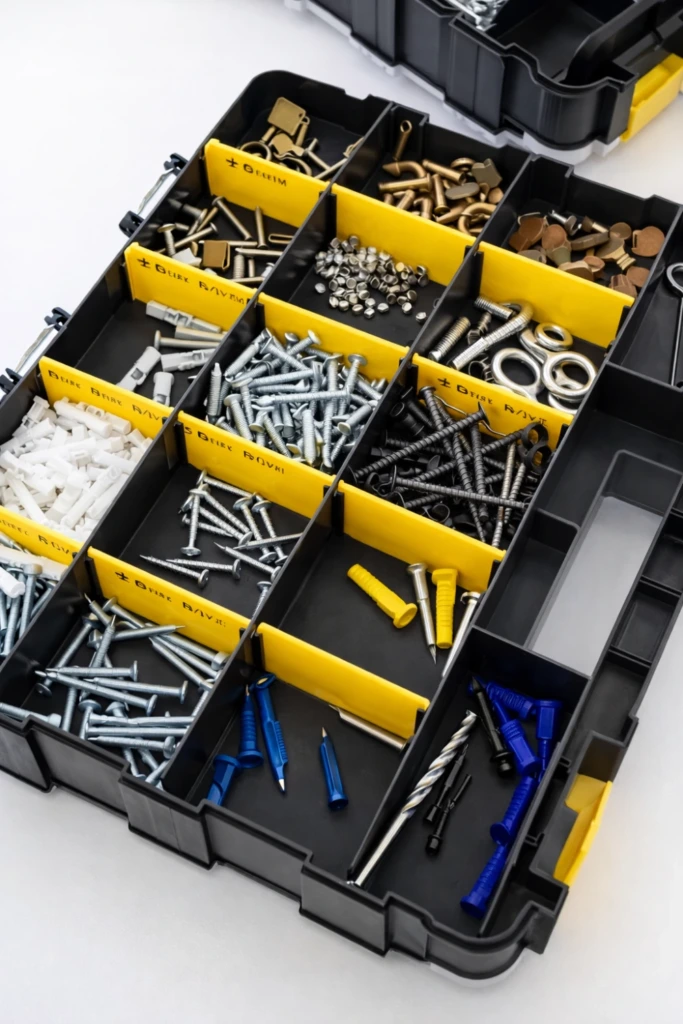
An adjustable divider case provides flexibility for hardware collections that change with different projects. Instead of committing to fixed compartment sizes, you can modify the layout whenever necessary.
Choose a durable organizer with movable partitions that fit securely into their slots. Create larger spaces for bulky fasteners and smaller sections for specialty screws or washers.
As supplies increase or decrease, rearrange the dividers to make better use of the available room.
Check that the partitions reach the lid or otherwise prevent pieces from crossing between compartments during transport. This makes the case suitable for both household storage and portable toolkits.
How many screws should you keep at home?
There is no fixed number of screws every household needs. The ideal quantity depends on how frequently you perform repairs and the types of projects you handle.
For occasional maintenance, keeping modest quantities of several commonly used wood screws, appropriate wall anchors, and other fasteners suited to your home is usually more practical than buying large assortments.
Choose screws based on the materials and loads involved rather than relying on one type for every repair. Store specialty hardware separately and replenish supplies when quantities become low.
Should nails and screws be stored together?
Nails and screws can share the same toolbox, cabinet, or organizer, provided they are kept in separate compartments.
Mixing them in one container makes it harder to identify the correct fastener and increases the chances of choosing the wrong size during a project.
Separate storage also protects smaller components from becoming buried beneath larger pieces. Labeling each compartment makes the system easier to maintain.
For the best results, keep hardware in a dry location, use moisture-resistant containers where necessary, and return leftover pieces to their designated spaces after every project.
A well-organized collection doesn't need to be large or expensive. The most effective system is one that fits your available space, keeps fasteners easy to identify, and remains simple enough to maintain after every repair.