2026 Best DIY Storage Idea: Recessed Shelves Between Studs
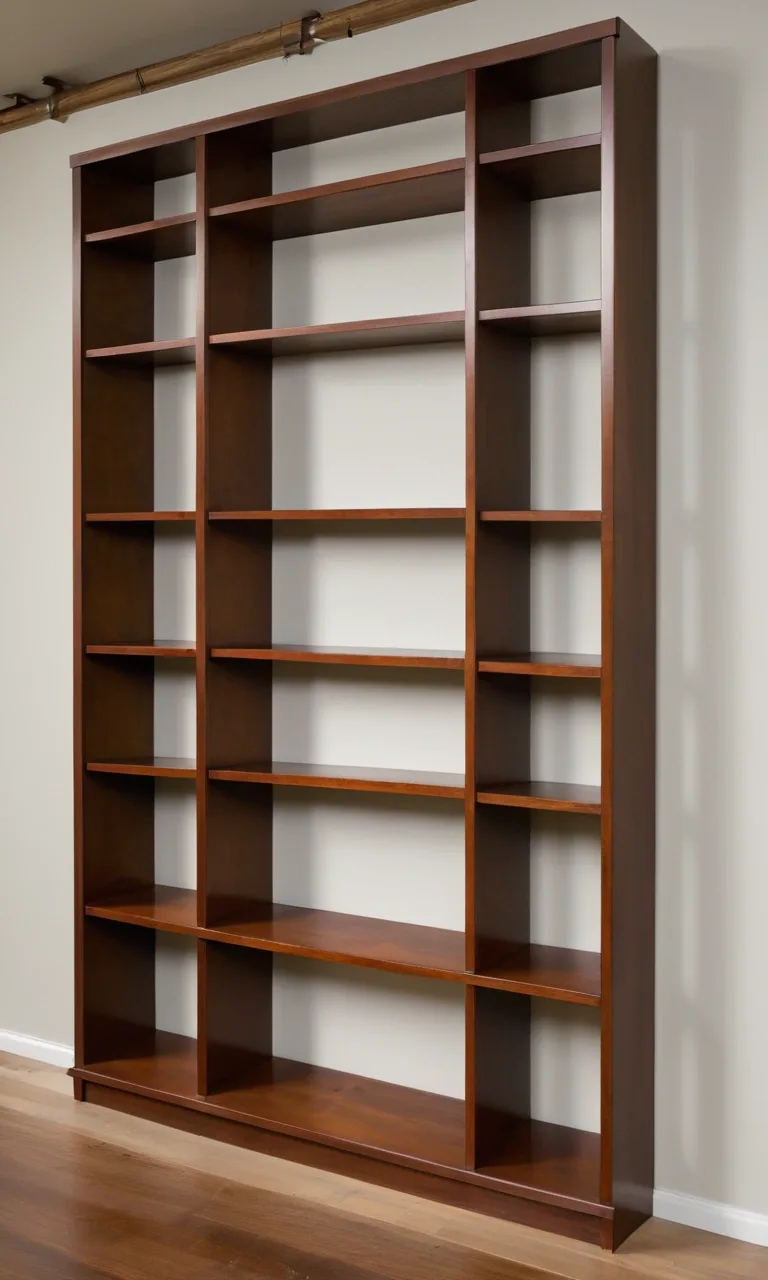
Finding extra storage in a small home can be challenging, especially when traditional cabinets and bookshelves take up valuable floor space. One clever solution is to create recessed shelves between wall studs, turning unused wall cavities into practical storage.
These built-in shelves are perfect for organizing small toiletries, displaying decorative pieces, storing spices, or keeping everyday essentials within reach. They also create a streamlined appearance because most of the shelving sits inside the wall rather than projecting into the room.
The best part is that you can build recessed shelving with basic woodworking materials and careful planning. However, checking for hidden electrical wiring, plumbing, and structural obstacles is essential before making any cuts.
This guide explains how to plan, construct, and finish recessed shelves between studs for a functional, attractive storage upgrade.
Check If Your Wall Is Safe for Recessed Shelving?
Before starting your project, determine whether the wall has enough clear space to accommodate recessed shelves safely.
Interior partition walls are often suitable candidates, but not every wall cavity is empty. Electrical cables, plumbing pipes, ductwork, insulation, and structural components may occupy the space.
Start by locating the studs with a reliable stud finder. Use a detector with electrical scanning capabilities, but remember that these devices cannot identify every hidden obstruction.
Avoid cutting near electrical outlets, switches, plumbing fixtures, or ventilation openings until you have confirmed what runs behind the drywall.
Exterior walls require special consideration because removing insulation or disturbing air and vapor barriers can create moisture problems and reduce energy efficiency.
Also, check whether the wall is load-bearing or fire-rated. Never remove studs, blocking, or other structural elements without appropriate professional guidance.
Once you identify a promising location, inspect the cavity through a small, carefully made opening using a flashlight or inspection camera. Make sure it is safe to create that opening first.
If you discover wiring, pipes, or unexpected framing, stop and choose another location or consult a qualified professional.
What You Need: Tools, Materials, and Prep
Having your equipment ready makes the installation process easier and helps you avoid unnecessary mistakes.
For a basic recessed shelving project, gather these supplies:
Stud finder and suitable electrical detector
Measuring tape, pencil, and carpenter's level
Utility knife and drywall saw
Drill and screwdriver bits
Wood screws and wood glue
Plywood or solid wood shelving boards
Lumber for framing or shelf supports
Thin plywood for an optional cabinet backing
Decorative trim or molding
Wood filler, paintable caulk, and sandpaper
Primer and interior paint
Safety glasses, gloves, and dust protection
Choose straight, dry lumber that will remain stable after installation. Plywood is particularly useful because it resists warping and provides a smooth surface for painting.
For small decorative shelves, 1/2-inch or 3/4-inch plywood may work well, depending on the span, construction, and expected load.
Before cutting drywall, cover nearby furniture, protect the floor, and remove objects that could interfere with your work.
In older homes, investigate possible lead paint or asbestos-containing materials before disturbing wall finishes. Follow appropriate testing and safe-work requirements.
Planning the Perfect Shelf for Your Space
A well-designed recessed shelf should fit the wall cavity while providing enough room for the items you intend to store.
Begin by deciding how the shelving will function. A bathroom niche for skincare products needs a different arrangement from a display shelf for small picture frames.
Consider these planning details:
Width: Standard studs spaced 16 inches on center generally leave approximately 14.5 inches of clear space between 1.5-inch-wide studs.
Depth: A wall framed with 2×4 studs usually has a cavity approximately 3.5 inches deep before accounting for backing and other materials.
Height: Measure your tallest objects and allow comfortable clearance above them.
Shelf spacing: Adjustable shelves offer flexibility, while fixed shelves can create a cleaner, more permanent appearance.
Placement: Select a location that allows convenient access without interfering with doors, furniture, or fixtures.
Finish: Decide whether the shelves should blend into the wall or stand out with contrasting paint or wood.
Sketch the shelving arrangement before purchasing materials.
For example, a narrow recessed unit in a hallway might include four shallow shelves for keys, decorative accessories, and small storage containers.
Remember that the finished interior dimensions will be smaller than the original wall opening because the shelf sides, top, bottom, and backing occupy space.
Accurate planning reduces wasted materials and helps ensure the finished unit looks proportional to the room.
How to Find and Cut Between Studs Safely
Creating the drywall opening is one of the most important stages of the project. Careful measurements and controlled cutting will help protect the surrounding wall.
Step
What to Do
Helpful Tip
1. Locate framing
Identify both studs bordering the intended opening.
Mark their inner edges rather than guessing their positions.
2. Check for hazards
Investigate potential wiring, pipes, ducts, and blocking.
Do not rely on a stud finder alone to confirm an empty cavity.
3. Draw the outline
Use a level and straightedge to mark the opening.
Check the dimensions and corners before cutting.
4. Inspect the cavity
Make a small inspection opening only after assessing the area for hazards.
Use an inspection camera to examine concealed spaces.
5. Score the drywall
Cut along the marked lines with a sharp utility knife.
Scoring helps reduce damage to the surrounding painted surface.
6. Remove the drywall
Use a drywall saw with controlled, shallow movements.
Avoid pushing the blade deeply into the wall cavity.
7. Examine the opening
Check the exposed space and framing.
Stop if you encounter an unexpected obstruction.
After removing the drywall section, clear loose debris and check that the opening is reasonably square.
Do not cut through studs, structural headers, or fire blocking simply to make the shelves taller or wider. Required fire blocking must remain effective, and any approved modifications need to meet local building requirements.
If the cavity contains obstacles that cannot be safely accommodated, relocating the shelving is usually the simplest solution.
Framing and Building the Recessed Shelf
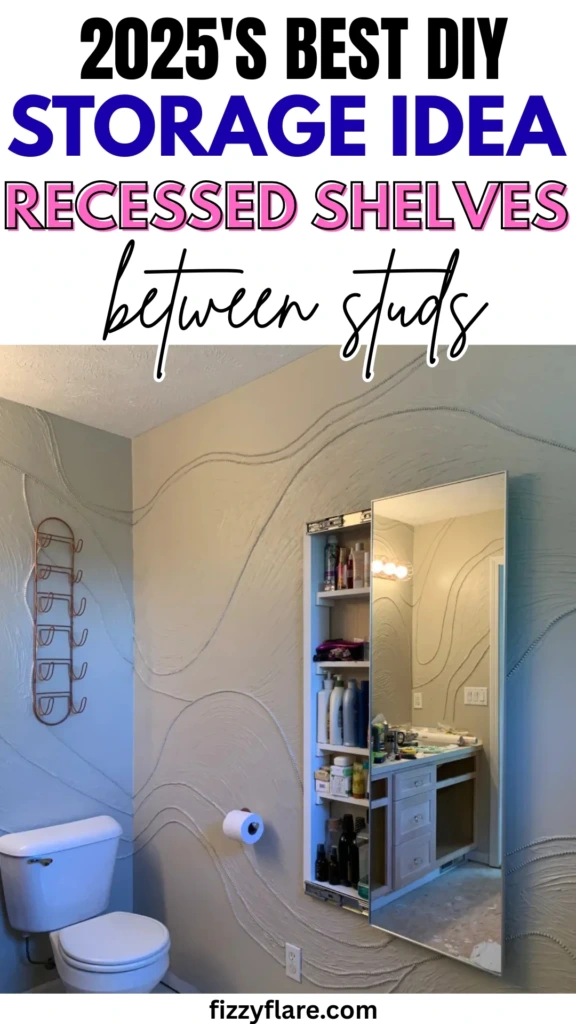
With the wall opening prepared, you can construct the shelving structure.
A practical approach is to build a shallow wooden cabinet that fits between the existing studs.
First, measure the actual opening at several points. Wall framing is not always perfectly straight, so use the smallest measurement when determining the cabinet's exterior dimensions.
Cut plywood pieces for the two sides, top, bottom, and any fixed shelves. If you want a finished back panel, cut thin plywood to fit the cabinet.
Assemble the outer box using wood glue and suitable fasteners. Check the corners with a square before securing everything permanently.
Next, position the shelves according to your planned layout.
For fixed shelves, you can use properly sized support cleats, dados, or other suitable woodworking joints. Ensure the supports are securely attached and appropriate for the weight of the intended contents.
If you prefer adjustable storage, drill evenly spaced shelf-pin holes in the cabinet sides and install compatible shelf supports.
Once the cabinet is assembled, test-fit it inside the opening.
Use shims where necessary to correct minor irregularities, and fasten the cabinet securely to the adjacent framing with appropriately sized screws.
Avoid overtightening fasteners, which can pull the cabinet out of square.
Finally, check that every shelf is level and that the cabinet remains firmly supported.
For a clean appearance, install a narrow face frame around the opening. This decorative border can conceal small installation gaps and make the shelves look like an intentional architectural feature.
Keep in mind that recessed shelves are generally better suited to lightweight household items. Heavy books, equipment, and large containers may require stronger framing and a properly engineered support system.
Pro-Level Finishing for a Built-In Look
The finishing details determine whether your recessed shelves look like a basic DIY project or a professionally installed storage feature.
Start by filling visible nail holes and minor imperfections with wood filler. Allow the filler to dry before sanding the surfaces smooth.
Install decorative trim around the opening, ensuring the corners meet neatly.
Simple flat trim works beautifully in modern interiors, while traditional molding can complement classic room designs.
Apply paintable caulk along small joints between the trim and wall. Smooth it carefully to create a continuous finish.
Next, clean away sanding dust and apply a primer suitable for the chosen wood or plywood.
Once the primer dries, paint the shelving unit.
Matching the surrounding wall color creates a subtle, integrated appearance. Alternatively, a contrasting shade can turn the niche into an attractive decorative feature.
For a warmer look, consider staining the shelves while painting the surrounding trim.
A durable, washable finish is especially useful for shelving that will hold frequently handled items.
Allow the paint or protective coating to cure according to the manufacturer's instructions before loading the shelves.
If installing recessed shelving in a bathroom, use moisture-resistant materials and finishes appropriate for the location. Shelves exposed to direct shower water require a properly designed waterproof niche rather than an ordinary wooden cabinet.
Fixing Common Mistakes and Troubleshooting
Even carefully planned projects can develop small problems during installation. Fortunately, many cosmetic and alignment issues can be corrected without rebuilding the entire unit.
Uneven shelves: Check the cabinet with a level. If the unit is slightly tilted, adjust the shims or shelf supports before tightening the fasteners again.
Visible gaps around the frame: Small cosmetic gaps can usually be concealed with paintable caulk. Larger openings may require wider trim or additional framing adjustments.
Rough drywall edges: Remove loose material carefully and repair damaged areas with suitable drywall compound before installing the finished trim.
Shelves that bend under weight: Reduce the load and inspect the shelf thickness, span, and support arrangement. Add suitable reinforcement or replace the shelf with stronger material if necessary.
Cabinet movement: Check that the unit is fastened securely to the wall framing. Do not depend on drywall alone to support the shelving.
Uneven paint: Lightly sand imperfections after the coating dries, remove the dust, and apply another thin coat.
Doors or furniture interfering with access: Reconsider the shelf location or adjust how items are arranged to maintain a clear, convenient opening.
Unexpected moisture: Investigate the source immediately. Water staining, condensation, or damp materials may indicate a plumbing or building-envelope problem that needs repair before the shelving can be used.
Taking time to correct these issues improves both the appearance and long-term performance of the installation.
Final Thoughts
Recessed shelving between studs is a practical way to introduce additional storage without sacrificing valuable floor space.
By making use of suitable wall cavities, you can create attractive storage for everyday essentials, small decorations, and other lightweight items.
A successful project depends on choosing a safe location, measuring accurately, building a secure cabinet, and paying attention to finishing details.
Whether you prefer painted shelves that disappear into the surrounding wall or a contrasting wooden niche that becomes a decorative focal point, recessed shelving offers plenty of design flexibility.
With the right preparation, suitable materials, and careful installation, you can transform an otherwise unused section of wall into organized storage that feels like a natural part of your home.