23 Tupperware Organizing Ideas for 2026
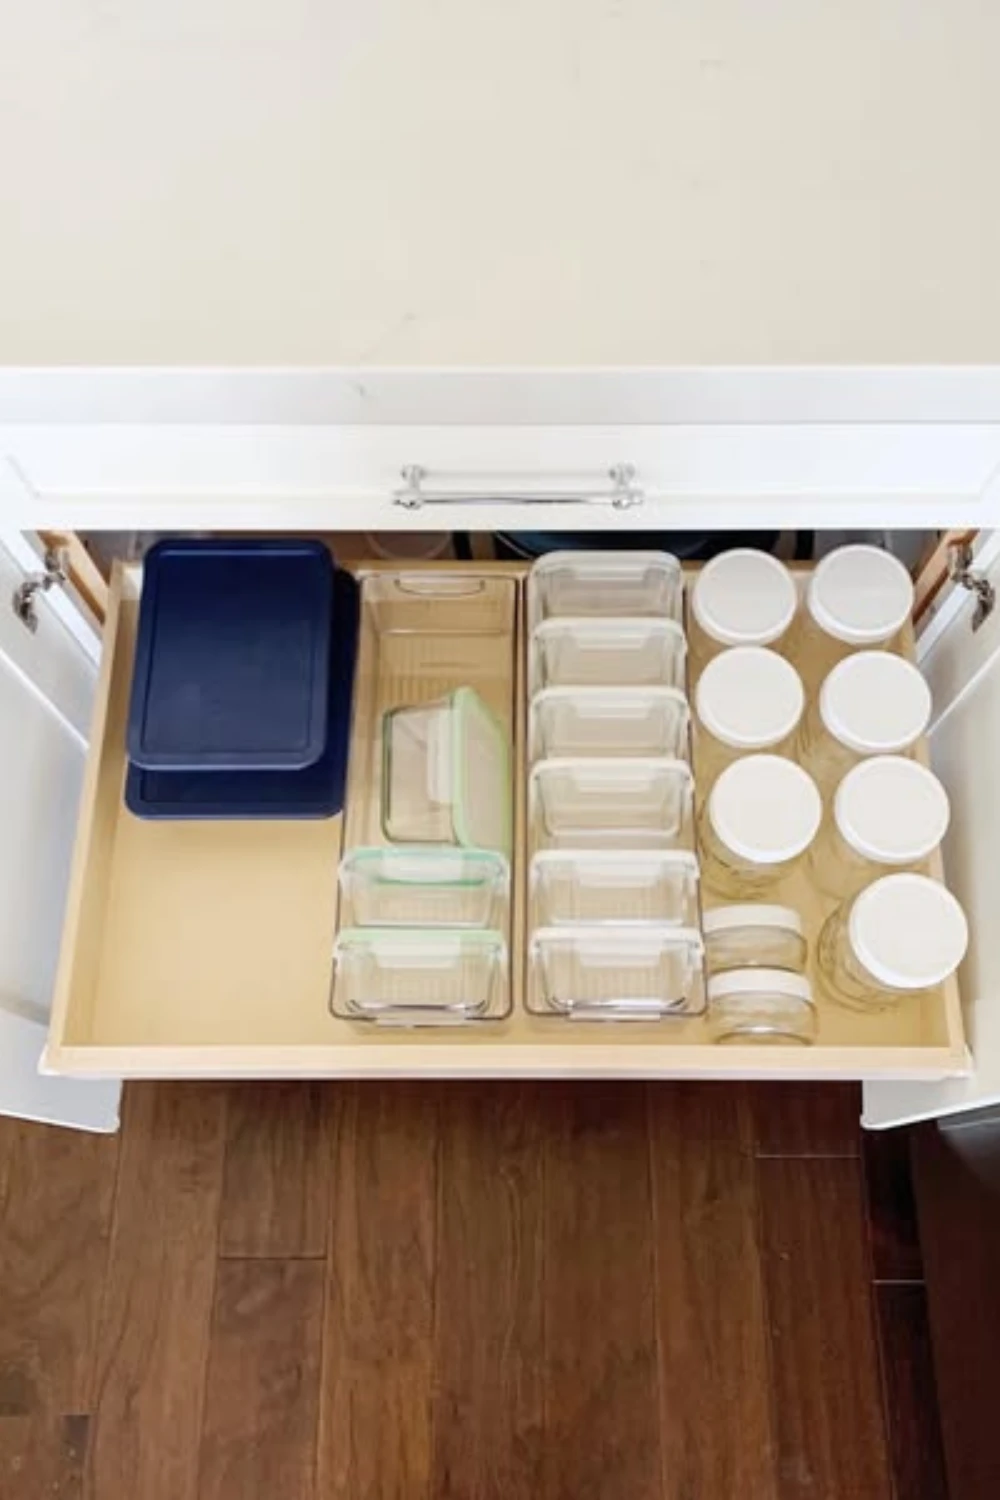
Keeping food storage containers organized can make a surprising difference in your daily kitchen routine. When lids are scattered, containers refuse to stack neatly, and matching pieces seem impossible to find, even a simple task like putting away leftovers becomes frustrating.
The good news is that you don't need an expensive kitchen makeover to solve the problem. A few thoughtful changes can help you use your existing cabinet or drawer space more efficiently while making every container easier to find.
Whether you have a small kitchen, a large collection of plastic containers, or a mixture of glass and plastic food storage, these Tupperware organizing ideas will help you create a practical system that is easy to maintain throughout 2026.
How Do People Organize Their Tupperware?
An organized food storage area starts with knowing exactly what you own and how you use it. Remove damaged containers, discard lids without matching bases, and donate or recycle usable extras when appropriate.
Next, arrange containers according to size, shape, or how frequently you use them. Nest similar containers together to save space, and keep lids in a dedicated location where they won't become buried beneath other items.
Drawers are useful for shallow, easy-to-reach storage, while cabinets work well for larger collections. Dividers, baskets, and small bins can keep everything in its assigned place.
The most effective system is one that fits your kitchen layout and daily habits. Choose an arrangement that allows you to retrieve a container without disturbing the rest of the collection.
1. Drawer First Storage
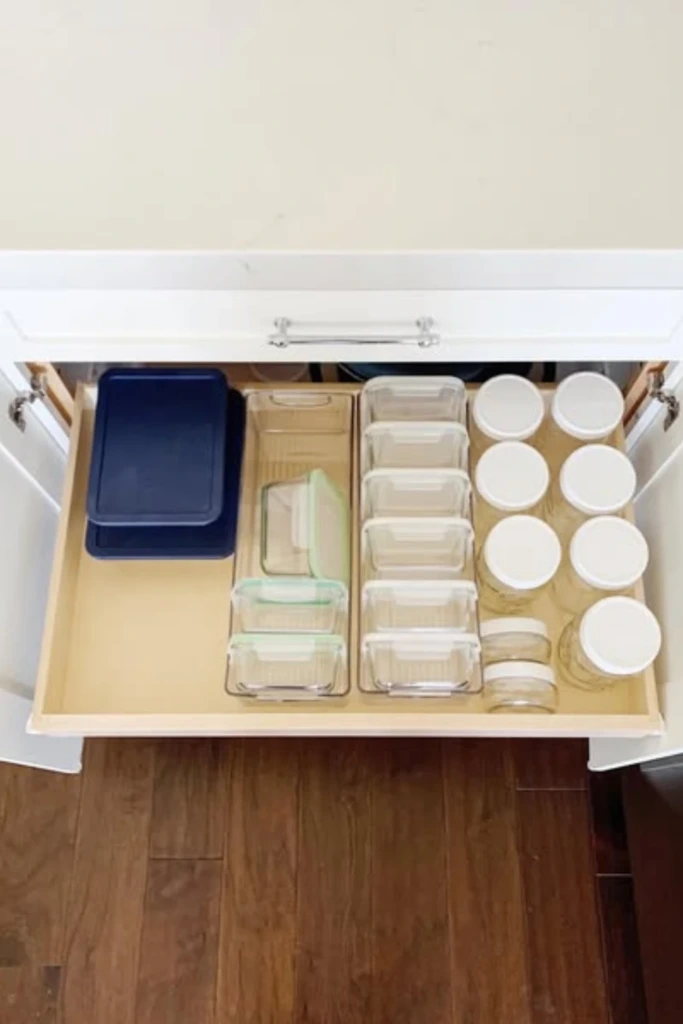
A dedicated kitchen drawer can make food storage containers much easier to manage. Instead of stacking everything in a tall cabinet, arrange nested containers in a single layer or in short, stable stacks.
This arrangement works particularly well in deep drawers where you can see the contents from above. Group similar shapes together and avoid mixing too many sizes in one section.
If your containers have secure, compatible lids, storing complete sets together can simplify everyday use. Leave enough room to remove individual pieces without shifting the entire drawer.
2. Size-Based Stacking
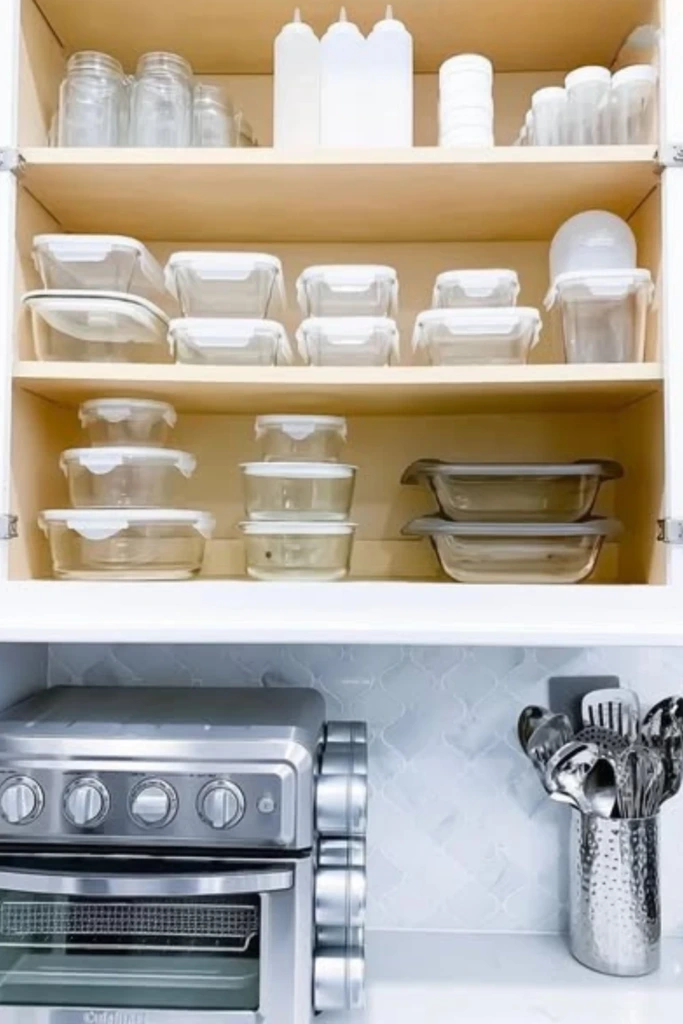
Sorting containers by size creates a more predictable arrangement and prevents smaller pieces from disappearing beneath larger ones.
Place small containers together, medium-sized options in another group, and large food storage boxes in a separate section. Nest pieces of the same shape whenever possible to minimize wasted space.
Adjustable cabinet shelves can accommodate different container heights and make better use of vertical space. Keep stacks low enough to remain stable and easy to reach.
3. Zoned Drawer Layout
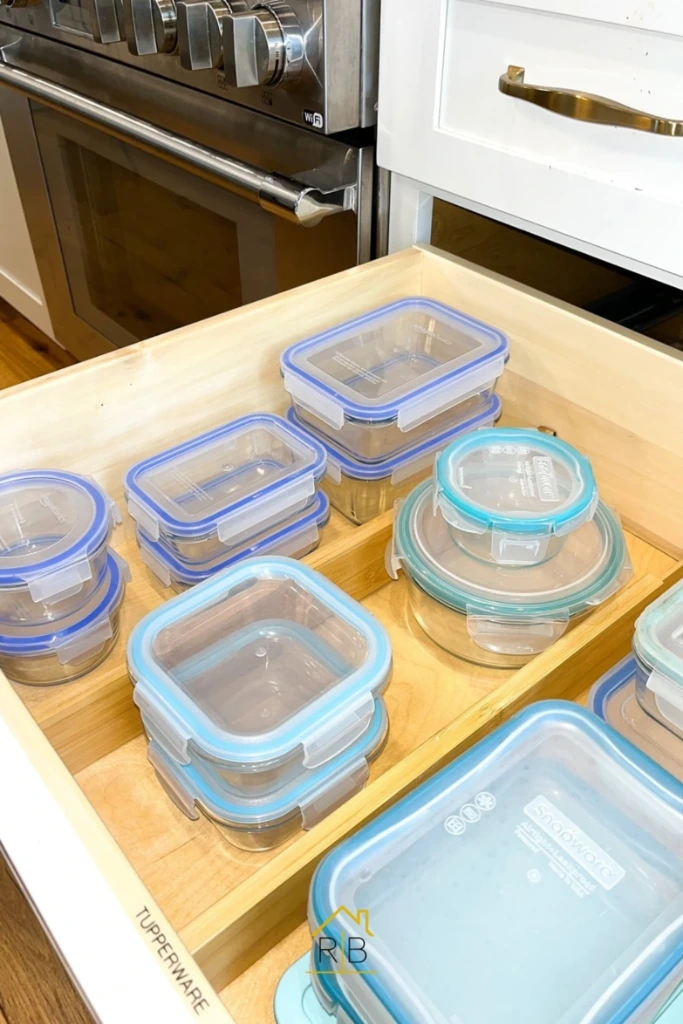
A wide drawer becomes much more functional when each section has a specific purpose. Use adjustable dividers to separate small lunch containers, medium leftover boxes, and larger meal-prep dishes.
This approach is especially helpful for households with several container styles. Instead of allowing everything to mix together, each group stays within its designated area.
You can also create a separate space for lids if your collection includes many different sizes. Leave a little extra room in each section so containers can be returned without forcing them into place.
4. Lids Stored Upright
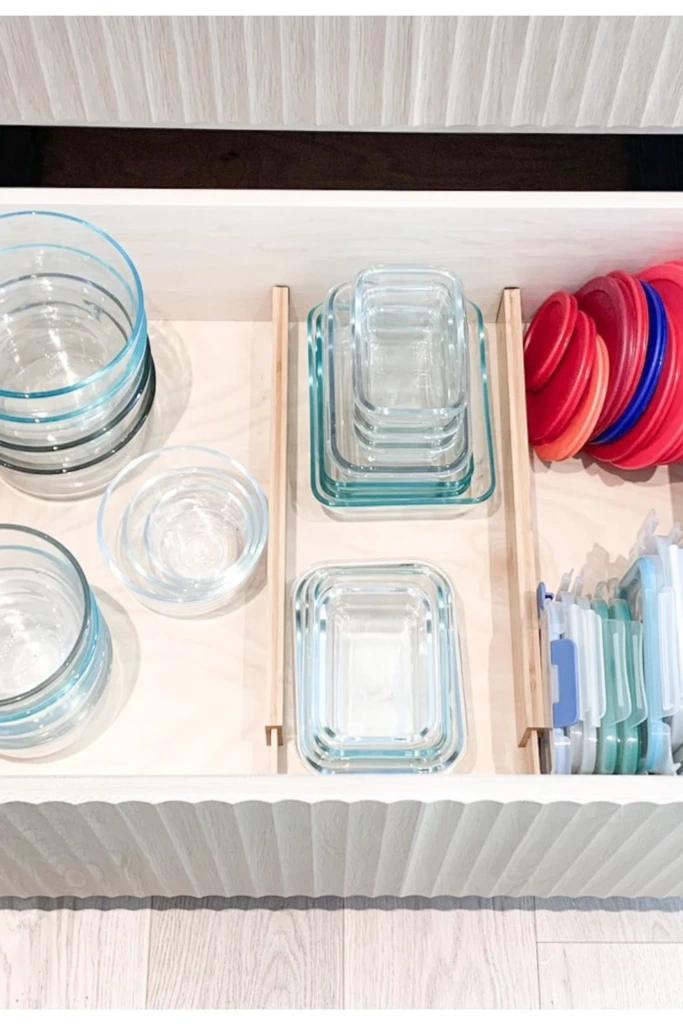
Food container lids often cause more clutter than the containers themselves. Storing them vertically helps solve this problem by allowing you to see each lid without lifting a pile.
Use a drawer organizer, adjustable divider, or small storage rack to hold lids on their edges. Separate them by shape or size so you can quickly locate the correct match.
This method is ideal for kitchens with a wide drawer and a collection of flat lids. Make sure the compartments are narrow enough to prevent lids from falling over but spacious enough for easy removal.
5. Shape-Based Zones
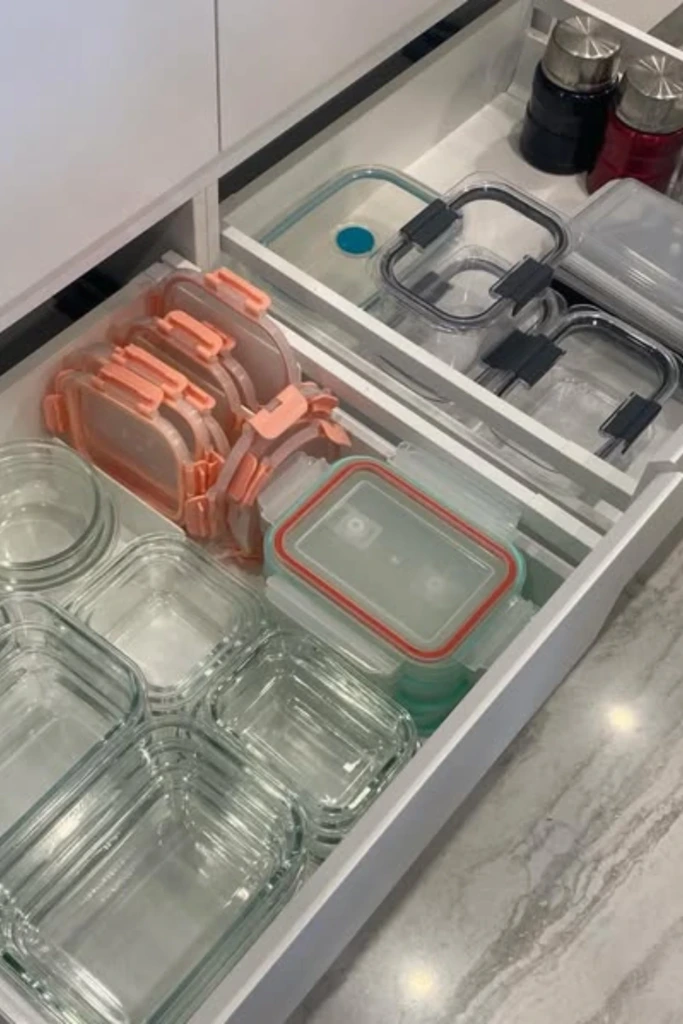
Round and rectangular containers use space differently, so storing them together can create awkward gaps and unstable stacks.
Create separate sections for round containers, square boxes, and rectangular dishes. Nest round pieces inside matching shapes, while rectangular containers can be stacked in neat rows.
Shape-based organization also makes it easier to find the right container for a particular purpose. When every group has a designated location, putting away clean dishes becomes quicker and less frustrating.
6. Vertical Lid Filing
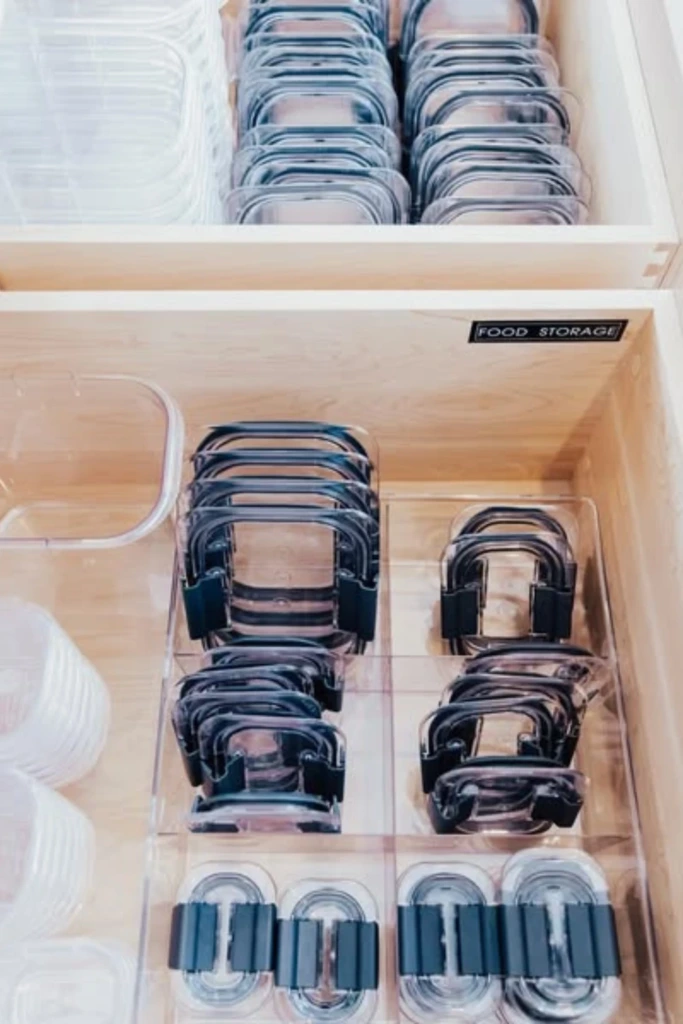
If you have many lids but limited drawer space, consider filing them vertically like folders in a cabinet organizer.
Place lids inside a divided bin or rack, arranging similar sizes next to one another. This allows you to identify the right piece at a glance instead of searching through a flat stack.
A deep drawer or pull-out shelf is particularly suitable for this arrangement. Choose dividers that accommodate the height of your largest lids, and avoid packing them so tightly that removing one disturbs the others.
7. Pull-Out Shelving
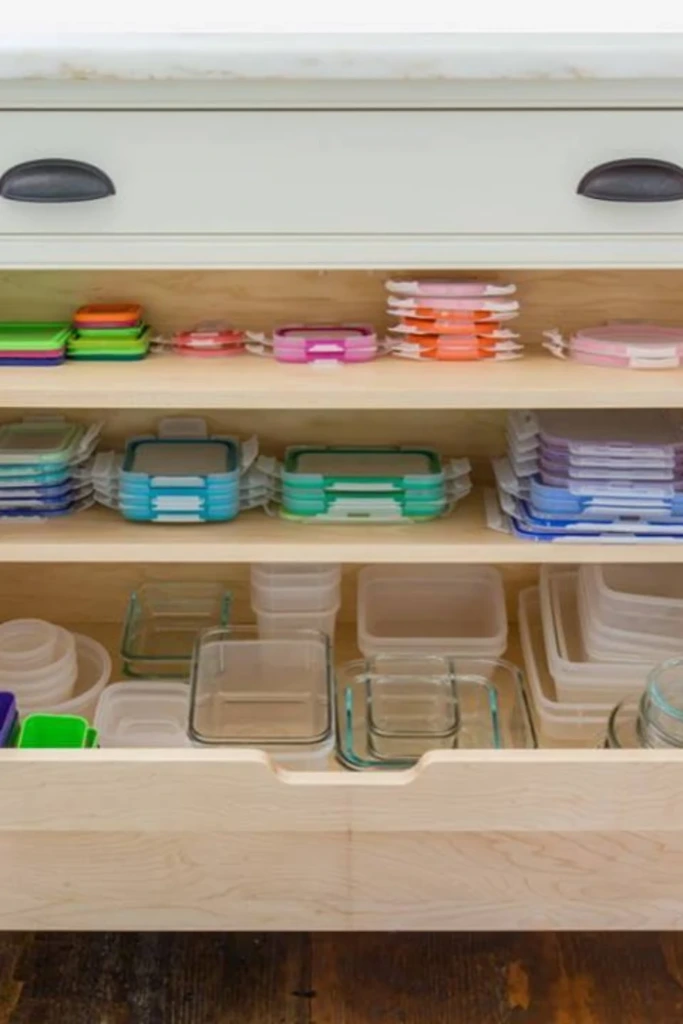
Deep kitchen cabinets can hide containers at the back, making it difficult to use the available space effectively. Pull-out shelves solve this issue by bringing stored items closer to you.
Keep larger containers on the lower shelf and reserve an upper tier or nearby compartment for lids and smaller pieces. Group items by size so you can find what you need without moving several stacks.
Sliding organizers are especially useful in lower cabinets where visibility is limited. Measure the cabinet before purchasing one, and check that the shelf can support the weight of your containers.
8. Clear Bin Sorting
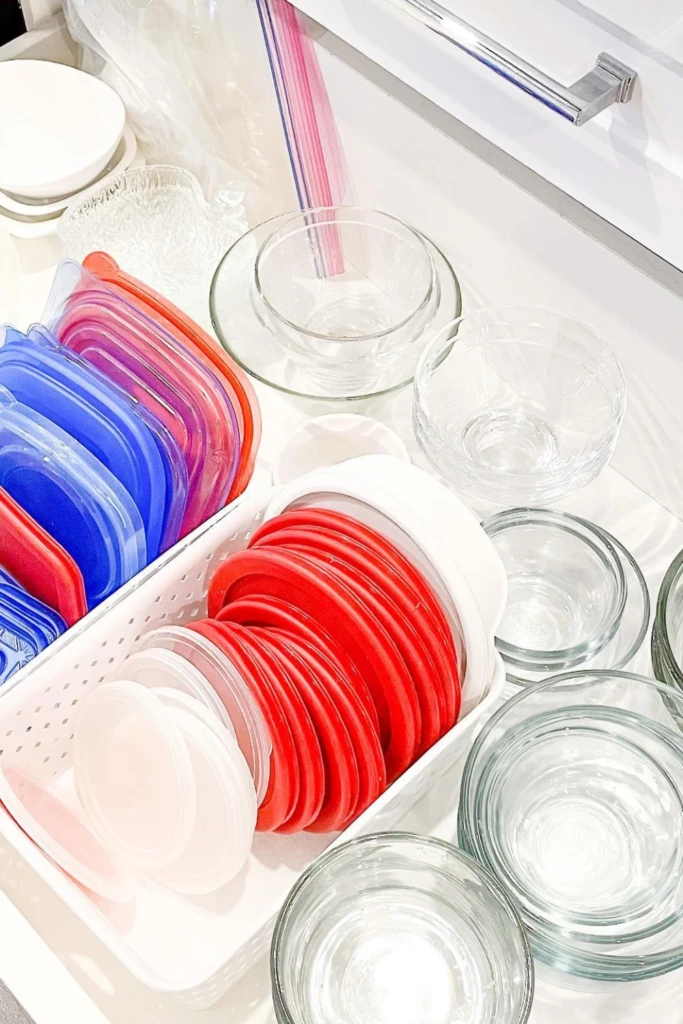
Clear bins offer a simple way to separate lids and small food storage pieces without creating a complicated system.
Choose shallow containers that fit comfortably inside your cabinet or drawer. Sort lids by shape and size, and place each group in its own bin to prevent loose pieces from spreading.
Transparent sides make it easier to see what you have before pulling out a container. You can also use removable labels to identify each category, especially if several family members put kitchen items away.
9. Shelf Level Grouping
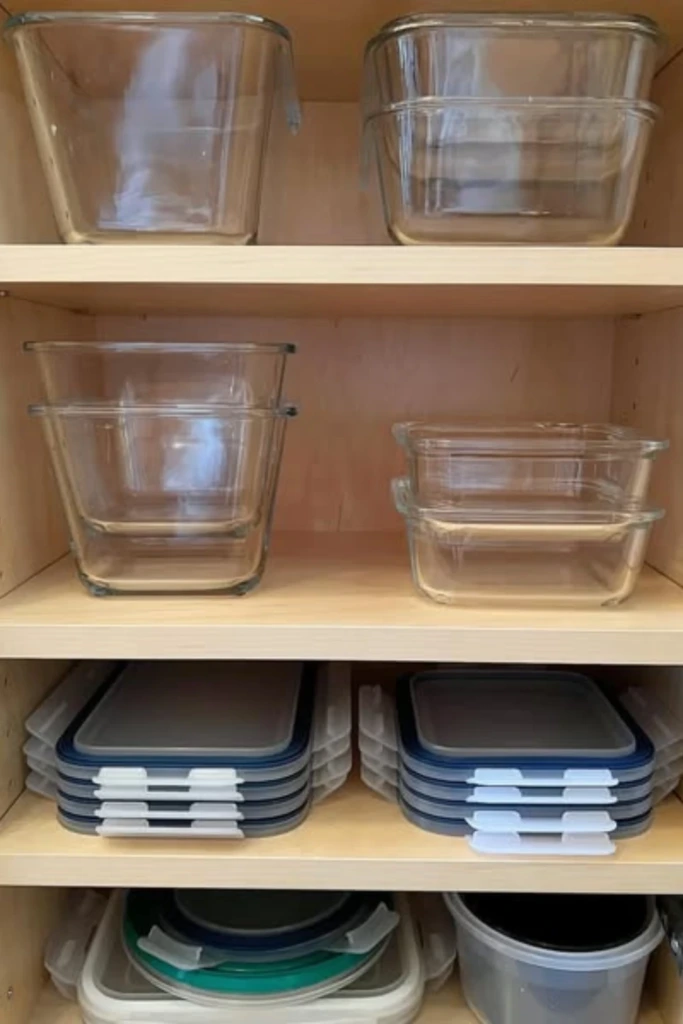
Assigning different purposes to individual cabinet shelves can make a large collection easier to manage.
For example, one shelf might hold large glass containers, another might store everyday plastic boxes, and a third could accommodate lids and small accessories. Arrange the most frequently used pieces at a comfortable height.
Adjustable shelving can help accommodate tall containers and bulky dishes. Keep heavier glass items on sturdy, accessible shelves, and avoid placing fragile containers in unstable stacks.
10. Side-Wall Lid Slot
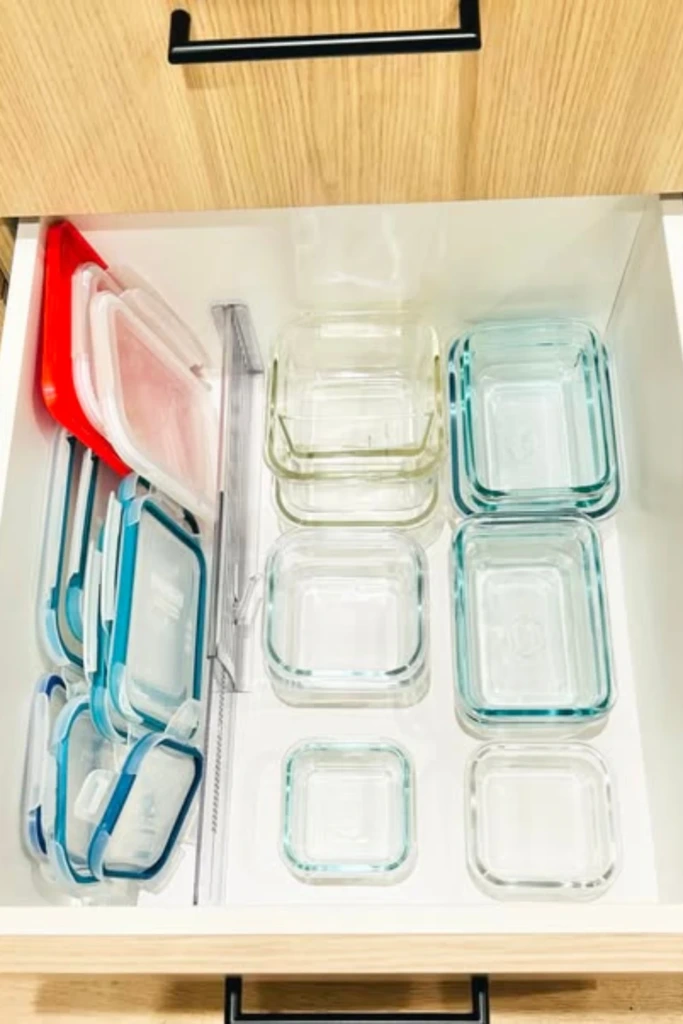
A narrow compartment along the side of a drawer can provide a convenient home for food container lids.
Use a slim divider or an appropriately sized organizer to separate the lids from the main container section. This leaves the center of the drawer available for stacking or nesting the bases.
The arrangement works best in medium or deep drawers with enough width to accommodate both sections. Measure the usable space first to ensure that the divider doesn't make the drawer difficult to close.
11. Mixed Material Zones
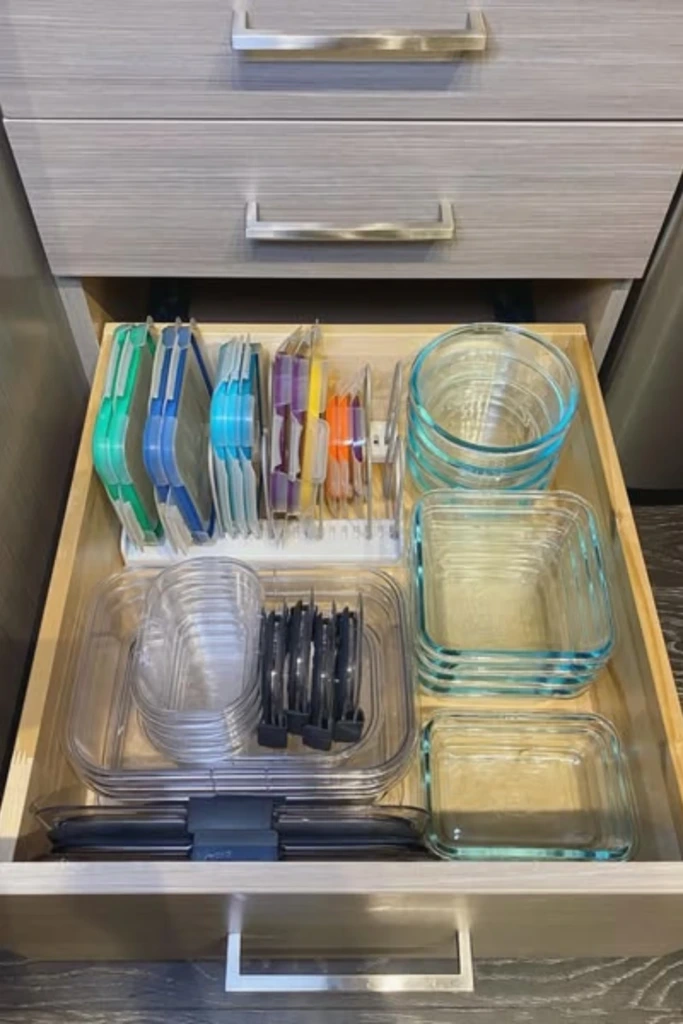
Glass and plastic food containers have different storage needs, so separating them can improve both organization and safety.
Keep glass dishes in a sturdy cabinet section where they won't be knocked over by lightweight plastic pieces. Store plastic containers in nearby bins or shelves, grouping them by size and shape.
Place heavier items where they can be lifted safely, and avoid stacking glass dishes in ways that could cause them to chip or fall. Keeping the two materials in clearly defined zones makes the entire collection easier to maintain.
12. Color-Coded Grouping
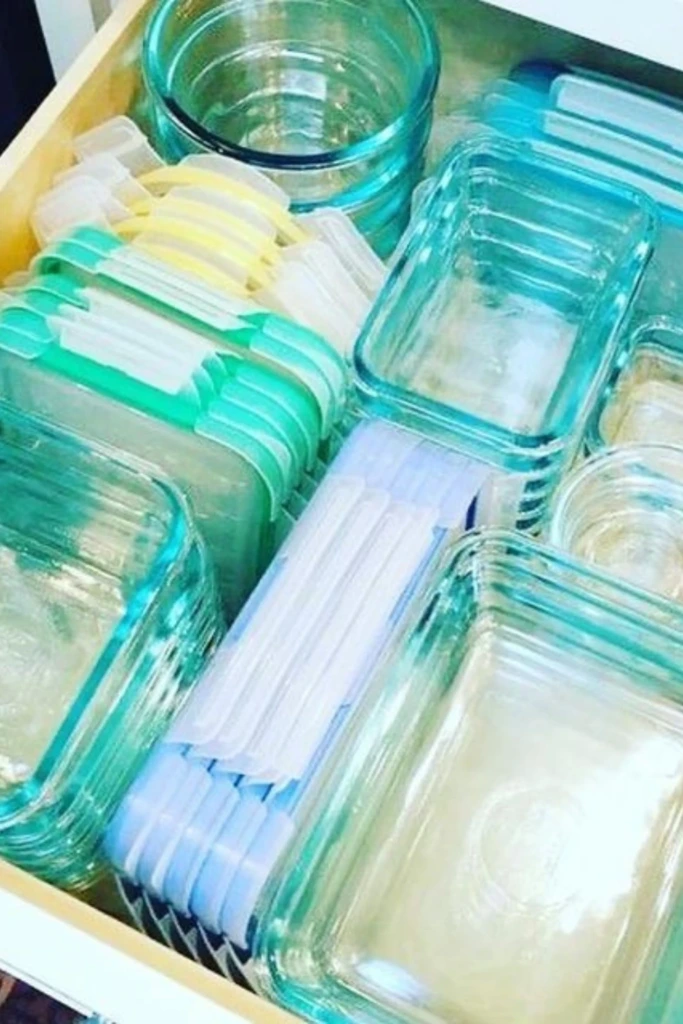
Color can serve as a practical visual guide when you have a large assortment of lids and containers.
Arrange lids with similar colors together, or use colored dividers and labels to distinguish different categories. For instance, one color might identify lunch containers while another marks larger meal-prep boxes.
This system is particularly helpful for busy households where several people use the same storage area. However, always check the lid's shape and fit before pairing it with a container, since matching colors don't necessarily indicate compatibility.
13. Bin-by-Shelf System
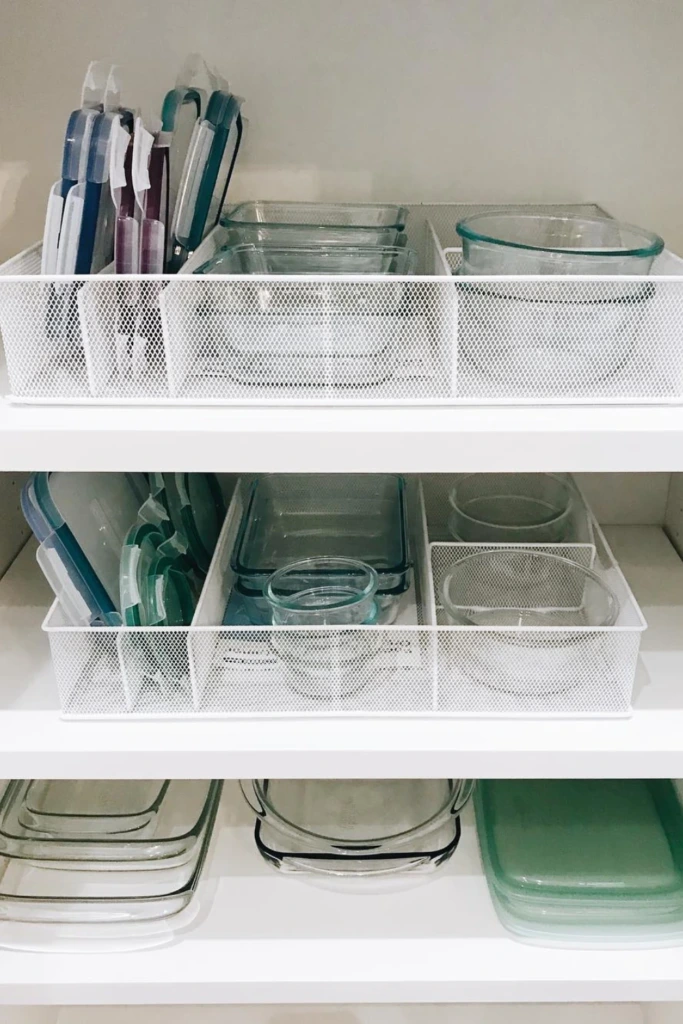
Using a separate bin for each category helps prevent containers from spreading across the entire cabinet.
Place small containers in one basket, medium pieces in another, and larger food storage boxes in a separate section. Keep lids in divided bins so they remain easy to identify.
Choose bins that slide out easily and fit the dimensions of your shelves. Open baskets provide convenient access, while clear-sided bins make it easier to see their contents without removing them.
14. Cabinet Lid Rack
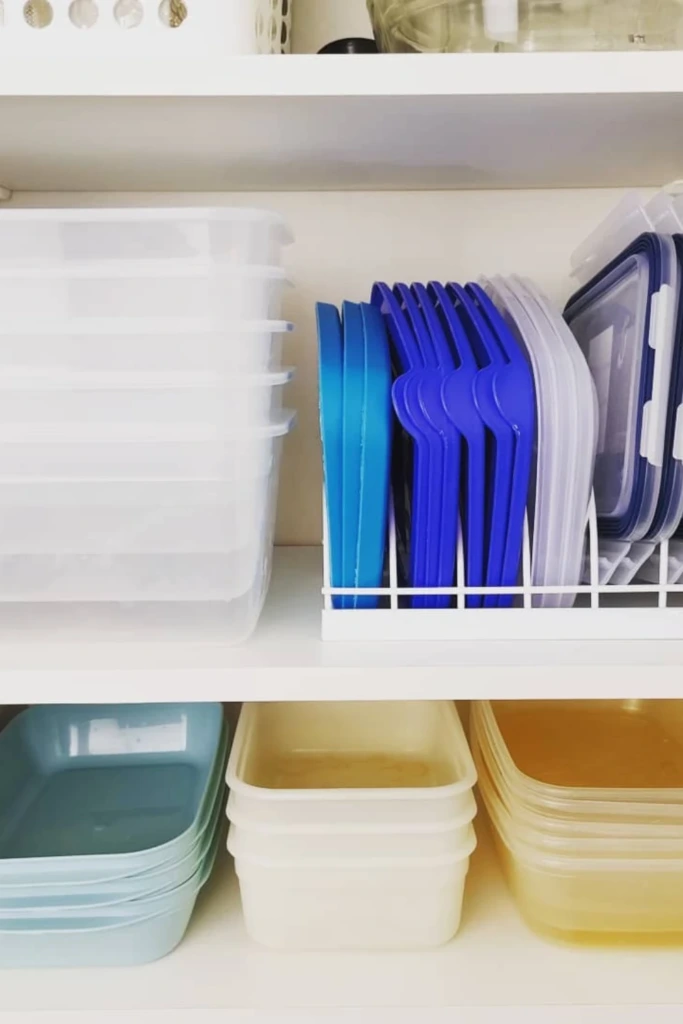
A lid rack can turn a cluttered cabinet shelf into a more organized storage area.
Choose a rack with compartments that can accommodate your collection of lids, then arrange them by size or shape. Keep the corresponding containers nested on the shelf below or in a nearby section.
This arrangement works well when drawer space is limited. Place the rack at a comfortable height, and ensure that the lids remain upright rather than leaning against other items.
15. Grid Drawer System
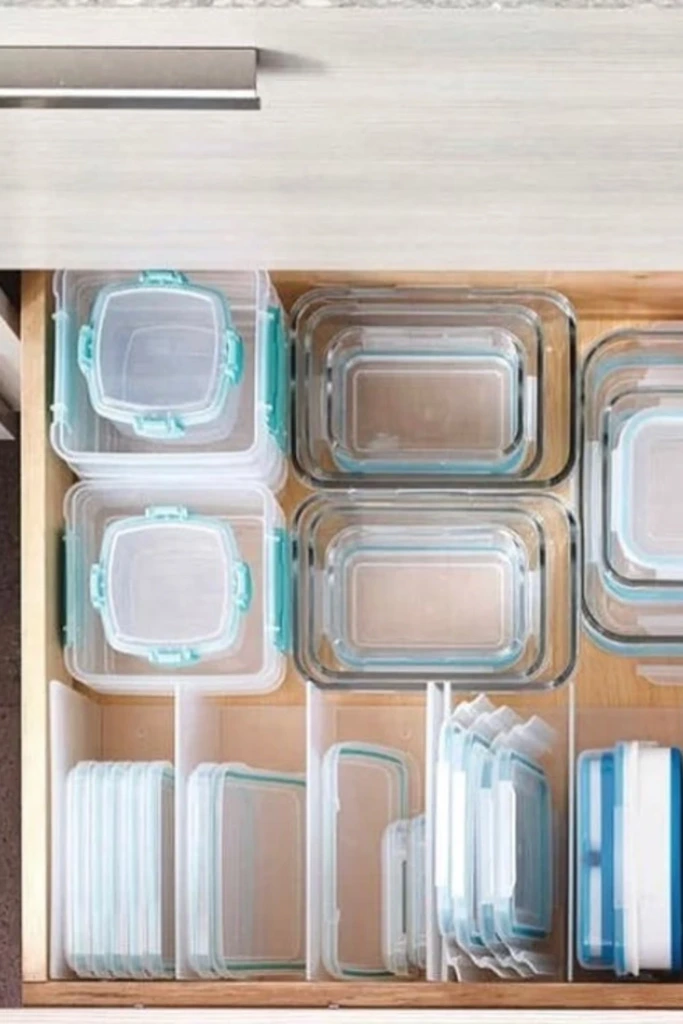
A grid-style drawer organizer provides individual compartments that help prevent containers from sliding around.
Use the sections to separate different sizes, shapes, or types of food storage boxes. Smaller compartments can hold compact containers, while larger openings can accommodate wider pieces.
Before choosing an insert, measure the drawer and compare its dimensions with your largest containers. An organizer that fits properly will keep everything in place without wasting valuable space.
16. Size-Labeled Bins
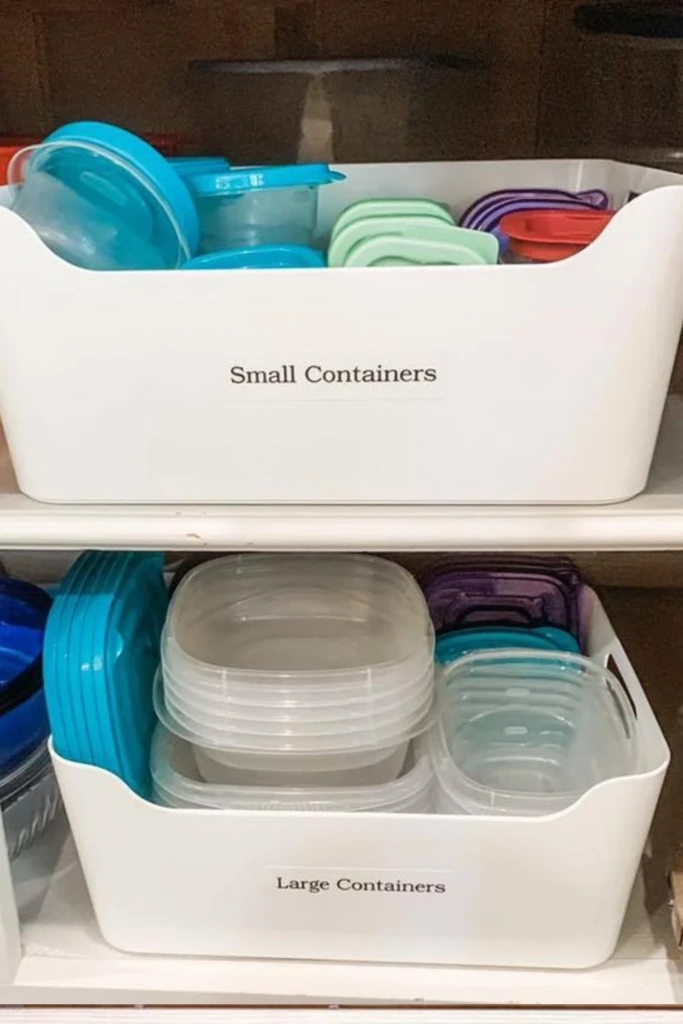
Labels make it easier for everyone in the household to understand where each container belongs.
Mark bins with simple descriptions such as small, medium, large, round, or meal prep. Store nested containers inside their assigned bins and keep compatible lids nearby.
Clear labels are particularly useful when you have many similar-looking pieces. Use removable labels if your collection changes regularly, and avoid creating so many categories that putting things away becomes complicated.
17. Pull-Out Lid Dock
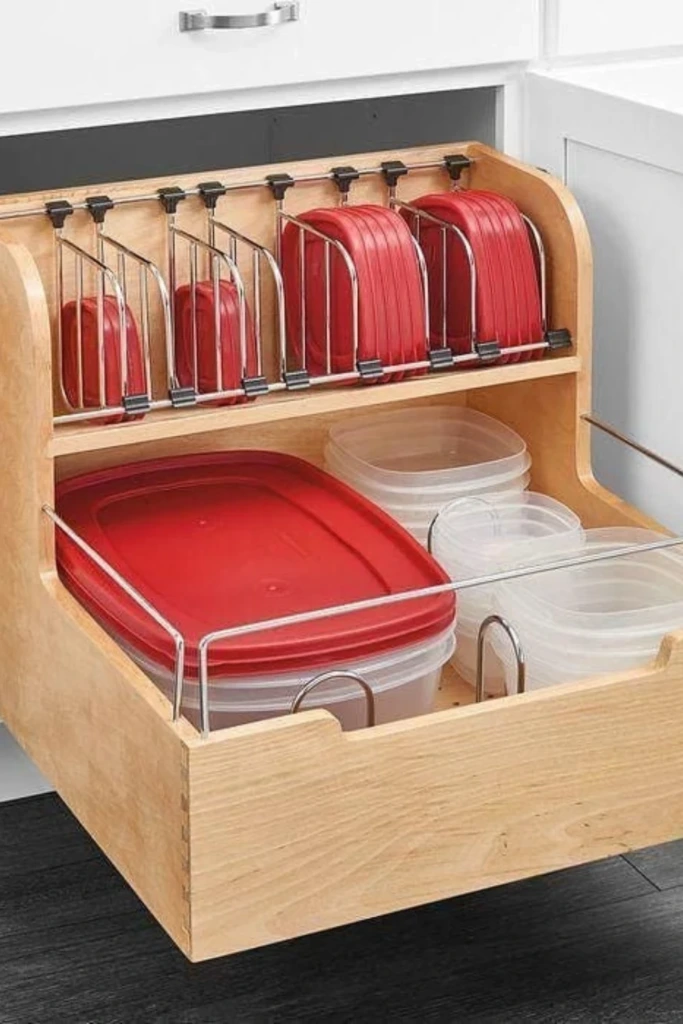
A dedicated pull-out organizer for lids can make deep cabinets easier to use.
Install a suitable sliding tray or use a removable organizer that brings lids forward when needed. Arrange them vertically by size so you can select one without disturbing the others.
This option is useful when conventional drawers are unavailable but a lower cabinet has enough room for a sliding accessory. Check the cabinet measurements and clearance before installation to ensure the organizer moves freely.
18. One-Size System
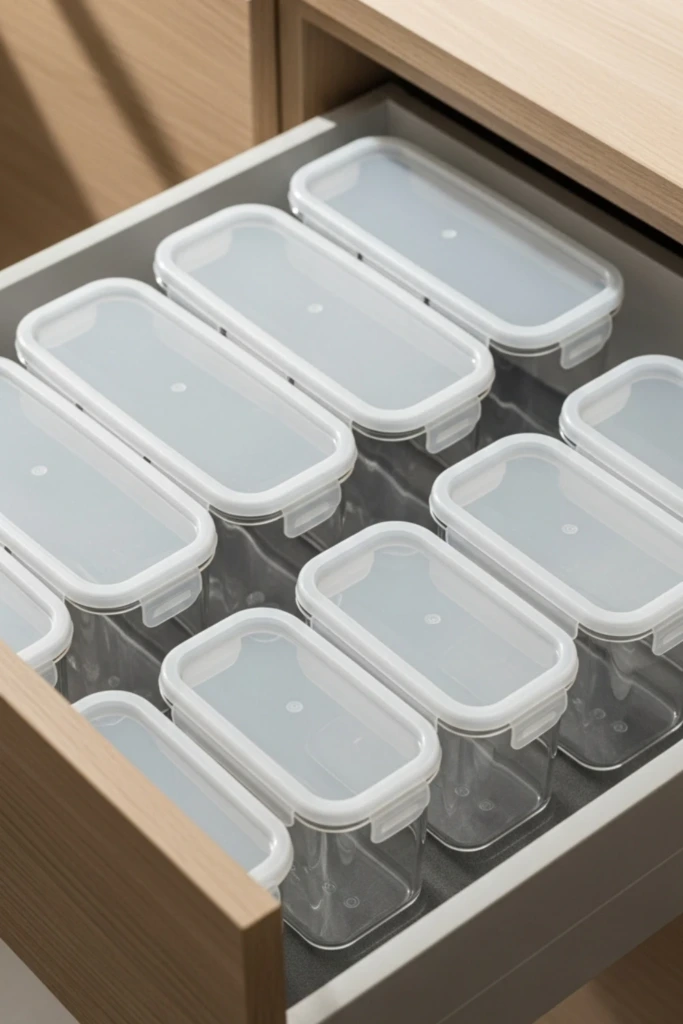
A collection with too many shapes and sizes can be difficult to stack efficiently. Simplifying your selection makes everyday storage more predictable.
Consider keeping a few practical sizes from one compatible container range. Uniform shapes often nest more neatly, while matching lid designs reduce the time spent searching for the correct pieces.
You don't need to replace every container you own at once. Gradually phase out rarely used duplicates as they wear out, and select new pieces that work with your existing storage arrangement.
19. Lids-On Storage
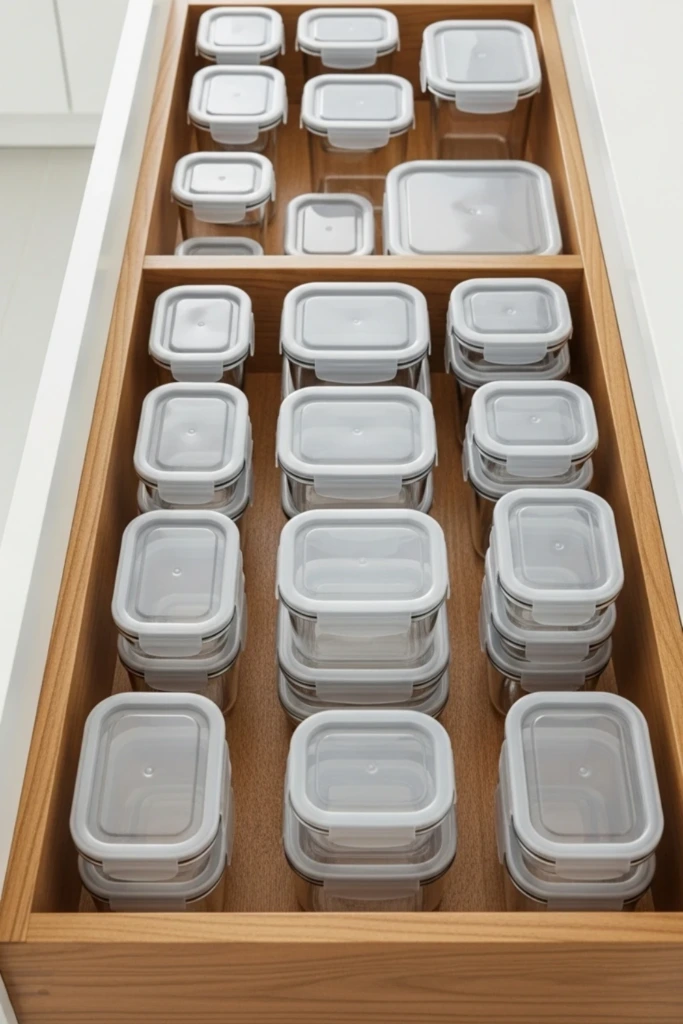
Keeping lids attached to containers can be a convenient solution when you frequently store leftovers or pack meals.
Once the containers are clean and completely dry, close each compatible set and stack the pieces in a drawer or cabinet. This makes it easy to grab a complete container without searching for a separate lid.
The method works best when the containers stack securely and don't take up excessive vertical space. If closed containers are bulky or unstable, store the lids separately instead.
20. Meal-Prep Zone
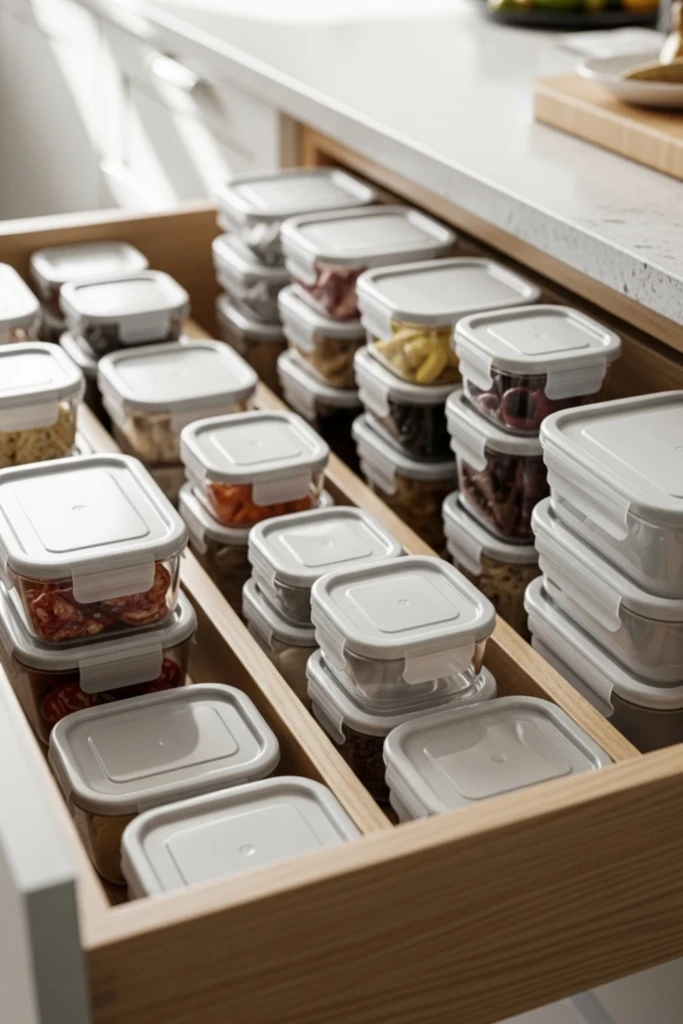
A dedicated meal-prep section makes packing lunches and storing leftovers more efficient.
Keep frequently used food containers near your main preparation area or in a convenient cabinet close to the refrigerator. Arrange them by size, with smaller boxes for snacks and larger ones for prepared meals.
Store lids alongside their matching containers or in an adjacent organizer. If you prepare meals regularly, keep the containers you use most often at the front so less frequently used pieces don't get in the way.
21. Kid-Friendly Access
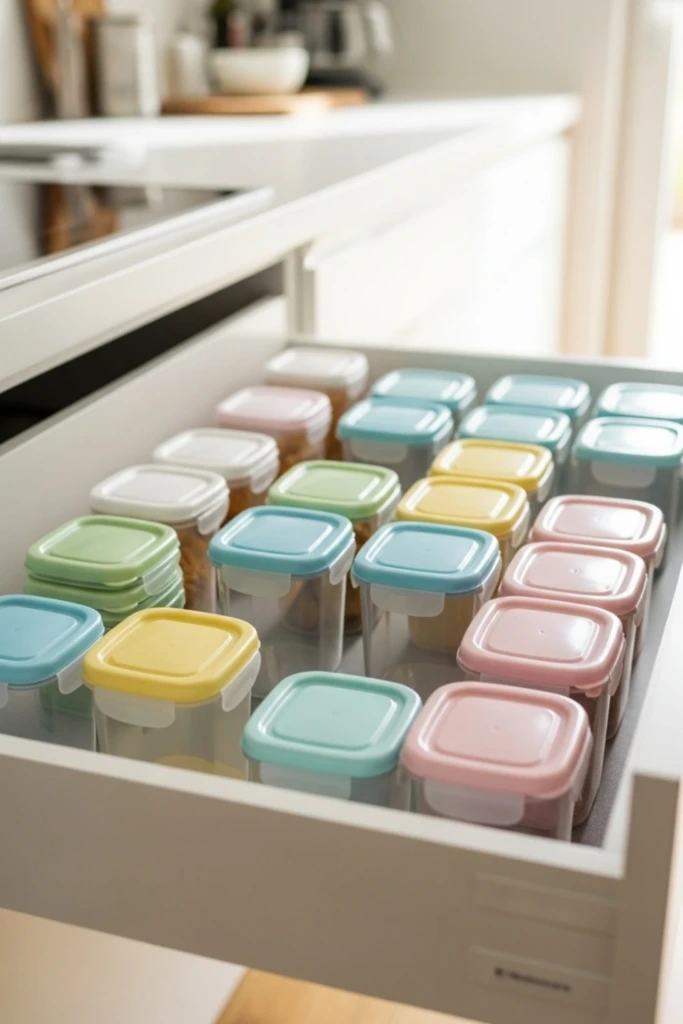
A child-friendly container section can make lunch preparation and kitchen cleanup easier for the whole family.
Reserve a low, accessible drawer or shelf for lightweight containers that children can safely handle. Use simple categories and keep frequently used lunch boxes together with their compatible lids.
Choose sturdy, easy-to-grip pieces and avoid placing glass containers or heavy stacks within easy reach of young children. A straightforward arrangement helps children learn where items belong and encourages them to participate in everyday routines.
22. Overflow Reset Bin
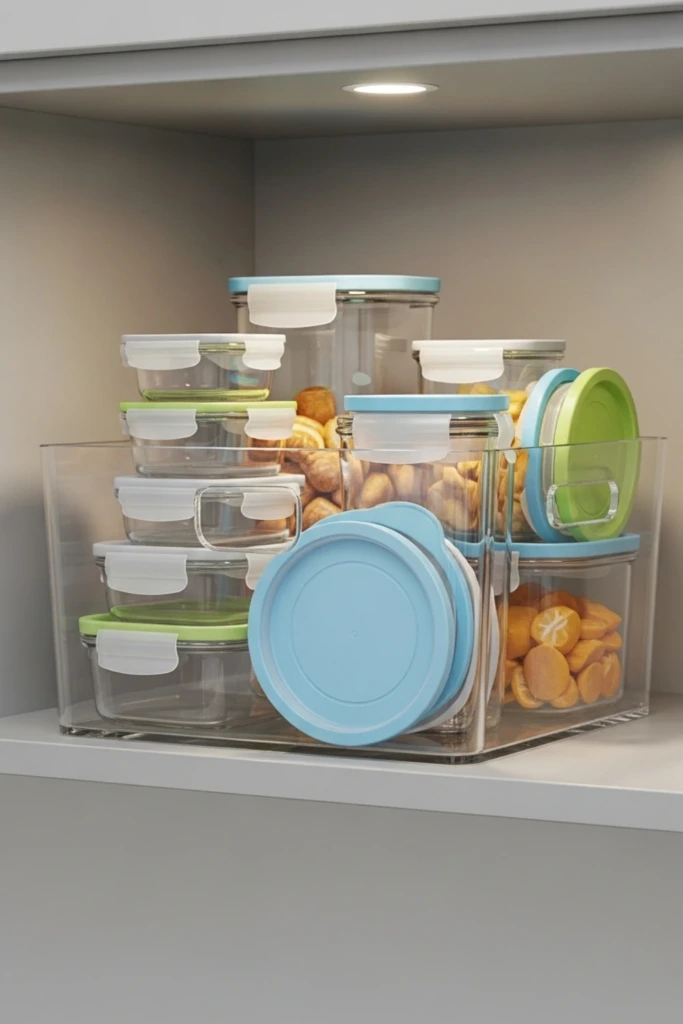
Extra containers can gradually accumulate until even a well-organized cabinet becomes crowded.
Keep one designated bin for occasional-use containers, spare pieces, and items you're unsure about keeping. Store it in an appropriate cabinet or pantry area rather than allowing overflow to spread across your everyday storage space.
Review the bin periodically and check whether each item has a matching lid and a genuine purpose. Remove unwanted duplicates and return useful pieces to their proper categories.
The goal is to create a temporary holding area, not another permanent collection of clutter.
23. Daily-Use Rotation
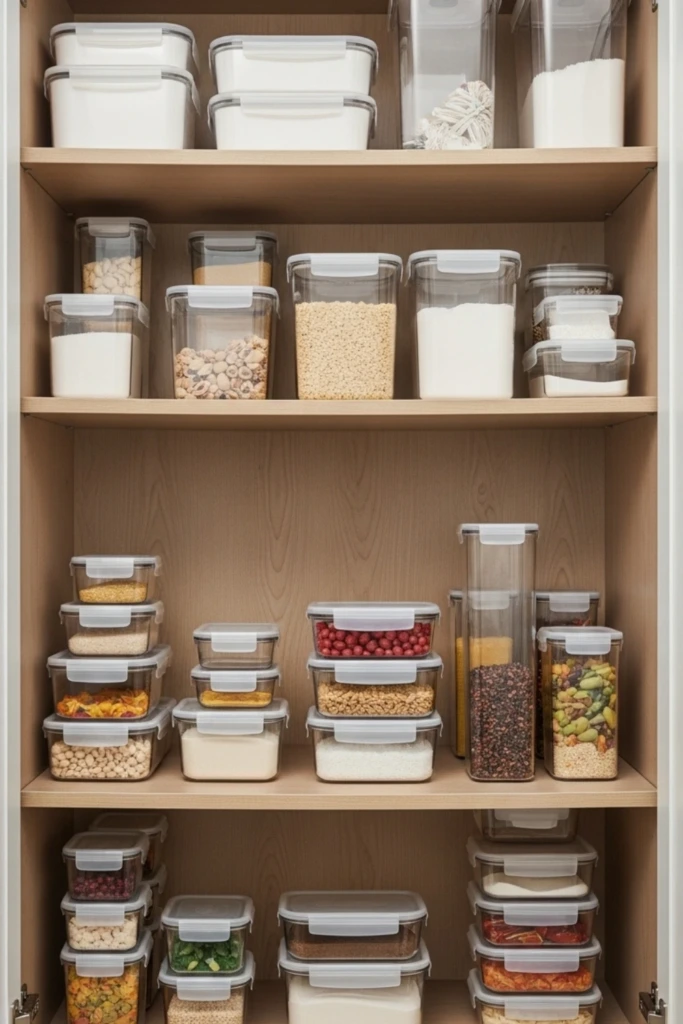
Not every food storage container needs to be equally accessible.
Place your most frequently used sizes near the front of a drawer or on an easy-to-reach shelf. Move oversized dishes, specialty containers, and rarely used pieces toward the back or to a higher storage area, provided they remain safe to access.
Review your arrangement as your household's needs change. If certain containers are repeatedly used while others remain untouched, adjust the storage space accordingly.
A practical rotation system keeps everyday essentials within reach while preventing occasional-use items from crowding your main storage area.
Should lids be stored with containers or separately?
Both methods can work well, depending on the amount of storage space available and how you use your containers.
Keeping lids attached is convenient when you frequently pack lunches or store leftovers, because each set is ready to use. However, closed containers may take up more space than nested bases.
Storing lids separately can save room and make it easier to nest containers together. If you choose this option, use a divider or rack to keep lids upright and organized by size or shape.
Choose the method that allows you to find matching pieces quickly and return them to their proper place without rearranging everything.
How many food containers should you actually keep?
The ideal number depends on your household size, cooking habits, available storage, and how often you prepare meals in advance.
Start by keeping enough containers for your regular leftovers, packed lunches, and meal-prep routine. Add a few extras for occasions when you need them, but avoid holding on to large numbers of duplicate pieces that rarely get used.
Check your collection for damaged bases, missing lids, and containers that no longer suit your needs. If stacks regularly fall over, drawers won't close properly, or you must move several items to reach one container, consider reducing the collection.
A well-sized set should meet your everyday needs while fitting comfortably into its designated storage space.
You may like to read!
27 Pantry Organization Ideas
24 Family Organization Wall
22 Junk Drawer Organization
22 Cord Organization Ideas
25 Rolling Cart Organization