12 Easy Bathroom Undersink Changes That Make a Huge Difference
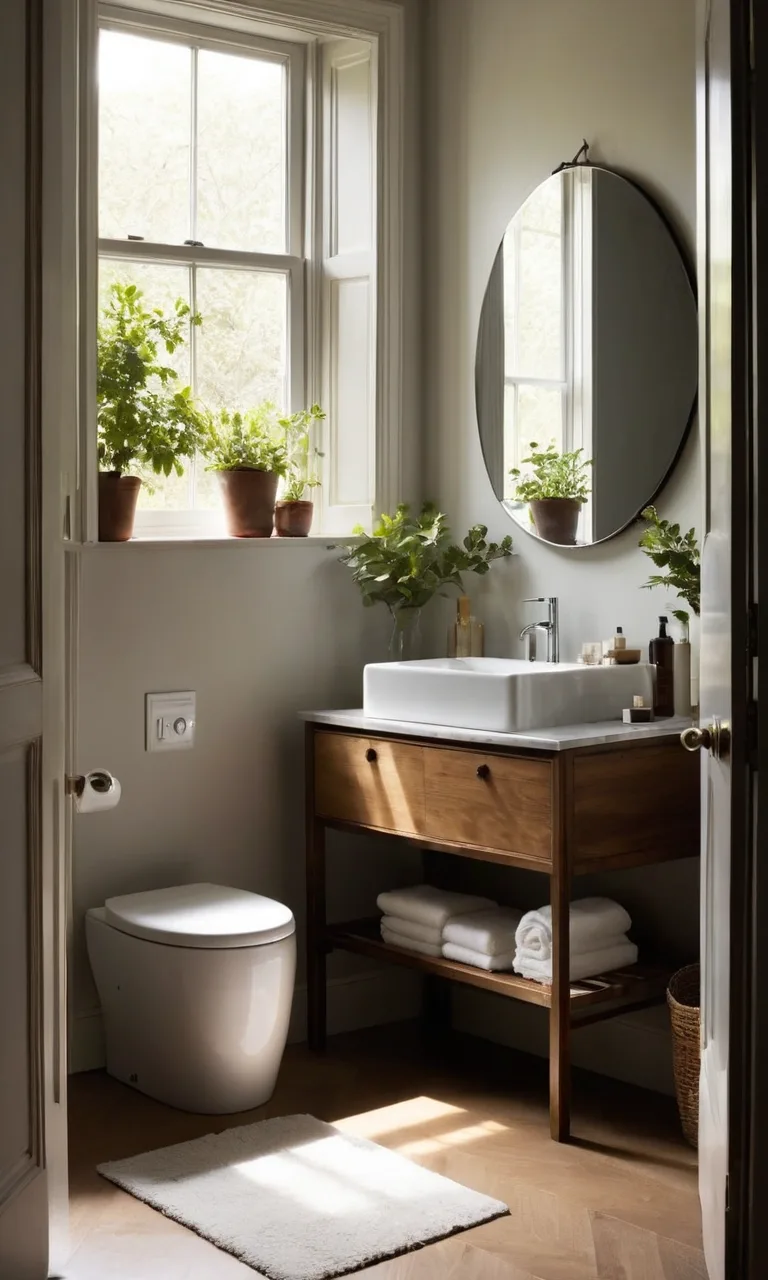
The cabinet beneath your bathroom sink can quickly become one of the most frustrating storage areas in your home. Between tangled hair tools, half-used skincare products, cleaning bottles, and extra toiletries, finding a single item can feel like a challenge.
Fortunately, bathroom undersink organization doesn't require expensive storage systems or a complete cabinet makeover. A few thoughtful changes can transform even a small, awkward space into a practical storage area.
The secret is to work around the plumbing, choose organizers that fit, and arrange your essentials according to your daily habits.
Whether you have a compact vanity or a spacious double-sink cabinet, these eight simple changes will help you reduce clutter, maximize storage, and keep everything accessible.
1. Why Under-Sink Cabinets Always Turn into Chaos
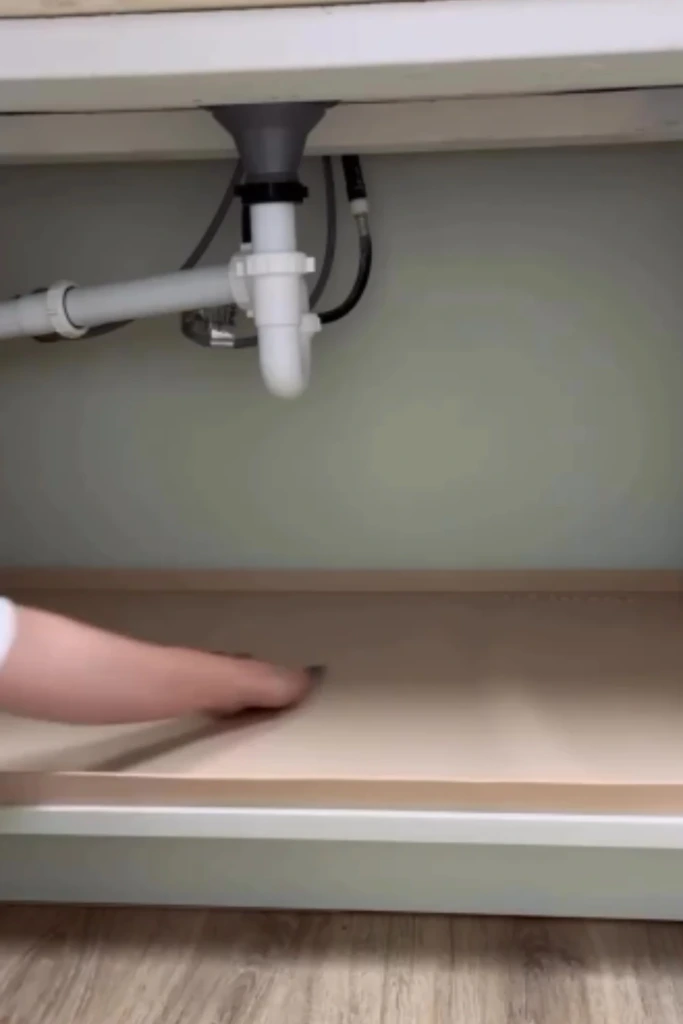
Bathroom cabinets are rarely designed with efficient storage in mind. Drainpipes, water supply lines, and limited shelf space make it difficult to arrange products neatly.
Unlike regular cabinets with adjustable shelves, the area beneath a sink often has an irregular layout. This creates awkward gaps where smaller products disappear and taller bottles become difficult to store.
Another common problem is keeping too many unrelated items together. Haircare products, cleaning supplies, skincare essentials, and spare toiletries end up sharing the same space without any clear arrangement.
As more products accumulate, reaching something at the back usually means moving several other items first.
The biggest reasons these cabinets become disorganized include:
Limited visibility: Small products get hidden behind larger containers.
Unused vertical space: The upper portion of the cabinet often remains empty.
Plumbing obstacles: Pipes prevent traditional shelves from fitting properly.
Excess products: Duplicate purchases and forgotten toiletries consume valuable space.
No designated storage areas: Items are returned wherever there is room.
A successful organization system addresses these problems instead of simply hiding everything inside attractive containers.
How to Organize Bathroom Under Sink?
The most effective way to organize a bathroom sink cabinet is to remove unnecessary items, evaluate the available space, and establish a storage system that matches your routine.
You don't need to purchase every organizer you see online. In many cases, a few appropriately sized containers and a better arrangement of your existing products are enough.
Follow these eight steps to create a bathroom cabinet that stays functional and easy to maintain.
2. Step 1: Clear Everything Out the Smart Way
Begin by completely emptying the cabinet. Removing everything allows you to see how much storage space you actually have and identify products that no longer deserve a place there.
Place your belongings on a towel or another clean surface. As you sort through them, check expiration dates, inspect packaging, and look for duplicate products.
Separate everything into three categories:
Keep: Products you currently use and genuinely need.
Discard: Empty packaging, expired cosmetics, damaged accessories, and unusable items.
Move elsewhere: Bulk supplies, seasonal products, or belongings better stored in another location.
Pay particular attention to travel-sized toiletries, old makeup, and nearly empty bottles. These small items can occupy more cabinet space than you realize.
Dispose of medications and chemical products according to local disposal guidance rather than automatically putting them in household trash or pouring them down the drain.
Once the cabinet is empty, wipe down the interior with an appropriate cleaner and allow it to dry.
Check around the pipes for damp patches, discoloration, or signs of leakage before returning anything.
Helpful tip: Avoid keeping products simply because you might use them someday. Prioritize items that serve a clear purpose in your current routine.
3. Step 2: Measure and Understand Your Cabinet Type
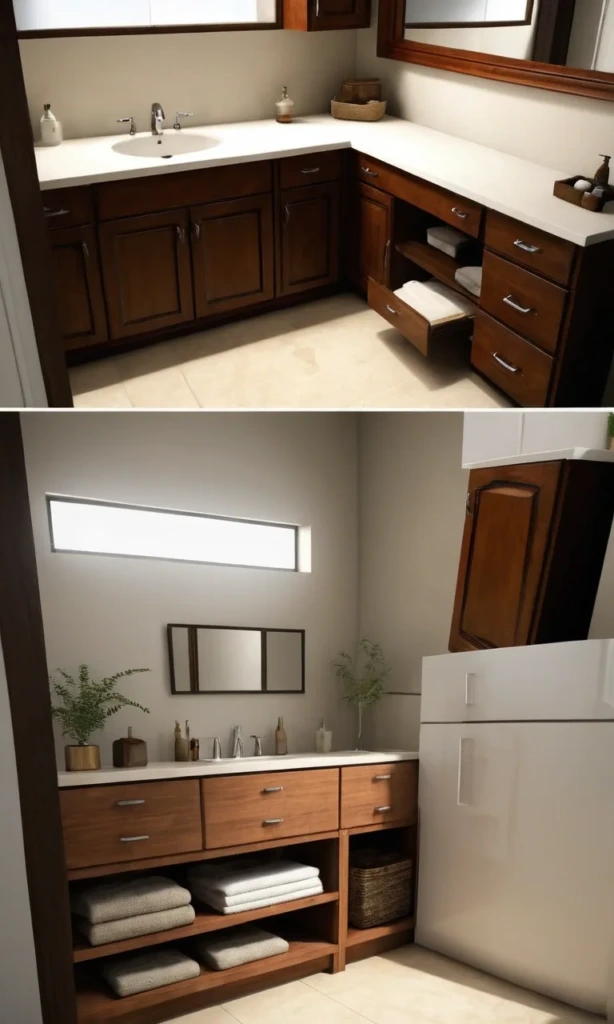
Before choosing storage accessories, examine the cabinet's dimensions and plumbing arrangement.
Measure the usable width, height, and depth, accounting for hinges, pipes, valves, and any other obstacles.
Don't rely solely on the exterior dimensions. A cabinet that appears spacious from the outside may have significantly less usable room inside.
Different sink designs also require different storage approaches.
Single-Sink Cabinets
These typically have plumbing positioned near the middle or back. Narrow organizers placed along the sides often make better use of the available space than one large container.
Double-Sink Vanities
A double vanity may offer separate storage sections beneath each basin. You can dedicate one side to everyday toiletries and the other to shared bathroom supplies.
Wall-Mounted or Pedestal Sinks
These designs may provide little enclosed storage. Slim freestanding shelves, nearby wall cabinets, or decorative baskets can offer alternatives without crowding the floor.
Deep Bathroom Cabinets
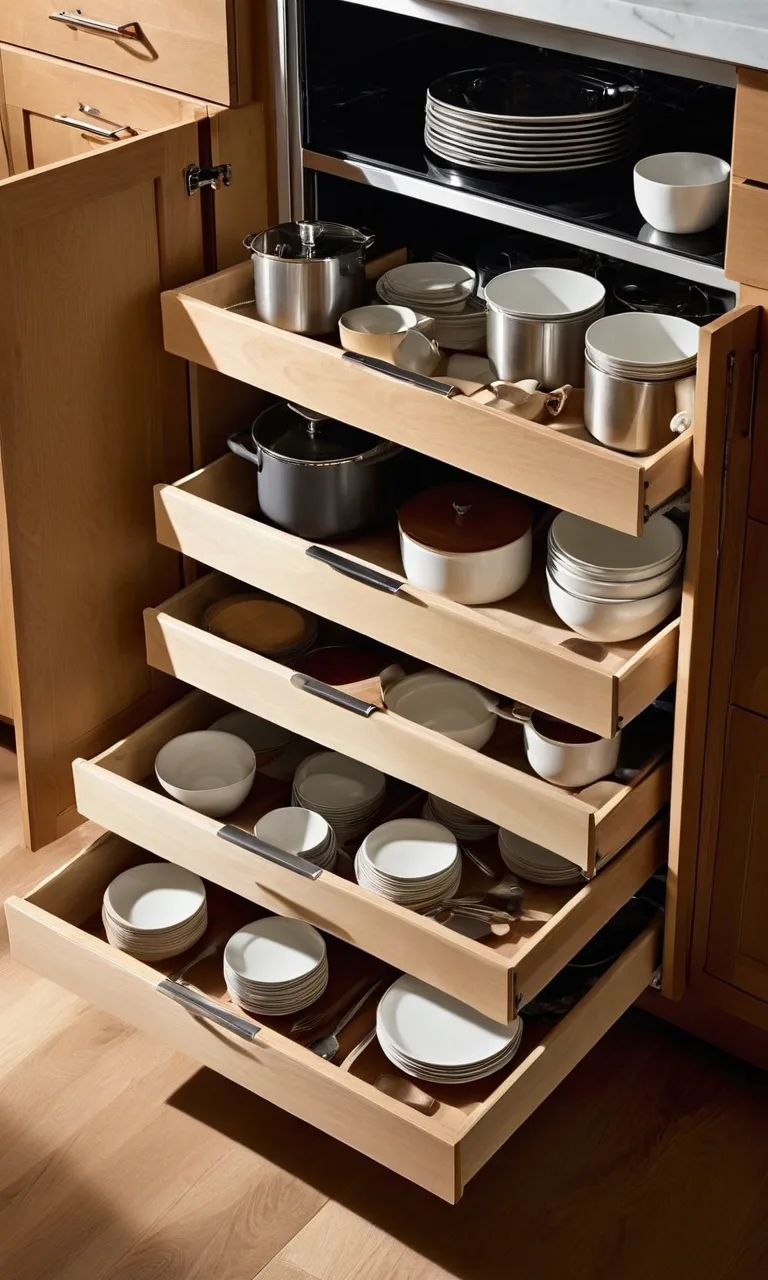
Deep cabinets benefit from pull-out baskets and sliding drawers that make items at the back accessible.
When measuring, remember to leave clearance for plumbing connections and cabinet doors.
Also, make sure organizers won't block shutoff valves or prevent you from inspecting pipes.
Helpful tip: Sketch a simple layout with your measurements before shopping. This makes it easier to compare organizer sizes and avoid unnecessary purchases.
4. Step 3: Create Zones Based on How You Use Things
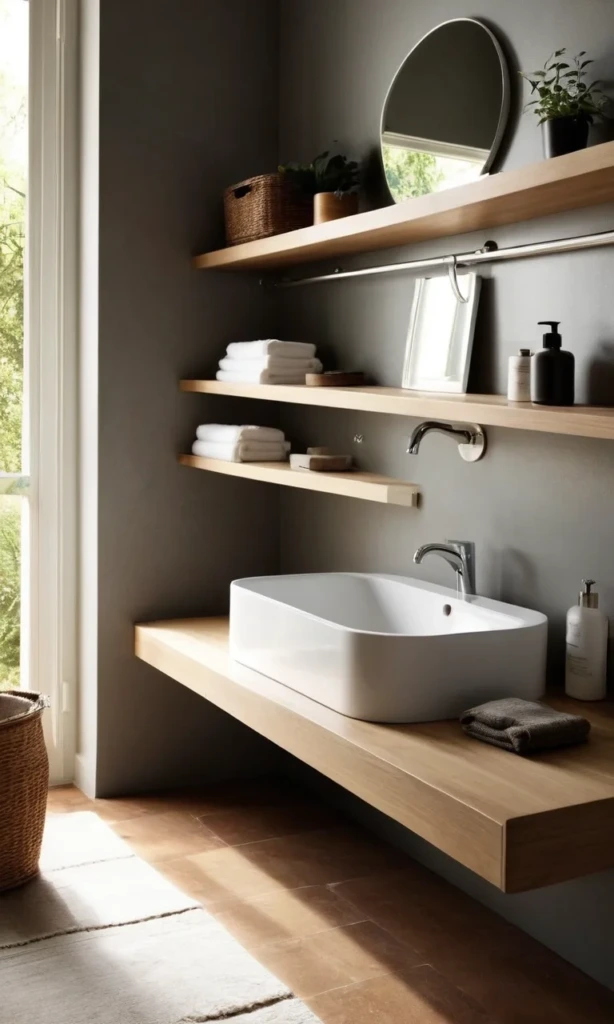
Once you've reduced the clutter, divide your remaining products into practical categories.
The goal is to make frequently used items easy to reach while keeping occasional supplies neatly contained.
Start by identifying the products you use every morning and evening. These deserve the most accessible positions.
For example, your cabinet might have separate areas for:
Daily skincare: Cleansers, moisturizers, and other frequently used products.
Haircare: Brushes, styling products, and accessories.
Personal care: Razors, deodorant, and unopened hygiene supplies.
Cleaning essentials: Bathroom sprays, cloths, and cleaning tools.
Extra toiletries: Replacement toothpaste, soap, shampoo, and other backups.
Keep everyday products toward the front, where you can grab them without rearranging the cabinet.
Less frequently used items can go farther back, preferably inside containers that are easy to remove.
If several people share the bathroom, consider assigning each person a separate basket.
This prevents personal belongings from getting mixed together and makes it easier for everyone to maintain the system.
Cleaning chemicals should remain in their original labeled containers and be stored separately from personal-care products. If children or pets can access the cabinet, use secure, child-resistant storage for hazardous supplies.
Helpful tip: Organize products according to how you use them rather than simply grouping containers of similar sizes.
5. Step 4: Use the Right Bins, Drawers, and Risers
Storage accessories can dramatically improve the functionality of an undersink cabinet, but choosing the right type matters more than buying a large quantity.
Look for organizers that fit around plumbing, withstand occasional moisture, and allow you to retrieve products easily.
The best options depend on your available space and budget.
6. Affordable Options
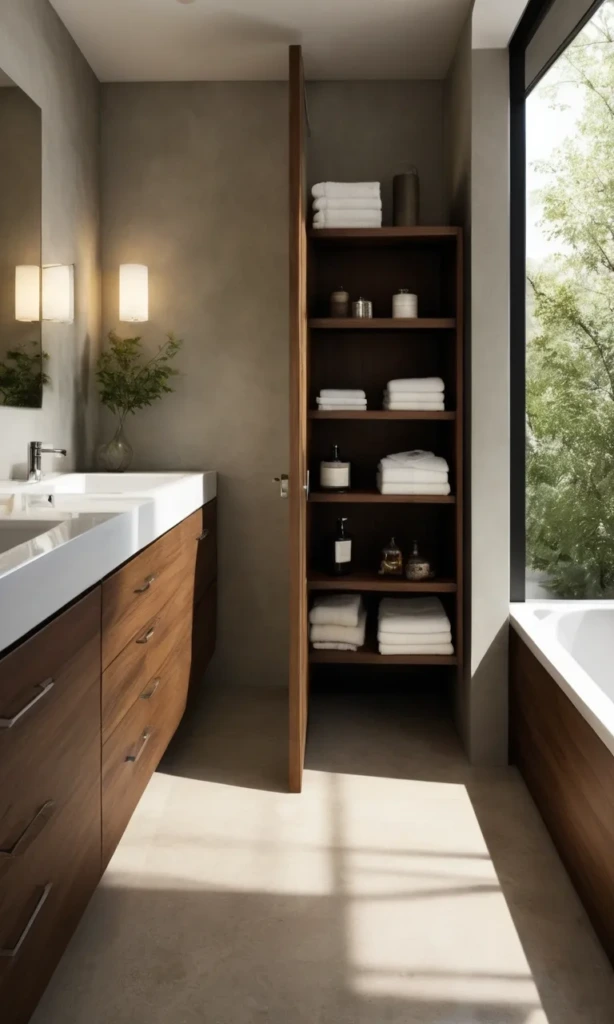
You can create an organized bathroom cabinet without spending much money.
Simple plastic baskets, washable containers, and small storage trays are excellent starting points.
Affordable solutions include:
Plastic baskets for grouped toiletries.
Small open bins for skincare and grooming products.
Repurposed washable containers for lightweight accessories.
Non-slip shelf liners to keep containers from shifting.
Simple dividers to separate smaller products.
Clear or open-top containers are particularly useful because you can quickly identify their contents.
Choose materials that are easy to wipe clean, especially in cabinets exposed to occasional splashes.
You may already have suitable containers elsewhere in your home, so check what you own before buying new supplies.
7. Mid-Range Options
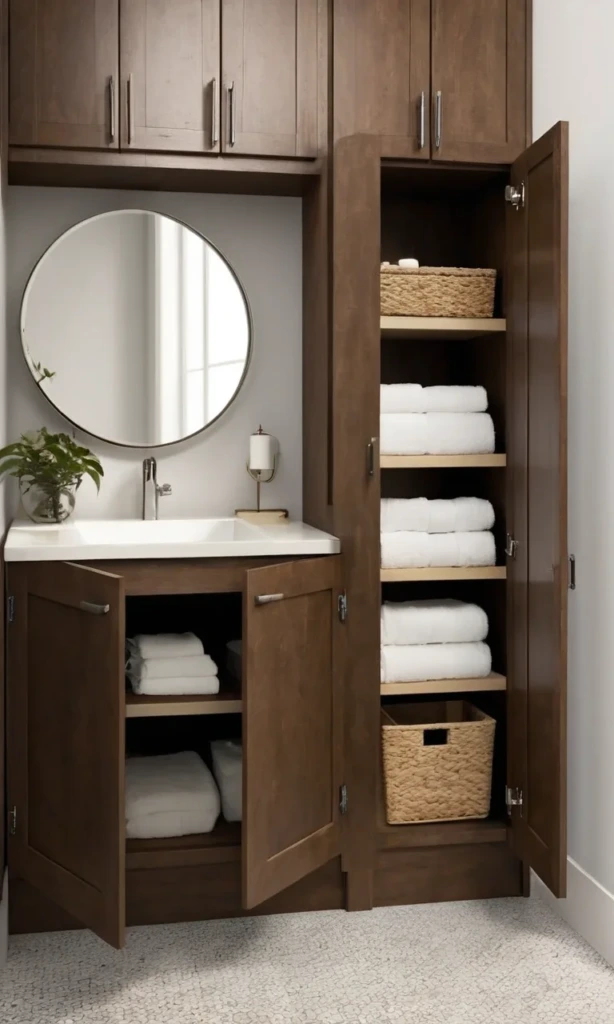
If you want a more structured arrangement, consider stackable drawers, adjustable shelves, and sliding baskets.
These accessories help make use of space that ordinary bins often leave empty.
Two-tier organizers can be particularly effective when there is sufficient clearance around the plumbing.
Pull-out baskets also make deep cabinets more convenient by bringing items at the back within reach.
Other practical choices include adjustable shelf risers, modular drawers, and narrow organizers designed for the spaces beside pipes.
Look for sturdy materials and smooth sliding mechanisms that can handle the weight of your products.
Before purchasing, confirm that drawers can extend without hitting hinges or plumbing fixtures.
8. Premium Options
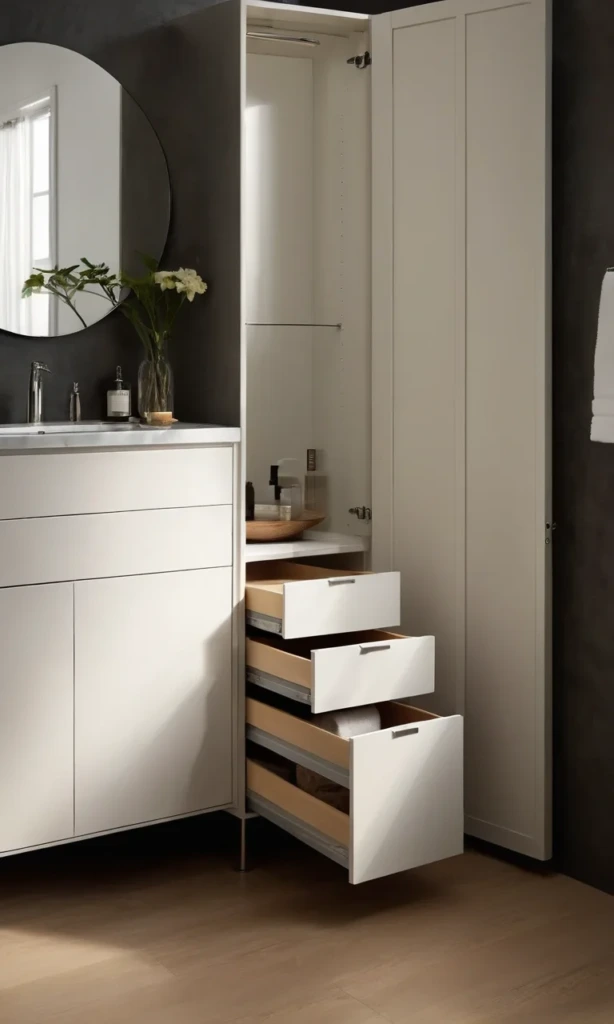
For a more customized storage system, consider adjustable pull-out shelving or specially designed undersink organizers.
Higher-end solutions may include:
Custom-fit sliding drawers.
Adjustable U-shaped shelving.
Heavy-duty pull-out storage systems.
Modular organizers with removable compartments.
Moisture-resistant cabinet inserts.
These options are particularly useful for larger vanities or cabinets with challenging layouts.
However, premium organizers aren't automatically more effective than inexpensive baskets.
A simple system that suits your habits will usually be easier to maintain than an elaborate arrangement with too many compartments.
Helpful tip: Choose organizers based on accessibility first and appearance second. Every item should be easy to retrieve and return.
9. Step 5: Use Door Space, Rods, and Wall Surfaces
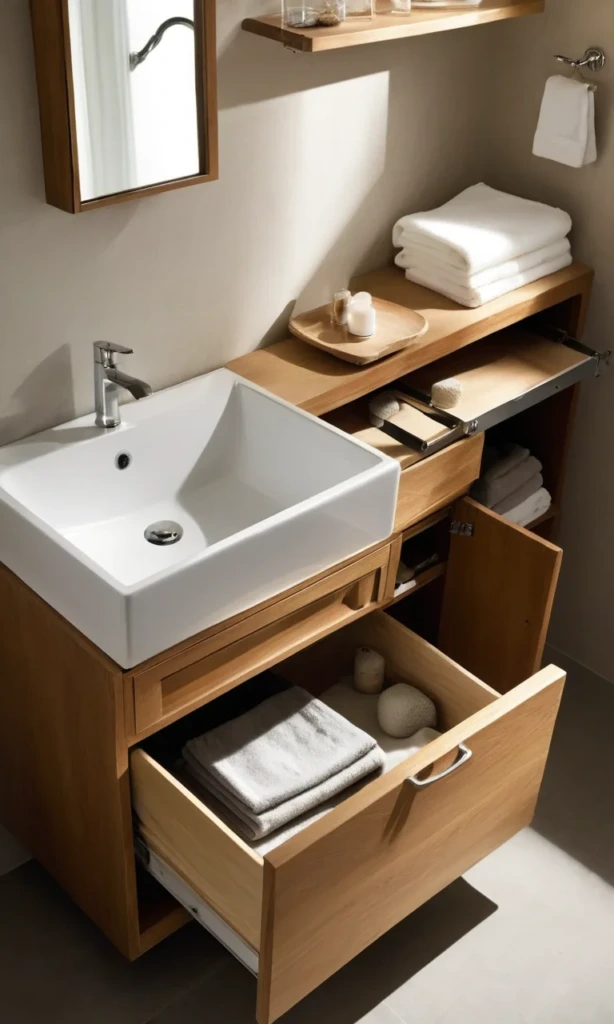
One of the easiest ways to increase bathroom cabinet storage is to use the overlooked space on doors and interior walls.
These surfaces can hold lightweight accessories without taking up valuable shelf space.
Install Cabinet Door Organizers
Slim adhesive baskets or over-the-door organizers can hold small products such as floss, hair ties, cotton rounds, and makeup accessories.
Check that the organizers won't collide with shelves or plumbing when the door closes.
Add a Tension Rod
A properly fitted tension rod can provide hanging space for lightweight spray bottles.
Position it where it won't put pressure on pipes, interfere with valves, or obstruct access to other products.
Avoid overloading the rod, since excessive weight can cause it to slip.
Use Adhesive Hooks
Hooks can hold cleaning gloves, small brushes, or lightweight accessory bags.
They work especially well on smooth cabinet surfaces when installed according to the adhesive manufacturer's instructions.
Try Magnetic Storage
A magnetic strip can keep suitable metal grooming accessories together.
Choose a location where sharp items won't be accidentally knocked loose, and keep them inaccessible to children.
Hang Small Storage Pouches
Compact hanging pockets can accommodate flat or lightweight items that otherwise disappear into larger baskets.
Before adding any door-mounted accessory, close the cabinet slowly to confirm there is enough clearance.
These small adjustments help you use previously wasted space without making the cabinet feel overcrowded.
10. Step 6: Make It Pretty with a Matching Aesthetic
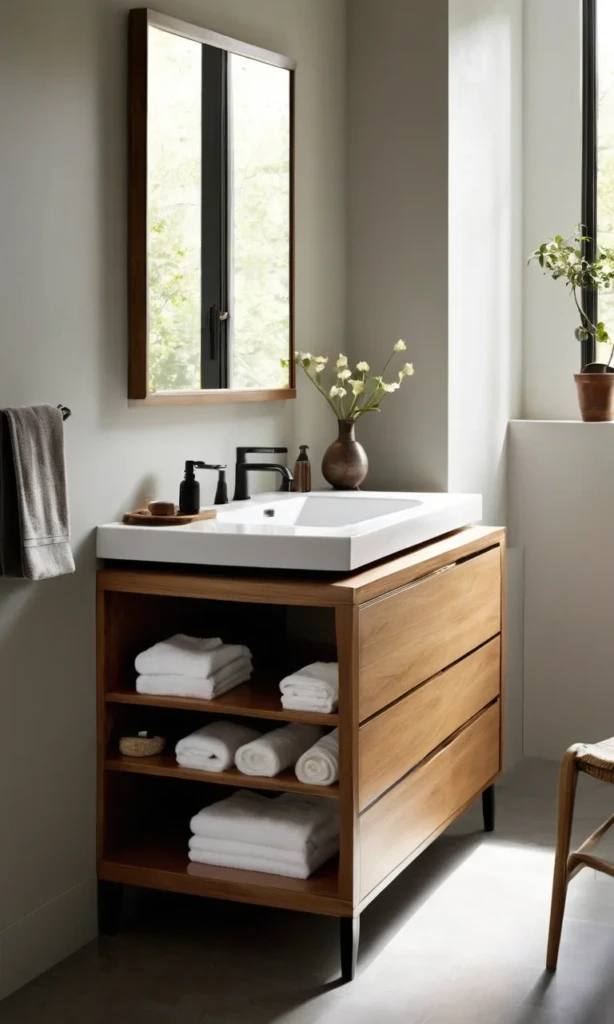
A well-organized bathroom cabinet can be both practical and visually appealing.
Although appearance shouldn't come before functionality, a consistent storage style can make the space feel calmer and easier to navigate.
Start with a simple color palette.
White, transparent, beige, and soft gray containers create a clean appearance and work with many bathroom styles.
You don't need every basket to match perfectly. Choosing similar materials or a limited range of colors can create a coordinated look.
Next, add labels to containers holding products that aren't immediately visible.
Useful labels might include "Haircare," "Skincare," "Refills," and "Cleaning Supplies."
Labels are especially helpful in shared bathrooms because everyone can identify where items belong.
For an uncluttered appearance, keep frequently used products in easy-access containers and store excess supplies in larger bins.
Avoid transferring chemical cleaners into decorative bottles. Keeping their original packaging preserves important safety and usage information.
If you prefer a minimalist style, use fewer, larger containers instead of numerous tiny organizers.
The finished cabinet should look tidy without making your daily routine more complicated.
Helpful tip: Leave some empty space between organizers. A little breathing room makes products easier to handle and prevents the cabinet from looking overcrowded.
11. Step 7: Protect Against Moisture and Mess
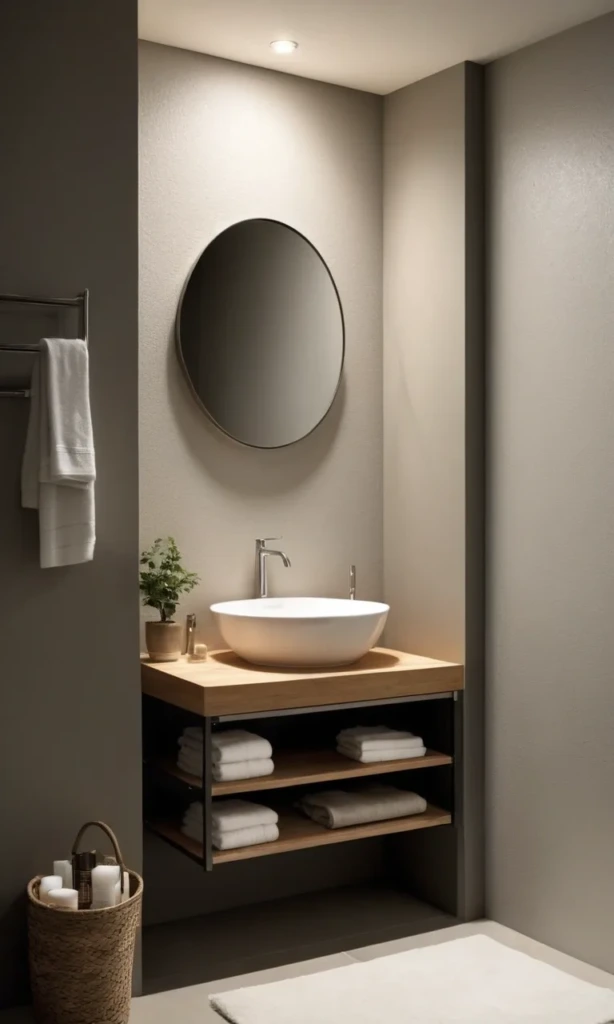
The area beneath a bathroom sink is vulnerable to water damage because it contains plumbing connections and is exposed to a humid environment.
Protecting the cabinet interior is an important part of creating a storage system that lasts.
Begin by placing a waterproof, easy-to-clean liner or shallow protective tray on the cabinet floor.
This can help contain minor spills and make routine cleaning easier.
However, liners and trays should never replace repairing a leak.
Choose moisture-resistant storage containers, such as durable plastic bins, rather than untreated cardboard or materials that absorb water easily.
For products that need protection from occasional splashes, use suitable covered containers.
A few additional precautions can make a difference:
Inspect pipes and fittings periodically for leaks.
Keep products away from plumbing connections.
Dry the cabinet thoroughly after cleaning.
Avoid storing electrical hair tools near possible water leaks.
Use a suitable moisture absorber only when needed and according to its instructions.
Replace damaged shelf liners before moisture becomes trapped underneath.
If you notice persistent dampness, musty odors, or visible mold, investigate the underlying moisture problem rather than simply covering it with organizers.
Also, avoid placing items directly against vulnerable cabinet surfaces where spills could go unnoticed.
A dry, clean cabinet helps protect your belongings and reduces the chance of expensive damage.
12. Step 8: Do a 5-Minute Monthly Reset
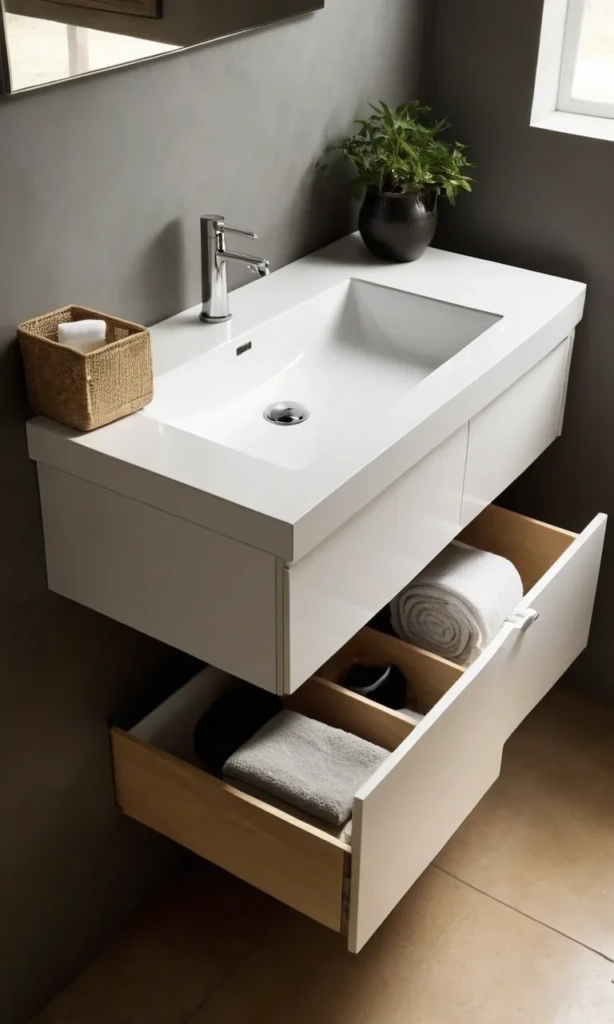
Even a carefully organized cabinet needs occasional attention.
Products get used up, new purchases arrive, and items gradually end up in the wrong places.
A quick monthly check can prevent these small changes from becoming a major clutter problem.
Set aside approximately five minutes to review the cabinet.
Start by removing empty packaging and checking for products that have expired or become unusable.
Return misplaced belongings to their assigned containers.
Next, wipe away any spills or residue and inspect the cabinet floor for moisture.
Check your backup supplies so you know what needs replacing before your next shopping trip.
If one basket repeatedly becomes overcrowded, consider whether it needs a different location or a larger container.
You can also adjust your storage zones as your daily routine changes.
For example, seasonal skincare products or hair accessories may need different positions throughout the year.
The goal isn't to maintain a picture-perfect cabinet every day. It's to establish a simple system that requires very little effort to keep functional.
Helpful tip: Pair your monthly cabinet check with another regular bathroom task, such as replacing towels or restocking toiletries, so it becomes part of your routine.
Final Thoughts
Organizing the space beneath your bathroom sink can make everyday routines noticeably easier.
Instead of searching through crowded shelves or moving bottles to find what you need, you can create a cabinet where every essential has a convenient place.
Start by removing unnecessary products, measuring the available space, and arranging belongings into useful categories. Then add a few well-chosen organizers that fit your cabinet and storage needs.
Remember that bathroom undersink organization doesn't have to be expensive or complicated.
Simple baskets, adjustable shelves, door-mounted accessories, and moisture-resistant liners can help transform an awkward cabinet into a functional storage area.
Most importantly, choose a setup you can maintain without extra effort.
With a little planning and an occasional five-minute reset, your bathroom cabinet can remain neat, accessible, and ready to support your daily routine.