How to Make a DIY Backpack – Step By Step Guide
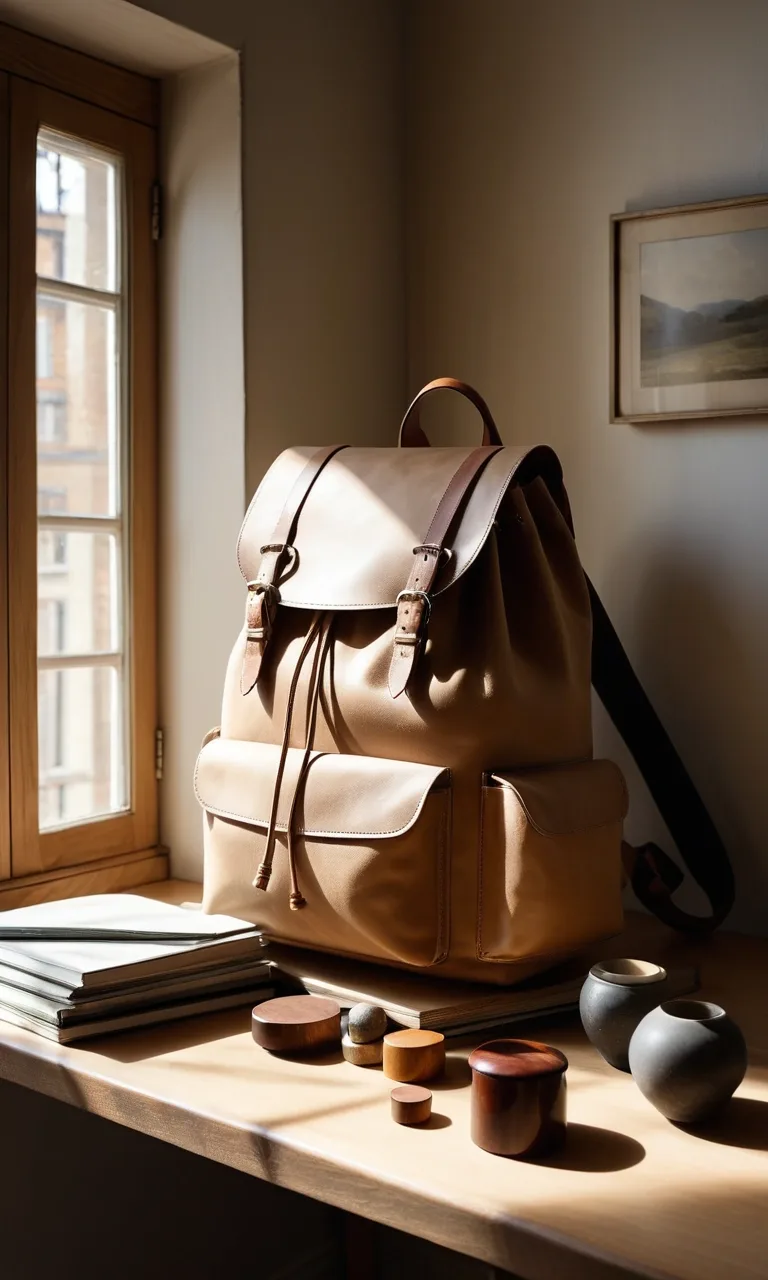
Making your own backpack is a rewarding sewing project that lets you create a bag suited to your everyday needs. You can choose durable materials, adjust the dimensions, add convenient compartments, and select colors that reflect your personal style. Whether you need a backpack for school, work, short trips, or everyday errands, a handmade design gives you plenty of room to customize the details.
You don't need professional sewing skills to get started. With a practical pattern, suitable materials, and careful stitching, you can build a functional backpack at home. This guide explains how to prepare the fabric, construct the pockets and straps, assemble the bag, and maintain your finished project.
Materials You’ll Need
Gather the following supplies before starting your backpack. Having everything ready makes the sewing process more organized and helps prevent interruptions.
Outer fabric: Approximately 1 yard of canvas, twill, or another sturdy material.
Lining fabric: Around 1 yard of cotton or a lightweight woven fabric.
Fusible interfacing: Approximately 1 yard to reinforce the outer panels.
Padding: Foam or batting for the back panel and shoulder straps.
Main zipper: An 18–20-inch zipper, depending on your pattern.
Pocket zipper: An 8–10-inch zipper for a smaller storage compartment.
Webbing: One-inch-wide webbing, including two 30-inch strap sections and an 8-inch handle section.
Strap hardware: Two sliders and two rectangular rings or D-rings.
Sewing essentials: Matching thread, fabric scissors or a rotary cutter, measuring ruler, pins or sewing clips, and an iron.
Optional accessories: Decorative patches, fabric labels, reflective trim, or additional pockets.
Choose materials according to how you intend to use the backpack. Canvas is a practical option for everyday carrying, while ripstop nylon is useful when keeping weight low and improving water resistance is a priority. Check that your sewing machine needle and thread are appropriate for the thickness of the fabric and webbing.
Step-by-Step DIY Backpack Sewing Guide
The following instructions cover the main stages of making a backpack, from cutting the pattern pieces to adding the final finishing touches. If you're new to sewing, practice sewing straight seams and attaching a zipper to scrap fabric before working on the actual bag.
Step 1: Gather and Cut Everything
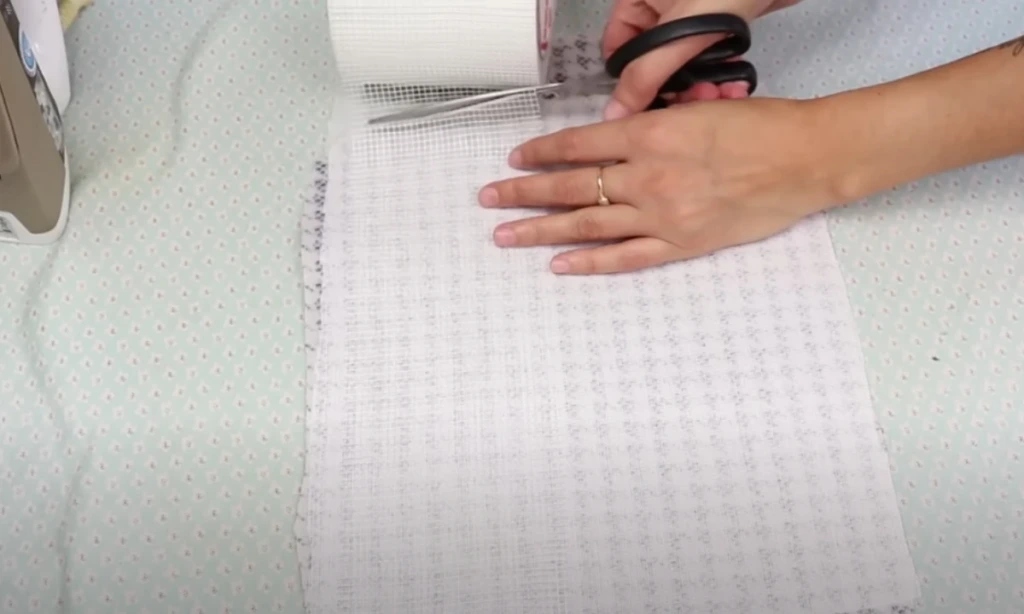
Begin by preparing a clear workspace and organizing your supplies. Use a backpack pattern or draw your own template with measurements suited to the finished bag. A pattern should account for the front and back panels, side pieces, bottom panel, pocket, shoulder straps, and top handle.
Wash and dry washable fabric before cutting if necessary to minimize shrinkage later. Press the material so it lies flat, then transfer the pattern markings onto the fabric.
Cut the outer fabric, lining, interfacing, and padding according to your template. Keep corresponding pieces together so you can identify them easily during assembly. Apply fusible interfacing to the designated outer panels by following the manufacturer's heat and pressing instructions.
Before moving forward, compare the pieces with your pattern to make sure the dimensions match. Accurate cutting helps the panels fit together without unnecessary pulling or bunching.
Step 2: Build the Front Pocket
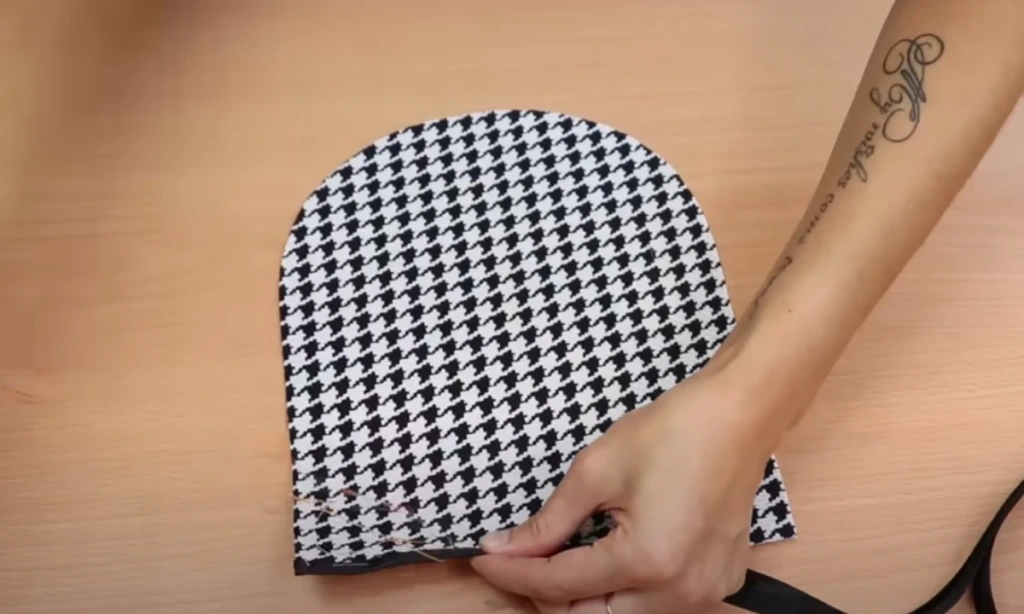
A front pocket provides convenient access to smaller belongings, such as keys, notebooks, charging cables, or stationery.
Place the two pocket fabric pieces against opposite sides of the smaller zipper tape, with the fabric faces positioned correctly. Sew along the zipper edges using a zipper foot if available. Open the fabric pieces away from the zipper and press them flat.
Add a neat line of topstitching beside the zipper to keep the fabric away from the teeth and give the pocket a finished appearance.
Position the completed pocket on the right side of the backpack's front panel. Check that it sits straight and leaves enough space around the panel edges for the main seams. Pin or clip it in place, then stitch around the pocket's sides and bottom as required by your design.
Reinforce the upper corners because these areas may experience extra tension when the pocket is opened or filled.
Step 3: Make the Handle and Strap Anchors
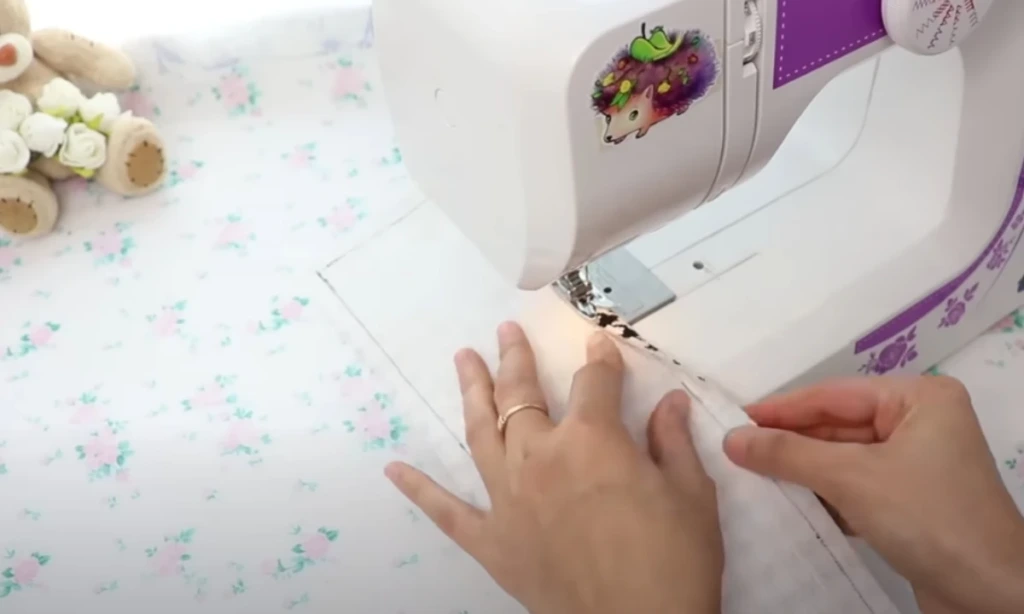
The handle and shoulder straps need secure attachment points because they support the weight of the backpack and its contents.
For the top handle, fold the short ends of the webbing under to prevent exposed edges from fraying. Position the handle near the top of the back panel and sew the ends firmly in place. A box-shaped seam with diagonal stitching can distribute tension more effectively than a single straight line.
Next, prepare the adjustable shoulder straps. Attach the webbing to the sliders according to the hardware design, leaving enough length for adjustment. If your pattern includes padded straps, place the foam or batting between the appropriate fabric layers and sew the edges together.
Create short attachment tabs for the lower ends of the straps, incorporating the D-rings or rectangular rings. Secure these tabs at the bottom corners of the back panel.
Reinforce the attachment areas with multiple rows of stitching. If the backpack will carry heavy books, a laptop, or travel supplies, take extra care to strengthen these high-stress points.
Step 4: Assemble the Gusset
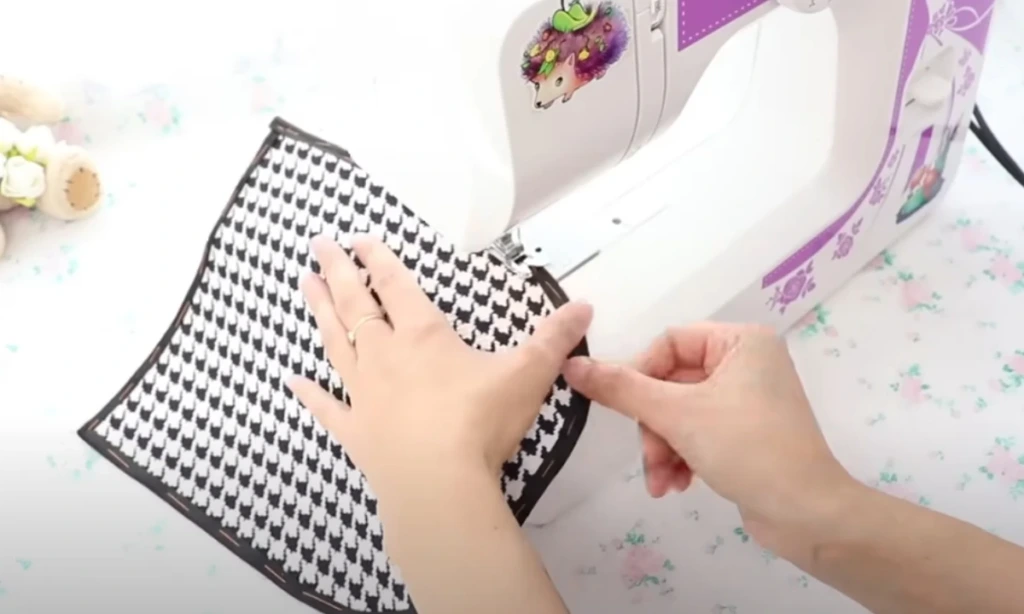
The gusset forms the sides and bottom of the backpack, creating room for items inside the bag.
Take the side pieces and bottom piece and join them along their short edges to form a continuous strip. Arrange the pieces according to your pattern, keeping the fabric's right sides together where appropriate. Sew the seams with a consistent seam allowance, then press them open or toward the designated side.
The finished gusset should form a U-shaped section that fits around the front and back panels. Check its total length against the edges of the main panels before attaching it.
If your pattern includes rounded corners, mark the curves and use sewing clips to help distribute the fabric evenly. Taking time to prepare the gusset makes the finished backpack more symmetrical and reduces the risk of puckered seams.
Step 5: Build the Outer Shell
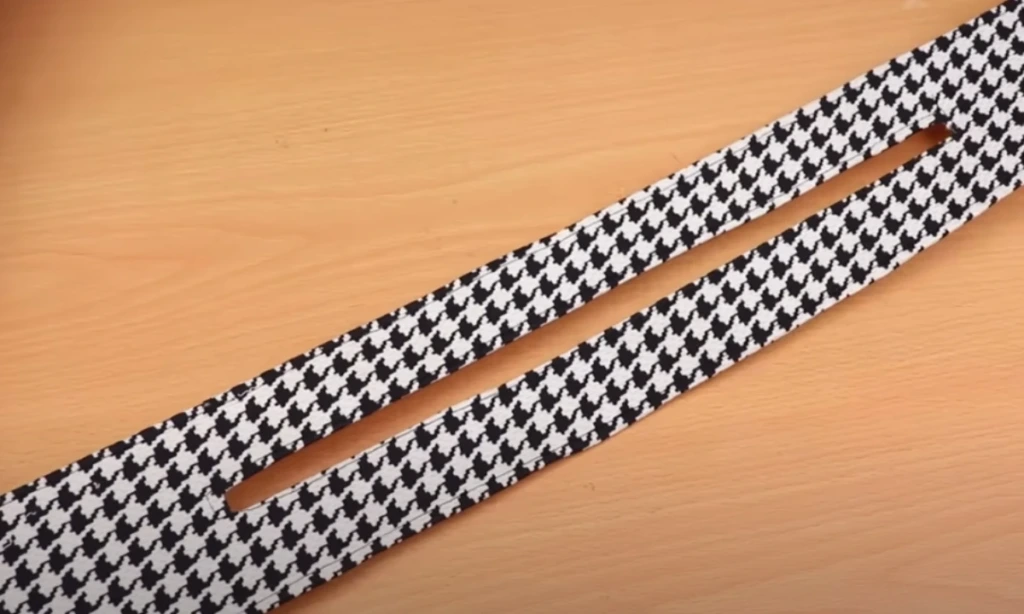
Lay the front panel flat with its right side facing upward. Position the gusset around its edges, aligning the corners, seams, and any pattern markings. Secure the pieces with clips or pins.
Sew around the panel carefully, easing the fabric into place rather than stretching it. Where the pattern has curved corners, make small clips in the seam allowance without cutting through the stitching line. This helps the fabric turn smoothly.
Attach the back panel to the opposite side of the gusset using the same method. Before completing the seams, confirm that the shoulder straps and handle are positioned correctly and that their attachment ends are caught securely in the intended seams.
Inspect the outer shell for gaps, uneven stitching, or areas where the fabric has folded unintentionally. Add reinforcement stitching around the strap anchors and other load-bearing areas.
Turn the shell right side out temporarily to check its shape. It should resemble a three-dimensional bag with a defined bottom and sides.
Step 6: Add the Main Zipper
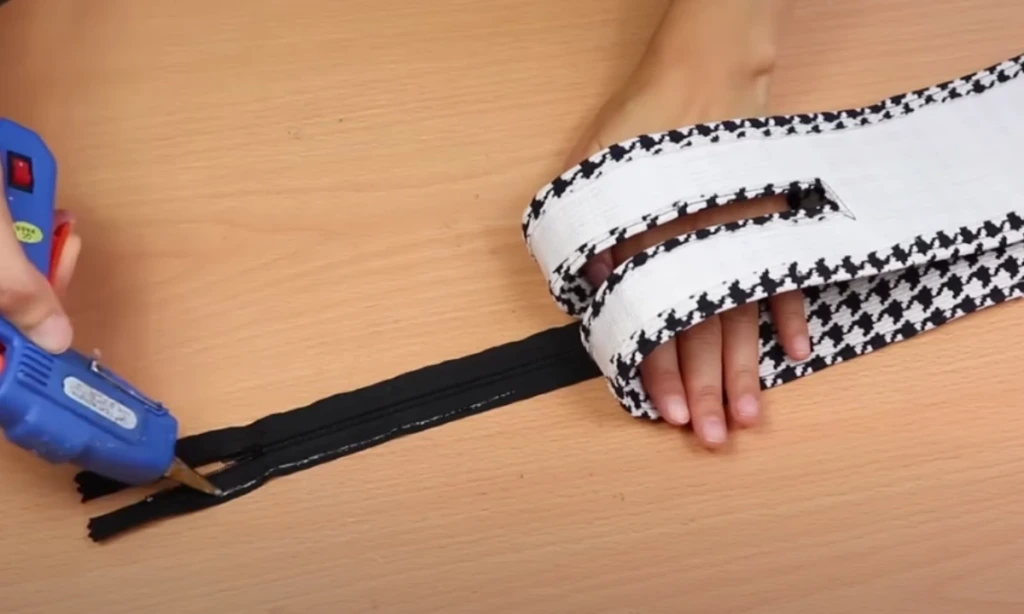
The main zipper controls access to the backpack's central compartment, so careful placement is important.
Find the center of the zipper and the corresponding center marks on the top edges of the front and back panels. Match these points before attaching the zipper tape. Follow your pattern's opening design, as some backpacks use a straight top opening while others include curved zipper sections.
With the appropriate fabric edges and zipper tape aligned, sew one side of the zipper to the front edge and the other side to the back edge. Keep the fabric flat as you work, and move the zipper pull out of the way when necessary.
Open the zipper and check that both sides align evenly. Topstitch near the zipper seam to secure the fabric and reduce the chance of it catching in the teeth.
Test the zipper several times before proceeding. It should move freely without pulling the surrounding fabric or catching on the seam allowance.
Step 7: Sew the Lining and Join It In
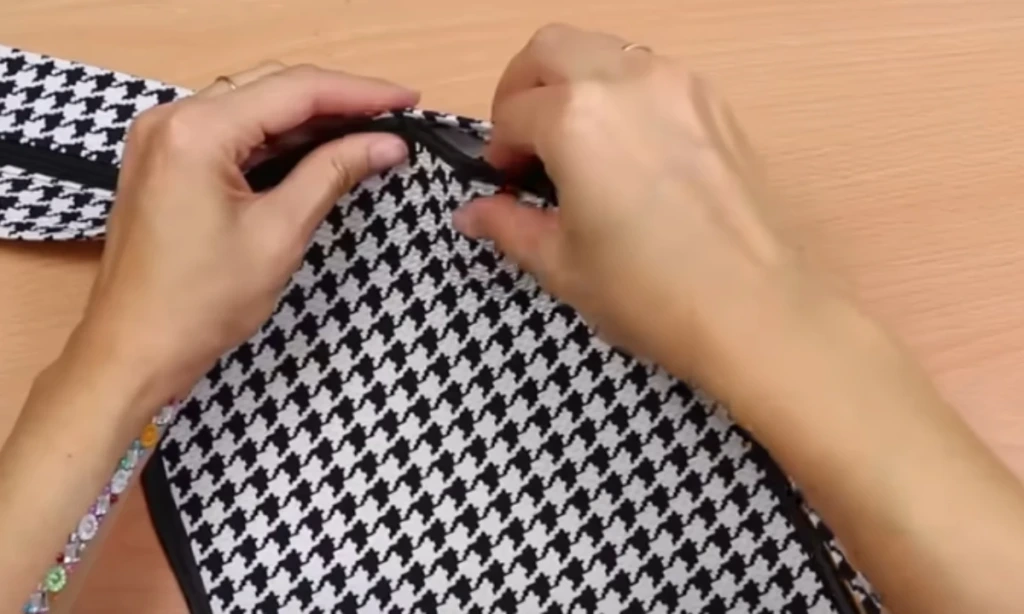
The lining creates a cleaner interior and covers many of the raw seams. It can also provide a convenient place to add extra pockets if your design calls for them.
Assemble the lining using the same basic arrangement as the outer shell: front panel, back panel, and gusset. Leave an opening of several inches in one lining seam. This opening will allow you to turn the finished backpack right side out.
Place the outer shell inside the lining, aligning the top edges and keeping the right sides of the fabrics together. Match the side seams and zipper ends, then clip everything in position.
Sew around the top opening, taking care not to catch the shoulder straps or other components in the stitching. Keep the zipper partially open so the bag can be turned through it more easily.
Carefully pull the backpack through the opening left in the lining. Work slowly around the corners and zipper ends to avoid stressing the seams.
Once the bag is turned right side out, push the lining into the main compartment and arrange it neatly. Fold the raw edges of the opening inward, then close the gap with a narrow machine stitch or a discreet hand stitch.
Press the top edge gently and add another line of stitching if your design benefits from extra stability.
Step 8: Finish the Straps and Details
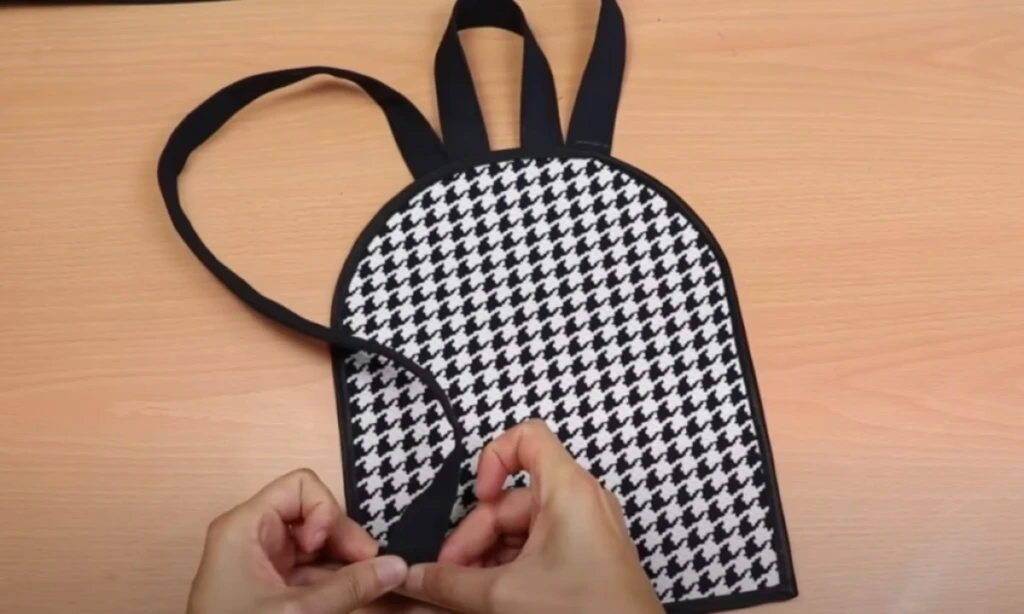
The final stage is about making the backpack comfortable, secure, and ready for everyday use.
Thread the shoulder straps through the lower rings and adjustment sliders according to the hardware instructions. Check that pulling the free ends adjusts the strap length correctly and that the straps remain secure when tension is applied.
Inspect the seams around the handle, strap anchors, pockets, and zipper ends. Add bar-tack stitching or additional reinforcement where needed. These short, dense stitches can help prevent seams from opening in areas exposed to repeated pulling.
Trim loose threads and check that no raw edges remain exposed where they could fray. Press the seams using a temperature suitable for the fabric and any synthetic components.
If you want to personalize the backpack, consider adding a fabric label, decorative embroidery, contrast stitching, or a small patch. Keep embellishments away from zipper tracks and other moving parts.
Before carrying valuable or heavy items, test the bag with a light load. Check that the straps feel comfortable, the zipper operates smoothly, and the bottom and seams remain stable. Your handmade backpack is now ready to use.
What Are the Best Repair and Care Tips for a DIY Backpack?
Regular maintenance helps preserve your backpack's appearance and prevents small problems from becoming expensive repairs. The right approach depends on the fabric, zipper type, and construction method.
Keep the zipper working smoothly: Remove lint, thread, and dirt from the zipper teeth. If the zipper sticks, use a lubricant specifically suitable for that zipper and fabric. Avoid forcing the slider, as this can damage the teeth or pull.
Repair small tears early: A small tear can often be repaired with matching thread and careful stitching. For thin synthetic fabric, a compatible repair patch may be more suitable than sewing alone.
Reinforce loose straps: If a strap begins separating from the bag, stop carrying heavy items until the attachment is repaired. Restitch the affected area with strong thread and suitable reinforcement.
Patch larger damaged areas: A fabric patch on the inside or outside can strengthen a worn section. Choose a patch material compatible with the original fabric and use an appropriate adhesive or stitching method.
Protect against moisture: Apply a fabric water-repellent product only if it is compatible with your material. Some fabrics, coatings, and waterproof membranes require specific treatments, so test the product on a hidden area first.
Clean the backpack gently: Empty every compartment and remove loose dirt before cleaning. Follow the fabric care instructions, using mild soap and a soft cloth when suitable. Avoid soaking the bag if its padding, interfacing, or hardware could be damaged.
Dry it thoroughly: Leave the backpack open in a well-ventilated area until the lining and seams are completely dry. Prolonged dampness can lead to unpleasant odors and mildew.
Store it properly: Keep the bag in a dry location away from prolonged direct sunlight. Avoid placing heavy objects on top of it when not in use.
Inspect the seams and hardware occasionally, especially if you use the backpack every day. Prompt repairs and appropriate cleaning can significantly extend its useful life.
Final Thoughts
Creating a DIY backpack allows you to combine practical sewing skills with a design that fits your lifestyle. From selecting the fabric and preparing the pattern to installing zippers and reinforcing the straps, each stage contributes to a more functional finished bag.
For a first project, keep the design straightforward and focus on accurate measurements, secure seams, and comfortable straps. Once you understand the basic construction, you can experiment with padded compartments, extra storage pockets, contrasting fabrics, and decorative details.
You don't need an elaborate design to make something useful. A carefully constructed backpack with suitable materials can serve everyday needs while giving you the satisfaction of carrying something you made yourself.
FAQs
Can I make a backpack without a sewing machine?
Yes, you can make a backpack by hand, although the process generally takes longer and requires more patience. Choose a manageable design, use sturdy fabric, and select a strong thread intended for sewing applications that involve repeated stress.
A backstitch can create a durable hand-sewn seam when worked consistently. Reinforce the shoulder strap attachments, handle, and other high-stress areas with additional stitching. A hand-sewing needle suitable for the fabric thickness will also make the work easier.
For a large backpack or one intended to carry heavy items, a sewing machine is usually the more practical option. It can produce consistent seams and make it easier to sew through several layers of canvas or webbing. If you plan to hand-sew a backpack for regular use, test the seams with a light load before relying on it for heavier belongings.
How do I make my DIY backpack waterproof?
The level of water protection depends on the materials and construction methods you choose. Water-resistant fabric can help repel light moisture, but a fully waterproof backpack requires more comprehensive protection.
Consider these options when planning your project:
Choose suitable fabric: Waterproof-coated nylon or polyester can provide better moisture protection than ordinary cotton canvas, provided the coating remains intact.
Protect the seams: Needle holes can allow water to enter even when the fabric itself is waterproof. Compatible seam-sealing products or specialized seam tape may help reduce leakage.
Use a suitable zipper: Water-resistant zippers can limit water entry through the main opening, although they may not be completely waterproof.
Apply compatible fabric treatment: A water-repellent spray can help some fabrics shed light rain. Follow the product instructions and test it before treating the entire bag.
Add a waterproof liner: A separate waterproof inner compartment or removable dry bag can provide additional protection for electronics, documents, and other moisture-sensitive belongings.
Let the backpack dry completely: After exposure to rain, empty the bag and allow the interior to dry before storing it.
For ordinary commuting or occasional light rain, water-resistant materials and sensible protective measures may be sufficient. For prolonged exposure to heavy rain, don't assume a homemade backpack is waterproof unless its complete construction has been designed and tested for that purpose.