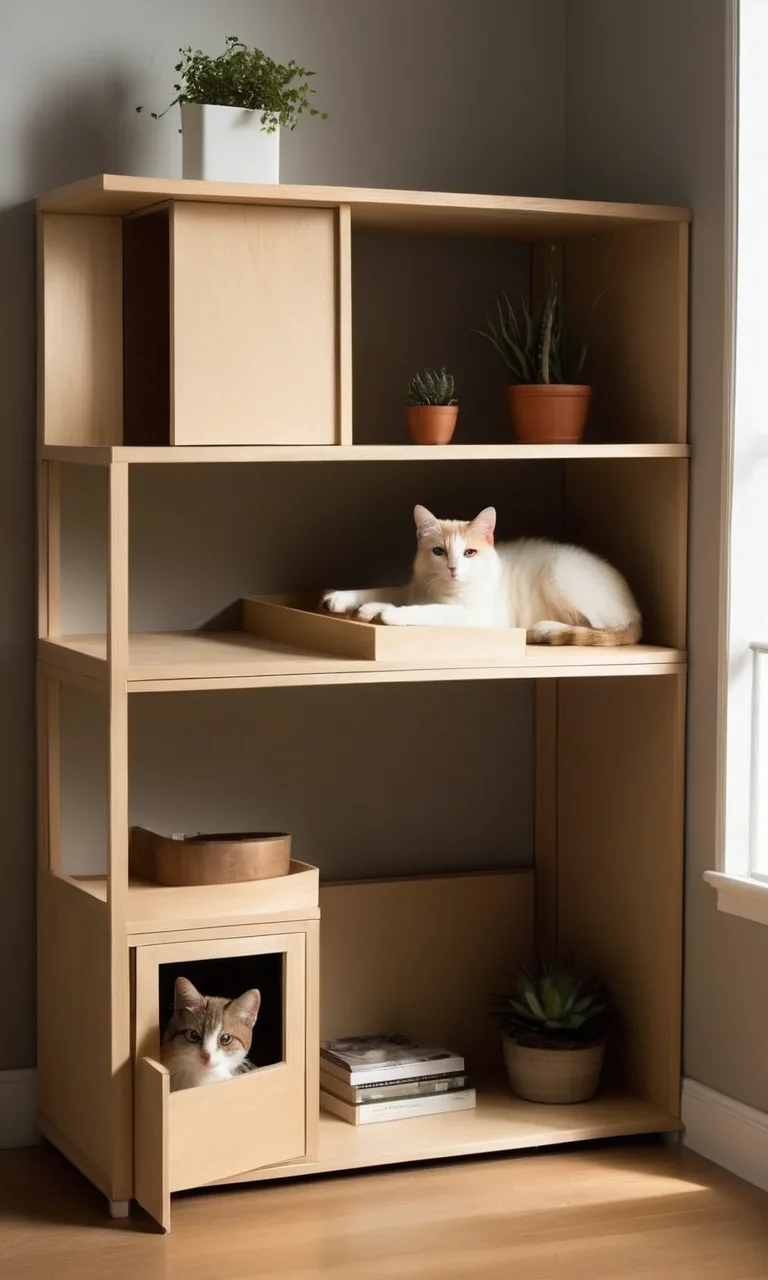
24 Wood Crafts DIY Ideas for 2026
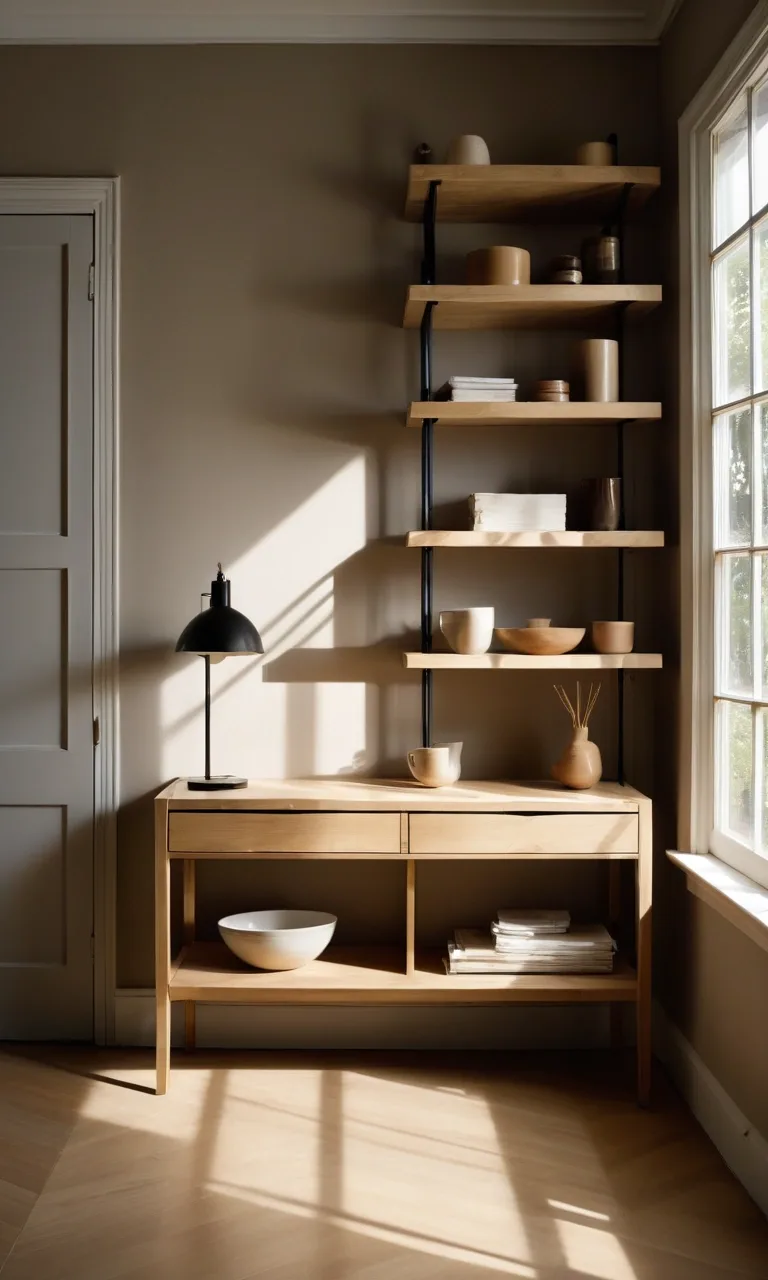
Wood crafting is a wonderful way to turn ordinary materials into beautiful, functional pieces for your home. Whether you have leftover timber in your garage or want to explore a new creative hobby, DIY wood projects offer endless possibilities without requiring professional woodworking experience.
From decorative wall accents and handmade shelves to garden planters and practical storage solutions, there are plenty of projects for every skill level. Many can be completed using inexpensive supplies, basic tools, and a little imagination.
These 24 wood crafts DIY ideas for 2026 combine natural textures, creative designs, and everyday usefulness to help you create something truly personal.
How Can You Make Simple Wood Crafts at Home?
Making wooden crafts at home begins with choosing a manageable project and gathering the right materials. Small decorative pieces, simple organizers, and basic wooden frames are excellent starting points because they involve straightforward construction techniques.
You can work with scrap lumber, precut boards, plywood, or unfinished wooden shapes from craft stores. Essential supplies often include sandpaper, wood glue, a measuring tape, clamps, and a hand saw.
Before assembling anything, measure your materials carefully and smooth rough edges to prevent splinters. Apply paint, wood stain, or a suitable protective finish once construction is complete.
Start with smaller projects to develop confidence before attempting furniture or complicated designs. Always wear appropriate eye protection when cutting or drilling, and secure wood firmly while working.
1. Coastal Mini House
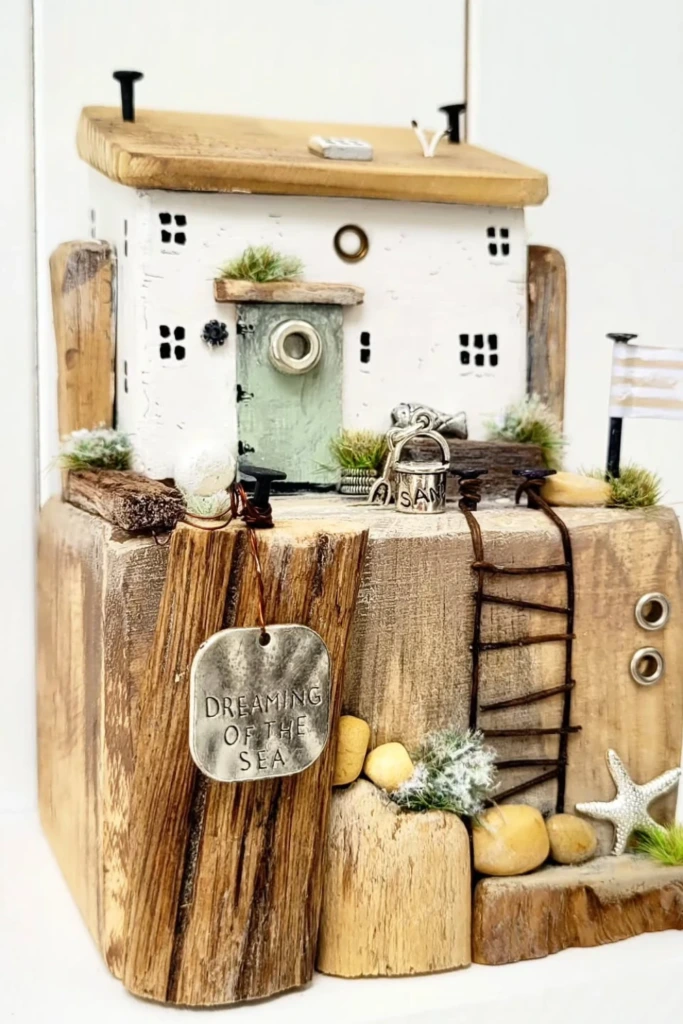
Create charming miniature wooden houses inspired by seaside cottages using small blocks of reclaimed wood. Cut the pieces into simple house shapes, adding triangular roofs made from thin wooden scraps.
Paint the surfaces in soft white, sandy beige, or faded blue to capture a relaxed coastal atmosphere. Small windows, miniature doors, and decorative rope details give each house its own personality.
Arrange several houses together on a mantel, bookshelf, or entryway table. For extra character, surround them with seashells or smooth stones.
2. Rustic Wall Shelf
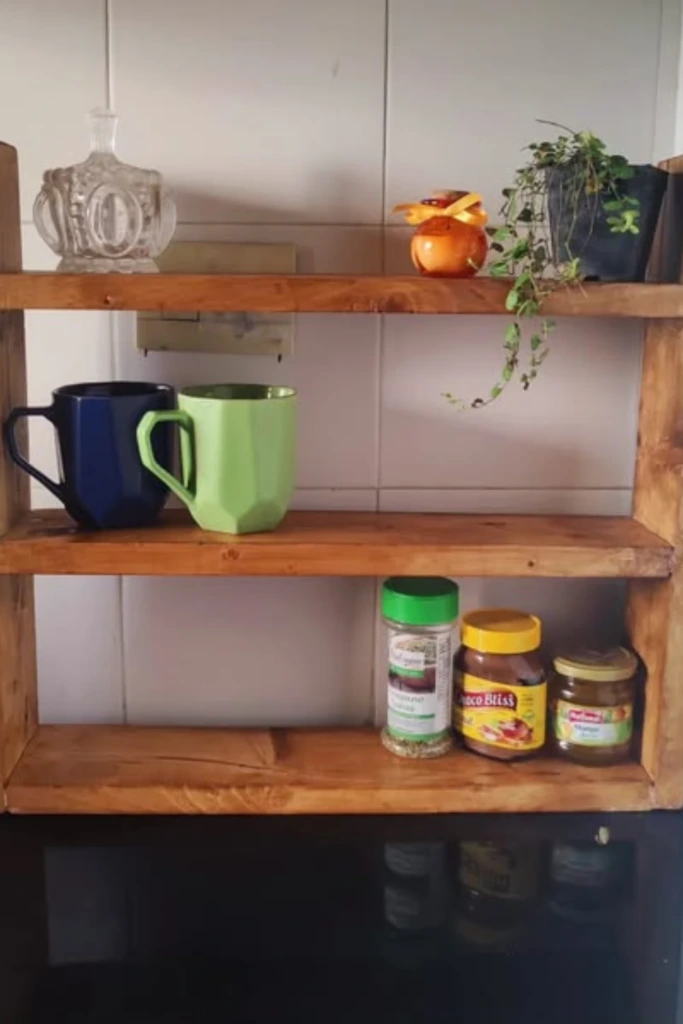
A rustic wooden shelf adds practical storage while introducing warmth and natural texture to your walls. Choose a solid wooden plank with attractive grain patterns and sand it until the surface feels smooth.
Attach sturdy metal brackets or wooden supports underneath, making sure the shelf is level and securely fastened to suitable wall anchors or studs.
Finish the wood with a clear protective coating or a rich walnut stain. Use the completed shelf to display small plants, framed photographs, candles, or everyday kitchen essentials.
3. Carved Wall Panels
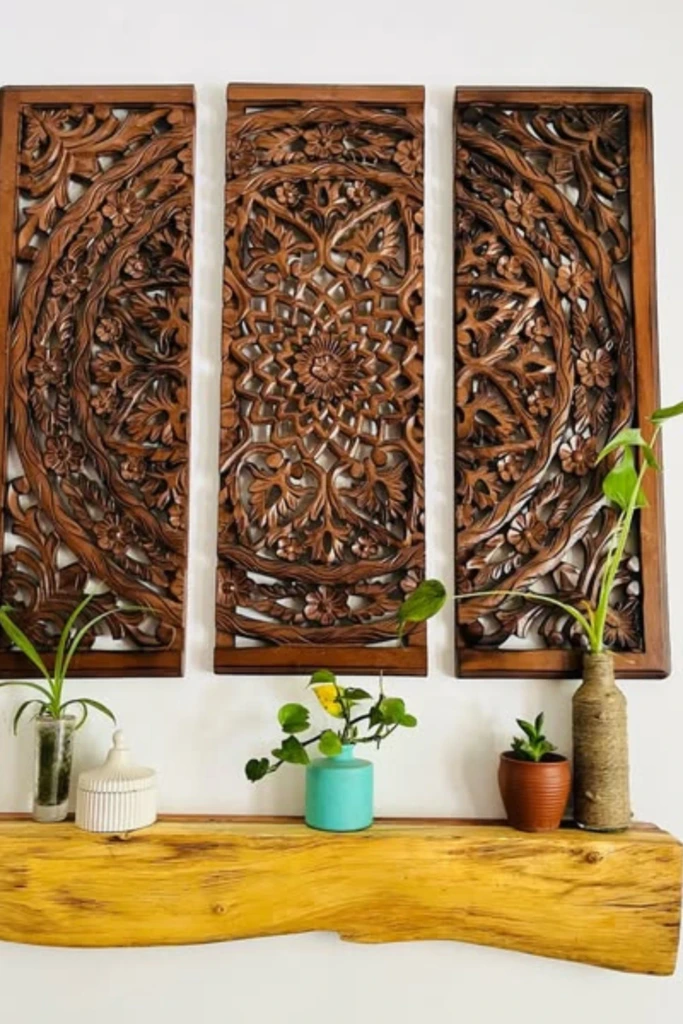
Decorative carved wooden panels can transform a plain wall into an artistic focal point. Start with a smooth piece of softwood and sketch a simple geometric, botanical, or abstract pattern.
Use suitable carving tools to create shallow grooves and textured details, working slowly along the marked design. Beginners can achieve an attractive effect with basic lines and repeated shapes.
Sand any rough areas carefully and apply a natural finish that emphasizes the carved details. Display individual panels or combine several into a coordinated wall arrangement.
4. Hollow Log Shelf
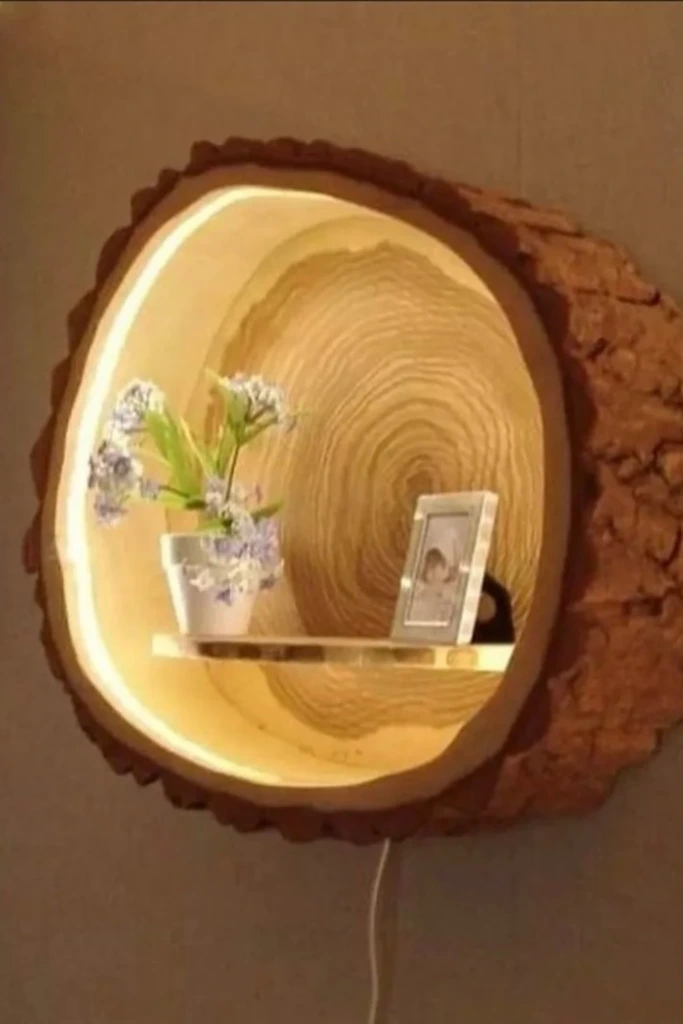
A hollow log shelf brings an organic woodland appearance to indoor spaces. Begin with a thoroughly dried, structurally sound section of hollow timber that has been cleaned and checked for insects.
Fit a small wooden shelf inside the opening, securing it with appropriate supports. The natural outer surface can remain textured, while the interior should be sanded to remove loose fibers.
Display miniature plants, decorative stones, or small collectibles inside. Battery-operated LED lighting can illuminate the interior without introducing the heat associated with traditional bulbs.
5. Geometric Wall Shelves
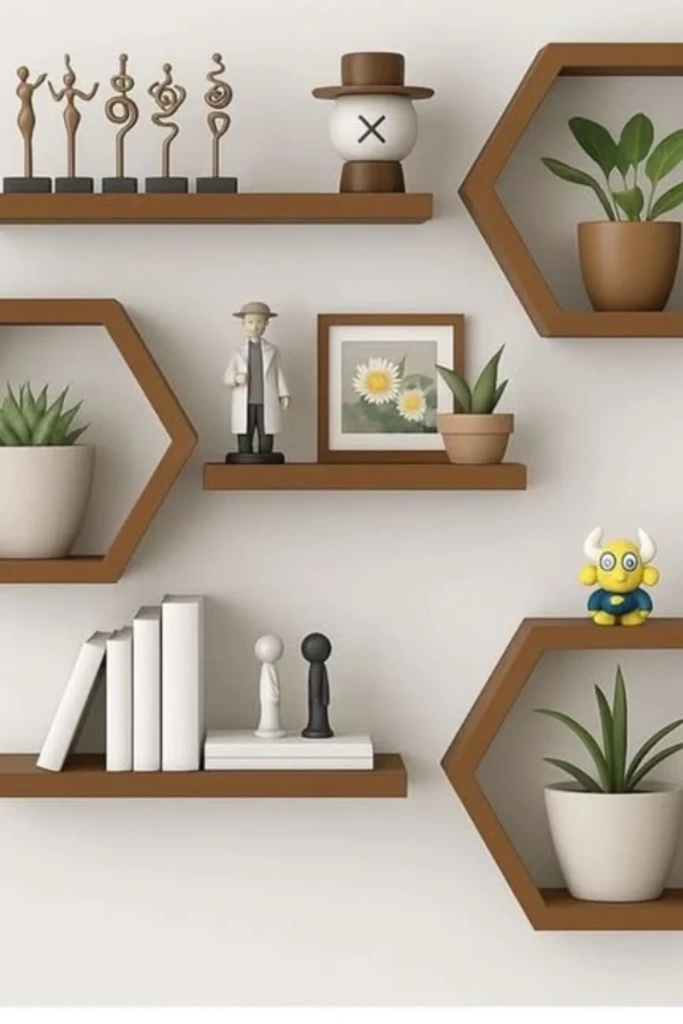
Geometric wooden shelves provide a modern alternative to traditional rectangular storage. Hexagonal, triangular, and diamond-shaped frames work especially well for contemporary interiors.
Cut matching wooden sections at the required angles and join them using wood glue and suitable fasteners. Check that the corners align correctly before allowing the adhesive to cure.
Paint the finished shelves in neutral shades or preserve their natural wooden appearance. Arrange multiple shapes across a wall to create an interesting display for lightweight decorative objects.
6. Wooden Lighthouse Art
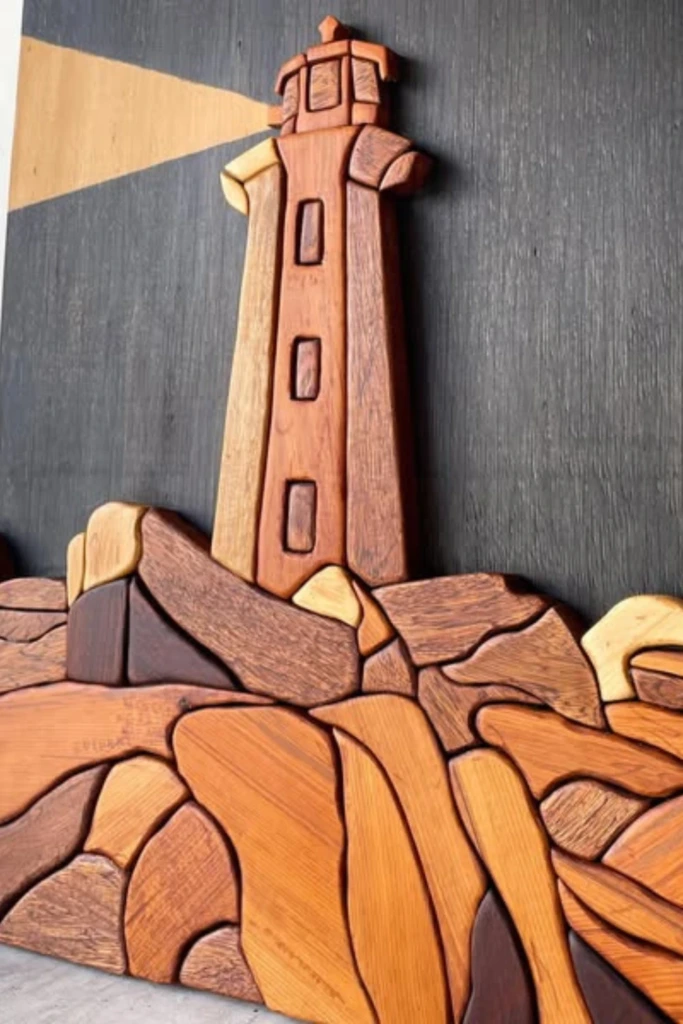
Wooden lighthouse artwork makes a distinctive addition to nautical-inspired rooms. Create the design by arranging small wooden pieces into the recognizable outline of a lighthouse, including its tower, roof, and windows.
Use different wood stains or painted sections to distinguish individual features. A background made from weathered boards can introduce additional depth.
Mount the completed design on a sturdy backing board and hang it in a hallway, living room, or coastal-themed bedroom. A simple frame can give the artwork a more polished finish.
7. Vertical Plant Shelf
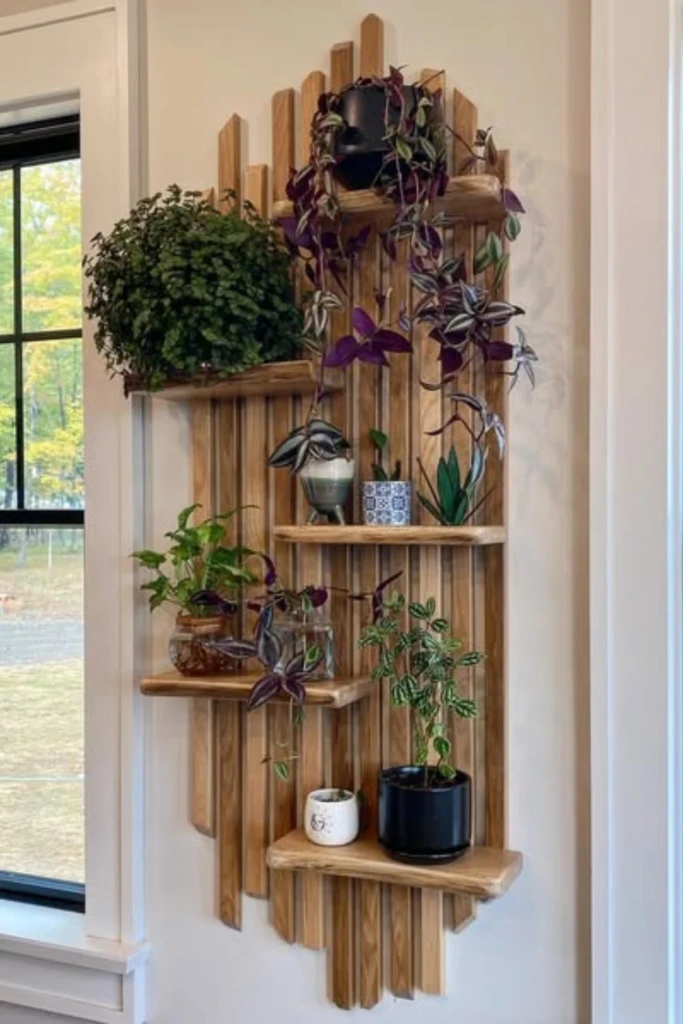
A vertical wooden plant shelf allows you to display greenery without using valuable floor space. Build a narrow upright frame with several small platforms positioned at different heights.
Choose wood strong enough to support the combined weight of pots, soil, and water. Secure the structure to the wall to prevent tipping, especially when displaying multiple plants.
Place the shelf near a window where your chosen plants receive appropriate sunlight. Use waterproof pot saucers to protect the wooden surfaces from moisture damage.
8. Cheese Board Set
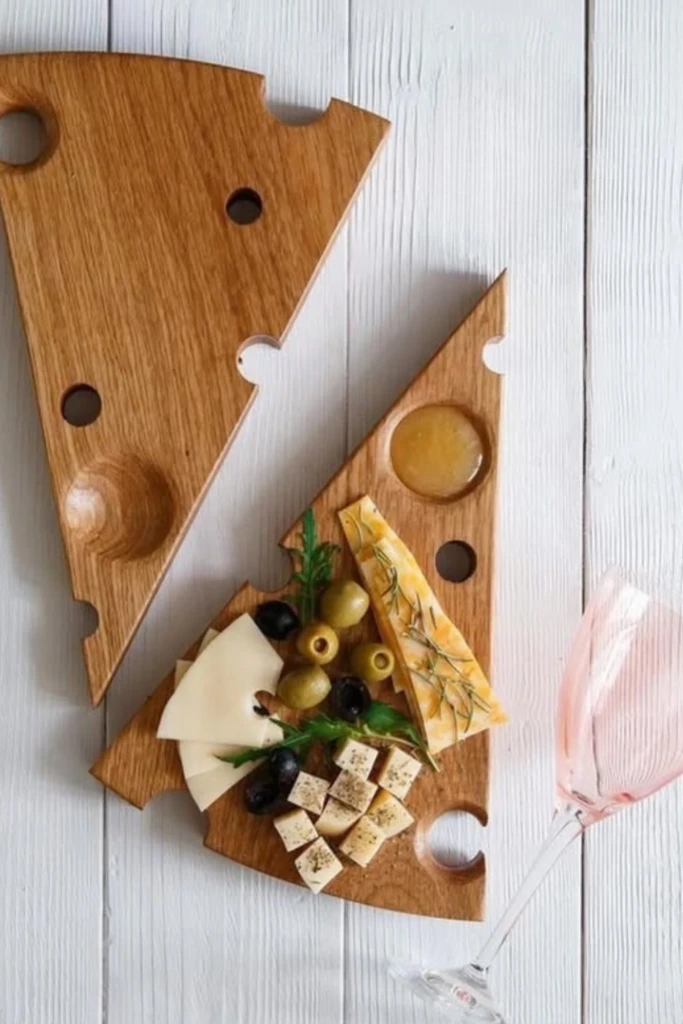
Handmade wooden cheese boards are practical kitchen accessories that also make thoughtful gifts. Select a dense, untreated hardwood suitable for food contact, such as maple, walnut, or beech.
Cut the boards into rounded, rectangular, or paddle-shaped designs. Smooth the edges and surfaces thoroughly with progressively finer sandpaper.
Apply a food-safe cutting board oil or wax according to its instructions. Create several coordinating pieces in different sizes for serving cheese, crackers, fruit, and other appetizers.
Avoid using reclaimed wood of unknown treatment history for surfaces that directly contact food.
9. Bark Wall Light
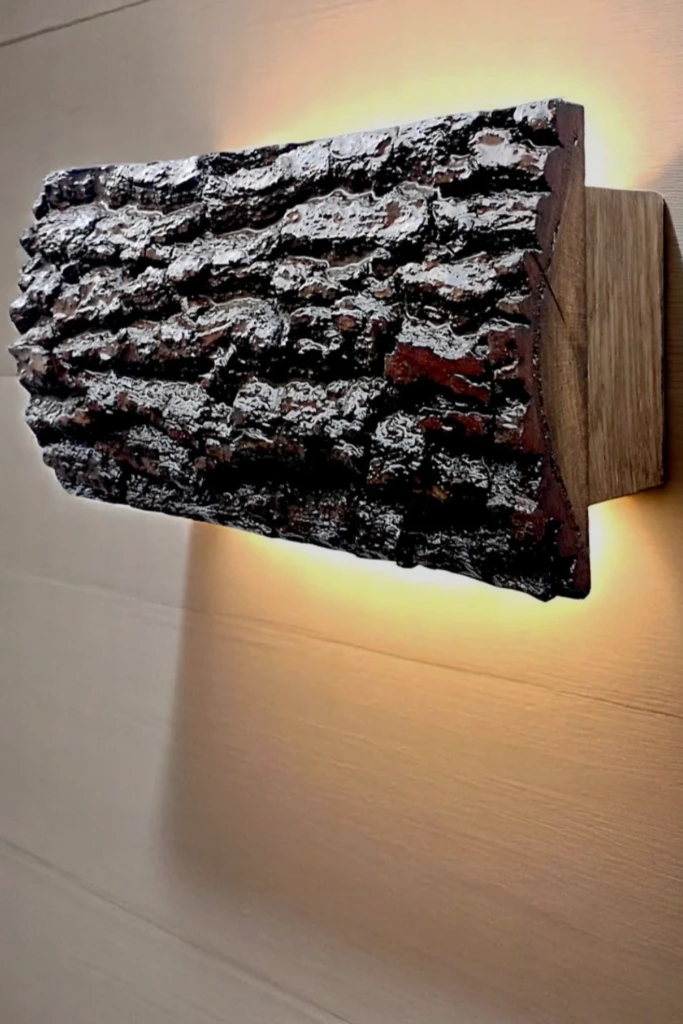
A bark-covered wooden wall light combines natural materials with gentle accent illumination. Choose a dry, stable piece of bark-edged timber with an interesting shape.
Attach concealed supports behind the wood so it sits slightly away from the wall. Position a low-voltage LED strip behind the panel to produce a soft halo of light.
Use a lighting system rated for the installation and keep electrical connections accessible and properly protected. The finished piece works beautifully in bedrooms, hallways, and cozy reading corners.
10. Tiered Garden Planter
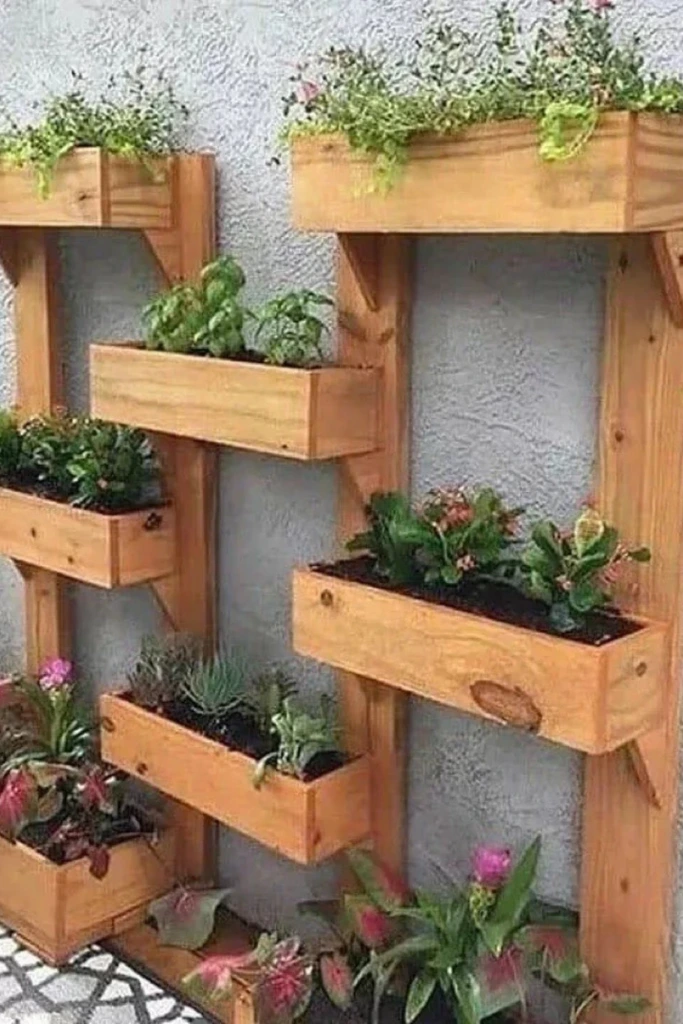
A tiered wooden planter is an efficient way to grow flowers, herbs, or compact vegetables in a limited outdoor area. Construct a strong frame with planter boxes positioned at different levels.
Use outdoor-rated timber and corrosion-resistant screws to improve durability. Each planting container should include drainage holes so excess water can escape.
Arrange plants according to their sunlight and growing requirements, keeping taller varieties from shading smaller ones unnecessarily.
A weather-resistant exterior finish helps protect exposed wood, while a stable base prevents the structure from tipping in windy conditions.
11. Statement Display Shelf

A statement display shelf can become the centerpiece of a living room while providing organized storage for decorative collections.
Build an open framework using wooden boards of varying lengths. Create compartments in different sizes to accommodate books, pottery, framed pictures, and other accessories.
Keep the overall arrangement balanced by distributing larger compartments throughout the structure. Sand and finish the surfaces before installation.
For a modern appearance, combine natural wood with black metal accents or use a single neutral paint color. Secure tall shelving units to the wall for additional stability.
12. Teacup Planters
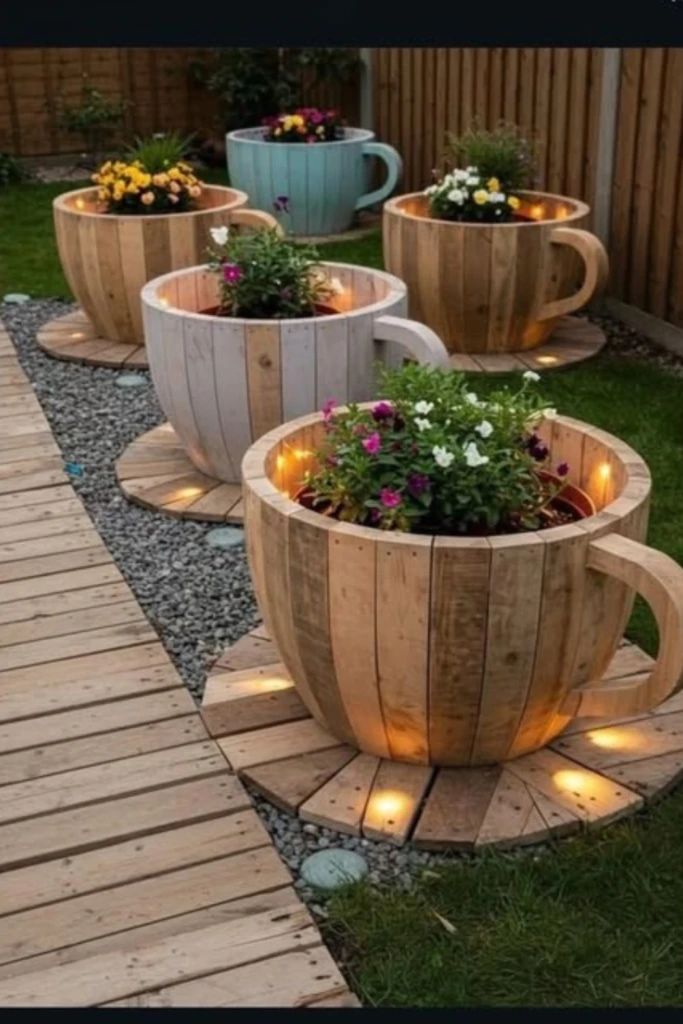
Oversized wooden teacup planters introduce a playful, imaginative element to patios and gardens. Create the cup shape using curved wooden sections attached around a circular base.
Form a decorative handle from shaped wood and fasten it securely to the exterior. Paint the structure in cheerful colors or add floral patterns for a vintage-inspired finish.
Place a removable planting container inside the wooden cup rather than filling the timber structure directly with wet soil. This makes watering and maintenance easier while reducing moisture exposure.
Use these unusual planters near garden entrances, seating areas, or outdoor entertainment spaces.
13. Sculpted Wood Vases
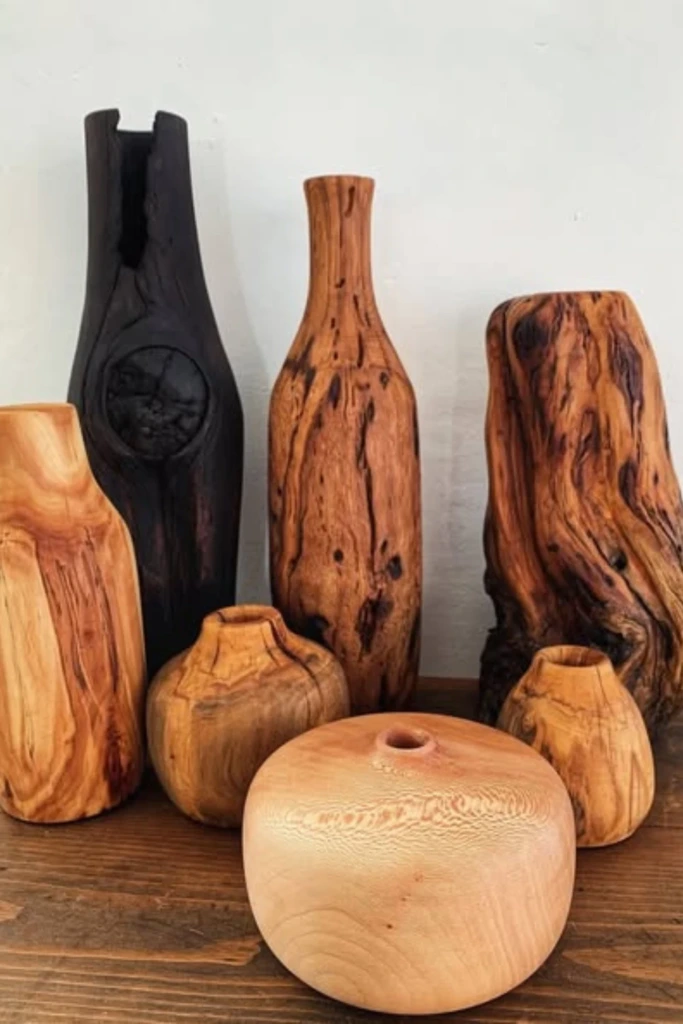
Sculpted wooden vases celebrate the natural beauty of timber through simple, artistic forms. Start with a solid piece of dry hardwood and shape its exterior using suitable carving or woodworking tools.
Experiment with rounded silhouettes, tapered necks, or asymmetrical designs. Carefully sand the finished piece to reveal its natural grain.
A wooden vase can hold dried flowers, decorative branches, or artificial stems. If you want to display fresh flowers, insert a watertight glass or plastic container to prevent water from soaking into the wood.
14. Hanging Box Shelves
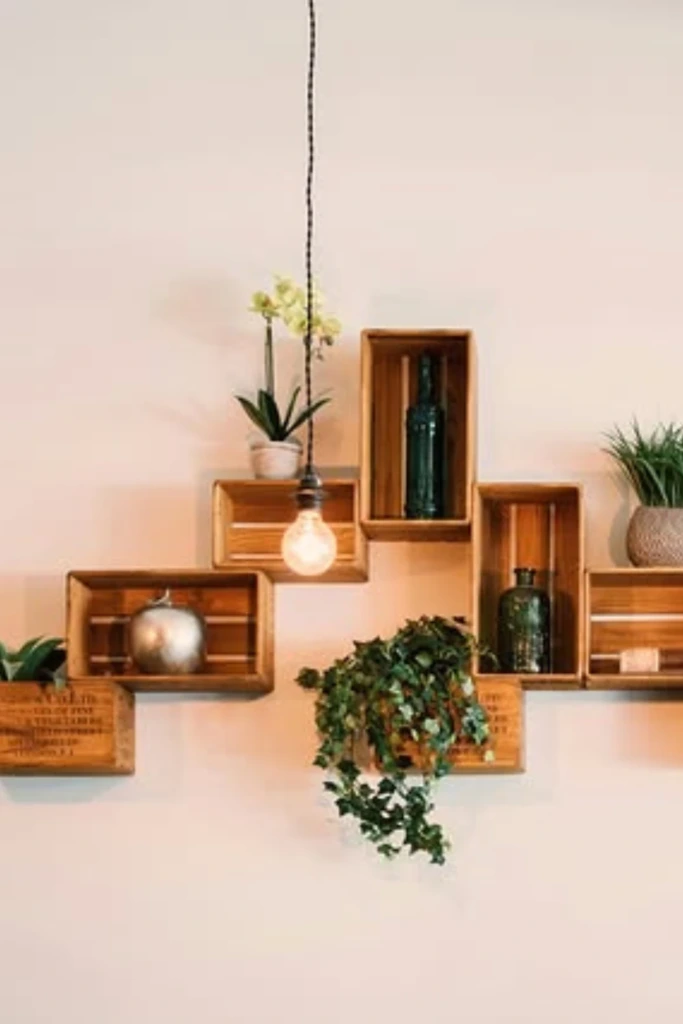
Hanging wooden box shelves offer an attractive way to organize smaller belongings while decorating empty walls.
Construct square or rectangular frames from thin wooden boards. Reinforce the corners with glue and appropriate fasteners, checking that each box remains square.
Install the boxes at different heights using mounting hardware suited to the wall material and expected load. Their open design makes them ideal for displaying small books, ornaments, and lightweight planters.
Choose a matching finish for a coordinated appearance or alternate wood tones to create visual contrast.
15. Playful Wall Decor
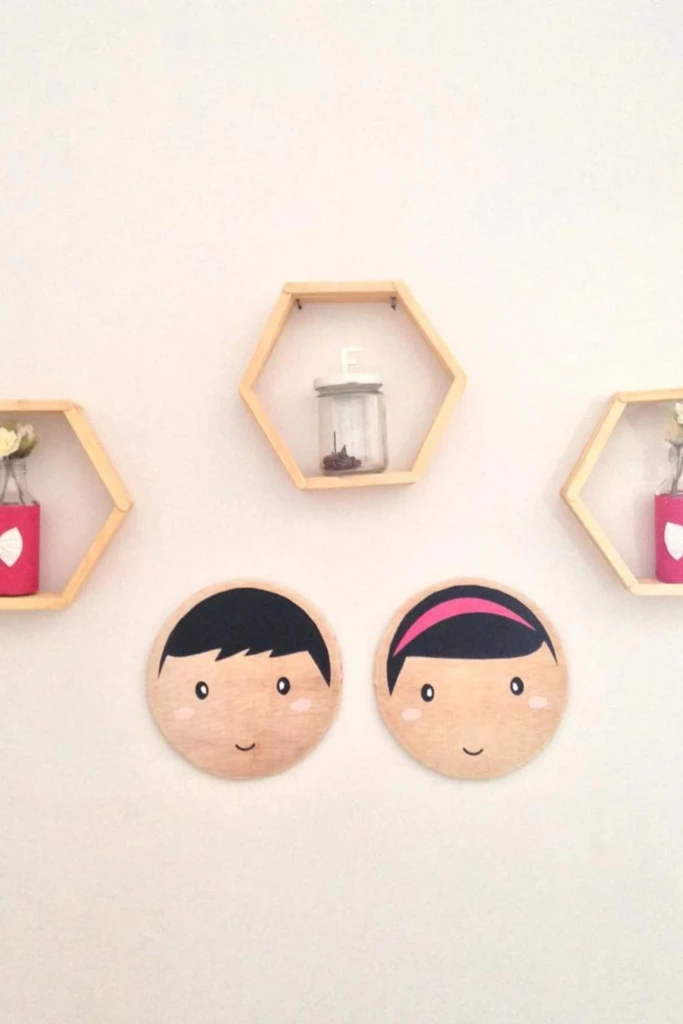
Whimsical wooden wall decorations can make children's bedrooms, playrooms, and creative spaces feel more welcoming.
Cut simple shapes such as clouds, stars, animals, flowers, or smiling faces from smooth plywood. Sand the edges carefully before decorating each piece with colorful paint.
Use water-based, child-appropriate finishes and allow everything to cure fully before installation. Add cheerful expressions, patterned details, or personalized initials.
Mount the decorations securely and keep small detachable components out of reach of young children.
16. Oversized Wood Clock
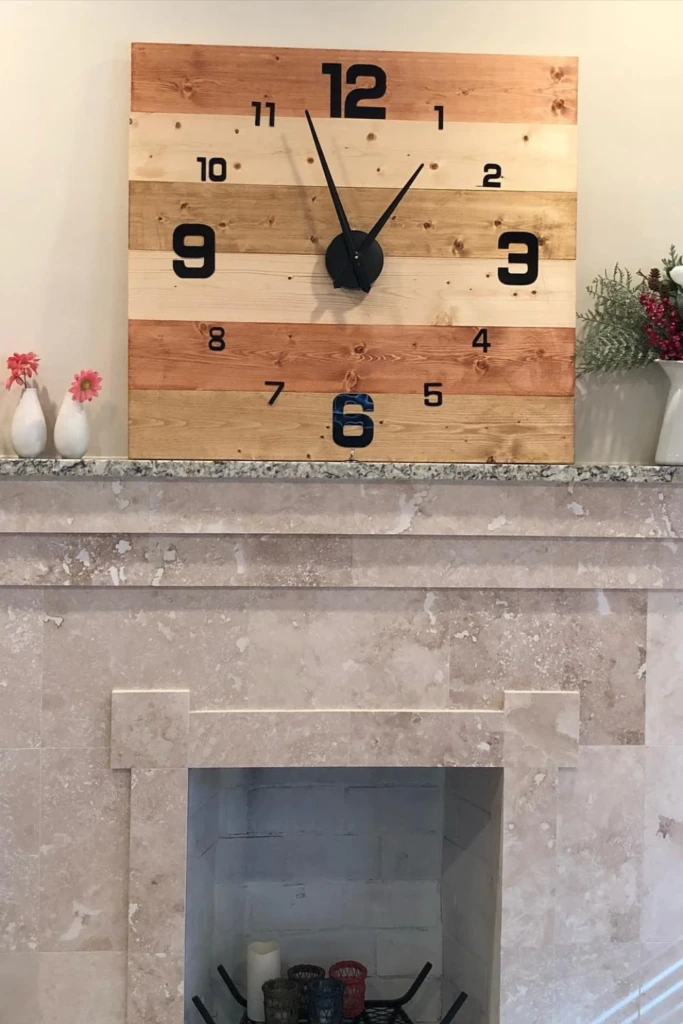
An oversized wooden clock combines useful timekeeping with bold wall decoration. Build a large circular or square base using plywood or joined wooden boards.
Sand the surface and apply your preferred stain or paint. Mark the clock positions evenly before attaching decorative numbers, wooden markers, or painted hour indicators.
Install a clock movement designed to accommodate the size and weight of your chosen hands. Drill a centered opening for the mechanism and follow the manufacturer's mounting instructions.
Hang the completed clock above a console, dining area, or living room sofa where it can serve as a striking focal point.
17. Wood Slice Heart
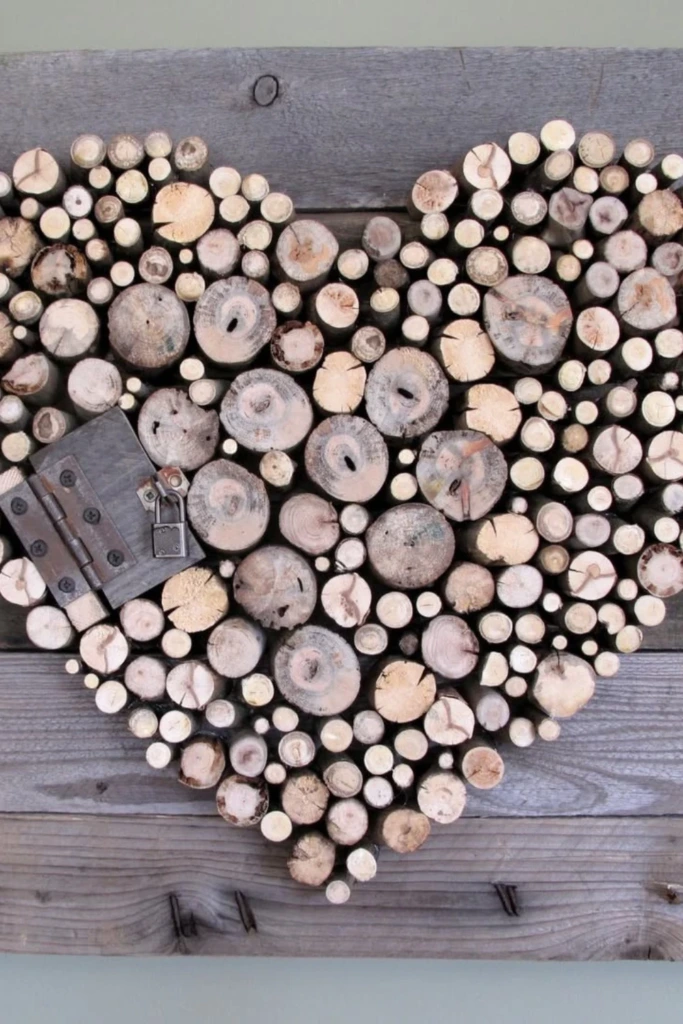
A heart-shaped arrangement made from wooden slices creates meaningful handmade wall art with a rustic appearance.
Collect small, fully dried wood rounds in different diameters and arrange them into a heart outline on a flat backing board. Experiment with the placement until the overall shape looks balanced.
Attach the pieces using a suitable adhesive, then allow them to dry completely before hanging the artwork.
Leave the bark and growth rings visible for a natural finish, or lightly whitewash selected slices for a softer decorative effect. This project also makes a lovely personalized gift.
18. Burned Wood Trays
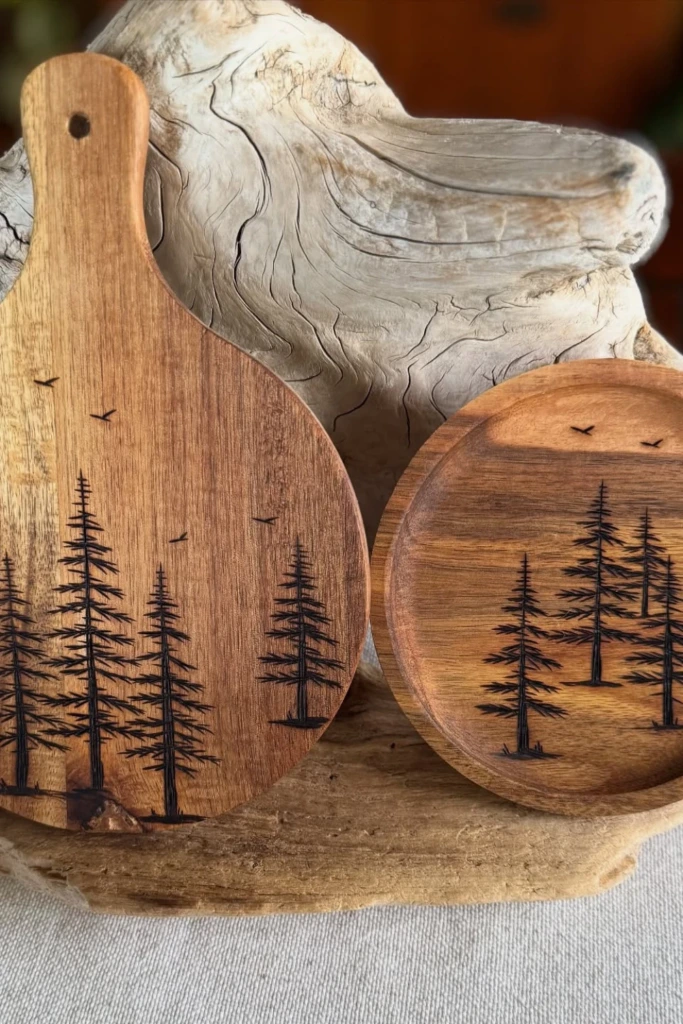
Decorative wood-burning techniques can turn a basic wooden tray into a distinctive handmade accessory.
Start with an unfinished wooden tray and draw a simple design onto its surface. Floral illustrations, mountain outlines, geometric borders, and personalized lettering are attractive options.
Use a pyrography pen to trace the pattern, adjusting your technique to create darker lines and subtle shading. Work in a well-ventilated area on clean, untreated wood and follow the tool's safety instructions.
Once finished, apply an appropriate protective coating. For trays intended to contact food directly, ensure the entire design and finish are suitable for that purpose.
19. Floating Wood Bench
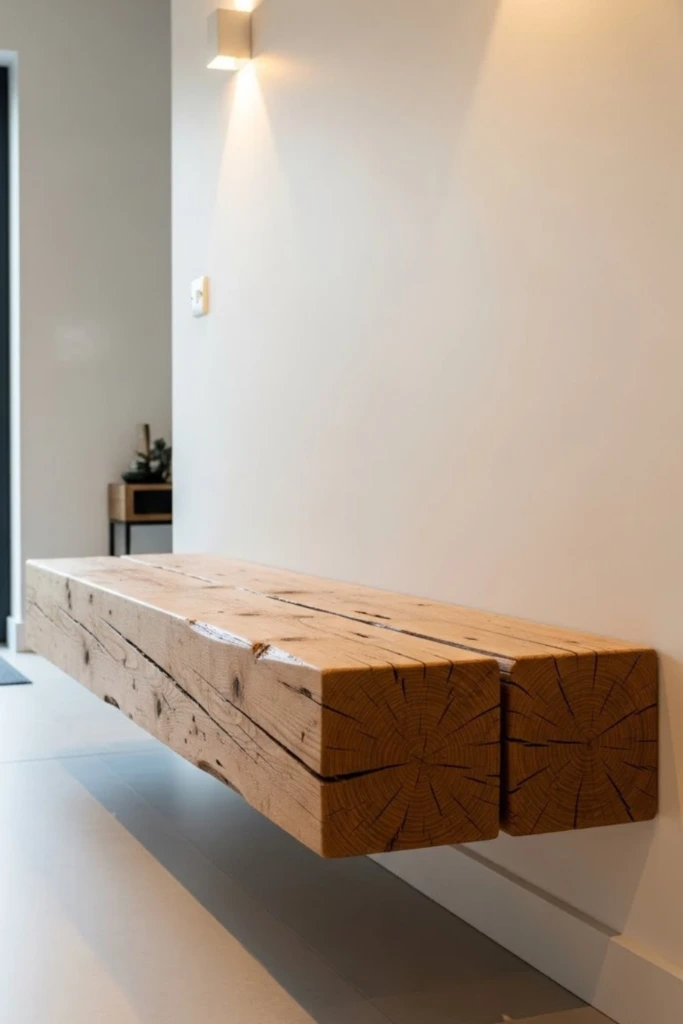
A floating wooden bench creates streamlined seating without visible legs, making it particularly appealing in modern entryways and compact interiors.
Choose a sturdy hardwood slab or properly engineered wooden seat. The supporting brackets must be rated for seating loads and securely attached to suitable structural framing.
Because a floating bench carries significant weight, its mounting system requires careful planning. Consult a qualified professional when the wall construction or load capacity is uncertain.
Finish the seat with a durable protective coating and soften its appearance with a fitted cushion. The result is a clean, space-saving seating feature.
20. Wooden Candle Trough
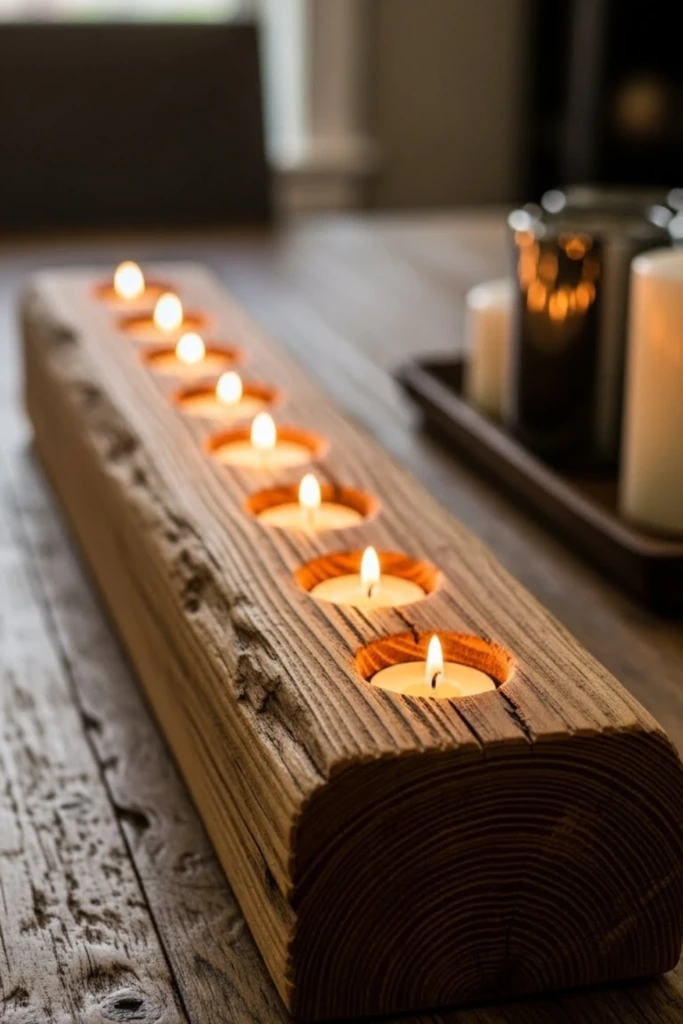
A wooden candle trough creates an elegant centerpiece for dining tables, mantels, and seasonal decorations.
Construct a long, shallow wooden box using narrow boards and secure the corners with glue and fasteners. Sand the edges and apply a stain that complements your interior style.
Arrange flameless LED candles inside the trough, adding decorative stones, dried greenery, or other accents around them.
Battery-operated candles are the safest choice for this project because wood and dried decorative materials are combustible. The finished centerpiece can be updated throughout the year with different seasonal arrangements.
21. Sliding Wood Room Divider
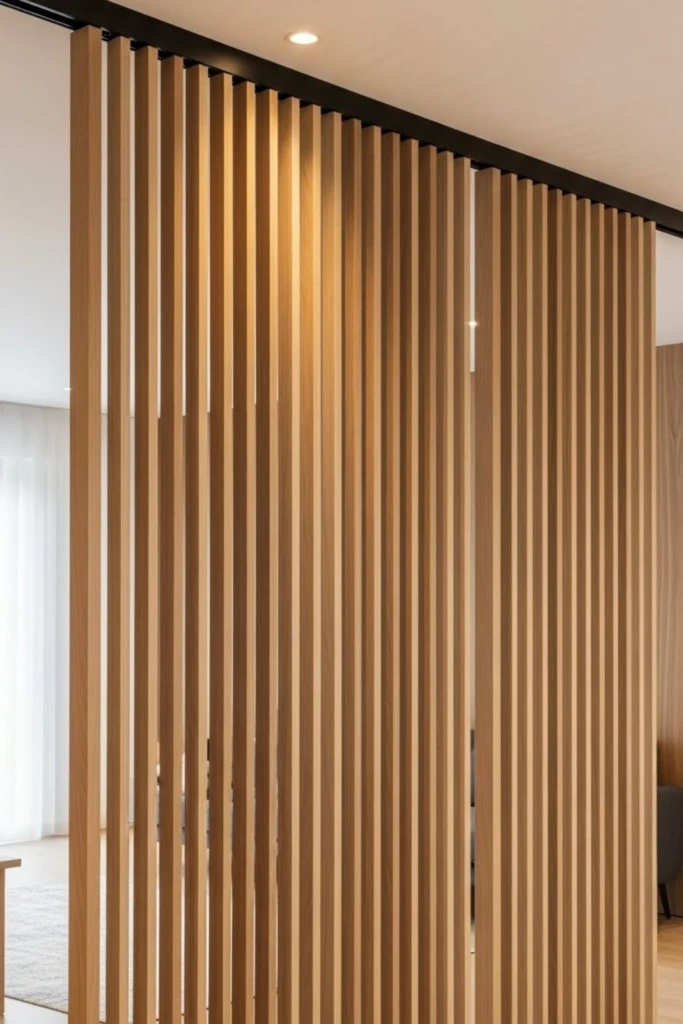
A sliding wooden room divider helps define separate areas while maintaining an open, airy atmosphere.
Build a lightweight rectangular frame and install evenly spaced vertical wooden slats. The gaps allow light to pass through while creating a degree of visual separation.
Attach the completed panel to a properly rated sliding track system installed into suitable structural supports. Use compatible guides or stops to prevent unwanted swinging or movement.
This project works particularly well between living and dining areas, home offices, or multifunctional rooms. Choose a wood finish that coordinates with nearby furniture for a cohesive look.
22. Wooden Serving Ladder
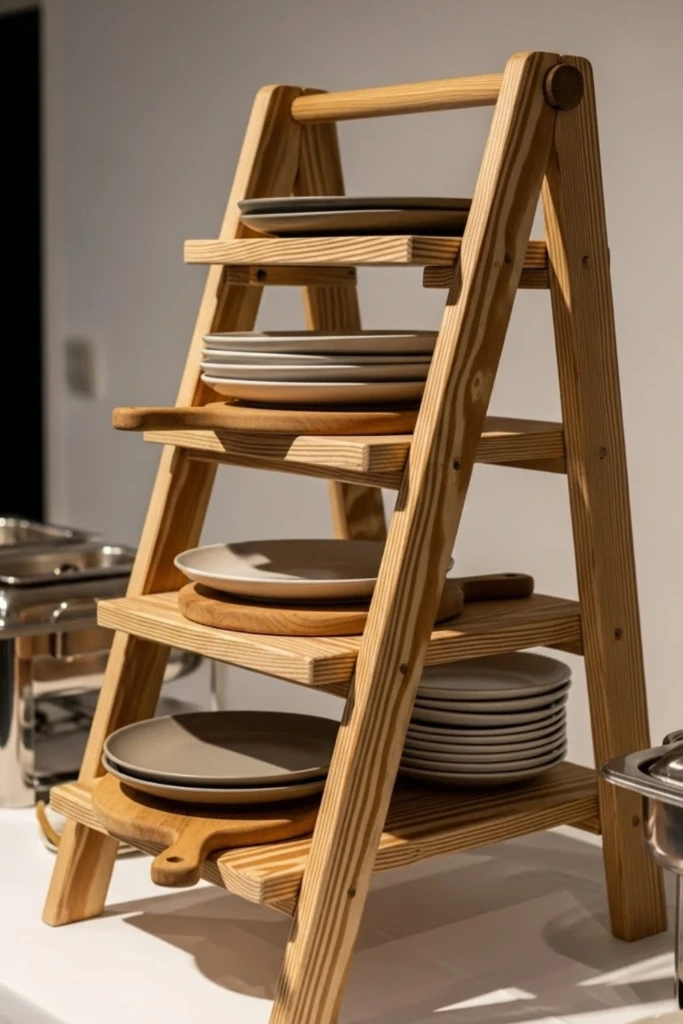
A small wooden serving ladder offers an attractive way to display food and table accessories during gatherings.
Construct a freestanding ladder-style frame with broad, level wooden shelves rather than narrow rungs. Ensure the base is stable and the shelves are securely attached.
Sand all exposed edges and finish the surfaces appropriately. Use plates or food-safe serving dishes on the shelves to hold pastries, fruit, wrapped treats, or snacks.
Decorate the frame with small greenery accents or ribbons for special occasions. Keep heavier items on the lower shelves to reduce the risk of tipping.
23. Wood Frame Mirror
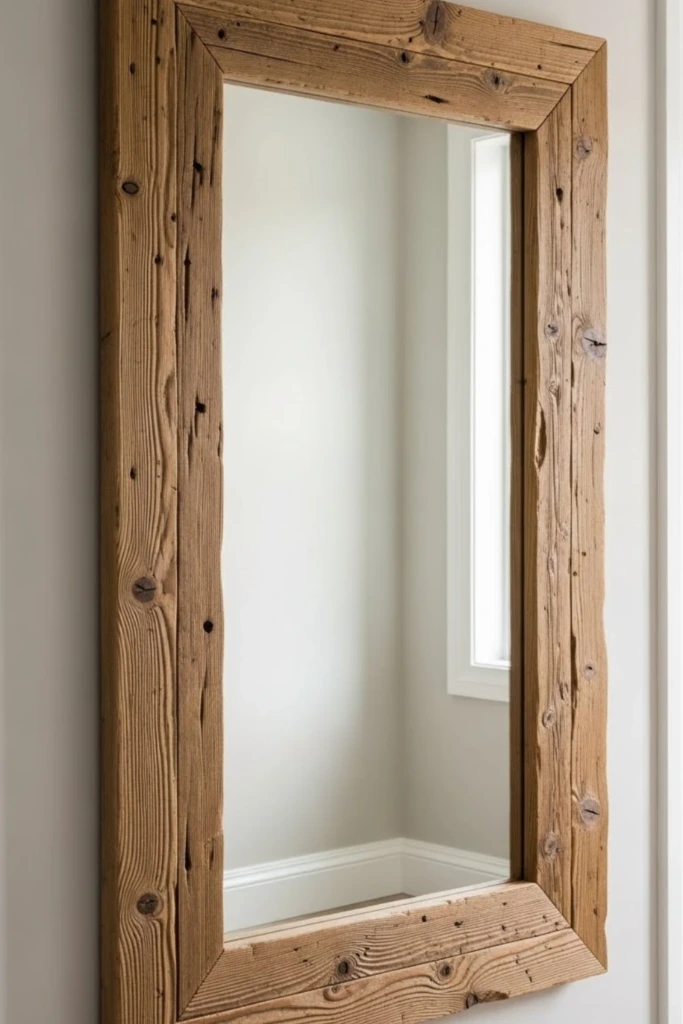
A handmade wooden mirror frame adds warmth and character to bedrooms, bathrooms, and hallways.
Measure your mirror carefully and cut four wooden frame sections to fit around its edges. Join the corners neatly, using appropriate reinforcement where necessary.
Sand the frame and apply paint, stain, or a moisture-resistant finish depending on its intended location.
Secure the mirror using proper glazing clips or a mounting system designed for mirrors. Install suitable hanging hardware that supports the combined weight of the glass and frame.
Reclaimed wood can give the piece a farmhouse appearance, while smooth, light-colored timber creates a more contemporary style.
24. Wooden Storage Crates
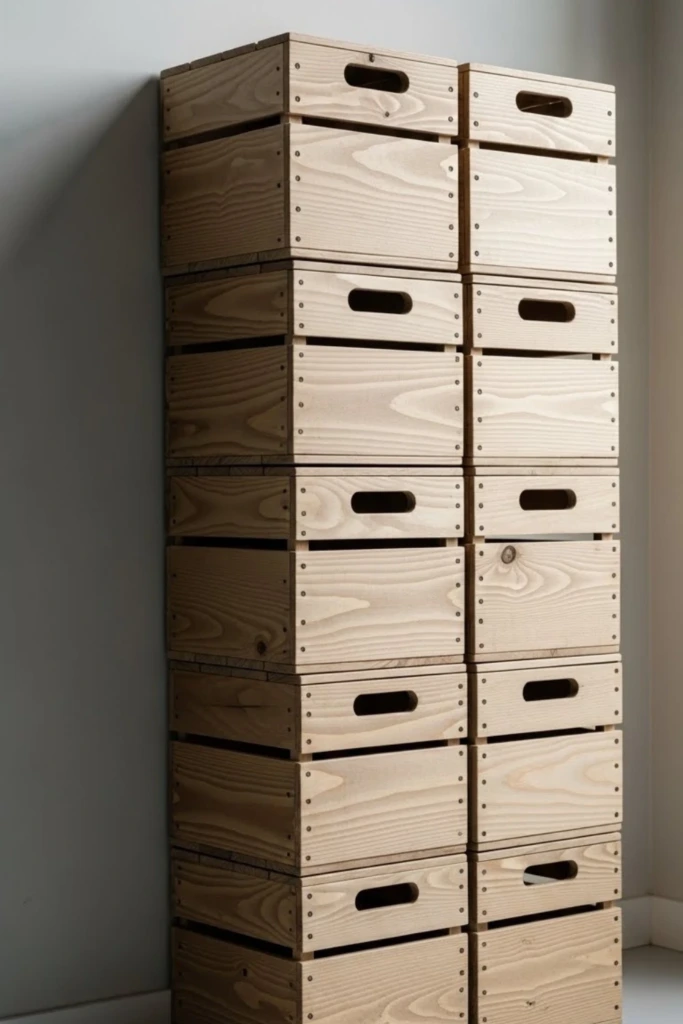
Wooden storage crates are versatile organizers that can