16 DIY Dorm Decor Ideas That Will Transform Your Room in 2025
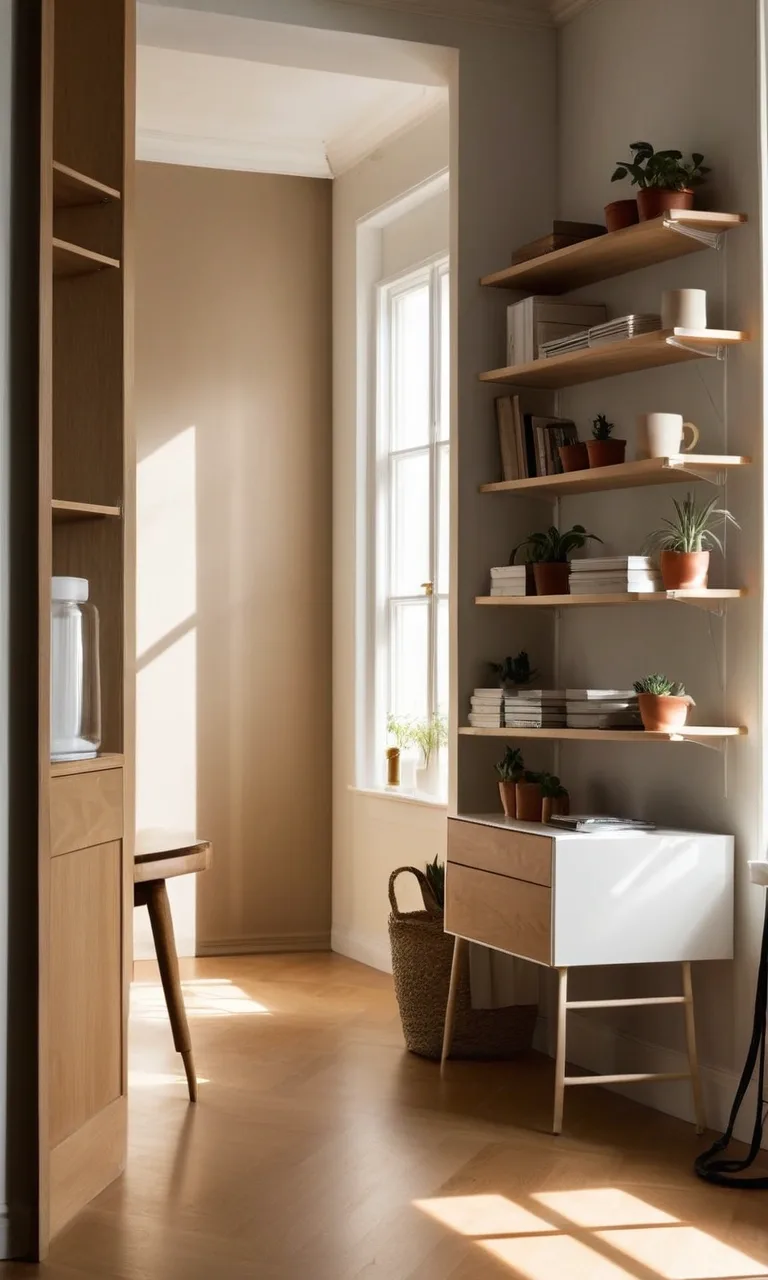
Moving into a dorm is an exciting milestone, but making a small, plain room feel comfortable and personal can take some creativity. Standard dorm furniture, empty walls, limited storage, and strict housing rules can make decorating more challenging than expected.
The good news is that you don't need expensive furniture or a complete makeover to create a welcoming space. Simple handmade decorations, thoughtful lighting, colorful fabrics, and personalized accessories can make a noticeable difference without taking up too much room.
Whether you prefer a cozy aesthetic, colorful wall displays, or a clean and minimal look, these DIY dorm decor ideas offer practical ways to make your room feel more like home while keeping your budget under control.
What Makes Dorm Decorating So Tricky?
Decorating a dorm room involves balancing appearance, comfort, available space, and housing restrictions. Many colleges prohibit permanent changes such as drilling holes, painting walls, or installing traditional wallpaper. These limitations mean that even hanging a few pictures may require a different approach.
Space is another common concern. A dorm room often needs to accommodate a bed, desk, clothing, books, and everyday essentials in one compact area. Adding too many decorative items can make the room feel crowded, while leaving everything untouched can make it feel impersonal.
The best solution is to choose decorations that serve a purpose without creating clutter. Removable wall accessories, fabric accents, handmade artwork, and compact lighting can introduce personality without requiring a major investment.
Before starting any project, check your residence hall's decorating guidelines and choose materials that suit its rules. With a little planning, you can create an attractive space that feels comfortable throughout the academic year.
1. Use Command Hooks for Decor
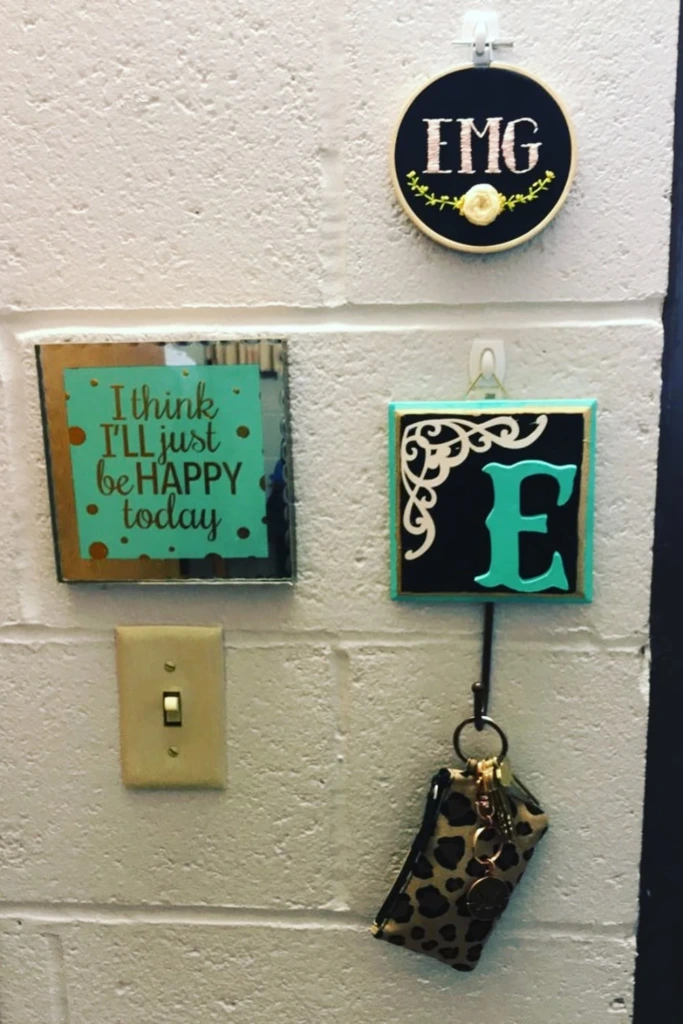
Adhesive wall hooks offer a convenient way to display lightweight decorations without drilling into dorm walls. They can hold small picture frames, decorative signs, key holders, and other accessories, depending on their weight rating.
Start by deciding what you want to display and arrange the pieces before attaching the hooks. Keeping decorations grouped together creates a more intentional look than scattering them randomly around the room.
You can also place a hook near the entrance for a lightweight keychain or everyday accessory. Follow the product instructions carefully, check the wall surface compatibility, and use removable products approved by your housing department.
2. Create a Flower Wall
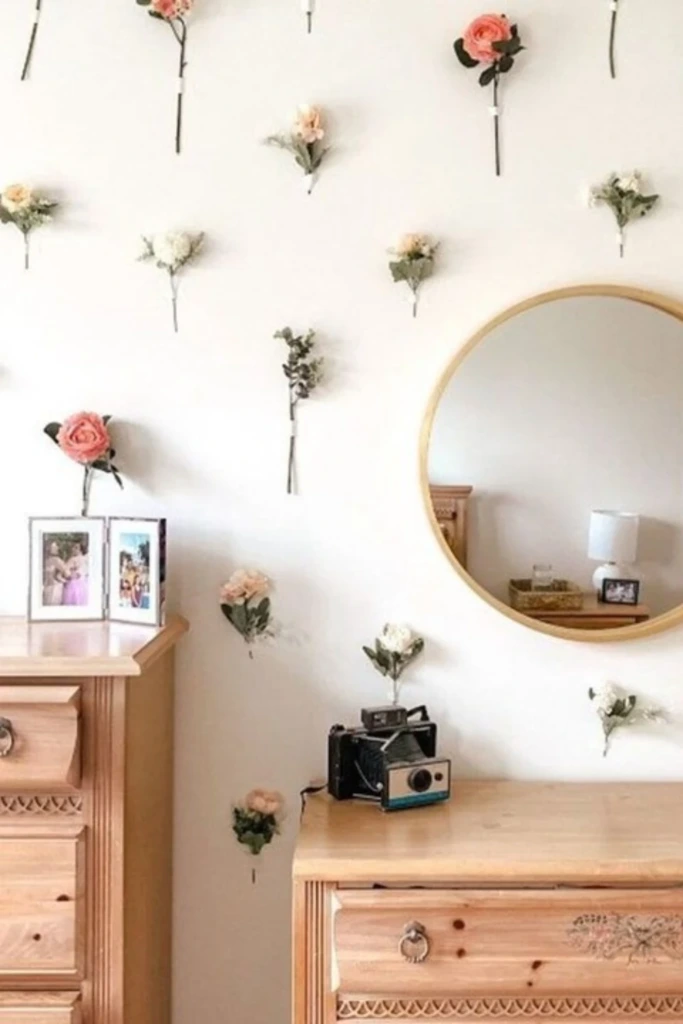
A flower wall brings color and a soft decorative touch to an otherwise plain dorm room. Artificial flowers are particularly useful because they don't need water, sunlight, or regular maintenance.
Choose flowers in a coordinated palette, such as blush pink and cream, lavender and white, or a mix of bright seasonal colors. Trim the stems if necessary, then arrange them in rows, gentle curves, or an informal pattern.
Use wall-safe adhesive or another housing-approved attachment method to secure the flowers. You can create a small arrangement above your desk or make a larger display behind your bed.
For an extra decorative detail, combine the flowers with battery-operated fairy lights, provided your dorm permits them. Keep the arrangement away from heat sources and avoid blocking sprinklers or other safety equipment.
3. Shape Lights into Words
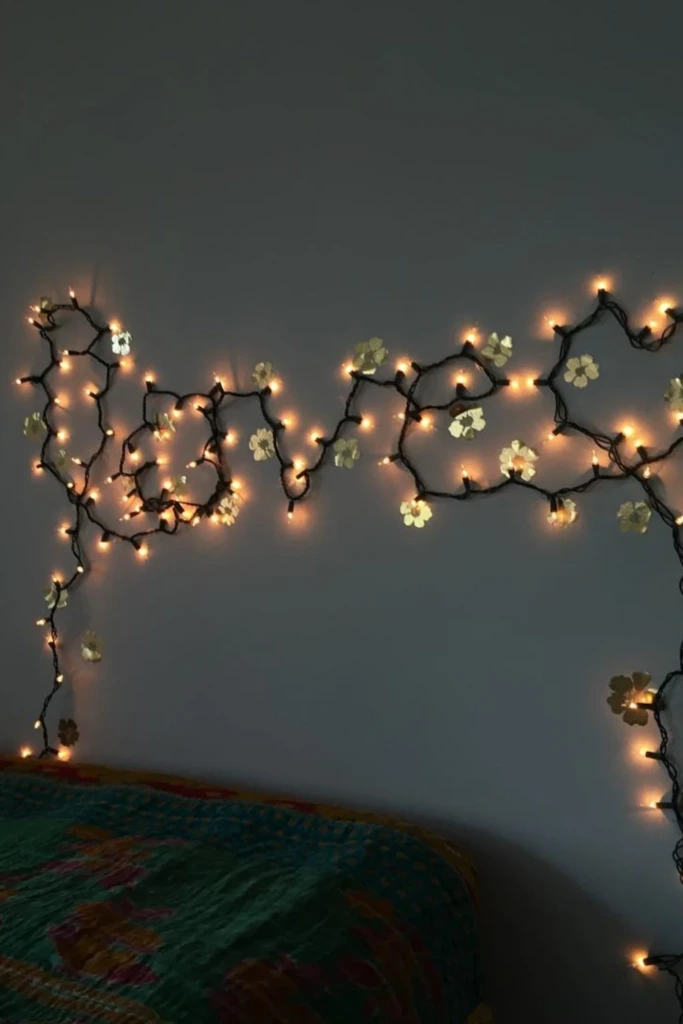
Turn ordinary string lights into a personalized wall feature by arranging them into a favorite word, initial, or simple outline. This project works especially well when you want decorative lighting that feels more distinctive than a standard strand.
Begin with a lightweight LED string that is flexible enough to follow your chosen design. Sketch the word on paper first, then use removable clips or approved adhesive supports to guide the lights along the wall.
You can add small paper flowers, lightweight stars, or other craft details around the design. Keep the extra decorations away from the bulbs and electrical components.
LED lights generally produce less heat than traditional incandescent bulbs, making them a practical option for decorative projects. Still, follow the manufacturer's safety instructions and your dorm's rules about lighting and electrical devices.
4. Build a DIY Collage Banner
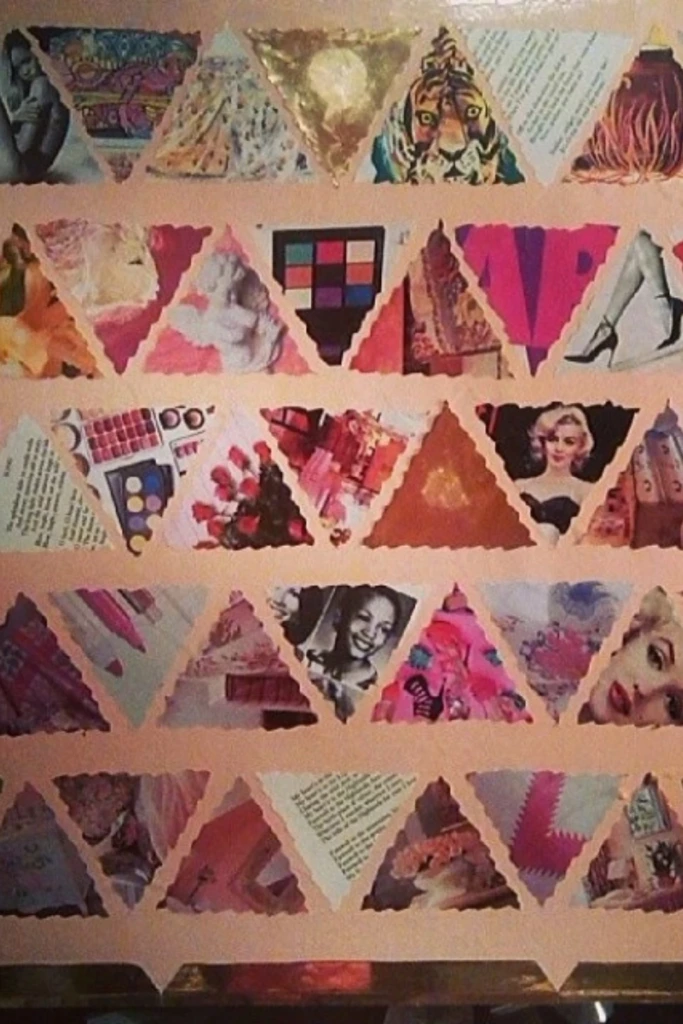
A collage banner is an inexpensive way to introduce color and personality without purchasing framed artwork. It can feature magazine clippings, printed illustrations, photographs, favorite patterns, or images that reflect your interests.
Cut your selected materials into triangles or other simple shapes. Arrange them in a repeating sequence, alternating colors and patterns to create a balanced design.
Attach the pieces to a ribbon, string, or lightweight cord, leaving enough space between them to show each design. Hang the finished banner above your desk, along a shelf, or over your bed using an approved removable attachment.
For a more cohesive appearance, choose a limited color palette or follow a theme such as travel, music, nature, or vintage graphics. You can easily update the banner whenever your style changes.
5. Try String Art on Wood
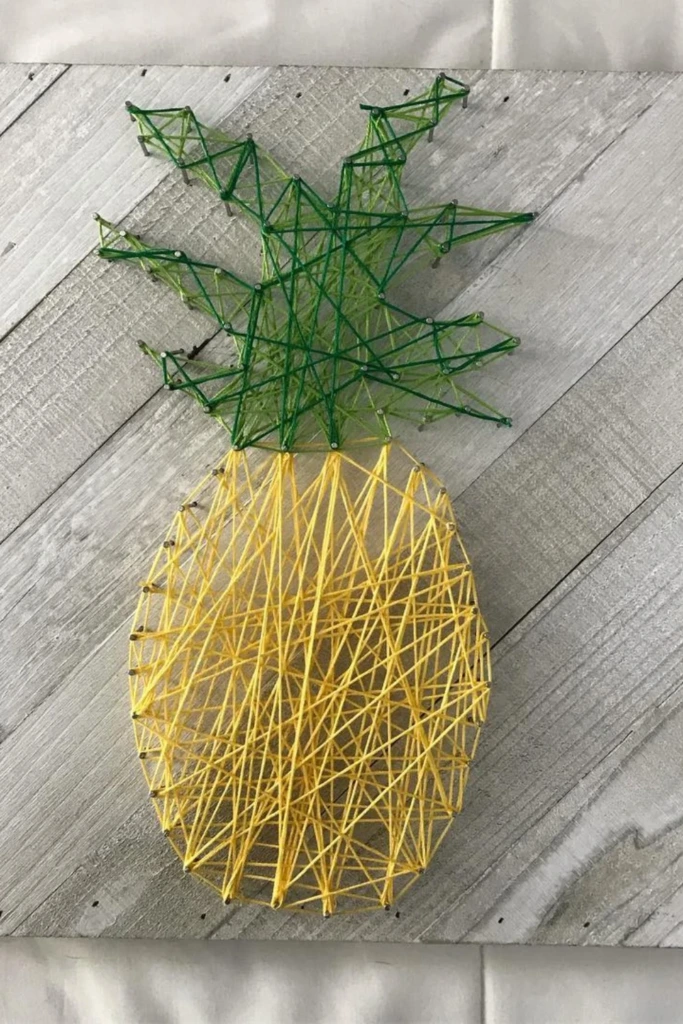
String art combines simple materials with a little patience to create a piece of handmade wall decor. Popular designs include hearts, geometric shapes, flowers, initials, and playful fruit illustrations.
Choose a small wooden board and draw your design lightly on its surface. Traditional string art uses nails positioned around the outline, with thread wrapped between them to create the pattern.
For a dorm-friendly version, prepare the artwork at home rather than hammering nails in your room. Alternatively, use a nail-free design made with embroidery thread, a pre-punched craft board, or a lightweight decorative template.
Experiment with contrasting thread colors for a bold result, or use neutral shades for a more understated style. Once finished, display the board on a desk or shelf if wall mounting is not permitted.
6. Add a Personalized Pillow
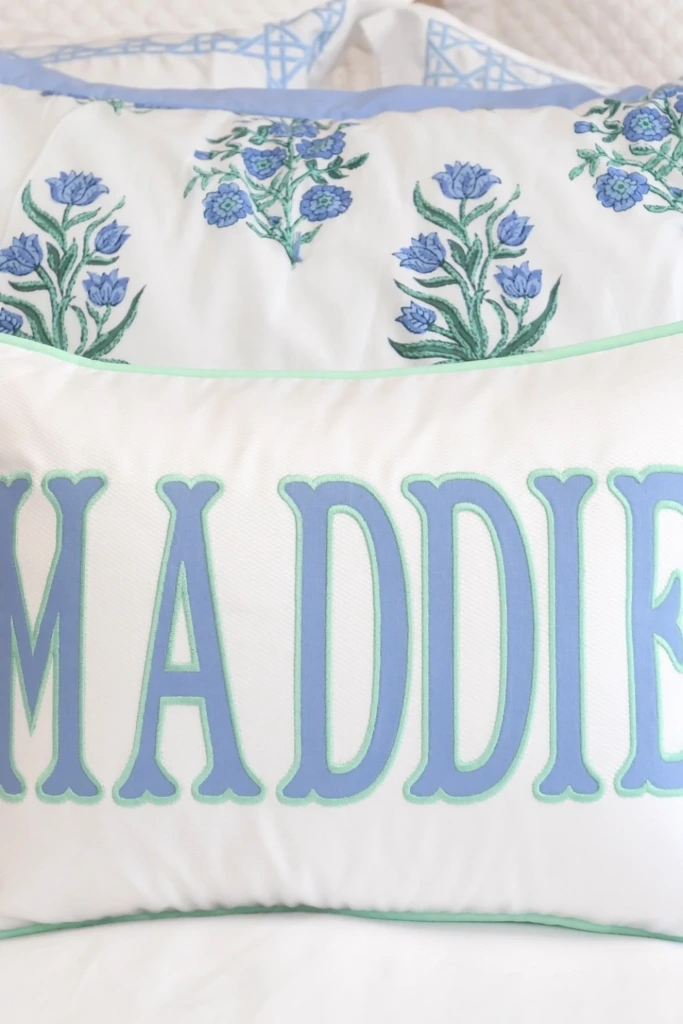
Decorative pillows are an easy way to make standard dorm bedding feel more personal. A pillow featuring your initials, name, favorite symbol, or custom pattern can become the focal point of your bed without requiring permanent changes to the room.
Start with a plain pillow cover in a color that complements your sheets and comforter. Add a design using fabric paint, iron-on letters, embroidery, or sew-on patches, following the materials' care instructions.
If you prefer a no-sew project, look for removable decorative covers or fabric markers designed for the material you're using.
Place the finished pillow at the front of your regular pillows so the design remains visible. Choose a size that adds comfort without taking up too much sleeping space, especially if your bed doubles as a place to study or relax.
7. Hang Curtain String Lights
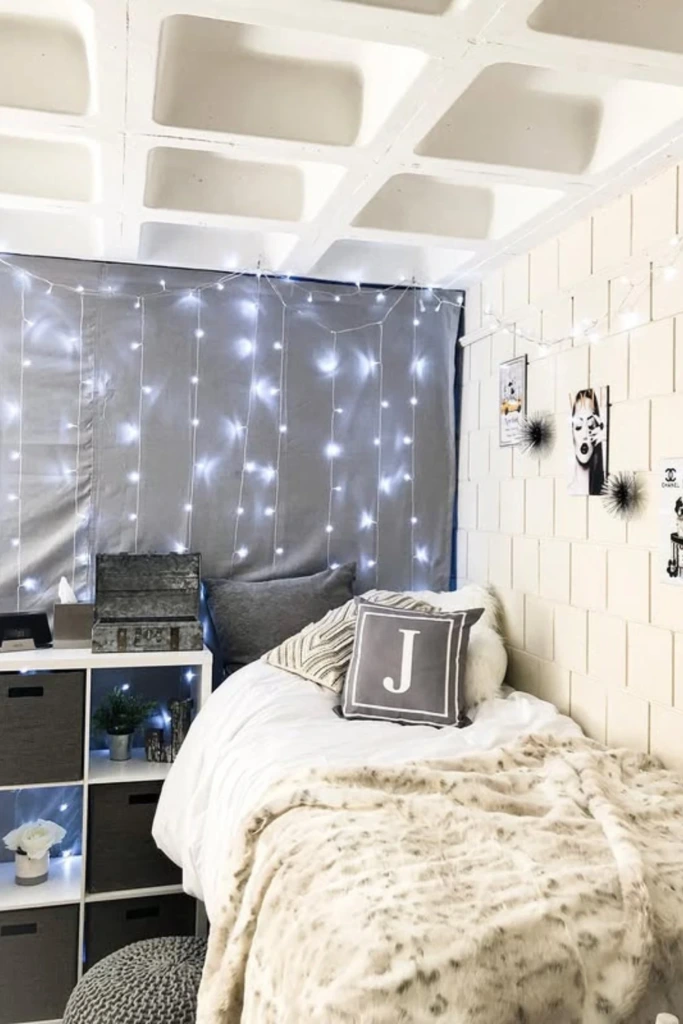
Curtain-style string lights can turn a blank wall into a soft, glowing backdrop. Their vertical strands create visual texture, making them particularly suitable for the space behind a bed or beside a study area.
Measure the available wall before choosing a set, and select a length that fits without bunching up on the floor. Warm-white LEDs work well for a relaxed atmosphere, while cooler tones can complement a more modern color scheme.
Install the lights with approved clips or removable supports that can handle their weight. Avoid placing them near bedding that could cover the bulbs, and keep cords clear of walkways.
If your residence hall restricts plug-in lighting, check whether an approved battery-operated option is permitted. Always switch off decorative lights when required by your housing policy and follow the manufacturer's instructions.
8. Hang Vertical Flower Garlands
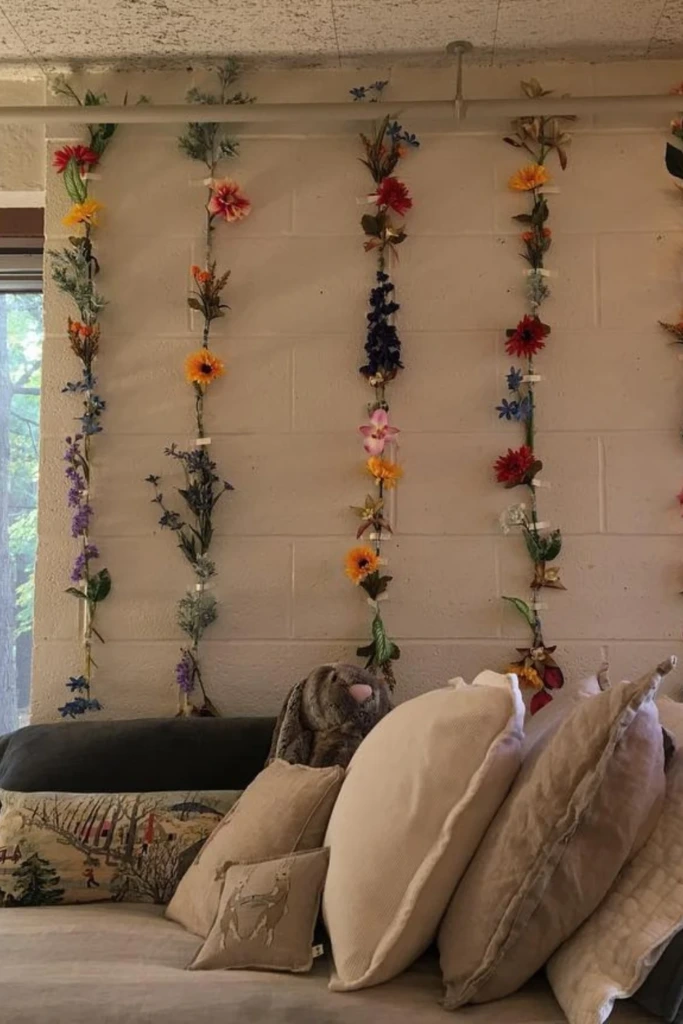
Vertical flower garlands offer a softer alternative to a traditional flower wall. Instead of covering the entire surface, several hanging strands create a light, layered effect that draws attention upward.
You can make your own garlands with artificial flowers, ribbon, floral wire, or lightweight decorative stems. Space the strands evenly for a neat appearance, or vary their lengths to create a more relaxed arrangement.
A floral display works especially well behind a bed, beside a mirror, or above a small seating area. Choose flowers that coordinate with your bedding and other accessories to make the room feel connected.
Secure each strand properly with approved removable hardware. Keep the arrangement clear of ceiling fixtures, ventilation openings, sprinklers, and other building equipment.
9. Make a Paper Cutout Garland
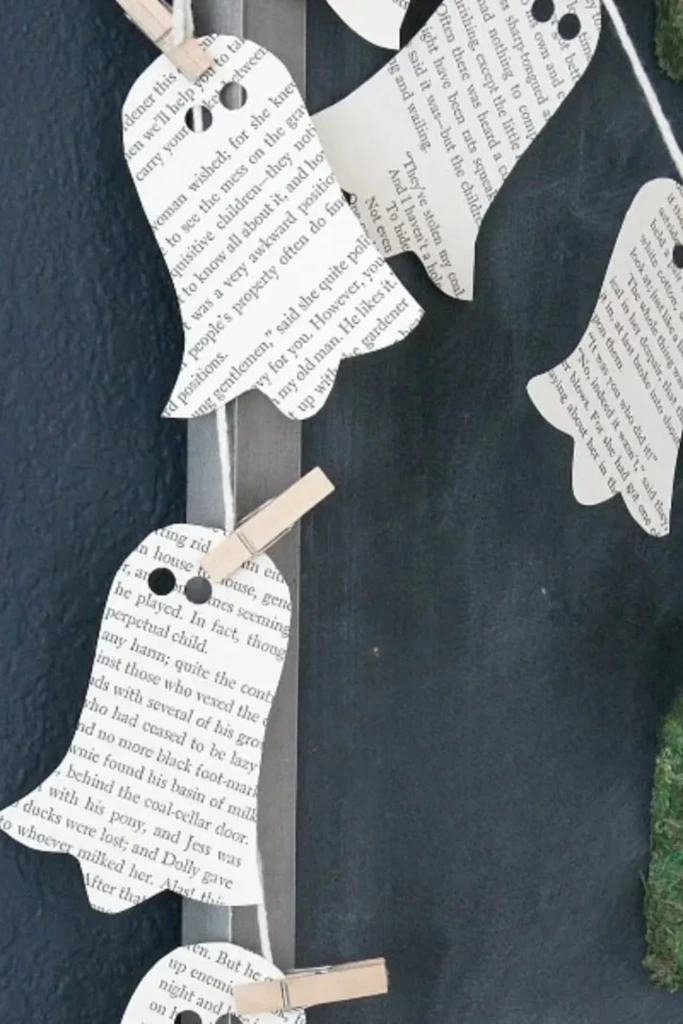
Paper garlands are a budget-friendly craft that you can customize for almost any season or theme. Hearts, stars, flowers, leaves, geometric shapes, and Halloween figures are all easy options.
Choose colored paper, cardstock, old book pages that you own, or printed designs. Draw a template, cut out several matching shapes, and attach them to string using miniature clothespins or small paper clips.
For a more polished finish, alternate different colors or sizes and maintain consistent spacing between the shapes. You could also create a themed garland that matches your room's existing decorations.
Hang it with approved removable tape or hooks, making sure it doesn't obstruct doors, lights, or other fixtures. Since the pieces are easy to replace, you can refresh the display throughout the semester without spending much money.
10. Build a Photo Collage Wall
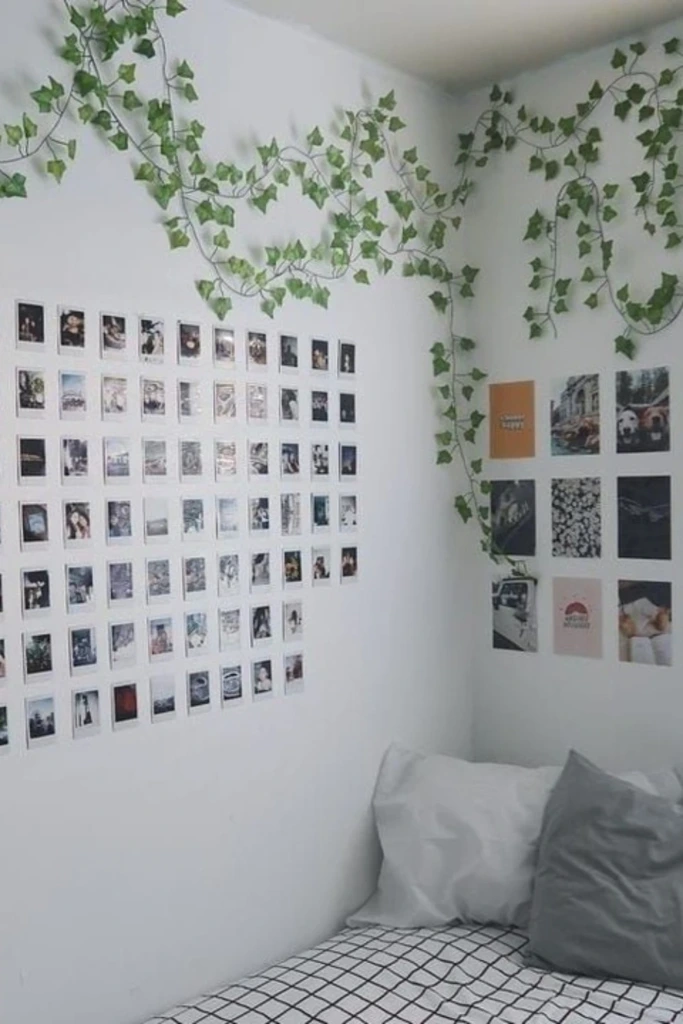
A photo collage can make a dorm room feel familiar by bringing favorite memories into your everyday surroundings. Pictures of friends, family, pets, trips, and special occasions can add a personal touch to an otherwise standard room.
Print your photos in matching sizes for a tidy arrangement, or combine different dimensions for a relaxed gallery-style display. Lay everything out on the floor first so you can experiment with spacing before attaching the pictures.
A simple grid creates a clean, organized appearance, while an irregular arrangement feels more casual. You can also frame the collage with artificial ivy or a narrow paper border to give it a finished look.
Use removable photo-safe adhesive or approved wall strips, and test compatibility with the surface before displaying valuable photographs. If you prefer not to attach anything to the wall, arrange the prints on a corkboard or place them along a desk shelf.
11. Use a Tapestry as a Backdrop
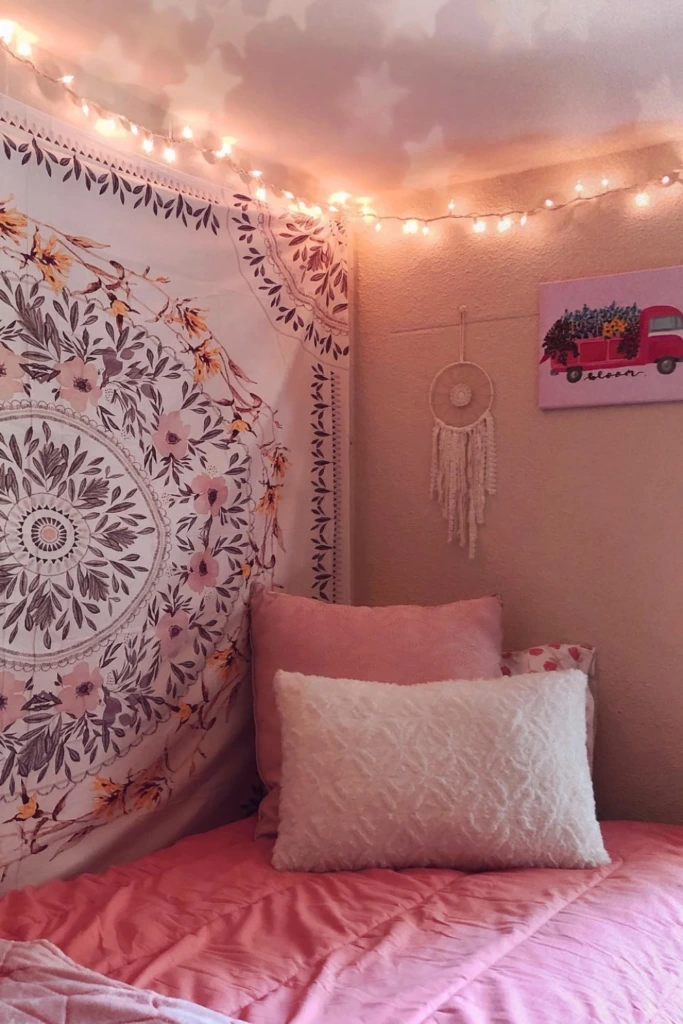
A tapestry can introduce pattern, color, and texture to a dorm room without the expense of decorating an entire wall. Designs range from botanical prints and abstract shapes to celestial illustrations, landscapes, and minimalist line art.
Choose a size that fits the available space without overwhelming the room. A tapestry positioned behind the bed can establish a focal point, while a smaller fabric panel can bring interest to a reading corner.
Coordinate the fabric with your bedding, cushions, and other accessories for a more deliberate look. For example, a nature-inspired tapestry pairs well with green accents and neutral linens, while a geometric print can complement a contemporary color scheme.
Use an approved hanging method and check your residence hall's policies before covering large areas of the wall. Keep fabric away from heat sources, electrical equipment, sprinklers, and fire safety devices.
12. Create a Quote and Photo Wall

Combine encouraging words with photographs and small illustrations to create a wall that reflects your personality and goals. This type of display can be decorative while also reminding you of the things that motivate you during a busy semester.
Start by choosing a few short quotes that genuinely resonate with you. Print them in complementary fonts, then combine them with postcards, personal photos, illustrations, or small pieces of artwork.
You can arrange the pieces in a symmetrical grid for a structured appearance or mix different sizes for a more creative layout. Keeping the colors consistent helps prevent the wall from looking overly busy.
Position the display near your desk if you want it to be part of your study environment, or place it above your bed for a more personal touch. Use removable mounting products approved for your wall surface, and leave enough room around the arrangement to keep the space visually comfortable.
13. Match Bedding with Accent Lights
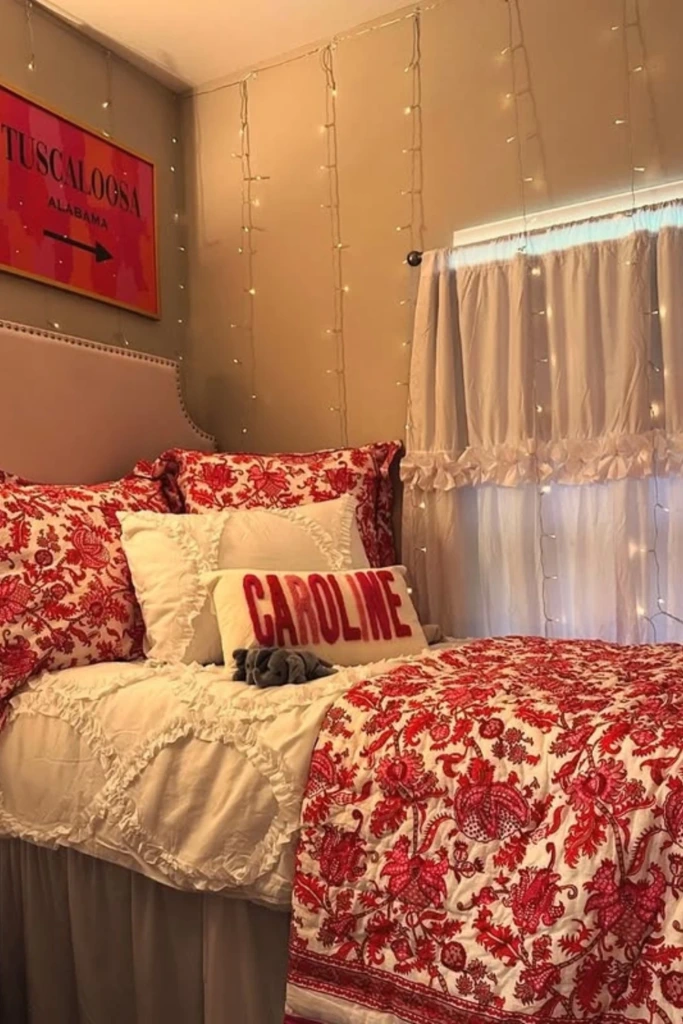
Matching your bedding with your lighting and wall decorations is a simple way to make a dorm room look thoughtfully designed. You don't need every item to match exactly; repeating a few colors is often enough to create a cohesive appearance.
Begin with your comforter, sheets, and pillow covers. Choose two or three colors to carry through the rest of the room, including posters, decorative cushions, desk accessories, and accent lighting.
For a bold look, combine contrasting colors such as red and white. If you prefer a calmer atmosphere, try cream, sage green, and warm wood tones.
Warm-white LED lights can complement neutral bedding, while colorful accents can add energy to a brighter design. Keep the lighting subtle enough for comfortable evening use, and check dorm restrictions before installing any fixtures.
14. Hang Vintage-Style Posters

Vintage-inspired posters offer an affordable way to decorate a large blank wall. Botanical illustrations, retro advertisements, old-fashioned travel prints, music-inspired designs, and muted landscape artwork can all create a distinctive atmosphere.
Choose prints based on the mood you want to establish. Faded colors and botanical artwork suit a softer aesthetic, while colorful retro graphics can make a room feel more playful.
For a coordinated display, select prints with a shared color palette or subject. Arrange them in matching frames for a traditional gallery look, or use lightweight poster hangers for a simpler setup.
If buying frames is outside your budget, print artwork at home or use affordable poster paper. You can also make original designs using markers, colored pencils, or digital illustrations.
Before mounting your posters, check which adhesives are allowed in your dorm. If wall attachments are restricted, lean framed prints against the wall on a stable desk or shelf.
15. Mix Flowers with Fairy Lights
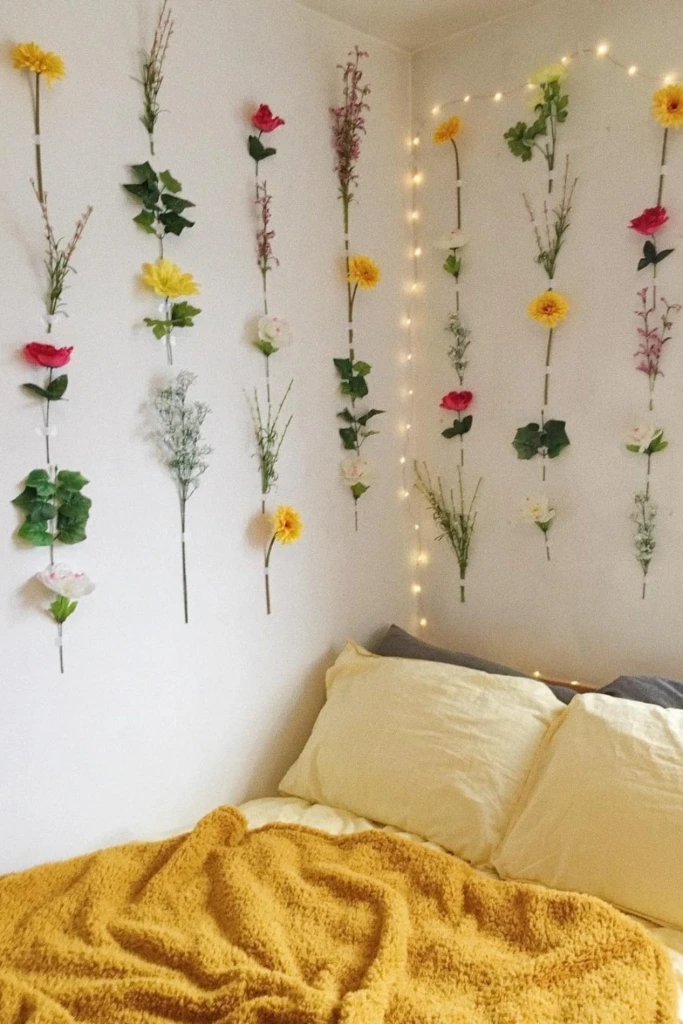
Pairing artificial flowers with fairy lights creates a decorative feature that looks colorful during the day and softly illuminated in the evening. The combination works well when you want a floral accent without covering an entire wall.
Select a few flower stems in colors that complement your room, then arrange them vertically or along a gentle curve. Add a lightweight LED string around the arrangement, keeping the flowers from pressing against the bulbs or covering electrical components.
You can concentrate the design in one corner behind your bed or place it above a small desk to create a distinct visual feature.
For a balanced result, leave some empty wall space around the arrangement. This prevents the decoration from making a small room feel crowded.
Choose lights and mounting materials permitted by your residence hall, and make sure every component is securely attached. Keep cords tidy and avoid placing the display near heat sources or other potential hazards.
16. Craft Wall Art from Paper
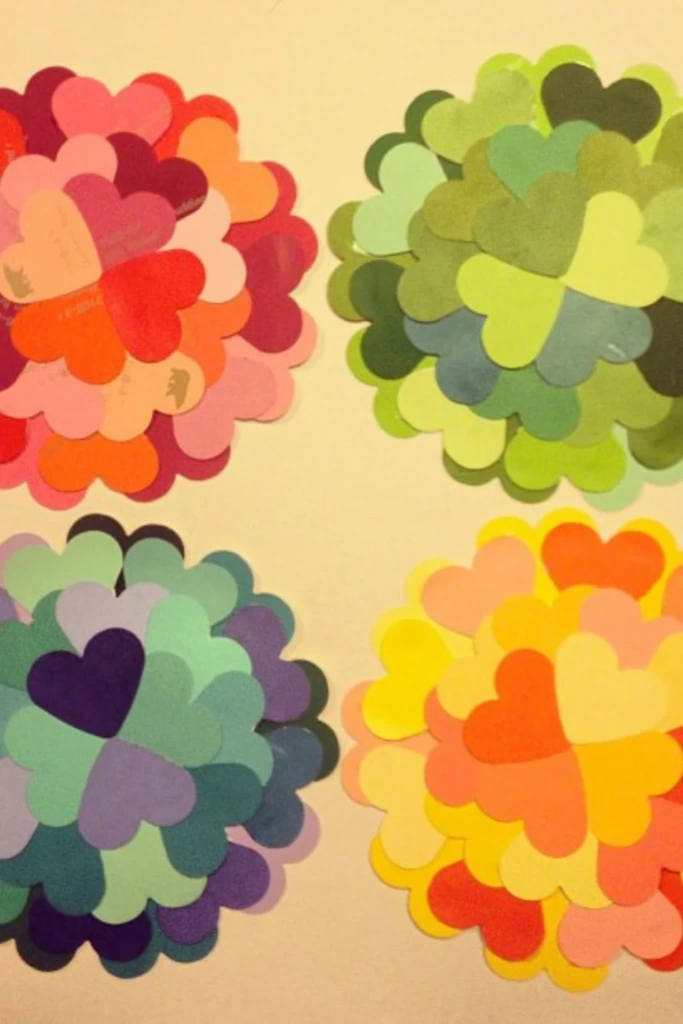
Paper is one of the most versatile materials for inexpensive dorm artwork. With a few sheets of colored paper, scissors, and basic craft supplies, you can make decorative pieces that suit almost any interior style.
Try layering hearts, circles, stars, flowers, or abstract shapes to create depth and visual interest. For a geometric design, repeat the same shape in different colors. For a softer appearance, combine pastel shades and overlapping curves.
You can mount individual pieces on cardstock to create small art panels or arrange several designs into a coordinated gallery. Another option is to make folded paper flowers or three-dimensional shapes that add texture without requiring heavy materials.
Experiment with your layout before attaching the finished pieces to the wall. Removable adhesive approved for your dorm can help keep the artwork in place, while a corkboard offers an alternative if direct wall mounting isn't permitted.
Because paper projects are inexpensive and easy to replace, you can update your room's colors and themes whenever you want a fresh look.
Can I decorate my dorm without breaking the rules?
Yes. You can personalize a dorm room with removable decorations, fabric accessories, lightweight artwork, and other temporary additions, provided they comply with your housing policies.
Start by reading your residence hall's decorating guidelines. Some schools prohibit nails, paint, wallpaper, certain adhesives, candles, or particular types of string lights. Rules can differ even between buildings on the same campus.
Depending on the approved materials, you might use removable wall strips, washi tape, a freestanding photo display, a tapestry, or a paper garland. Desk organizers, decorative pillows, and bedding are also easy ways to introduce color without altering the room itself.
Always check the weight limits and surface requirements of mounting products before using them. Avoid covering smoke detectors, sprinklers, vents, or exit signs, and follow any restrictions on electrical decorations.
The goal is to create a space that feels personal while leaving the room safe, undamaged, and ready for move-out inspections.
How do I decorate a dorm on a tight budget?
Start with the areas that have the biggest visual impact, such as your bed, desk, and the wall behind them. A few coordinated decorations in these locations can make the room feel more finished without requiring lots of new purchases.
Here are some affordable ways to get started:
Make your own artwork: Use paper, magazine clippings, printed photos, or leftover craft materials to create collages and garlands.
Refresh your bedding: Add a decorative pillow cover or a small throw in a color that complements your existing sheets.
Reuse what you own: Repurpose postcards, photographs, fabric scraps, and lightweight containers as decorative accents.
Shop secondhand: Look for affordable frames, small storage baskets, and decorative fabrics at thrift shops or community sales.
Use inexpensive lighting: If your dorm permits it, choose a simple LED string to create a soft accent rather than buying several lamps.
Choose multipurpose items: A decorative storage box or an attractive desk organizer can improve both the appearance and functionality of your room.
Work with a color palette: Repeating a few colors across inexpensive accessories can make the entire space look more coordinated.
Before buying anything, measure your available space and make a short list of what you actually need. Prioritize useful items first, then add decorative details gradually.
A comfortable, attractive dorm room doesn't have to be expensive. Thoughtful choices, handmade touches, and a little organization can transform even a small shared space into somewhere you enjoy spending time.