23 Memory Box Ideas DIY Paint Ideas for 2026
A memory box is a beautiful way to protect the little things that remind you of meaningful moments. From childhood photographs and handwritten letters to wedding keepsakes and travel souvenirs, these boxes give treasured belongings a special place.
The best part is that you don't need expensive supplies or advanced painting skills to create one. A plain wooden box, a few paint colors, and some imagination are enough to make something personal.
Whether you're preparing a thoughtful gift, preserving family memories, or decorating a keepsake box for yourself, these 23 DIY memory box painting ideas offer inspiration for different styles and occasions.
How to Design a Memory Box?
Before decorating your memory box, think about the items you want to preserve. A box for baby keepsakes might feature playful illustrations, while one holding wedding memories could look beautiful with delicate flowers and elegant lettering.
Choose a sturdy wooden or cardboard box that provides enough room for your belongings. Wooden boxes are particularly suitable for painting because they offer a firm surface and can last for years when properly maintained.
For a wooden box, gently sand rough areas, wipe away dust, and apply a suitable primer if needed. Then select a small color palette that complements your chosen theme.
Acrylic paint is a practical option for most wooden surfaces. Use fine brushes for lettering, foam brushes for smooth coverage, and painter's tape for clean patterns.
Once the design is completely dry, protect the painted surface with a compatible clear finish. You can also add fabric lining, small compartments, or photo holders inside to keep your memories organized.
1. Soft Safari Theme
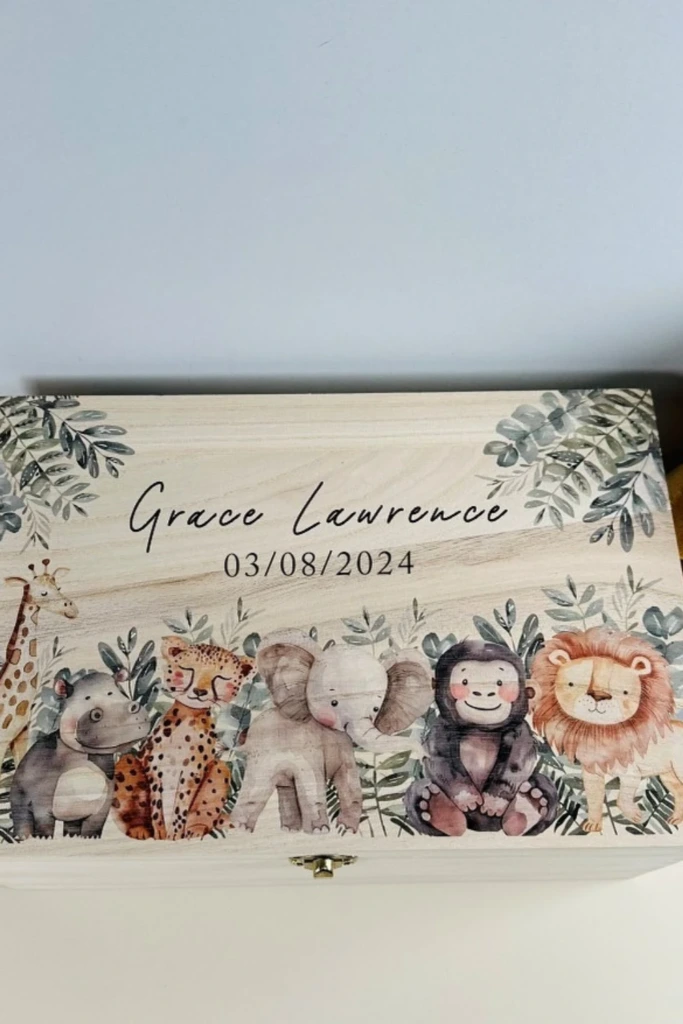
A safari-inspired memory box is an adorable choice for preserving baby photographs, hospital bracelets, first outfits, and other early childhood keepsakes.
Start with a cream, beige, or pale sage background. Paint small elephants, giraffes, lions, and leafy branches across the lid using soft, earthy colors.
You can add the baby's name in simple lettering and include tiny paw prints around the edges.
For the interior, choose cotton fabric or acid-free tissue paper to create a gentle resting place for delicate items.
2. Pull-Out Photo Strip
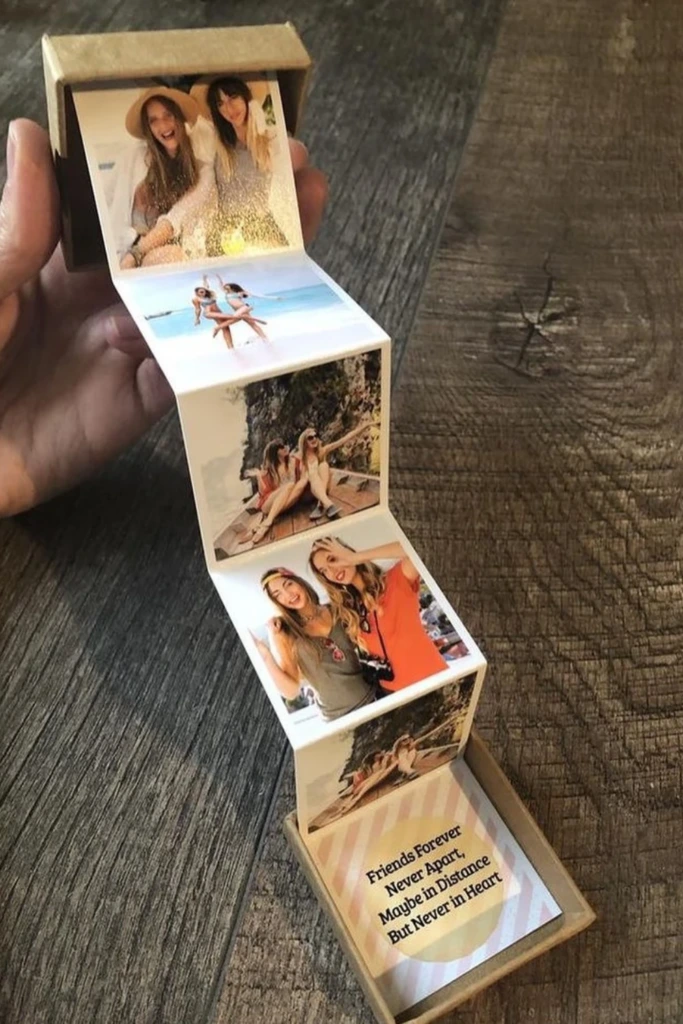
Turn an ordinary wooden box into an interactive photo keepsake by adding a handmade accordion photo strip.
Paint the exterior in your favorite color, then decorate the lid with a small camera illustration, hearts, or a meaningful date.
Print several photographs in matching sizes and attach them to folded cardstock. Secure one end of the folded strip inside the box so the photographs unfold when lifted.
This design works wonderfully for friendship memories, anniversaries, family celebrations, and vacation highlights.
3. Patterned Inner Lining
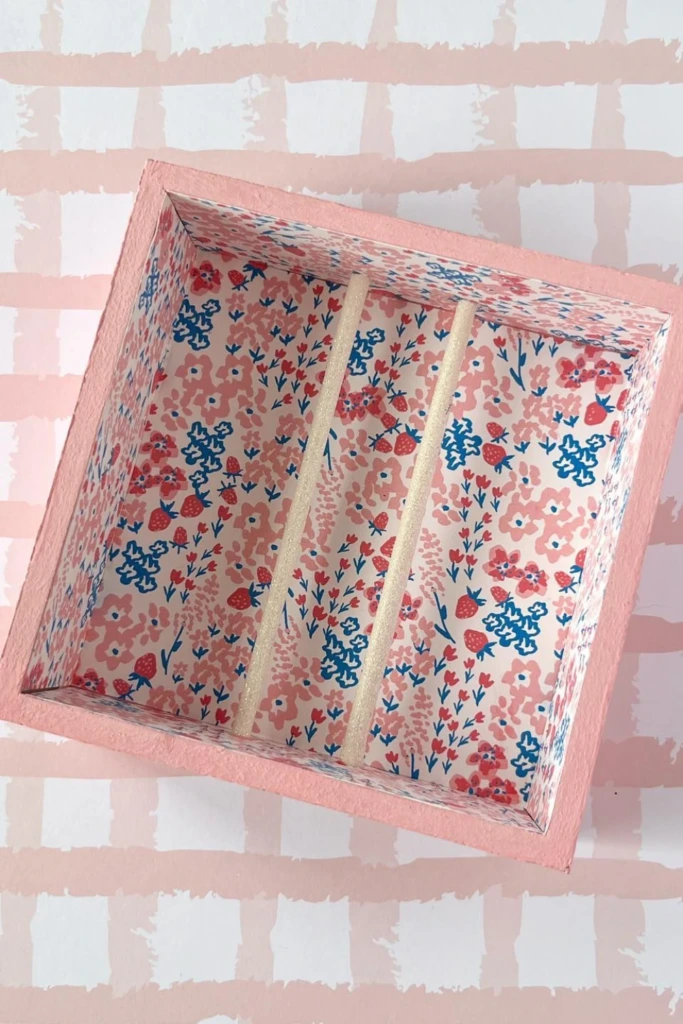
Sometimes the most interesting part of a memory box is what you discover when opening it.
Paint the outside in a simple shade such as dusty blue, ivory, or muted pink. Then create a decorative pattern along the inside walls and bottom.
Tiny flowers, geometric shapes, stars, and leafy vines all make attractive choices.
For a cleaner finish, use a small stencil or paint the design onto removable cardstock panels before attaching them.
Allow the painted lining to cure fully before placing photographs, letters, or fabrics inside. An acid-free protective layer can help prevent sensitive keepsakes from touching painted surfaces.
4. Soft Striped Finish
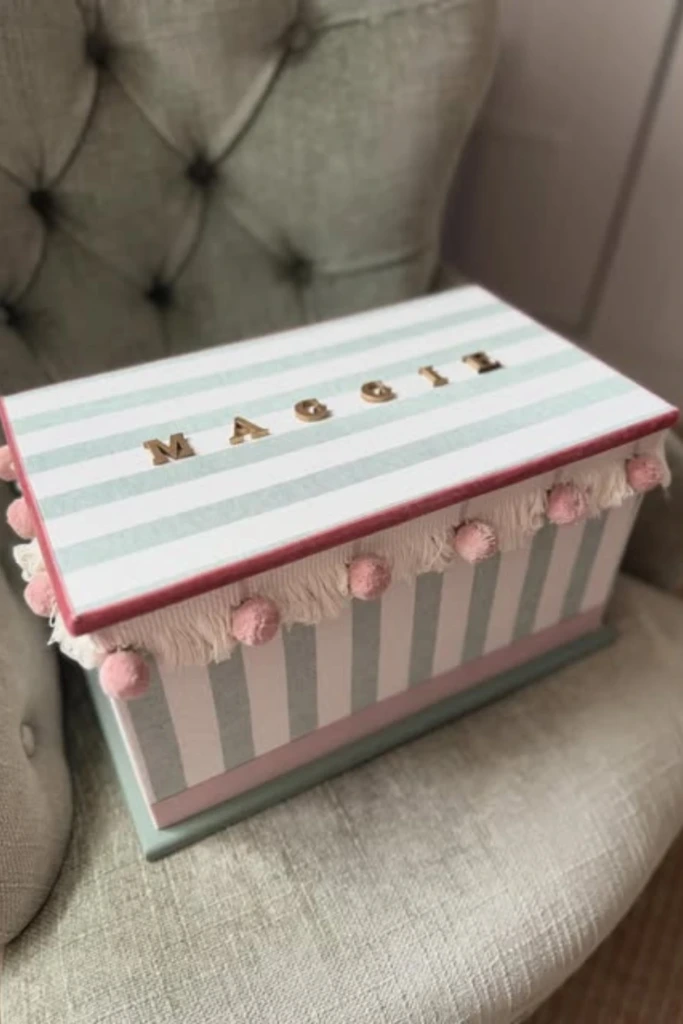
Painted stripes give a memory box a cheerful, organized appearance without requiring complicated artistic techniques.
Begin with a light base coat and allow it to dry. Apply painter's tape in evenly spaced lines, then fill the exposed areas with coordinating colors.
Pastel combinations such as lavender and cream, peach and white, or sage and beige create a soft appearance.
Remove the tape carefully according to the paint manufacturer's instructions to maintain neat edges.
Finish with a small nameplate or painted initials for a personalized touch.
5. Mini Shadow Scene
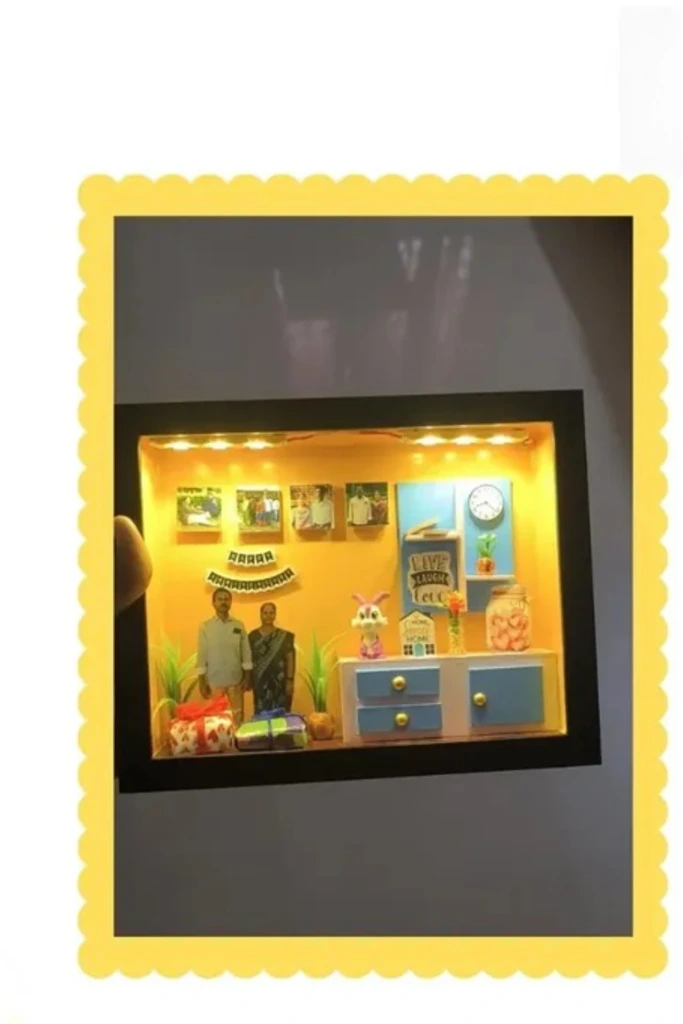
A miniature shadow scene transforms your memory box into a tiny display filled with meaningful details.
Choose a deep wooden box and paint its interior to represent a favorite location or experience.
For example, a beach vacation box could feature a pale blue sky, sandy background, miniature paper umbrellas, and carefully cleaned seashells.
Use layered cardstock, miniature decorations, and small photographs to add dimension.
Keep the decorative scene in a separate section if you also want space to store keepsakes.
Battery-powered LED lighting can highlight the miniature display without requiring complicated wiring.
6. Framed Memory Display
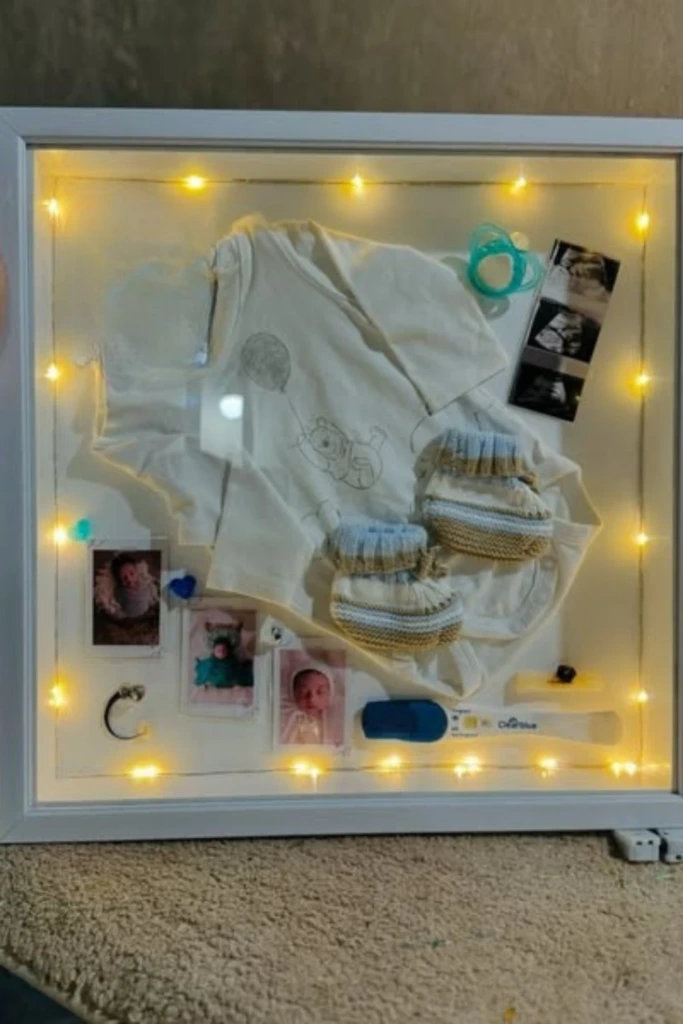
A framed memory display combines the charm of a keepsake box with the appearance of decorative artwork.
Use a deep shadow-box frame or a wooden display box with a transparent front.
Paint the frame in a color that complements your chosen memorabilia. Arrange photographs, event tickets, pressed flowers, or small souvenirs against a decorative backing.
Secure each item with appropriate archival mounting materials, especially when working with irreplaceable photographs.
This idea is particularly attractive for graduation memories, wedding souvenirs, and special family occasions.
7. Handwritten Quote Lid
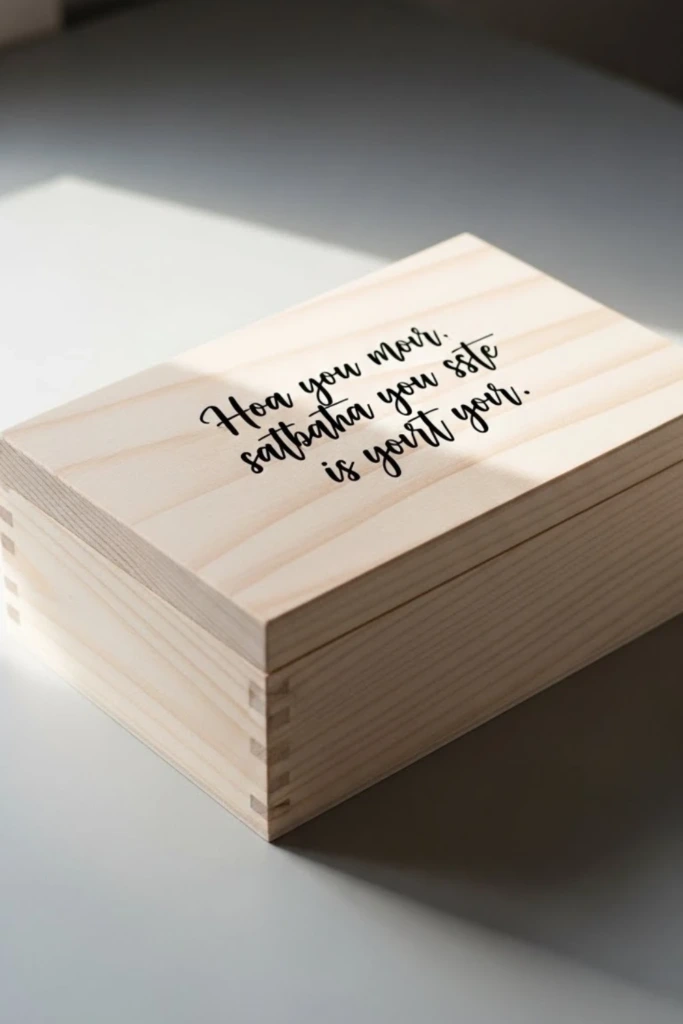
A meaningful quotation can turn a simple painted box into a deeply personal keepsake.
Choose a short phrase, favorite saying, or a few words that represent the memories stored inside.
Paint the lid in a solid background color and lightly sketch your lettering with a pencil.
Use a fine paintbrush or acrylic paint marker to trace the letters. If freehand lettering feels difficult, try alphabet stencils.
You can complete the design with tiny stars, leaves, or a delicate border, but leave enough empty space for the message to remain the main feature.
8. Travel Map Cover
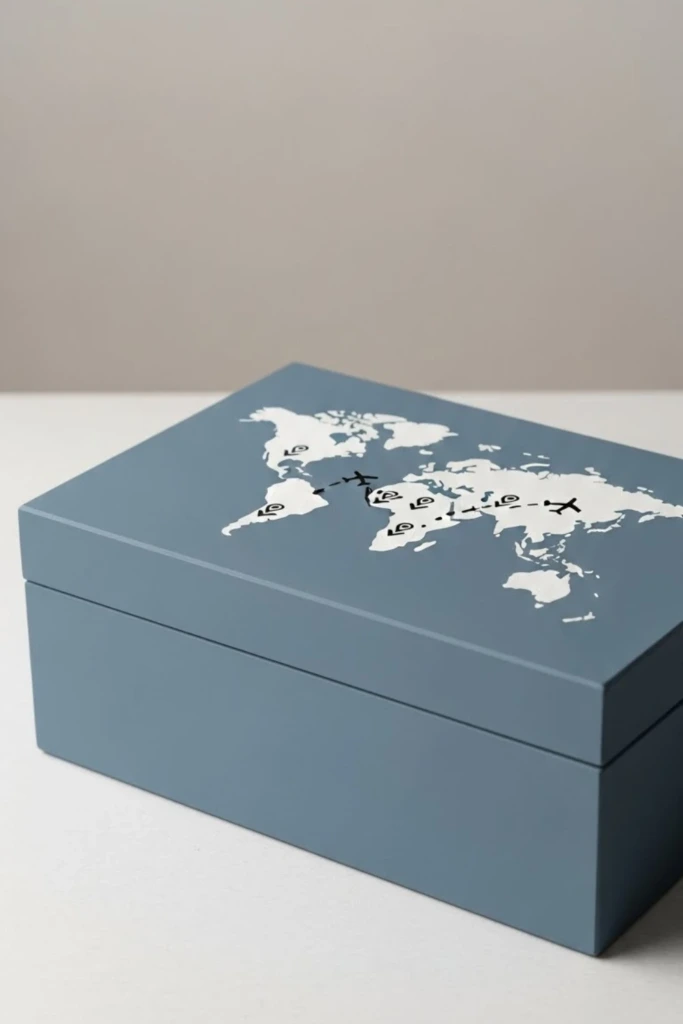
A travel-themed memory box is perfect for collecting postcards, boarding passes, photographs, and souvenirs from memorable adventures.
Paint the box in a neutral shade such as warm white, light gray, or sandy beige.
Create a simplified map illustration on the lid and mark important destinations with tiny painted dots, hearts, or stars.
You might also add the year of your trip or the name of your favorite destination.
Inside, use labeled envelopes to separate keepsakes from different locations.
This design is especially useful for anyone who enjoys documenting trips and revisiting travel experiences.
9. Birth Timeline Box
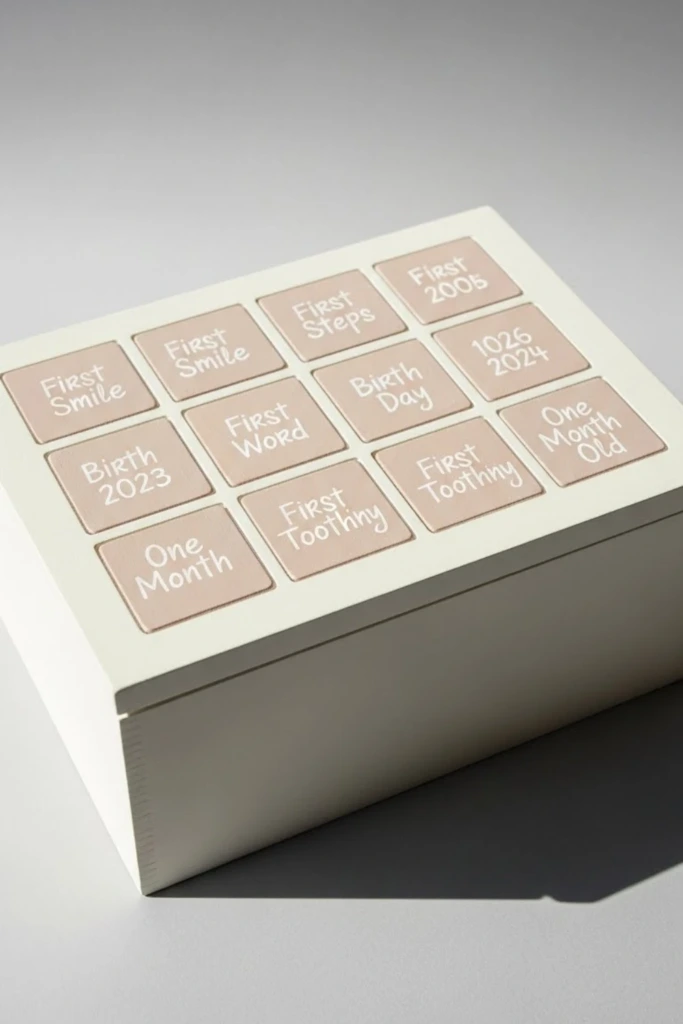
Celebrate a child's arrival with a painted memory box that records important birth details.
Choose a gentle background color and divide the lid into several small decorative sections.
Include details such as the baby's name, birth date, birth time, weight, and length.
Use fine lettering and simple illustrations to keep the information readable.
You can decorate the corners with clouds, stars, or tiny footprints.
Fill the finished box with photographs, hospital keepsakes, first birthday cards, and other meaningful items from the baby's early years.
10. Layered Color Wash
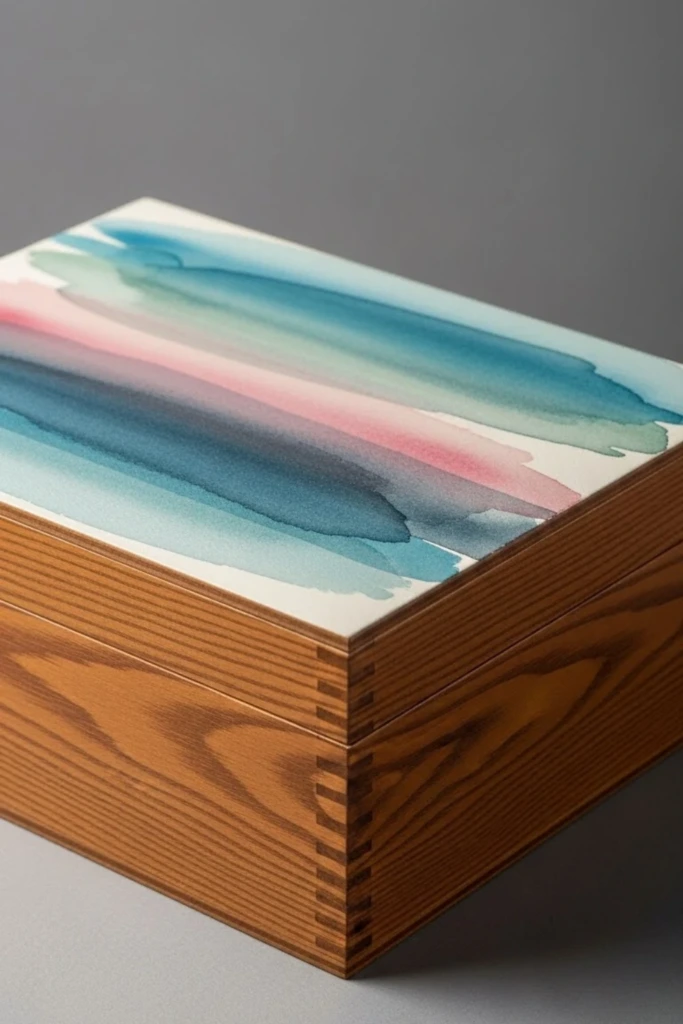
A layered color wash creates a beautiful artistic finish without requiring detailed drawing skills.
Choose two or three complementary acrylic paint colors and thin them slightly with water or an appropriate acrylic medium.
Apply translucent layers with a wide, soft brush, allowing each layer to dry as needed.
Blend the colors gently to create subtle variations across the surface.
Blue and lavender can produce a dreamy effect, while terracotta and beige offer a warm, natural appearance.
Test your technique on scrap wood before painting the box. Finish with a suitable clear coat once the artwork has fully dried.
11. Minimal Name Stamp
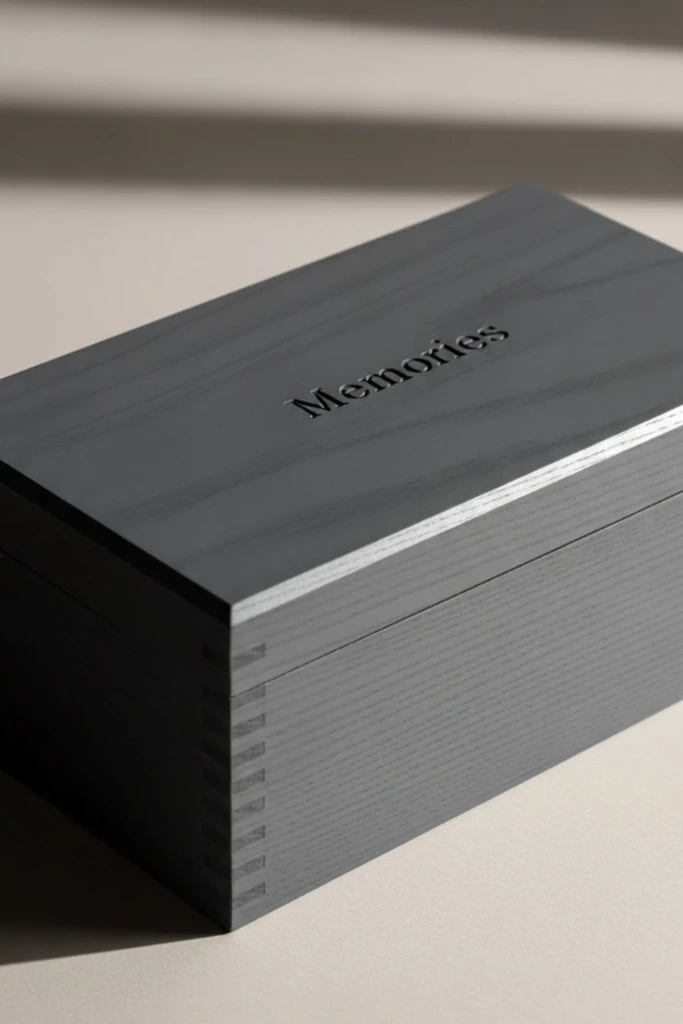
A personalized name design is ideal when you prefer understated decorations.
Paint your memory box in a single matte color such as charcoal, ivory, olive green, or muted rose.
Use alphabet stamps, stencils, or a paint marker to place a name in the center of the lid.
For additional meaning, include a small date beneath the lettering.
Keep the sides free from unnecessary patterns to maintain a clean appearance.
This design suits wedding keepsakes, baby memory boxes, graduation gifts, and personal collections.
12. Memory Color Coding
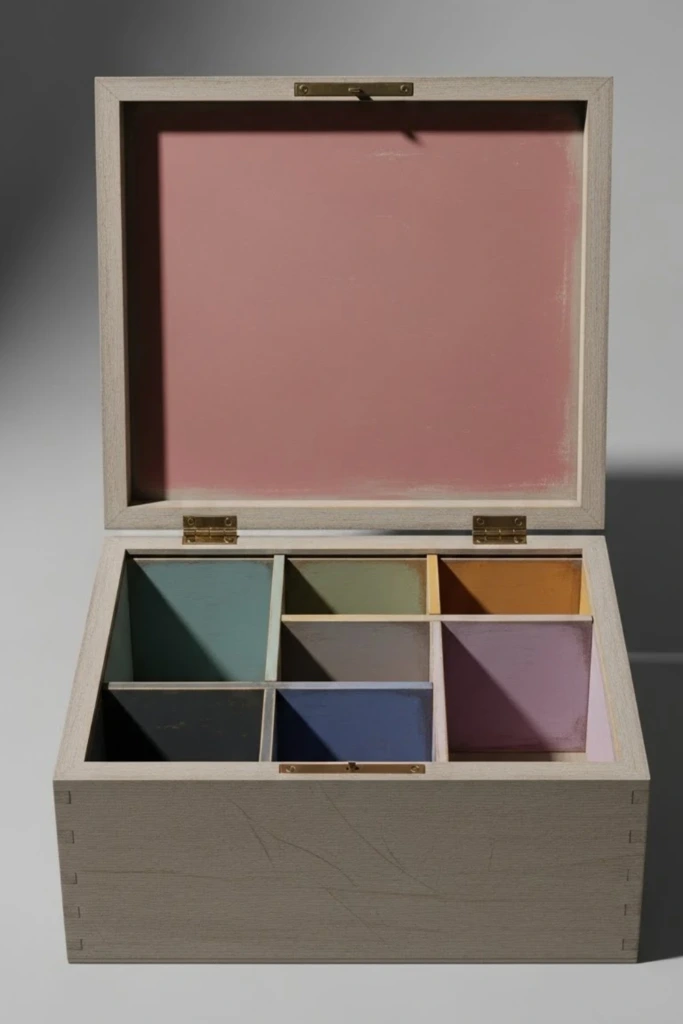
Color coding is a creative way to organize memories from different periods or events.
Paint the outside of your box in one neutral color, then use several coordinating shades to identify interior sections.
For example, yellow could represent childhood, blue could represent school years, and green could represent family adventures.
Add matching dividers, envelopes, or small storage compartments.
You can also paint a tiny color key inside the lid to explain what each shade represents.
This method makes it easier to find specific keepsakes without searching through the entire collection.
13. Floral Border Frame
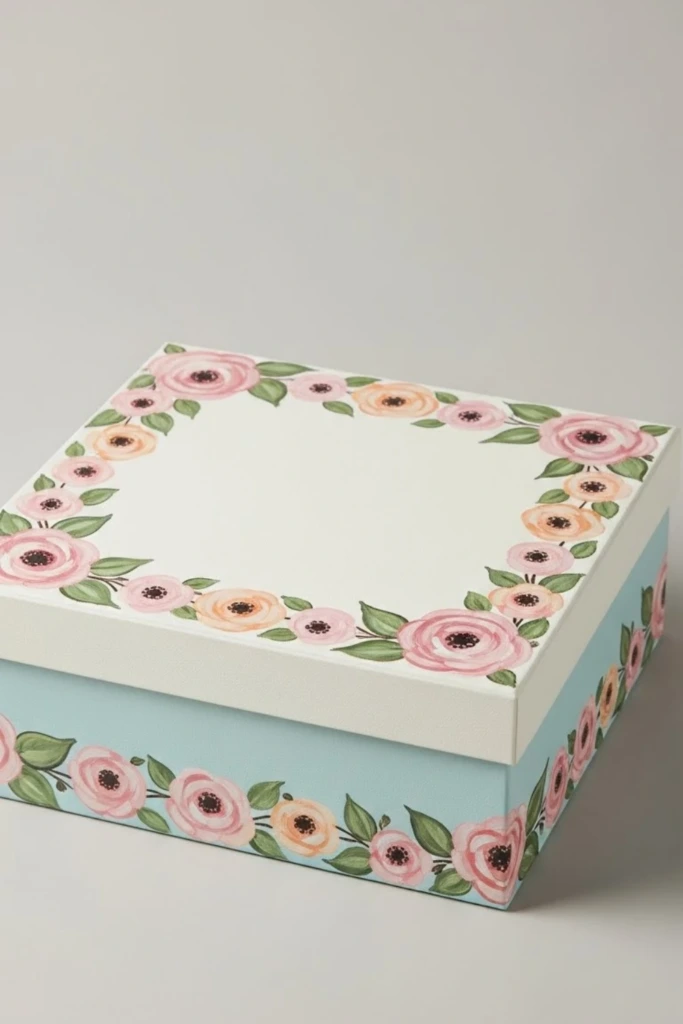
A painted floral border gives a memory box a timeless, romantic appearance.
Begin with a soft background shade such as cream, blush pink, or pale green.
Using a fine brush, paint small flowers and leaves around the outer edges of the lid.
Roses, daisies, lavender sprigs, and wildflowers are lovely options.
Leave the center open for a name, anniversary date, or short message.
For a coordinated look, repeat a few leaves or tiny flowers along the sides.
This style is particularly suitable for wedding, anniversary, and family heirloom boxes.
14. Chalkboard Message Lid
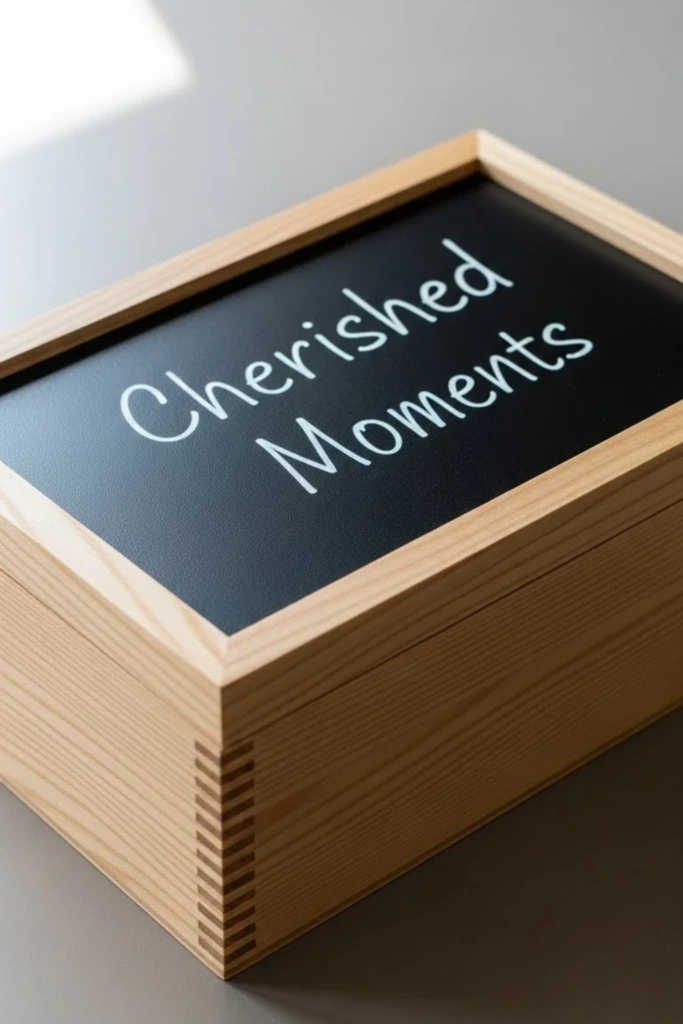
A chalkboard lid allows you to update the appearance of your memory box whenever you want.
Apply chalkboard paint to the top surface according to the manufacturer's directions. Paint the remaining sides in a complementary color.
After the chalkboard coating has cured, prepare the surface as directed before writing on it.
Use ordinary chalk to add names, dates, seasonal messages, or short reminders.
You can change the writing as new memories are added.
Keep clear varnish away from the writing area because sealing the chalkboard surface may prevent it from functioning properly.
15. Childhood Doodle Style
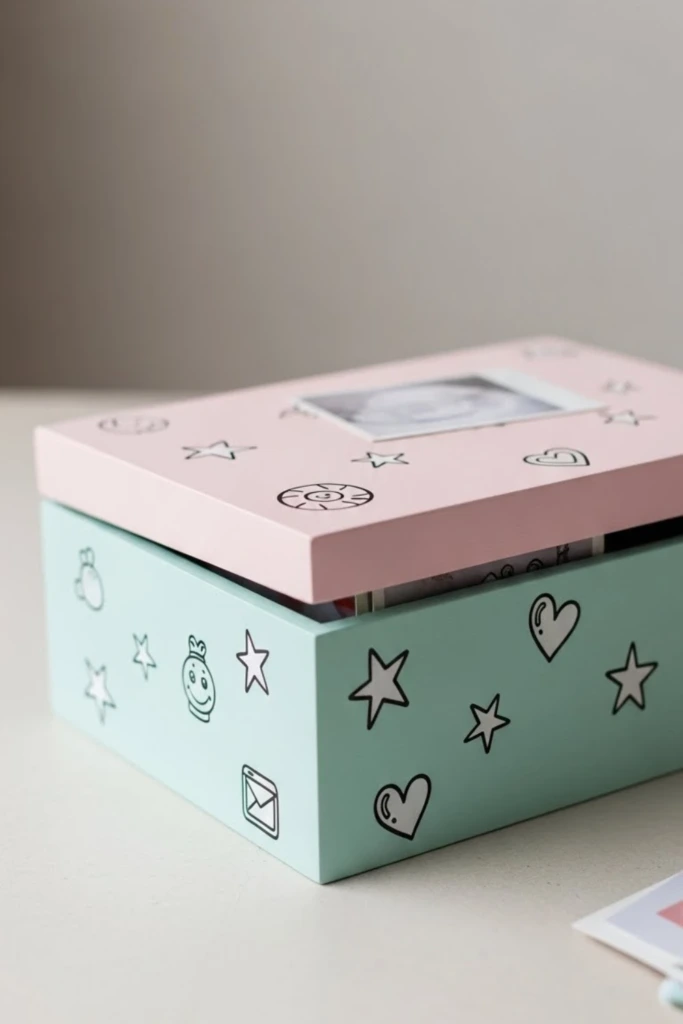
A childhood doodle design is a fun way to decorate a memory box for school projects, drawings, photographs, and early achievements.
Paint the box in a bright or pastel background color.
Add playful illustrations such as rainbows, stars, balloons, pencils, hearts, and smiling suns.
Don't worry about making every line perfectly straight. Simple, imperfect drawings can give the box a charming handmade character.
Children can even help decorate their own boxes using age-appropriate, water-based craft paints under adult supervision.
Add their name and school year to make the finished project easier to identify later.
16. Monochrome Emotion Box
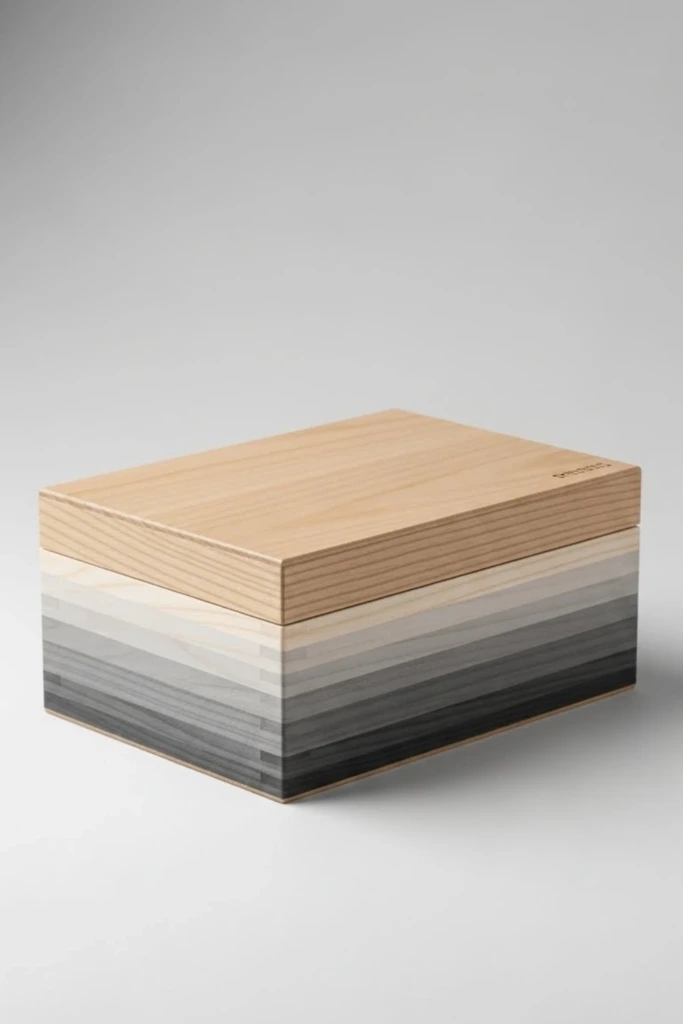
A monochrome design uses different shades of one color to create a peaceful, coordinated look.
Choose a color that reflects the memories you want to preserve.
Soft blue may suit reflective moments, warm beige creates a comforting atmosphere, and deep green offers a natural, grounded appearance.
Paint the main box in a medium shade, then use lighter and darker variations for borders, abstract shapes, or subtle patterns.
Avoid adding too many contrasting decorations.
This approach works beautifully for remembrance boxes, personal letters, and sentimental collections.
17. Date-Centered Design
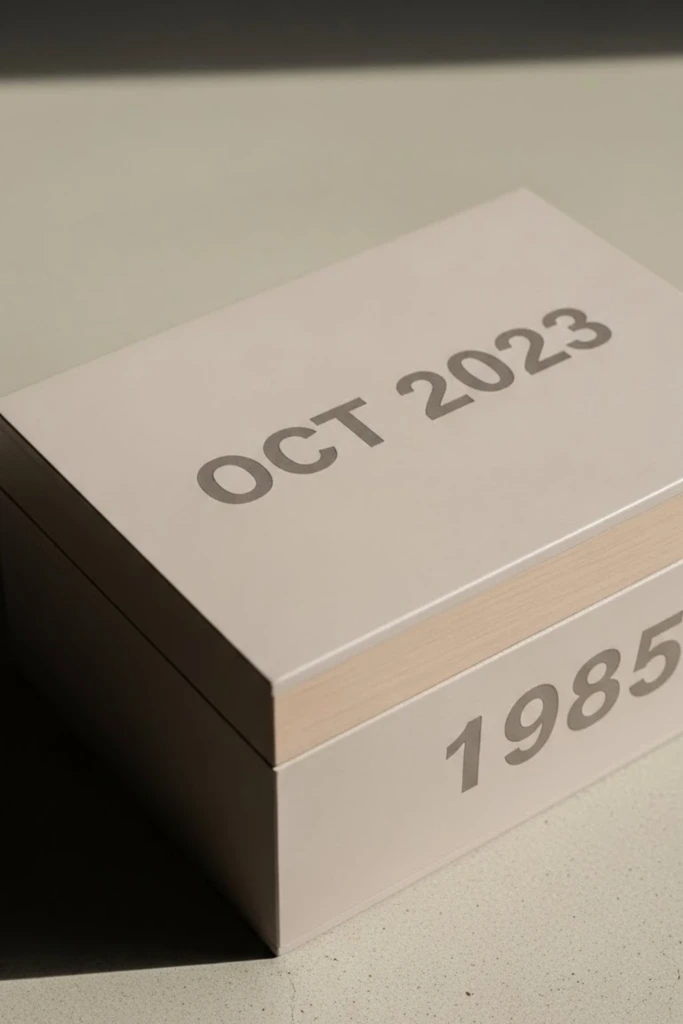
Some memories are closely connected to one unforgettable day.
A date-centered memory box celebrates that occasion through a simple, striking design.
Paint the box in a solid color and place the important date prominently on the lid.
Use large numbers, neat lettering, or a decorative stencil.
You can add a small symbol beneath the date, such as a heart for an anniversary or a graduation cap for a school milestone.
This idea is suitable for weddings, birthdays, graduations, and other significant life events.
18. Inside Lid Collage
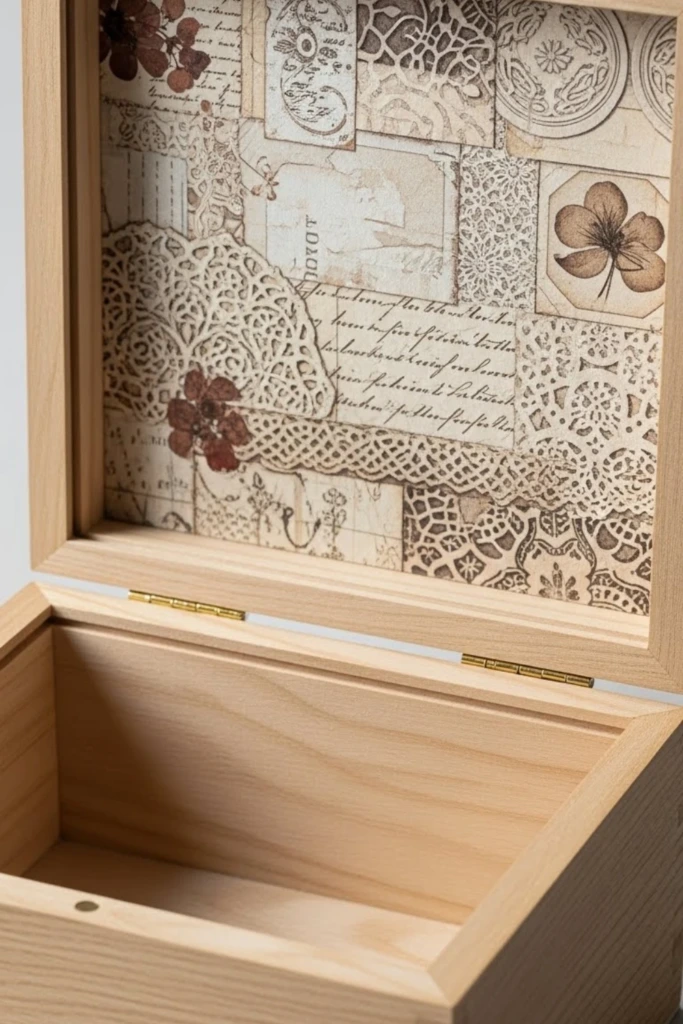
An inside-lid collage creates a lovely surprise whenever someone opens the memory box.
Keep the exterior simple, then decorate the underside of the lid with miniature photographs, handwritten messages, ticket copies, and small illustrations.
Paint a background that complements your collage materials.
Arrange everything before attaching it permanently to make sure the layout feels balanced.
Use photo-safe adhesive for valuable pictures, or attach copies while storing the originals separately.
The finished lid becomes a small visual collection of meaningful moments.
19. Texture Over Detail
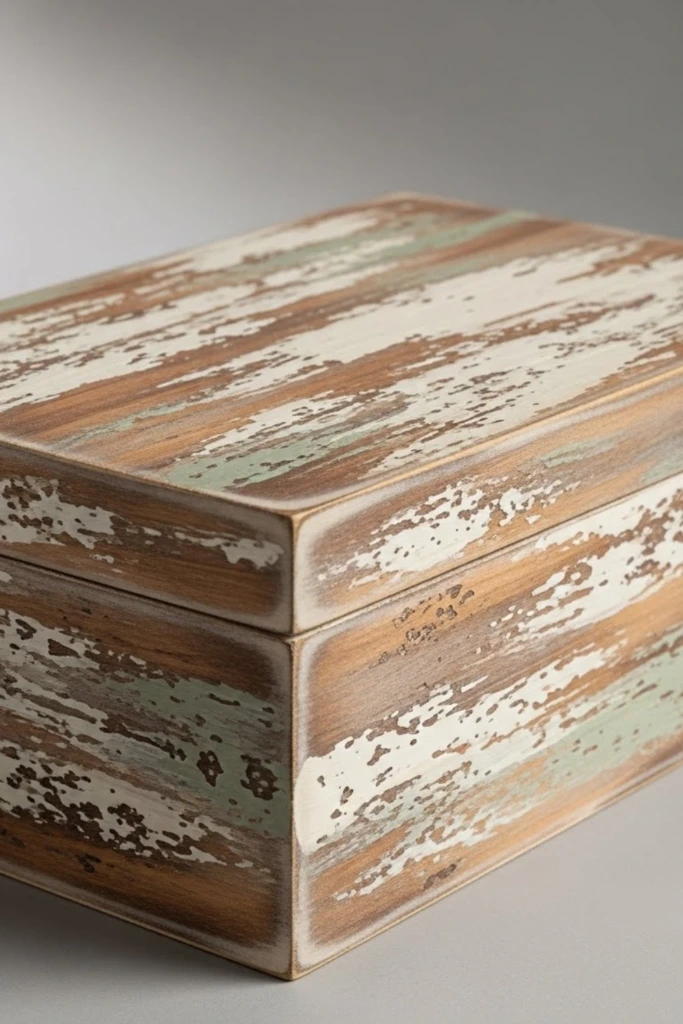
You don't need intricate artwork to create a visually interesting memory box.
Textured painting techniques can give a plain surface character and depth.
Try dabbing paint with a clean sponge to produce a mottled finish, or use a nearly dry brush to create subtle streaks.
You can also experiment with gentle stippling or layered brush marks.
Neutral colors work well for rustic designs, while brighter shades create a playful appearance.
Practice on spare cardboard or wood first so you can control the amount of paint and achieve a consistent texture.
20. Seasonal Memory Theme
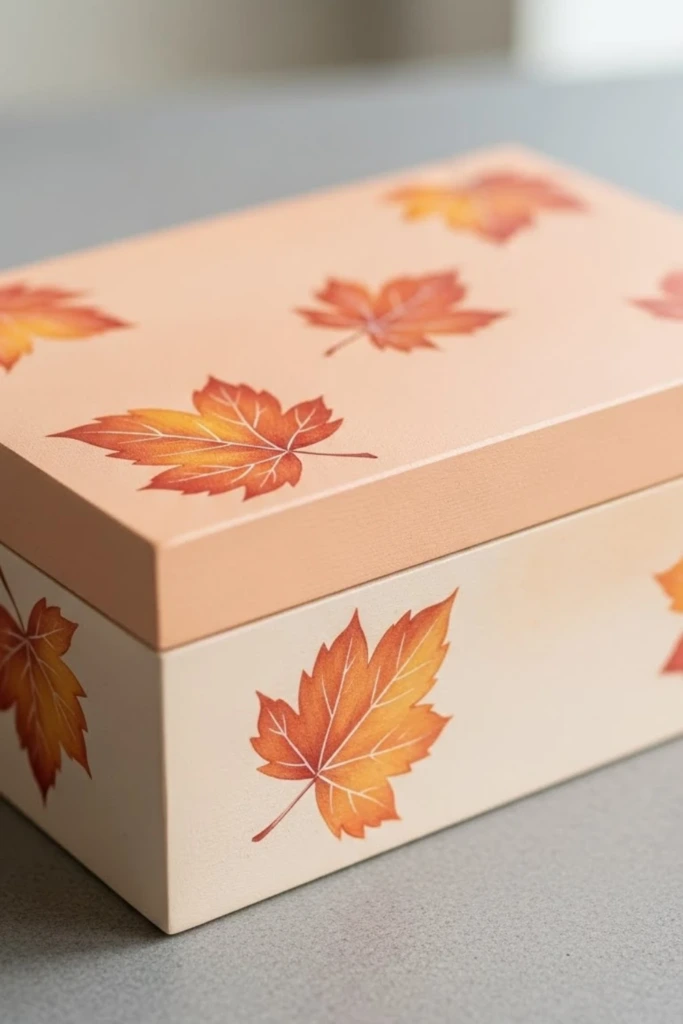
A seasonal design is perfect for collecting memories connected to a particular time of year.
For a spring box, use soft greens, pink flowers, and butterfly illustrations.
Summer boxes can feature sunshine, ocean waves, and warm yellow tones.
Autumn designs look beautiful with orange leaves, pumpkins, and earthy browns, while winter boxes can include snowflakes, evergreen branches, and icy blues.
You can create one box for each season or combine all four seasonal designs on different sides of a single box.
Store seasonal photographs, greeting cards, and small keepsakes inside.
21. Gold Accent Edges
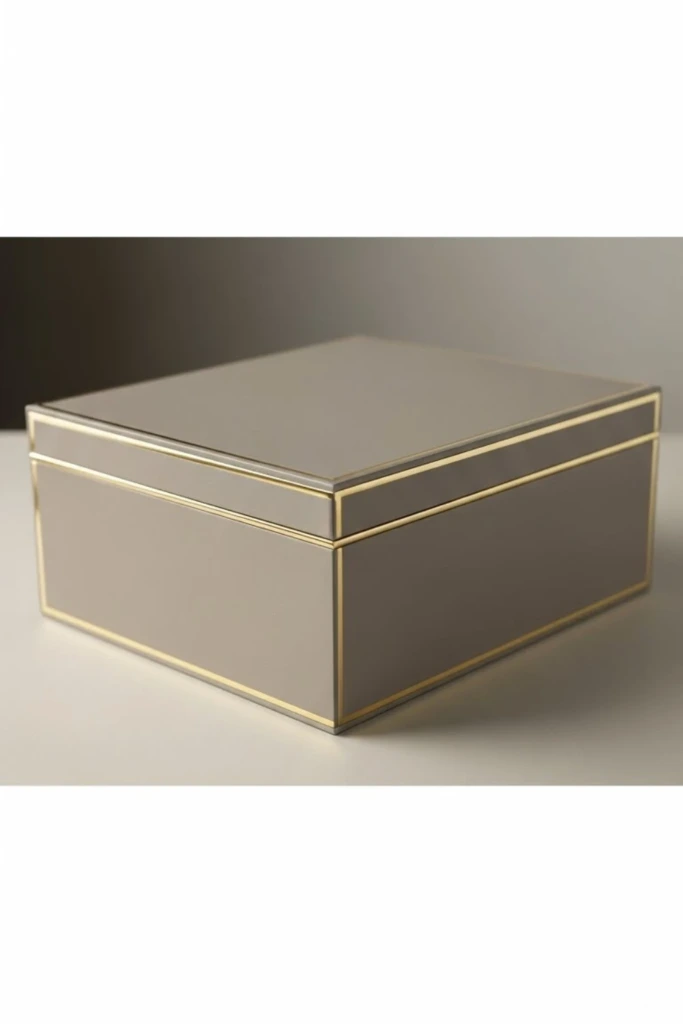
Metallic details can make a simple memory box look elegant without overwhelming its design.
Paint the box in a rich or neutral base color such as navy, forest green, ivory, or dusty rose.
Once the base coat is dry, use a small brush to apply metallic gold paint along the lid edges, corners, or raised decorative details.
Keep the gold lines narrow and consistent for a refined appearance.
You can also add a tiny gold monogram or date.
This design is an attractive option for wedding gifts, anniversary keepsakes, and special milestone collections.
22. Inside Quote Reveal
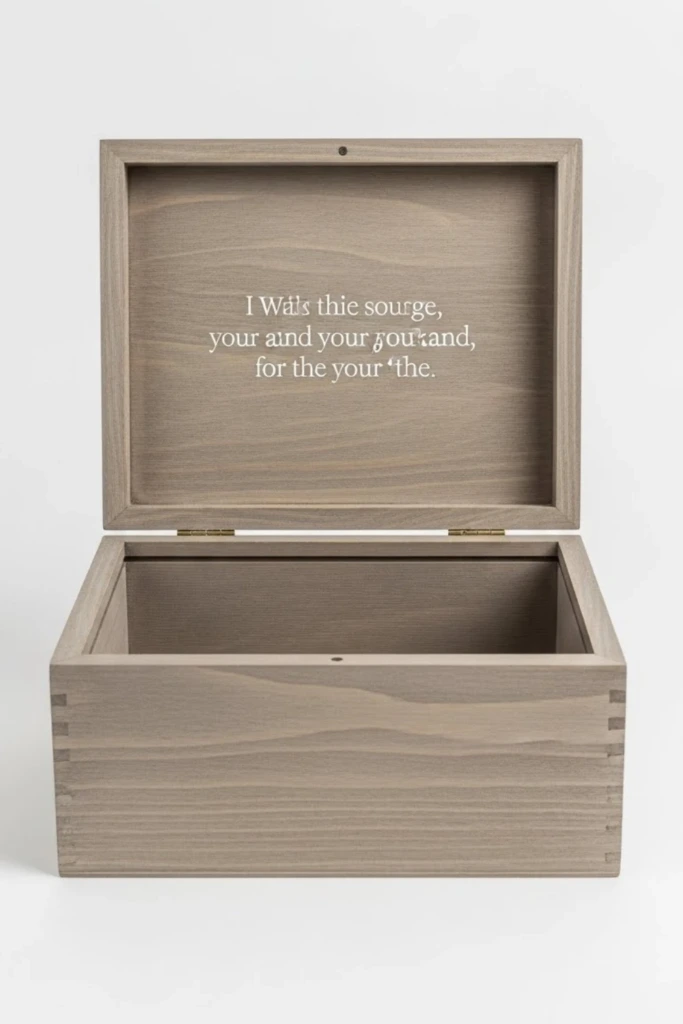
An inside quote reveal adds a personal message that remains hidden until the box is opened.
Paint the exterior in a simple color or leave the natural wood visible beneath a protective finish.
On the underside of the lid, paint a meaningful sentence, short dedication, or special date.
Choose lettering that fits comfortably within the available space.
You can surround the message with a few small illustrations or leave it completely unadorned.
This idea works especially well for memory boxes given to partners, parents, grandparents, or close friends.
23. Soft Gradient Fade
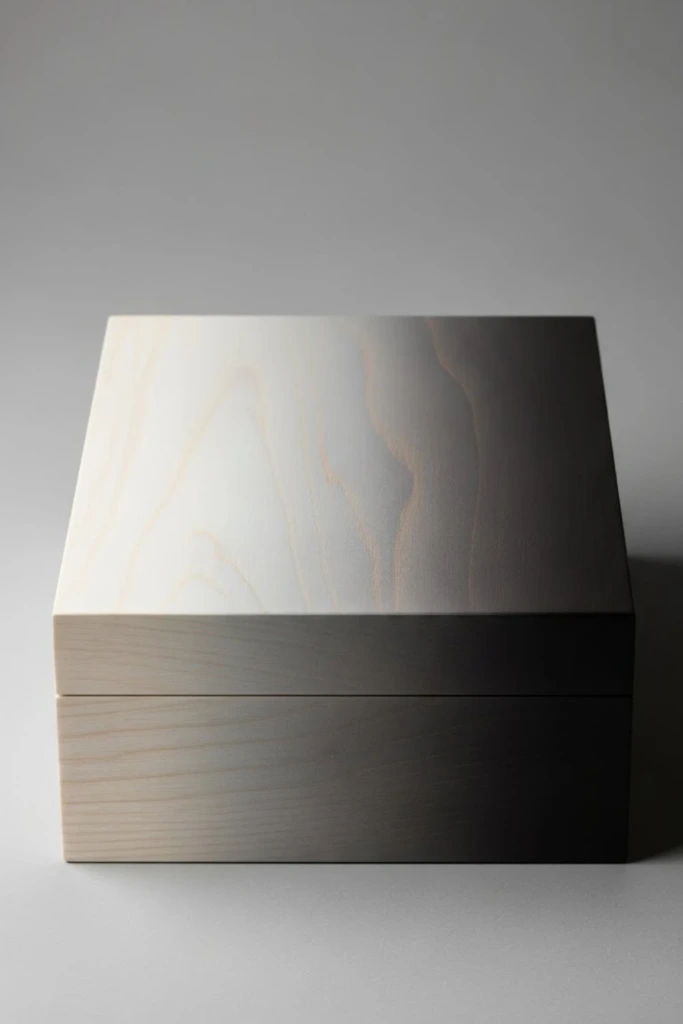
A gradient finish gives your memory box a smooth transition between two or more colors.
Start by choosing shades that blend naturally, such as pale pink and peach, mint and teal, or lavender and blue.
Apply the colors in neighboring sections while the paint remains workable.
Use a slightly damp blending brush or sponge to soften the transition between shades.
Work in small areas because acrylic paint can dry quickly.
Once the surface is completely dry, apply a compatible protective finish.
The result is a simple yet attractive memory box that works for almost any occasion.
What paint is best for a wooden box?
Water-based acrylic craft paint is one of the most convenient choices for decorating wooden memory boxes. It comes in many colors, is relatively easy to apply, and generally provides good coverage on properly prepared wood.
For a smooth finish, lightly sand unfinished wood, remove the dust, and apply thin coats rather than one heavy layer.
Chalk-style paint is another option if you prefer a soft, matte or vintage appearance.
Use a clear protective finish compatible with your chosen paint when additional durability is needed. Allow the coating to cure completely before storing belongings, and protect valuable photographs and documents with archival sleeves or acid-free materials.
What are some creative memory box themes?
Creative memory box themes can be inspired by people, places, important events, or meaningful stages of life.
Popular choices include baby milestones, wedding memories, childhood achievements, family vacations, friendships, anniversaries, and graduation celebrations.
You can also create a box around a favorite color, season, hobby, meaningful quotation, or special location.
For a particularly personal design, include small details connected to the memories themselves, such as a favorite flower, a meaningful date, or colors associated with a treasured experience.
The most successful memory box is one that reflects the story behind its contents while keeping those special belongings safe and easy to revisit.