23 Food Storage Ideas for 2026
Keeping food fresh, organized, and easy to find can make everyday cooking much simpler. A well-arranged refrigerator and pantry help reduce waste, save space, and make it easier to plan meals without buying ingredients you already have. With the right containers, shelves, and storage habits, even a small kitchen can become more functional.
These 23 food storage ideas offer practical ways to organize fresh produce, leftovers, dry ingredients, snacks, and prepared meals. Whether you are updating your pantry or looking for better refrigerator organization, you can adapt these solutions to suit your available space and daily routine.
What are the methods of food storage?
Food storage methods vary depending on the ingredient, how quickly it will be used, and the conditions it needs to remain safe and fresh. Common options include refrigeration, freezing, drying, airtight pantry storage, vacuum sealing, canning, and pickling.
Refrigeration slows the growth of many microorganisms in perishable foods, while freezing helps preserve ingredients for longer periods. Dry goods such as rice, flour, pasta, and beans generally keep well in clean, dry, airtight containers. Canning and pickling can extend the shelf life of certain foods when reliable, tested methods are followed.
Organization also plays an important role. Clear containers make it easier to identify ingredients, labels help track dates, and separate storage zones prevent overcrowding. Keep raw meat and seafood securely contained on the lowest refrigerator shelf, store ready-to-eat foods away from raw ingredients, and refrigerate perishable food promptly. A storage system works best when it combines sensible organization with appropriate food safety practices.
1. Stackable Airtight Containers
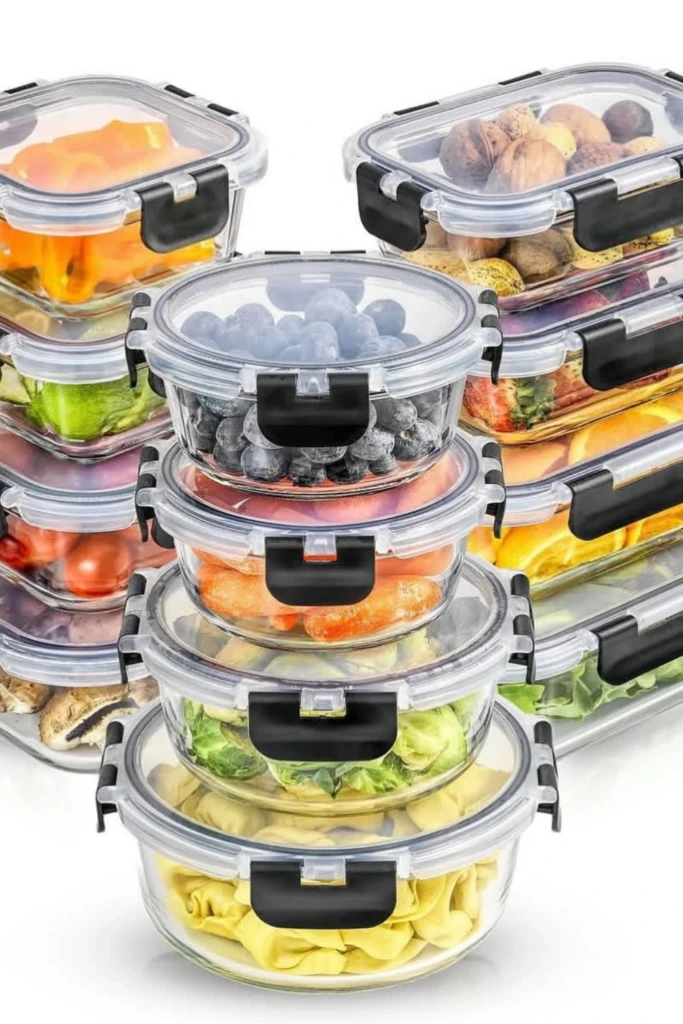
Stackable airtight containers are a useful choice for kitchens where cabinet and refrigerator space is limited. Their uniform shapes allow you to build stable stacks instead of leaving awkward gaps between mismatched packages. They are especially helpful for storing leftovers, cooked grains, chopped ingredients, and pantry staples.
Choose containers in a few practical sizes so that small quantities do not occupy unnecessarily large spaces. Transparent sides help you see what remains, while secure lids protect food from spills, moisture, and outside odors. Check that each container is suitable for its intended use, particularly if you plan to freeze food or reheat meals in it.
Before stacking, let hot food cool appropriately and divide large quantities into shallow containers to encourage faster cooling. Label leftovers with the preparation date, and avoid stacking so high that the containers become difficult to reach.
2. Fridge Zone Containers
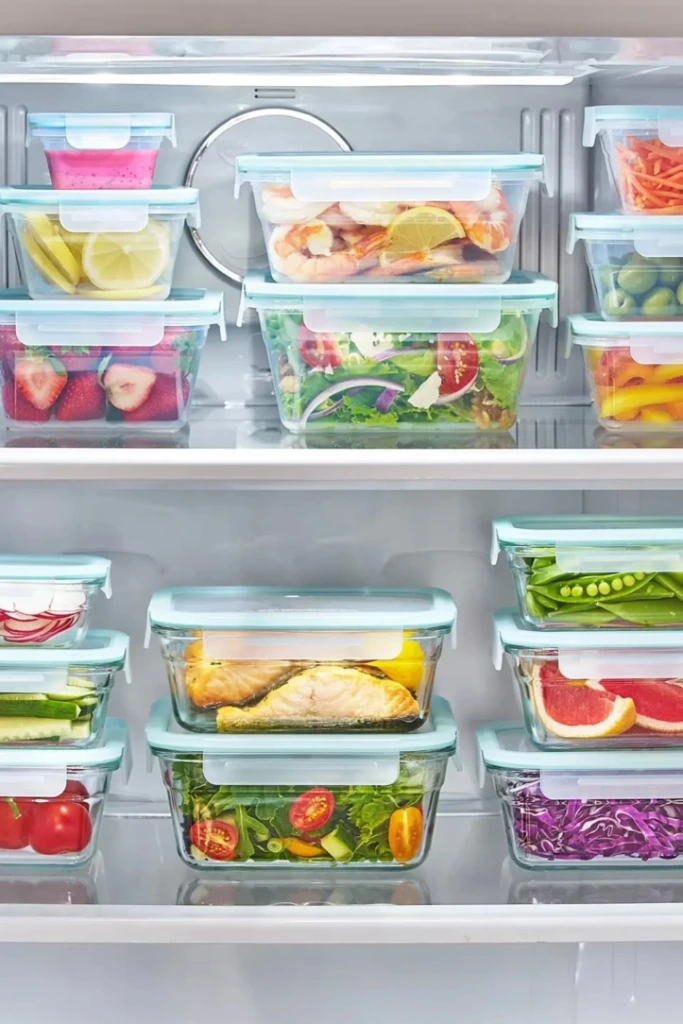
Organizing a refrigerator into designated zones makes it easier to find ingredients and return them to the right place. Small bins can group breakfast items, dairy products, sauces, snacks, or ingredients intended for upcoming meals. Instead of searching through the entire refrigerator, you can pull out the relevant bin and see what is available.
Use removable, washable containers that fit comfortably on your shelves. Keep raw meat, poultry, and seafood in leakproof containers on the lowest shelf to prevent juices from contaminating other foods. Ready-to-eat foods should remain protected and separate from raw ingredients.
Remember that refrigerator temperatures are not identical throughout the appliance. Use the door for suitable condiments and other items that tolerate temperature fluctuations, rather than highly perishable foods. Keep the refrigerator at 40°F (4°C) or below, and avoid packing it so tightly that cold air cannot circulate.
3. Labeled Pantry Jars
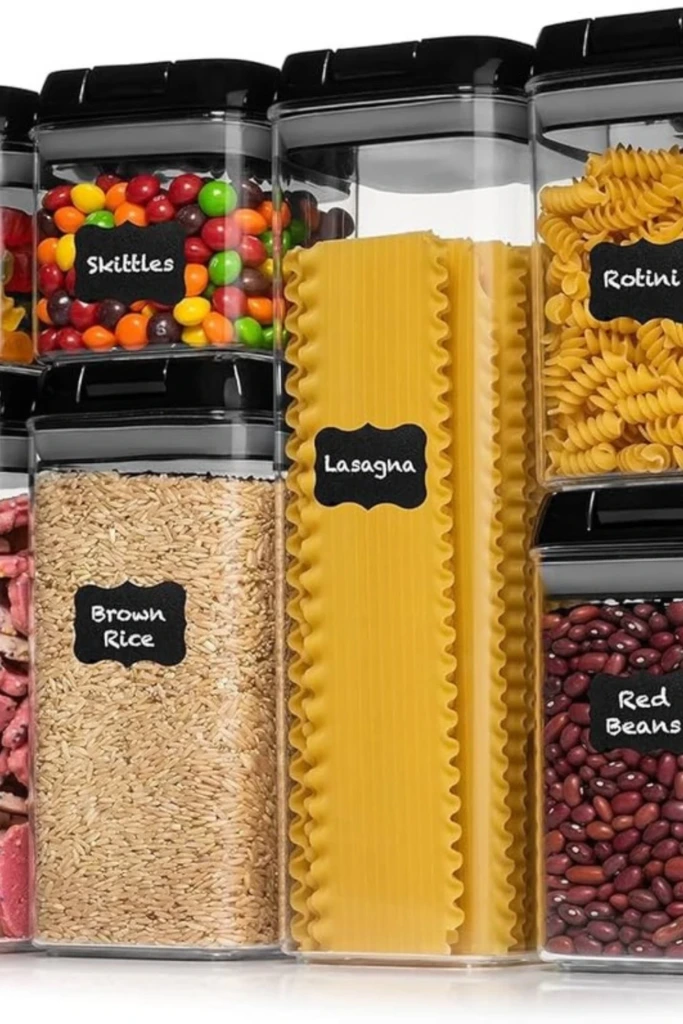
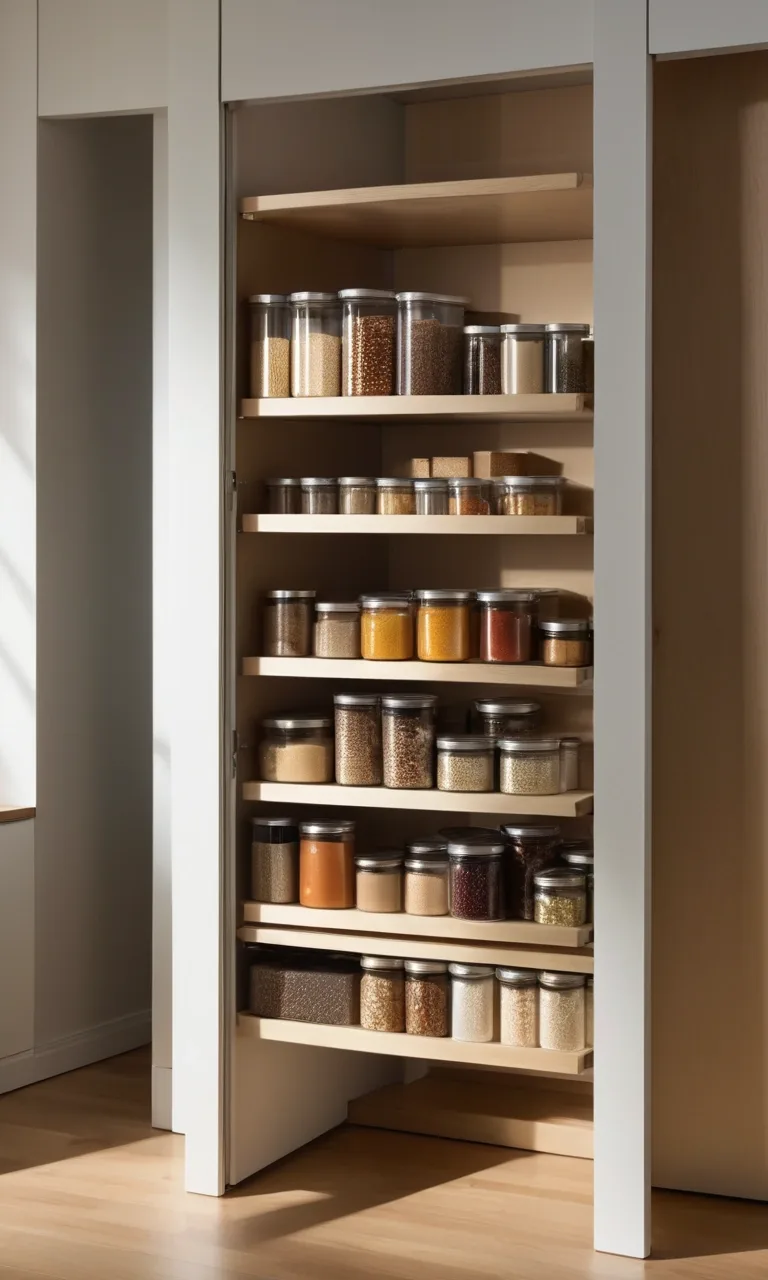
Pantry jars make everyday ingredients easier to identify while creating a neat, consistent appearance. They work particularly well for lentils, beans, rice, oats, nuts, seeds, sugar, and other dry foods. Clear jars allow you to check quantities at a glance, making shopping and meal planning more straightforward.
Choose food-safe jars with tight-fitting lids and an opening wide enough for a measuring cup or spoon. Before transferring an ingredient, make sure the jar is completely clean and dry. Add a label showing the ingredient's name and, where useful, its purchase date or best-before date.
When refilling jars, use older ingredients first and inspect the contents for unusual odors, moisture, insects, or other signs of deterioration. Avoid topping up a container without checking what remains at the bottom. Keeping the original package information nearby can also help you retain cooking instructions and allergen details.
4. Meal Prep Stack
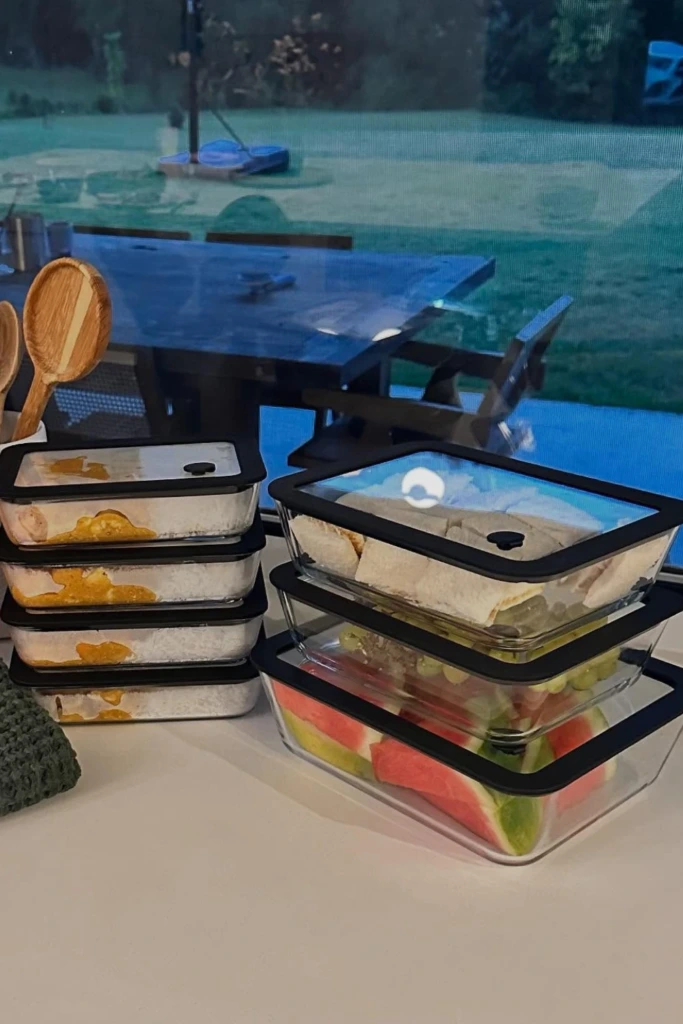
A meal prep stack is ideal for anyone who likes preparing lunches, dinners, or individual portions in advance. Matching containers can be arranged in the refrigerator according to the day of the week or the type of meal, making busy mornings less stressful.
Select containers that are appropriately sized for your portions and suitable for refrigeration or freezing. Separate sauces, crunchy toppings, and ingredients that become soggy when mixed too early. For example, store salad dressing separately from leafy greens until serving time.
Cooked food should be portioned into shallow containers and refrigerated promptly rather than left at room temperature for extended periods. Most cooked leftovers should be used within three to four days when continuously refrigerated at 40°F (4°C) or below. If you prepare meals for later in the week, freeze the portions that will not be eaten within that period.
5. Color-Coded Sizes
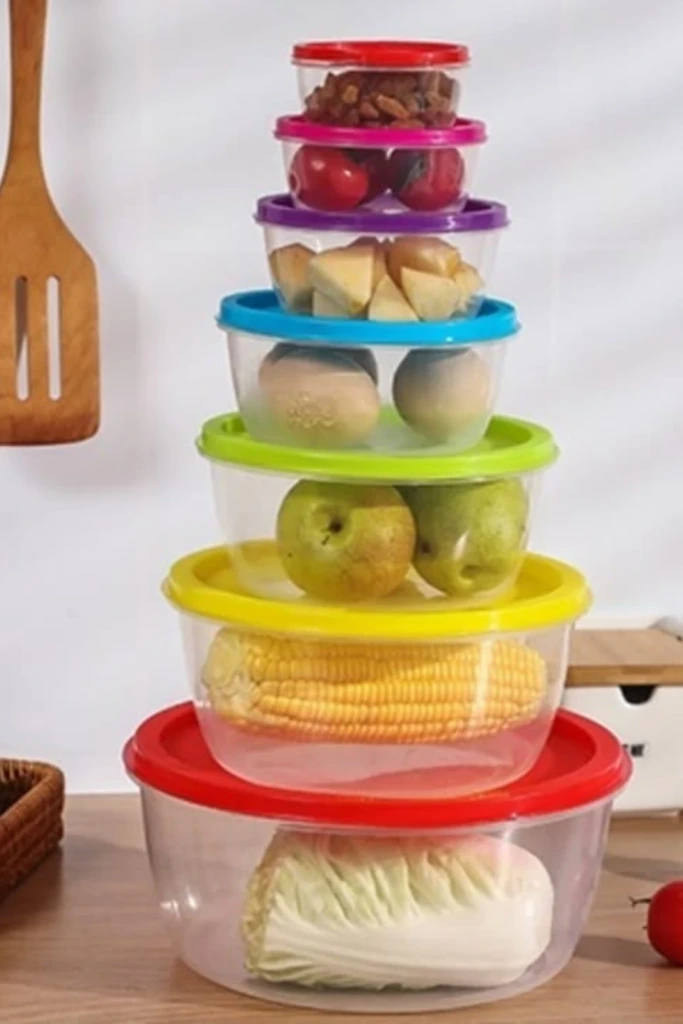
Using different colors for different container sizes or food categories can make storage more intuitive. You might choose one lid color for lunch portions, another for large leftovers, and a third for small amounts of chopped ingredients or sauces.
The system does not need to be complicated. A few repeatable colors are easier to remember than a separate shade for every food. You can also assign colors to particular household members or meal-prep days if that makes your routine more convenient.
Keep container sizes consistent where possible, and make sure the color system does not replace essential labels. Always mark the contents and storage date when needed, especially for foods that look similar. The goal is to reduce confusion, not create another system that requires constant maintenance.
6. Divided Glass Boxes
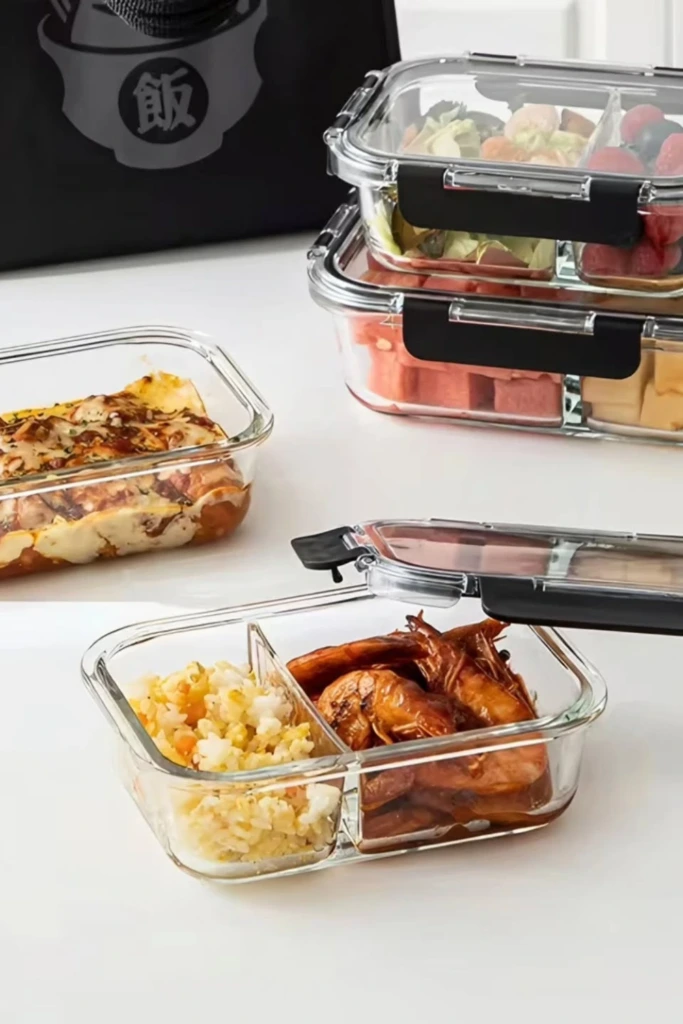
Divided glass containers are useful for keeping different foods separate within a single lunchbox or meal-prep portion. They can hold a main dish, vegetables, fruit, or a side without requiring several individual containers.
Glass is nonporous and generally resists absorbing food odors and stains. It is also easy to clean when used according to the manufacturer's instructions. Look for a secure lid and dividers that suit the types of meals you prepare.
Keep in mind that not every glass container is designed for every temperature change. Avoid moving a cold container directly into a hot oven unless it is specifically rated for that use. Also, check whether the lid and its seals are microwave-safe before reheating food.
Divided boxes are especially practical for packed lunches, but foods that need different storage conditions should still be handled separately. Refrigerate perishable ingredients promptly and keep cold meals chilled until they are ready to eat.
7. Small Portion Bowls
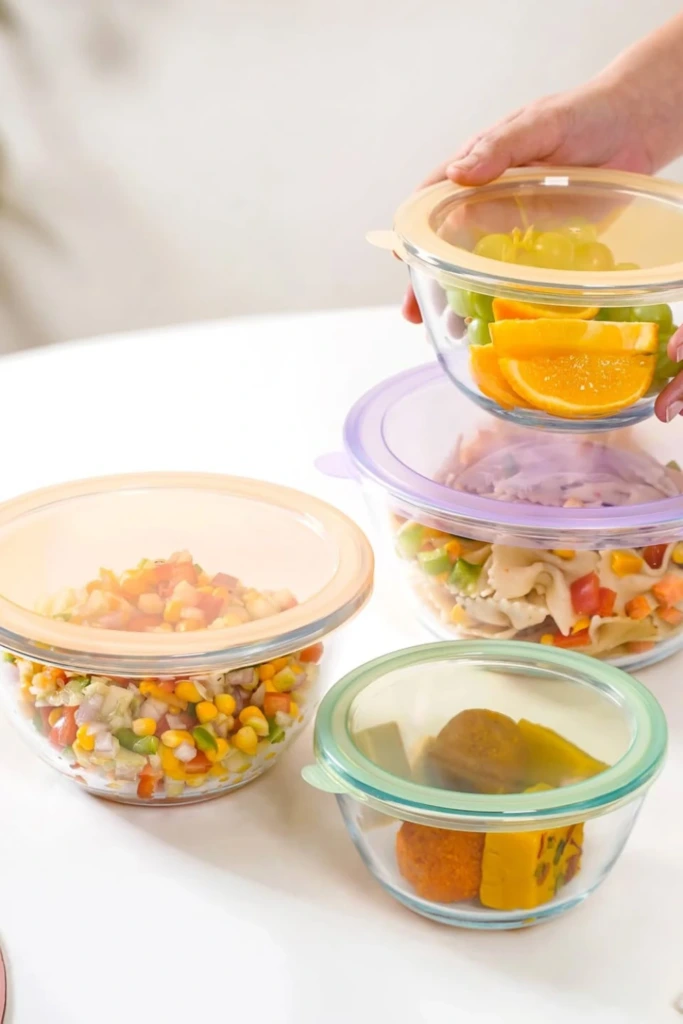
Small bowls or compact lidded containers are convenient for storing ingredients that are usually used in modest quantities. Chopped herbs, leftover sauces, grated cheese, sliced fruit, dips, and small servings of cooked vegetables can otherwise disappear behind larger containers.
Choose bowls that fit together neatly or nest when empty. Transparent lids make it easier to recognize the contents without opening each container, while leak-resistant designs are preferable for liquids and dressings.
These containers can also help with portion control and meal preparation. Measure out ingredients before cooking, or divide leftovers into amounts that can be used for a single meal. However, small containers should not be packed with hot food and immediately sealed without considering safe cooling practices. Refrigerate perishable ingredients promptly and clean the bowls thoroughly between uses.
8. Soft Snack Storage
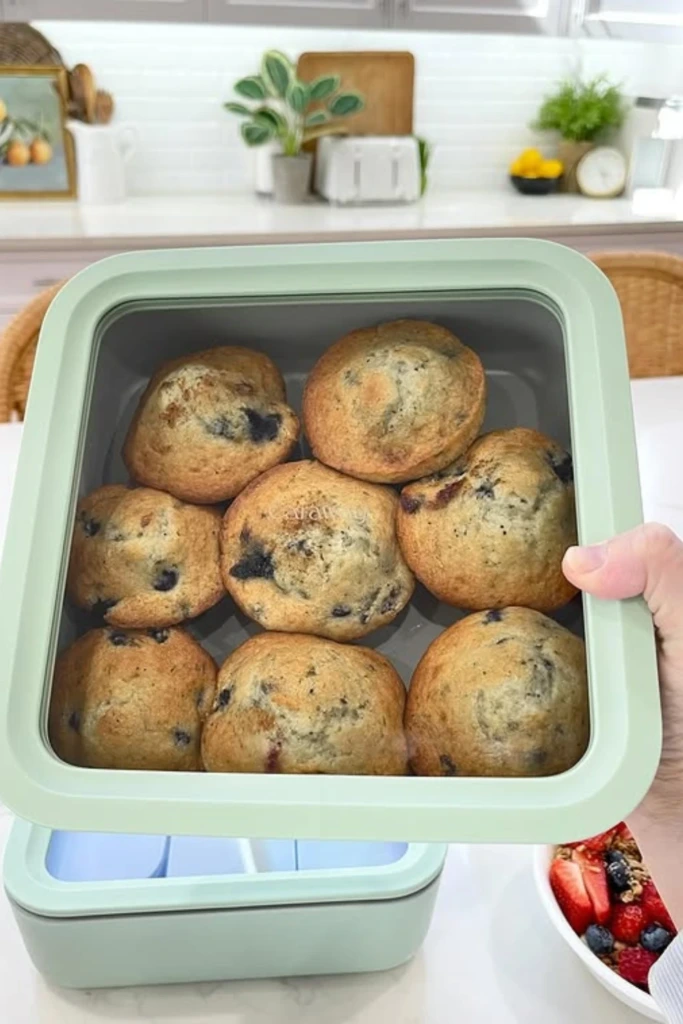
Reusable fabric pouches and flexible food bags can help organize dry snacks such as crackers, pretzels, trail mix, and other suitable items. They are lightweight, take up little space, and can be useful for school bags, office lunches, and travel.
For snacks that need protection from crushing or moisture, choose sturdy reusable pouches with secure closures. Fabric bags are better suited to dry foods and should not be used for wet or highly perishable ingredients unless they are specifically designed for that purpose.
Wash reusable pouches according to their care instructions and allow them to dry completely before refilling. Any pouch used for food should be made from materials intended for food contact. If a snack contains allergens, keep it clearly identified and separated from other foods when necessary.
For pantry storage, resealable food-safe bags can also help keep opened packages organized. Transfer the contents to a rigid container when additional protection against crushing, pests, or spills is needed.
9. Tall Dry Storage
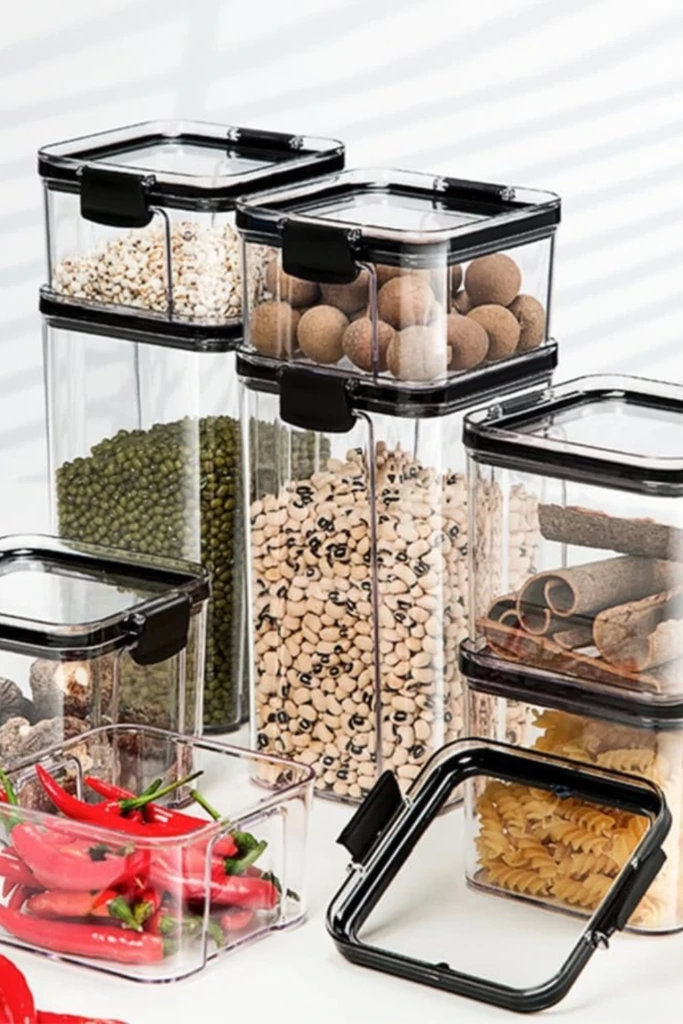
Tall containers make efficient use of vertical space in deep cupboards and pantry shelves. They are particularly suitable for spaghetti, long pasta, breadsticks, cereal, flour, and other dry ingredients that fit their dimensions.
Measure your shelf height before purchasing containers. A jar that fits the shelf but cannot be removed easily may become frustrating to use. Slim containers are useful for narrow spaces, while wider models can accommodate measuring cups or scoops.
Choose airtight lids for ingredients that need protection from humidity and pests. Keep flour and similar powders in containers that are easy to clean, and label each one clearly. Store dry ingredients in a cool, dry location away from ovens, dishwashers, and other sources of heat or moisture.
For ingredients with a limited shelf life, keep track of purchase or opening dates and use older stock first. Tall storage should improve access rather than hide half-used ingredients at the back of the cupboard.
10. Open Shelf Jars
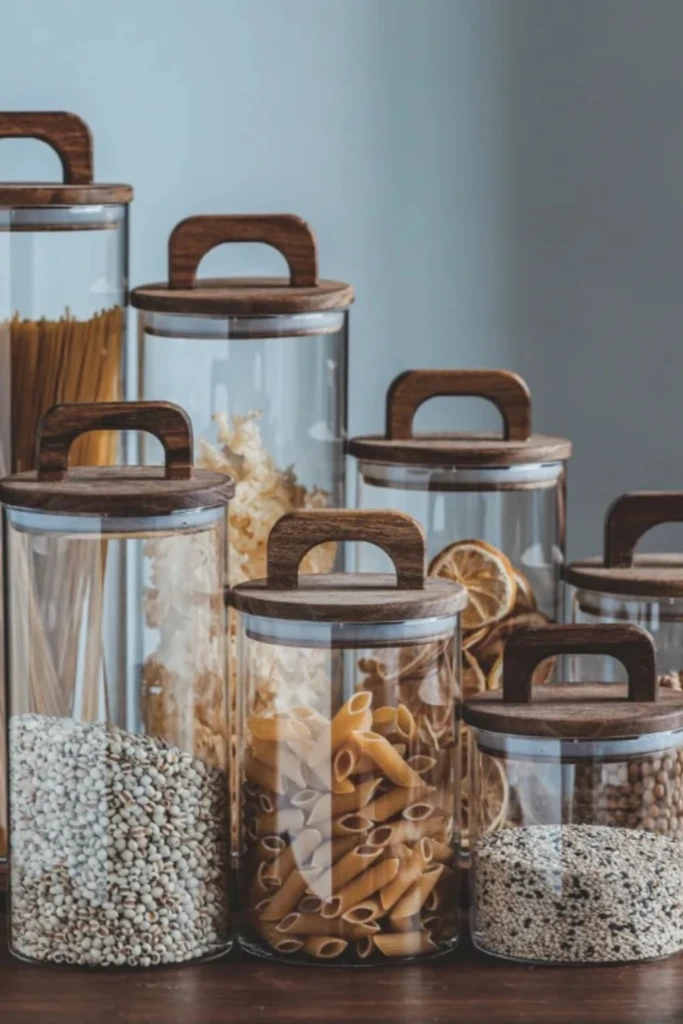
Open shelving can turn frequently used pantry ingredients into an accessible part of your kitchen. A row of matching jars holding oats, rice, pasta, lentils, or baking ingredients creates a tidy display while making everyday cooking more convenient.
The most important consideration is protecting the contents. Although the shelves may be open, the jars themselves should have secure lids to keep out dust, moisture, and insects. Place them away from direct sunlight, steam, and heat-producing appliances.
Group ingredients by how you use them. Baking supplies can sit together, while grains and legumes can occupy another section. Arrange the most frequently used jars at a comfortable height and keep heavier containers on lower shelves.
Open shelving is not ideal for every kitchen. If the area becomes greasy, humid, or dusty, closed cupboards may provide better protection. Choose the storage location according to your kitchen conditions rather than appearance alone.
11. Flat Stack Meals
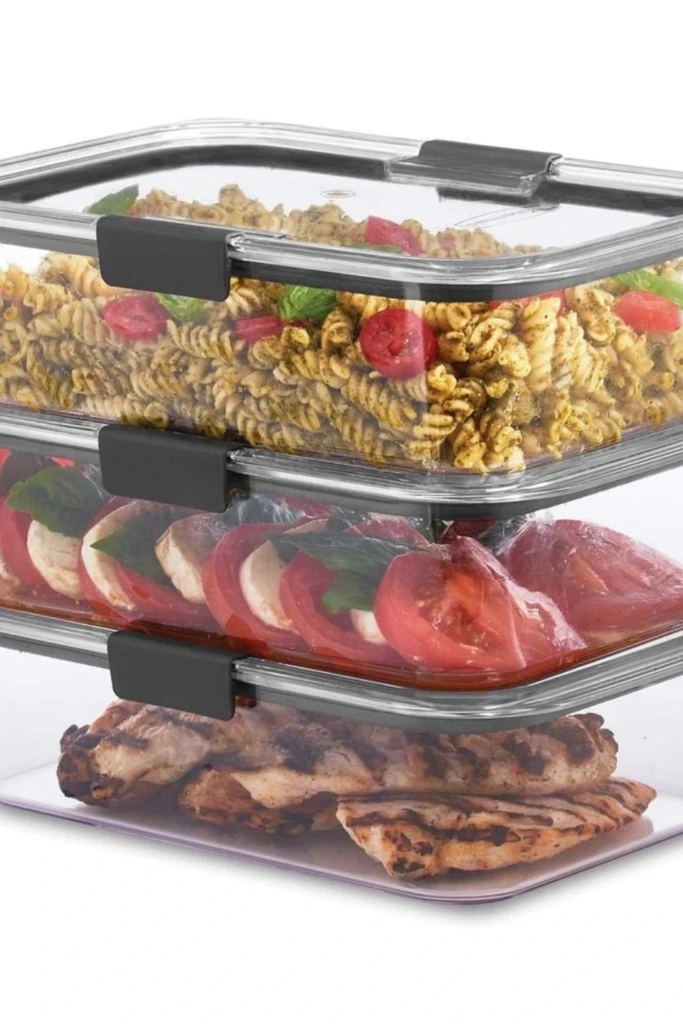
Flat, shallow containers are excellent for storing prepared meals without filling the refrigerator with bulky towers. Their low profile makes them easy to arrange in rows, and their larger surface area can help food cool more quickly than it would in a deep container.
Use them for cooked rice, pasta, casseroles, roasted vegetables, and individual meal portions. Separate meals with a little space between containers when possible, allowing cold air to circulate. Stack them only when the lids are secure and the containers are stable.
For safety, divide large quantities of cooked food into shallow portions and refrigerate them promptly. Avoid leaving an entire pot of food on the counter until it reaches room temperature. When reheating, heat leftovers thoroughly, stirring where appropriate to distribute the heat evenly.
Flat containers are also helpful in freezers because they can be arranged in layers once the food has frozen solid. Leave sufficient headspace if the contents may expand, and label each portion with its name and date.
12. Produce Drain Boxes
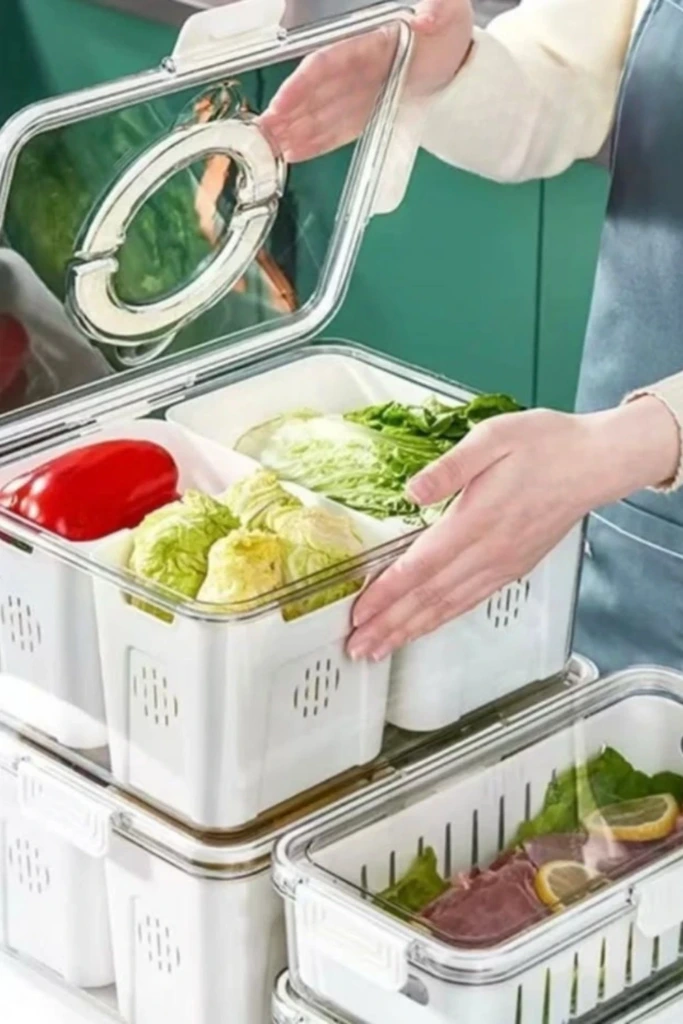
Produce storage boxes with drainage features can help manage moisture around fruits and vegetables. Some models include raised inserts that keep food above collected water, while others provide adjustable vents to improve airflow.
These containers are useful for produce that benefits from controlled moisture and ventilation, such as certain berries, leafy greens, and delicate vegetables. However, not every type of produce needs the same conditions. Some items last longer in a ventilated container, while others benefit from a more enclosed environment.
Wash produce when appropriate for immediate use, and dry it thoroughly before storage if excess surface moisture could encourage spoilage. For items that are better washed just before eating, remove damaged pieces and store them according to their specific needs.
Keep cut fruit and vegetables refrigerated in clean, covered containers. Inspect stored produce regularly and remove spoiled pieces before they affect nearby ingredients. Drainage boxes should also be washed and dried between uses to prevent residue and odors from building up.
13. Mixed Container Stack
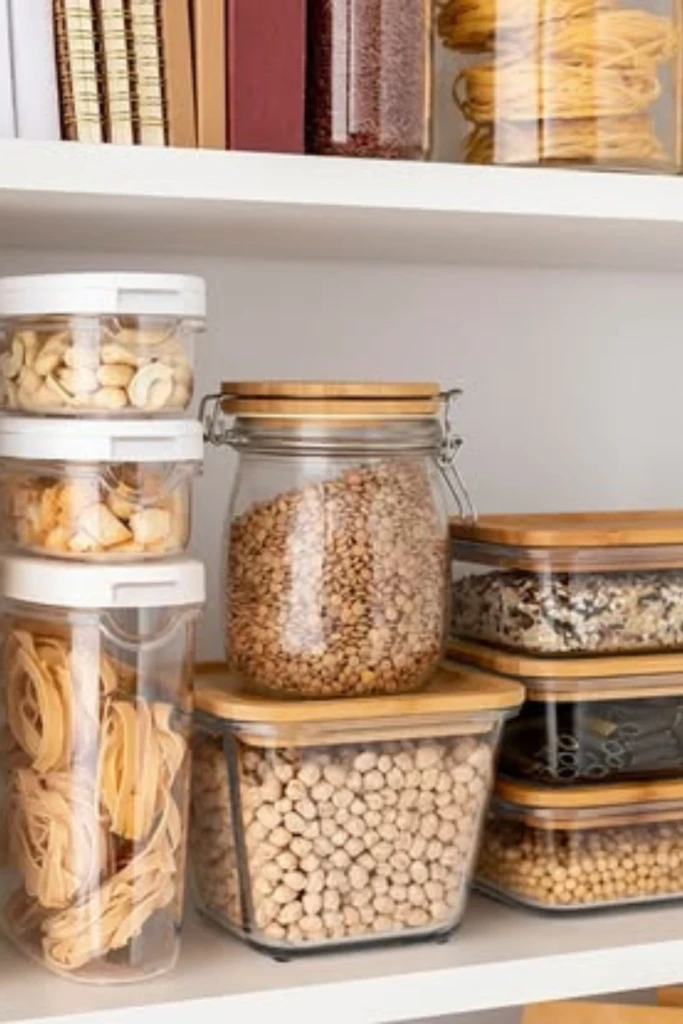
A mixed container stack combines different shapes and sizes to accommodate the variety of foods found in a typical kitchen. Large boxes can hold family-sized leftovers, medium containers can store meal portions, and small tubs can handle dips, chopped ingredients, or snacks.
The key is to choose containers that work together rather than buying every size independently. Nestable designs save cabinet space when empty, while stackable lids help keep sets organized. Clear containers are especially helpful when several meals are stored at once.
Avoid placing heavy containers on top of fragile glass or anything with a loose lid. Store frequently used portions where they can be reached without moving the entire stack. Group containers by purpose, such as lunch preparation, freezer meals, and everyday leftovers.
A mixed collection can be highly practical, but too many incompatible shapes may create clutter. Review your existing containers before buying more and replace damaged, cracked, or warped pieces when necessary.
14. Category Shelf Sorting
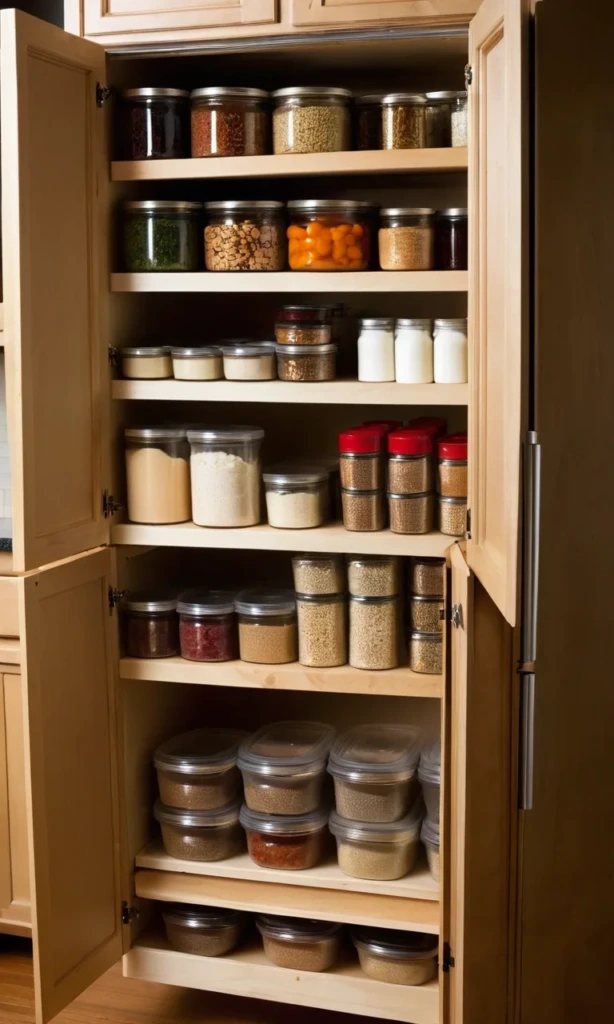
Sorting pantry shelves by category creates a simple system for finding ingredients and keeping track of what needs replenishing. Instead of arranging products wherever they fit, give each group a designated area.
For example, dedicate separate sections to baking supplies, breakfast foods, grains, canned goods, snacks, and cooking essentials. Use small bins to keep packets together and shallow trays to prevent jars from shifting. Place heavier products on lower shelves and frequently used items within easy reach.
Keep similar products together so you can compare quantities before shopping. Position older items toward the front and newer purchases behind them, provided the older products remain suitable for use. Check package dates and storage instructions instead of relying on appearance alone.
You do not need a large pantry to use this approach. A single cupboard can be divided into simple categories using shelf risers and a few containers. The best arrangement is one that everyone in the household can maintain.
15. Protein Produce Stack
Organizing ingredients for a complete meal can make cooking faster and reduce the chance of forgetting items in the refrigerator. A protein produce stack groups the components of planned meals, such as chicken with vegetables, tofu with stir-fry ingredients, or beans with salad vegetables.
Use separate, clearly identified containers for raw proteins and ready-to-eat produce. Raw meat, poultry, and seafood must never be stored where their juices can drip onto vegetables, cooked food, or other ingredients. Keep raw animal products in sealed, leakproof containers on the lowest refrigerator shelf.
If you want to prepare ingredients for a particular recipe, place the clean vegetables and other ready-to-use components in one container and keep the raw protein separate. This makes the ingredients easy to gather without compromising food safety.
Label containers with their contents and preparation dates, and follow appropriate refrigeration times. For longer storage, freeze ingredients that will not be used soon. A meal-based organization system is most useful when it supports safe handling as well as convenience.
16. Pour-Top Canisters
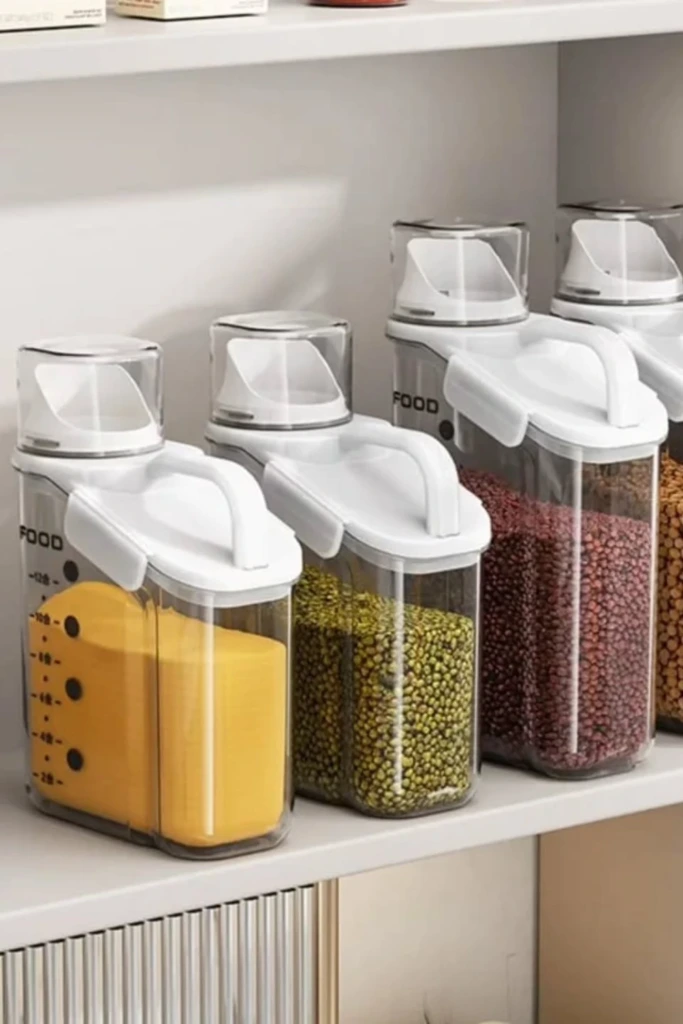
Pour-top canisters make it easy to dispense dry ingredients without repeatedly opening a wide container. They are useful for rice, oats, cereal, flour, sugar, breadcrumbs, and other pantry staples, depending on the size of the opening.
Choose a model with a secure lid and a pouring spout that matches the ingredient. A wide opening works better for larger grains, while a controlled spout can help prevent spills when dispensing smaller quantities. If you store flour or powdered ingredients, make sure the opening is easy to clean.
Clear sides help you monitor the remaining quantity, and labels prevent confusion between similar-looking ingredients. For products that absorb moisture easily, an airtight seal is particularly important.
Place the canisters on a stable shelf with enough clearance to lift and pour them comfortably. Keep them away from steam from kettles and cooking pots, since repeated exposure to humidity can affect dry ingredients.
17. Countertop Cereal Box
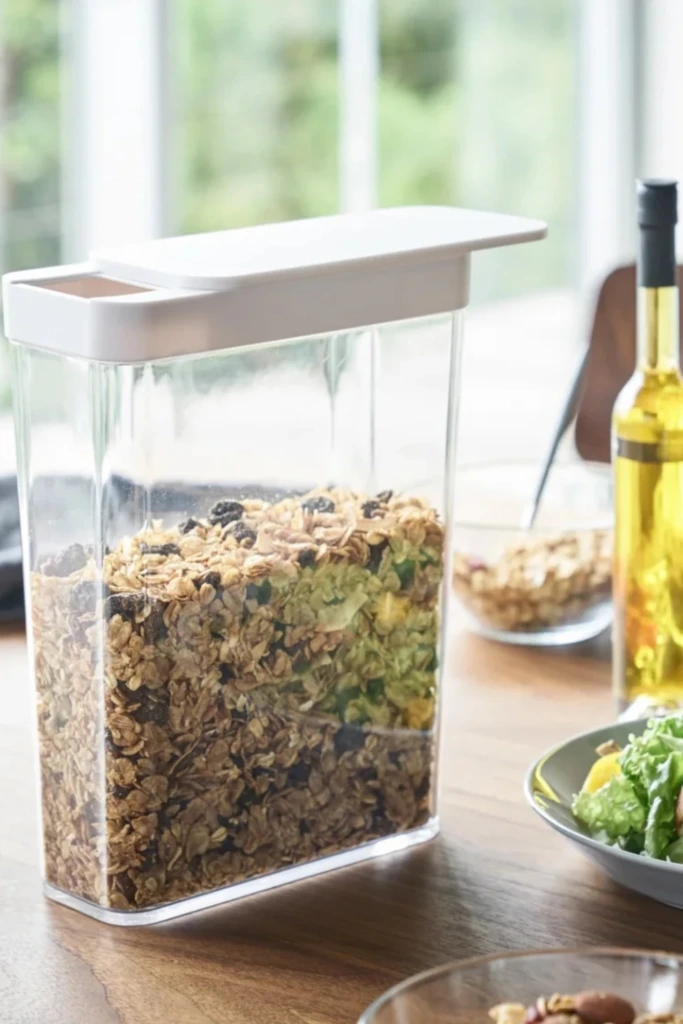
A countertop cereal container can keep breakfast essentials accessible without leaving several opened packets on the kitchen counter. It is especially useful for households that eat cereal regularly or need a convenient way to serve breakfast quickly.
Select a food-safe container with a tight-fitting lid and an opening wide enough to refill without spilling. An integrated dispensing mechanism can be convenient, but it should be easy to dismantle and clean so crumbs do not accumulate inside.
Keep the container away from direct sunlight, stovetop heat, and moisture. Cereal tends to lose its crispness when exposed to humid air, so a good seal is more important than the appearance of the container.
If you store several varieties, label each container and check the original package for ingredient and allergen information. Refill only after checking that the container is clean and dry, and use older cereal before opening a fresh package.
18. Glass Lid Stack
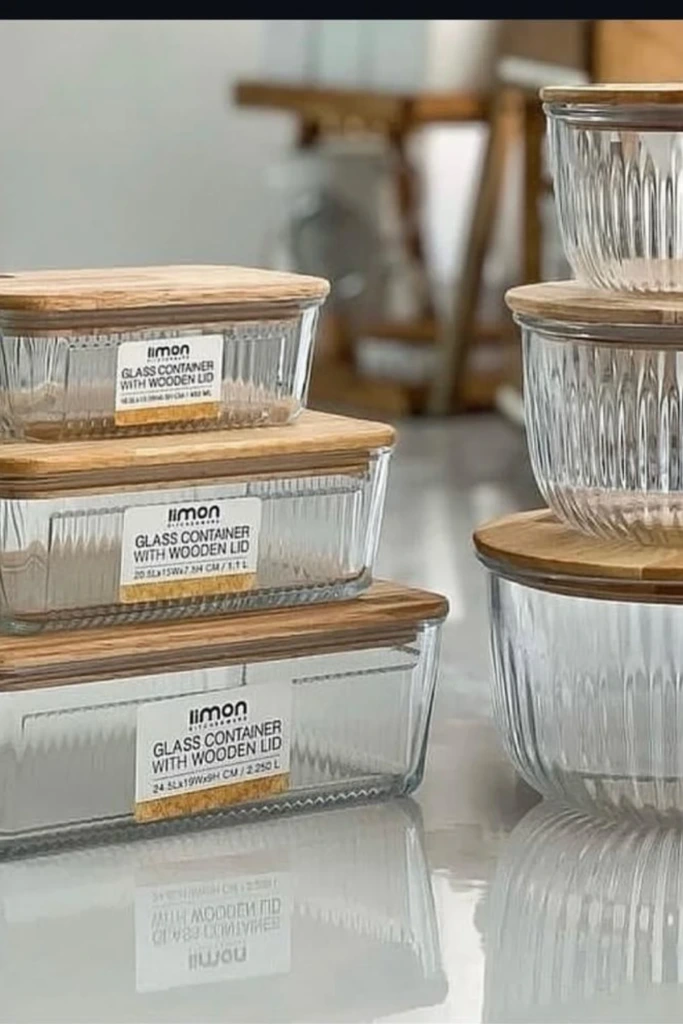
Glass containers with lids are a versatile choice for storing cooked meals, chopped ingredients, and leftovers. When several containers share a similar footprint, they can be stacked neatly in the refrigerator and arranged by meal or date.
Glass allows you to see the food without opening the container and is generally resistant to staining and odor absorption. It can also be useful for reheating when the specific container is rated for microwave use.
Not all glass is suitable for sudden temperature changes, and lids may have different care requirements from the containers themselves. Follow the manufacturer's guidance for refrigeration, freezing, oven use, and dishwashing. Do not assume a plastic lid is safe for heating just because the glass base is.
Choose a few compatible sizes and keep the lids organized separately if they tend to become mixed up. Before stacking, check that each lid fits securely and that the container below can safely support the weight.
19. Tall Counter Canisters
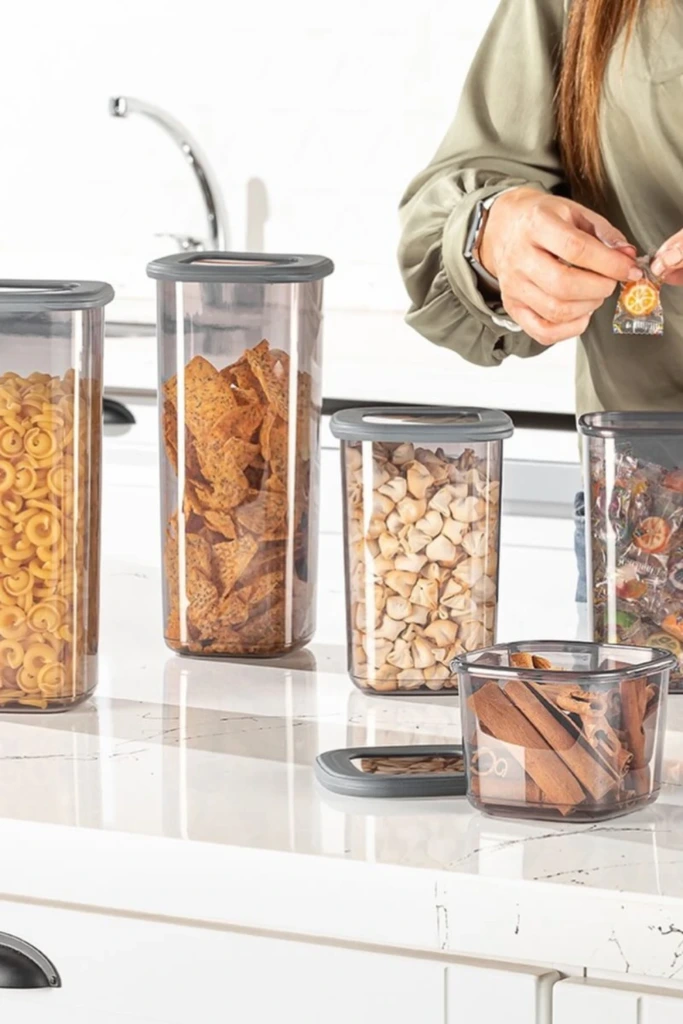
Tall canisters can keep everyday ingredients within reach while making efficient use of vertical counter space. They work well for coffee, tea, sugar, frequently used grains, and other dry items that you prefer to access throughout the day.
Choose a height that fits comfortably beneath any cabinets above the counter. Canisters that are too tall may be difficult to refill, while very narrow openings can make scooping awkward. A stable base and secure lid are especially important for larger containers.
Keep moisture-sensitive ingredients away from sinks, kettles, and other sources of steam. Coffee and tea may benefit from storage that limits exposure to air, light, heat, and moisture, so opaque containers may be preferable to clear ones for these products.
Limit the number of items displayed on the counter. A small, carefully chosen group of canisters can improve convenience, while too many containers may reduce workspace and make cleaning more difficult.
20. Prepped Veg Stack
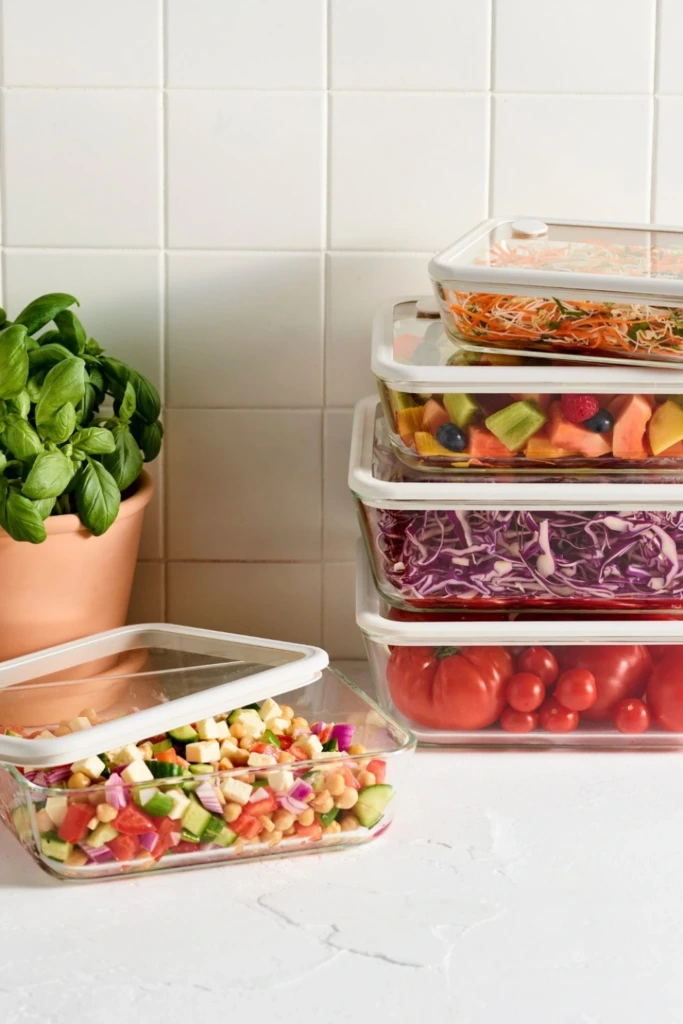
Preparing vegetables ahead of time can make weekday meals easier and encourage you to use fresh ingredients before they spoil. Washed greens, sliced peppers, chopped carrots, and other ready-to-cook vegetables can be stored in clearly labeled containers.
Use separate containers for ingredients that release moisture or have strong odors. Leafy greens often benefit from being stored dry with suitable airflow or a clean, moisture-managing liner, while cut vegetables generally need covered refrigeration. Avoid sealing wet produce in a way that traps excess water.
Prepare only the quantity you expect to use within a reasonable period, and keep the remaining whole vegetables stored according to their individual needs. Not all produce should be refrigerated, so check the best conditions for each item.
Use clean cutting boards and utensils, and keep ready-to-eat vegetables away from raw meat and seafood. Mark containers with preparation dates and inspect them before cooking. If vegetables develop mold, an unusual smell, or a slimy texture, discard them when spoilage is evident.
21. Cabinet Pantry Reset
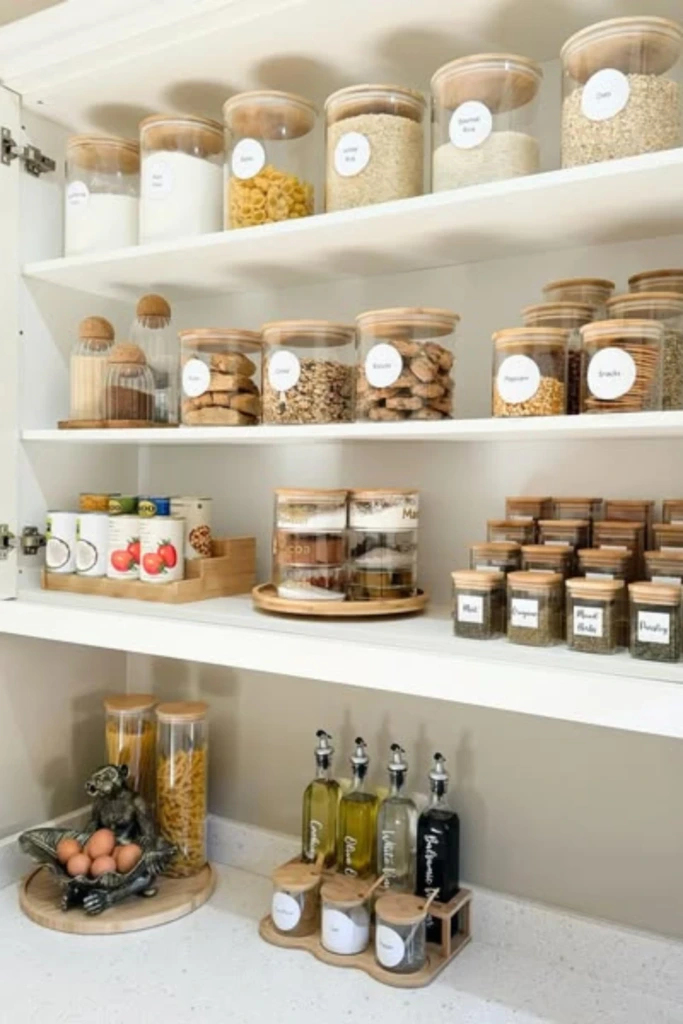
A pantry reset is an opportunity to make better use of your existing storage instead of immediately buying more organizers. Start by removing the contents of one shelf or cupboard at a time, checking package dates, and identifying duplicates or items you rarely use.
Wipe the shelves and let them dry completely before returning anything. Group similar ingredients, move older stock to the front, and place frequently used products at convenient heights. Use bins for small packets and shelf risers to make the back of a cupboard easier to see.
Inspect dry goods for moisture, damaged packaging, and signs of pests. Discard anything that is unsafe, and follow package guidance when deciding whether a product is still suitable to use. Best-before dates often relate to quality, while safety depends on the food type, storage conditions, and whether the packaging remains intact.
Finish by making a short inventory of what you already own. This reduces unnecessary shopping and helps you plan meals around ingredients that need to be used first. Repeat the process periodically rather than waiting for the cupboard to become completely disorganized.
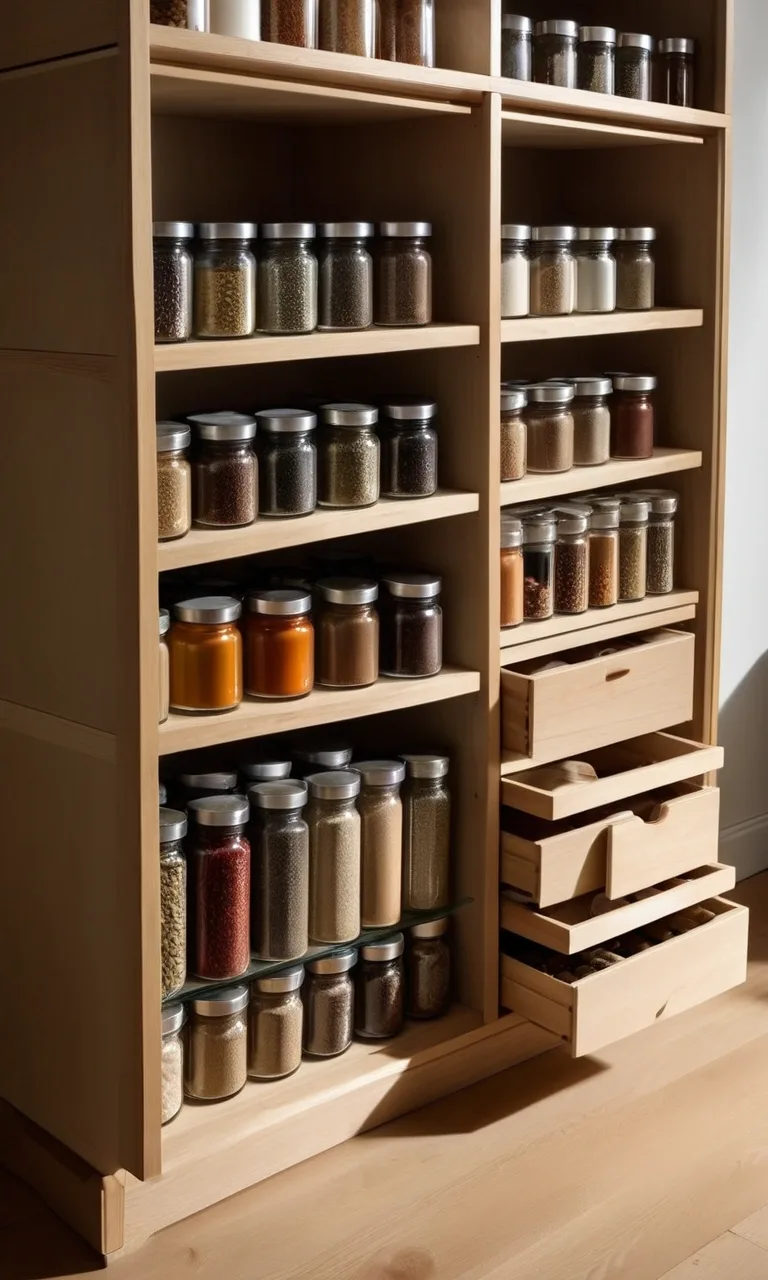
22. Dried Food Library
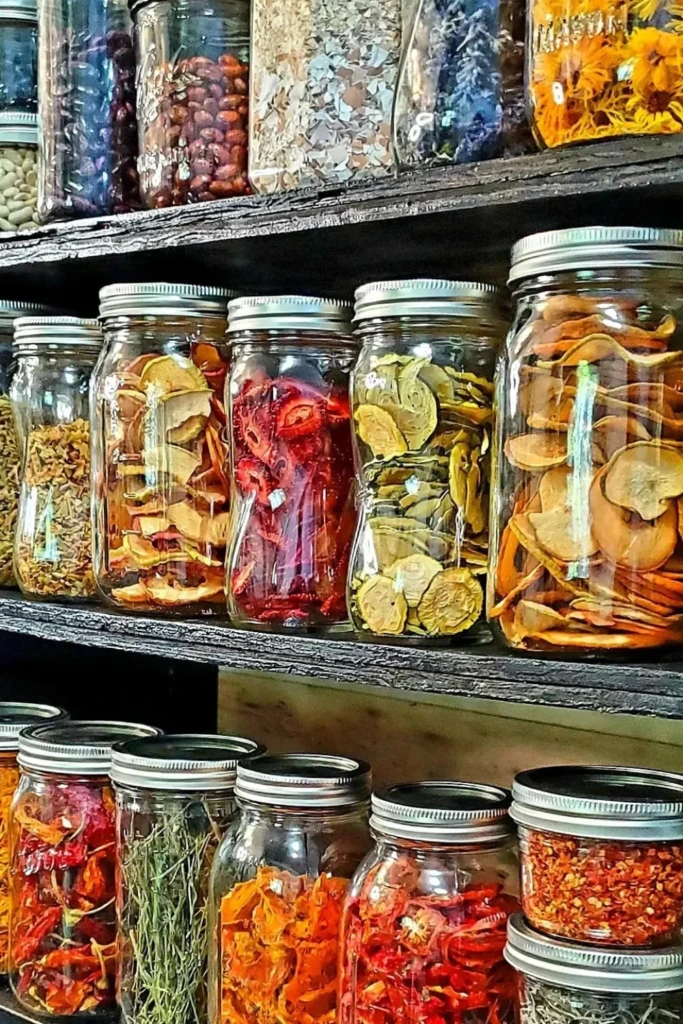
A dried food library is a dedicated collection of dry ingredients stored in an organized, easy-to-browse section of the pantry. It might include beans, lentils, rice, pasta, oats, dried herbs, spices, nuts, seeds, and dried fruit.
Store each ingredient in a clean, dry, food-safe container with an appropriate seal. Moisture can shorten the shelf life of many dried foods, and pests can become a problem if packaging is damaged. Keep containers away from heat and sunlight, especially when storing nuts, seeds, and other foods containing oils that can become rancid.
Label each container with its name and useful date information. For foods with different varieties or cooking requirements, retain the original instructions where possible. Use a first-in, first-out system so older ingredients are used before newer purchases.
For a larger collection, arrange items alphabetically or by cooking purpose. You might group baking ingredients together and place grains and legumes on another shelf. Keep an inventory nearby so you can see which staples are running low without opening every container.
23. Wall Cabinet Bins
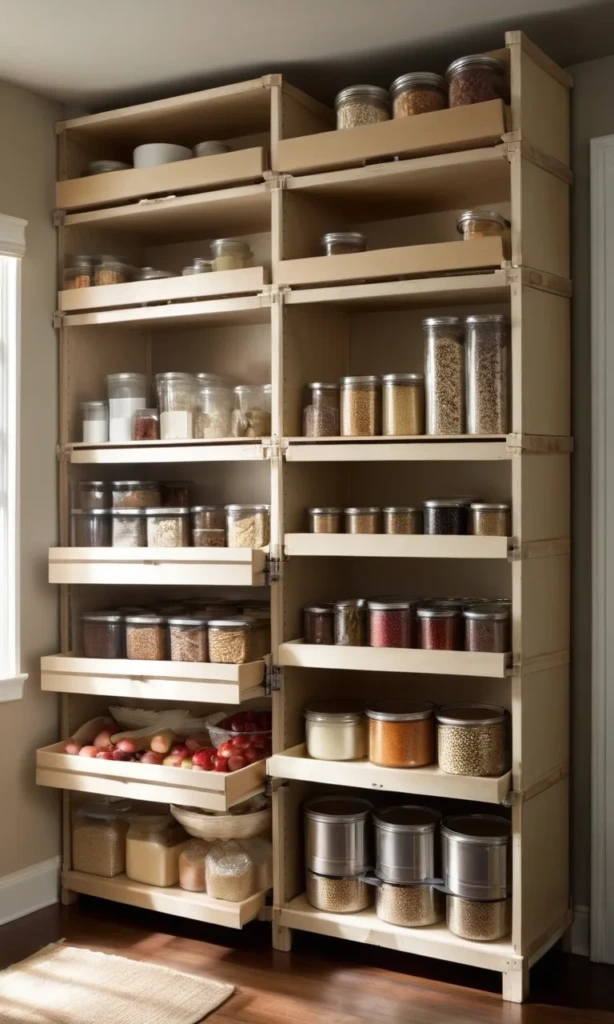
Wall cabinets often contain unused vertical space, and small bins can make that space more functional. They are useful for grouping seasoning packets, tea bags, snack packs, baking decorations, and other lightweight items that tend to spread across shelves.
Choose bins that fit the cabinet depth and can be pulled out without catching on the door or adjacent containers. Clear bins help identify contents quickly, while simple labels can distinguish categories. Keep heavier glass jars and large cans on sturdy lower shelves rather than in awkward overhead positions.
Avoid overfilling wall cabinets, since excessive weight can strain shelves and mounting hardware. Check the cabinet's load limits and distribute weight appropriately. Frequently used items should be easy to retrieve without stretching or reaching over other products.
For a small kitchen, this approach can make a substantial difference without requiring a full renovation. A few well-sized bins can transform a cluttered cabinet into an organized storage area that is easier to maintain.
FAQs
Food storage becomes easier when you match the container and location to the ingredient. The following answers cover common questions about freshness, storage materials, and everyday kitchen organization.
How long does food actually stay fresh when stored properly?
The length of time food stays fresh depends on the type of food, its condition when purchased, the temperature at which it is stored, and how it is handled. Some items remain suitable for months, while others should be used within a few days.
As a general guide, many raw meat, poultry, and seafood products need to be used or frozen within one to two days when refrigerated at 40°F (4°C) or below. Most cooked leftovers should be eaten within three to four days. Whole produce varies considerably: some fruits and vegetables keep for weeks under suitable conditions, while delicate berries and leafy greens may deteriorate much sooner.
Dry goods such as rice, pasta, flour, and beans can often last for months when kept in cool, dry conditions in intact packaging or suitable airtight containers. Their quality may gradually decline, and products containing fats, such as nuts and whole-grain flour, can become rancid sooner than some other pantry staples.
Freezing at 0°F (-18°C) or below keeps food safe for much longer when it remains continuously frozen, although flavor and texture can eventually deteriorate. Proper packaging helps prevent freezer burn.
For safety, refrigerate perishable foods within two hours of preparation or removal from temperature control, or within one hour when the surrounding temperature is above 90°F (32°C). Keep the refrigerator at 40°F (4°C) or below. Do not rely on smell or appearance alone to determine whether a potentially unsafe food is suitable to eat. When in doubt, discard it.
Is it better to store food in glass or plastic containers?
Both glass and plastic can be good food storage options. The better choice depends on what you are storing, how often you move the container, and whether you need to refrigerate, freeze, or reheat the food.
Glass containers are durable when handled carefully, do not readily absorb food odors or stains, and make it easy to see what is inside. Many glass food containers are suitable for reheating, provided the manufacturer specifically allows the intended use. Their main disadvantages are weight and the risk of breaking if dropped.
Plastic containers are generally lighter and less likely to shatter, making them convenient for packed lunches, meal preparation, and freezer storage. However, plastic products vary in quality, durability, and heat tolerance. Some can stain or retain odors, and repeated use may cause wear. Choose containers specifically designed for food contact and follow their instructions for heating, freezing, and cleaning.
For hot food, check whether the container is rated for the intended temperature before using it. Never assume that every plastic container is microwave-safe or that every glass container can withstand an oven's heat. Replace containers that are cracked, badly scratched, warped, or otherwise damaged.
A practical kitchen often benefits from using both materials. Glass is a strong option for refrigerator leftovers and suitable reheating tasks, while lightweight plastic can be useful for lunches and situations where breakage is a concern. In either case, secure lids, clean surfaces, proper labeling, and correct storage temperatures matter more for food safety than the material alone.
Final Thoughts
An effective food storage system does not require an expensive kitchen makeover. Stackable containers, clearly labeled jars, organized refrigerator zones, and thoughtfully arranged pantry shelves can make ingredients easier to find and help reduce unnecessary waste.
Start with the foods you use most often and choose storage solutions that fit your available space. Keep perishable ingredients at safe temperatures, separate raw foods from ready-to-eat items, and use older ingredients before opening new packages. With a few consistent habits, your kitchen can stay organized, practical, and ready for everyday cooking.