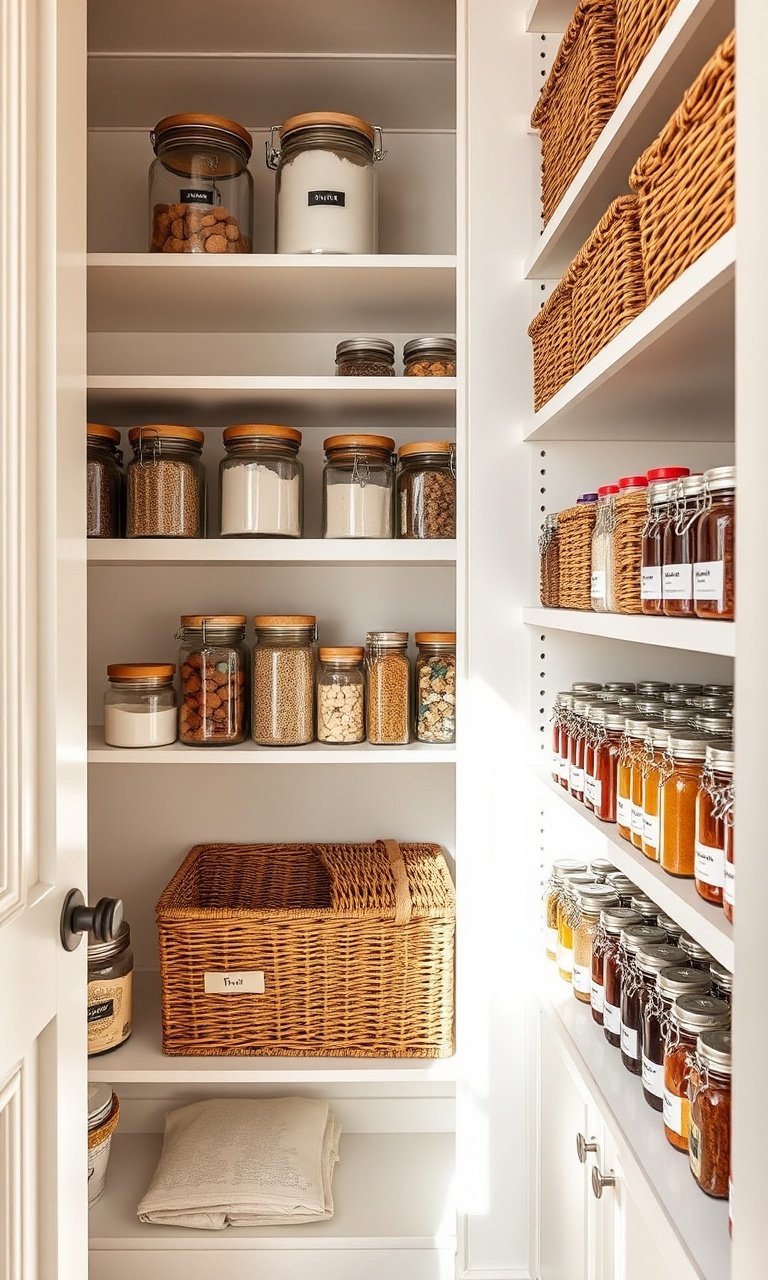
22 Cleaning Supplies Organization Ideas for 2026
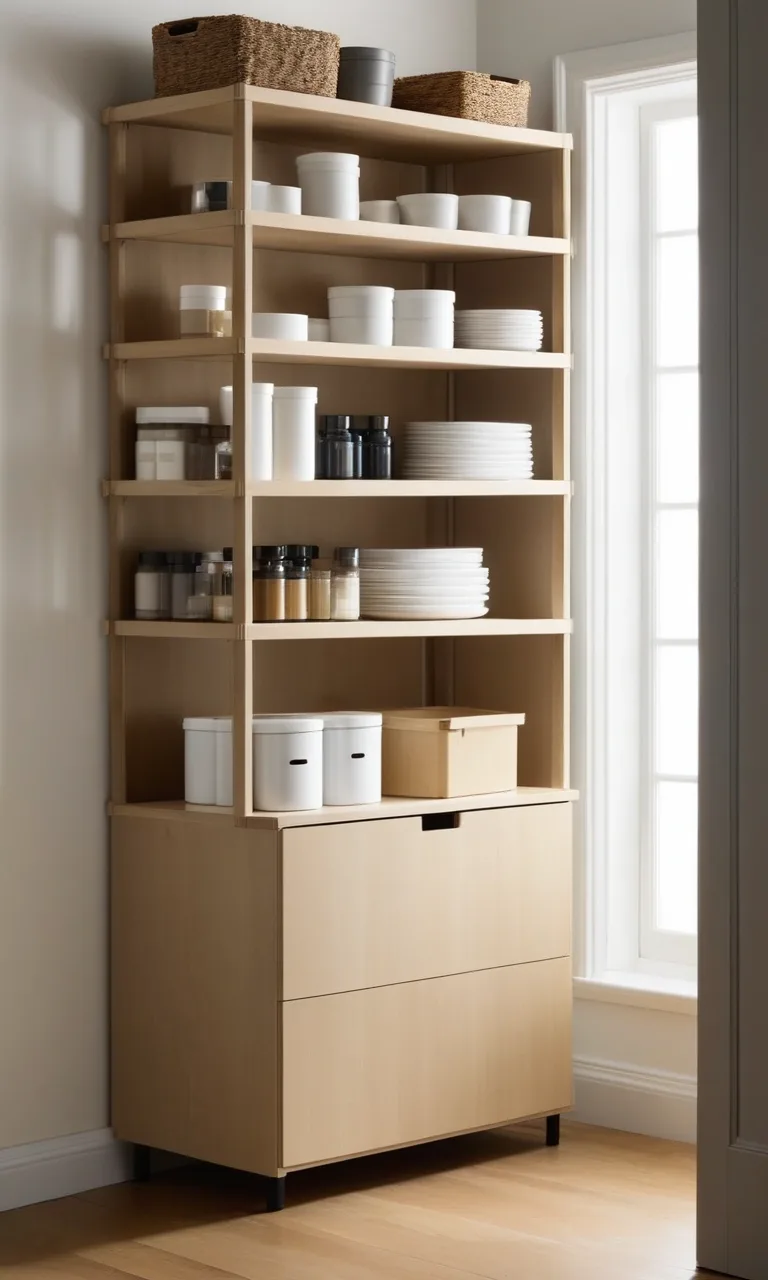
Keeping cleaning supplies organized can make everyday chores feel much more manageable. When bottles are scattered across cabinets, cloths are mixed with brushes, and extra products are tucked away out of sight, even a quick cleanup can become frustrating. A practical storage system helps you find what you need without wasting time searching through clutter.
The best part is that you don't need a large utility room or expensive storage accessories to get started. A few well-planned shelves, containers, hooks, and designated storage areas can transform even a small cabinet into a functional cleaning station.
In this guide, you'll discover 22 cleaning supplies organization ideas that work for different home layouts, from compact apartments to spacious laundry rooms. Each idea focuses on making supplies easier to access, keeping storage manageable, and creating a system you can maintain over time.
How to Organize Cleaning Supplies?
Start by taking everything out of your current storage area. Check expiration dates where applicable, remove empty containers, and separate products you rarely use from the supplies you reach for regularly. This gives you a clearer picture of how much storage space you actually need.
Next, group similar items together. Keep glass cleaners with other surface-cleaning products, floor-care supplies in their own section, and sponges, microfiber cloths, and brushes in a separate container. Place everyday essentials where you can reach them easily and store backup products in a different area.
Choose storage solutions that suit your available space. Clear bins help you see what's inside, shelf dividers prevent items from falling over, and wall-mounted holders keep long-handled tools off the floor. Labels can make the system easier to follow, especially when several people share household responsibilities.
Safety should also guide your arrangement. Keep cleaning chemicals in their original, clearly labeled containers, away from children and pets. Follow the manufacturer's storage instructions, and never combine cleaning products unless the labels explicitly allow it.
1. Labeled Clear Bins
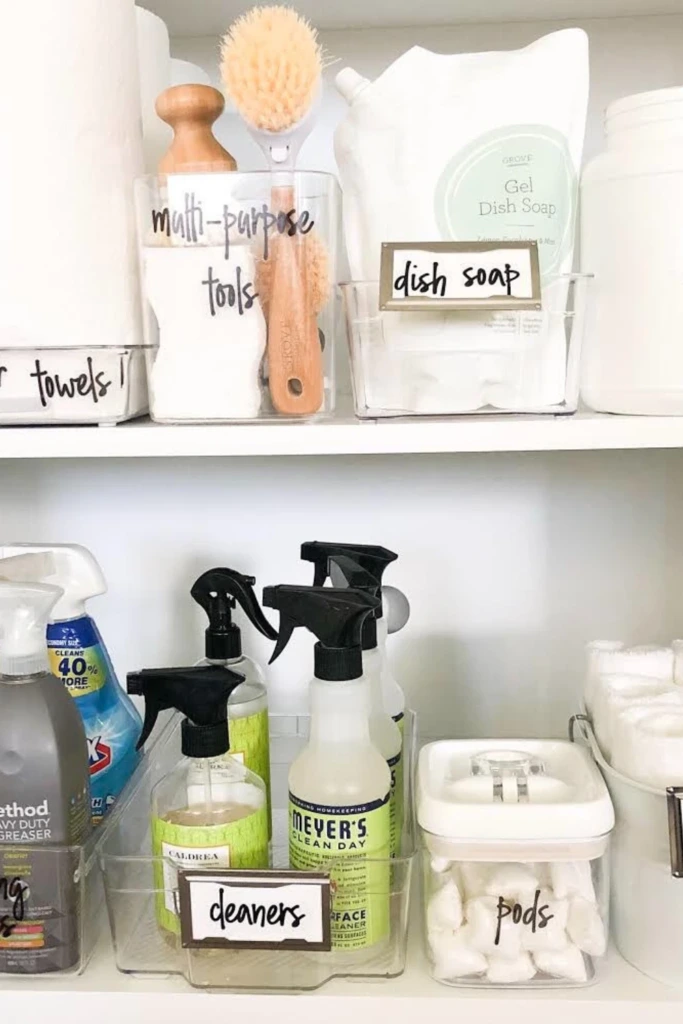
Clear storage bins with simple labels make it much easier to maintain an orderly cleaning cupboard. Instead of searching through a crowded shelf, you can pull out the container assigned to the task you need to complete.
Use separate bins for surface cleaners, cleaning cloths, floor-care accessories, and unopened refills. Choose containers that fit the shelf depth so they slide out comfortably without catching on surrounding items.
Add straightforward labels such as "Bathroom," "Kitchen," "Cloths," and "Refills." If the bins are stored on several shelves, place frequently used supplies at a convenient height. This arrangement works particularly well in utility closets and laundry rooms.
2. Pull-Out Shelving
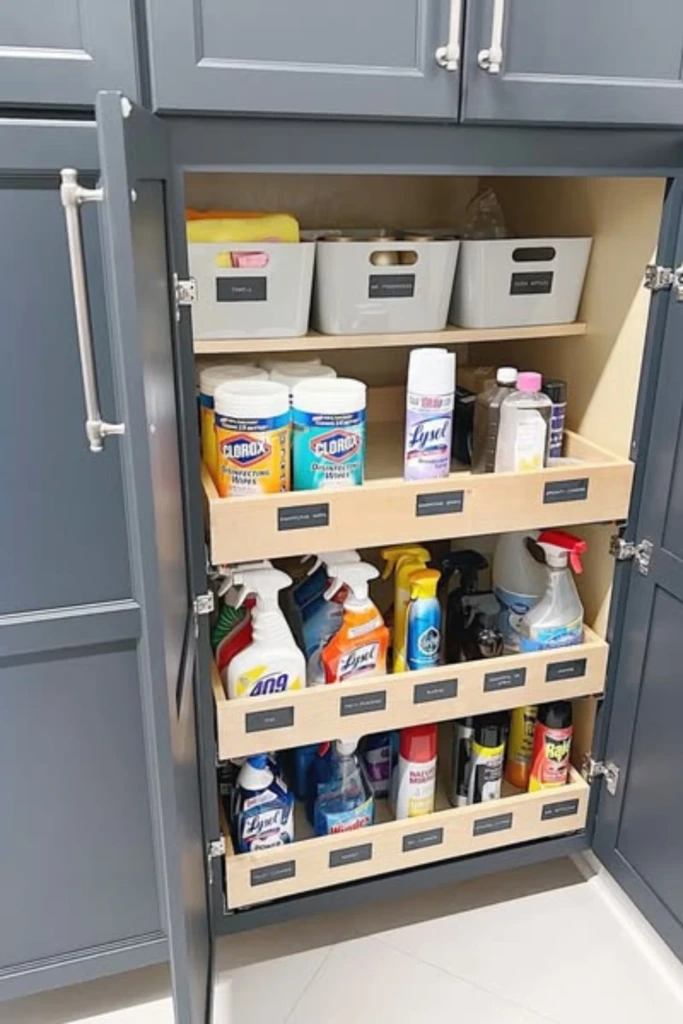
Deep cabinets often waste space because products stored at the back become difficult to reach. Pull-out shelves or sliding trays solve this problem by bringing the contents forward when you need them.
Measure the cabinet carefully before choosing a sliding organizer. Consider the height of your tallest bottles, the weight of the products, and any plumbing or hinges that might interfere with installation.
Keep heavier containers on lower shelves and lighter supplies above them. With everything accessible from the front, you can check your inventory quickly and avoid purchasing products you already have.
3. Vertical Tool Zone
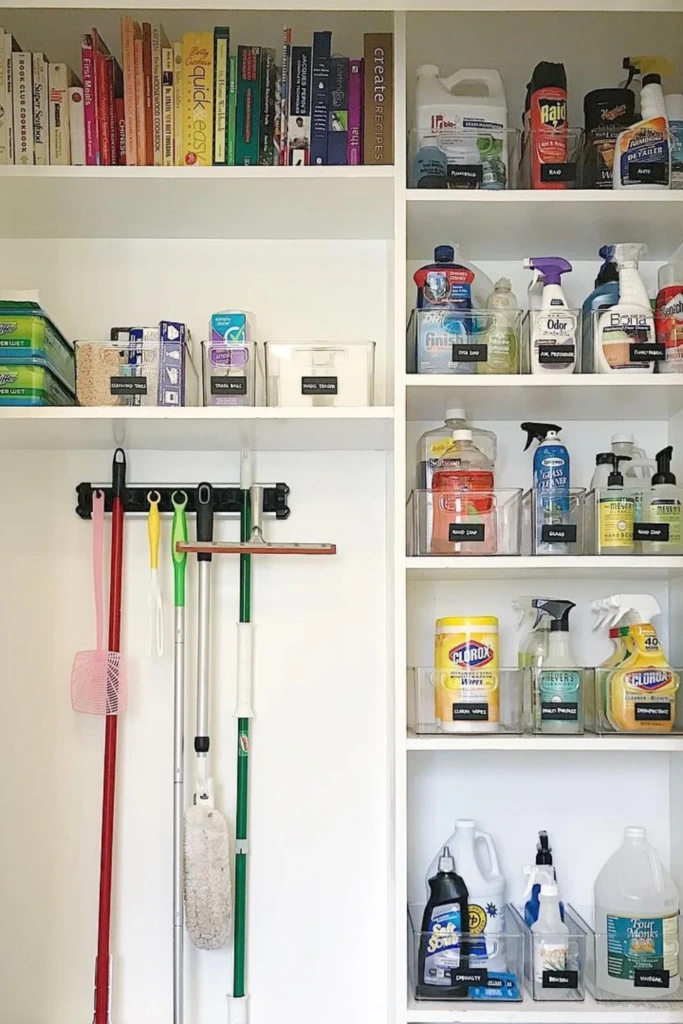
Mops, brooms, dusters, and other long-handled tools can quickly turn a small closet into a tangled mess. A dedicated vertical storage area keeps these items separated and makes them easier to grab.
Install a wall-mounted holder with individual clips or slots for each handle. Choose a mounting system suitable for your wall material and the weight of your tools. Leave enough room between items so handles don't become entangled.
Place a small shelf or bin nearby for compatible cleaning accessories, spare mop heads, and dusting attachments. Allow damp tools to dry according to their care instructions before storing them in an enclosed space.
4. Zoned Closet Storage
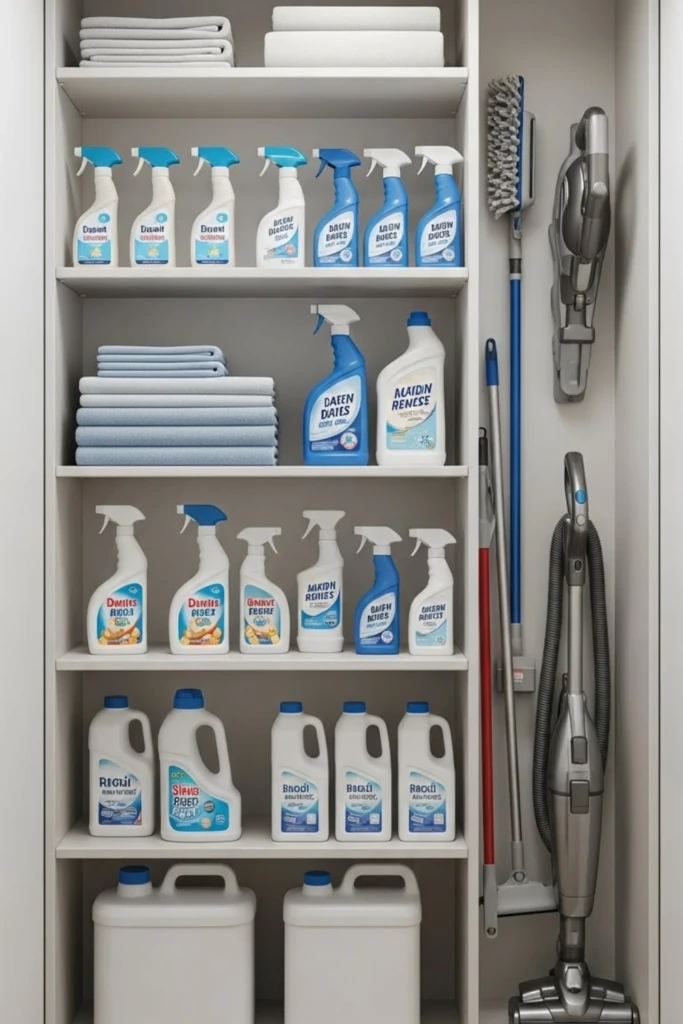
A tall utility closet becomes much more useful when every section serves a specific purpose. Rather than arranging products wherever they fit, divide the available shelves into practical zones.
Keep everyday sprays and cloths in an easily accessible area, dedicate another shelf to bathroom or kitchen cleaning products, and reserve a lower section for bulkier refills. A narrow vertical space can accommodate a broom, mop, or compact vacuum if the dimensions allow.
The key is to arrange the closet according to your cleaning routine. When similar supplies stay together, putting items away becomes easier and the closet is less likely to become cluttered again.
5. Slim Cabinet Pullout
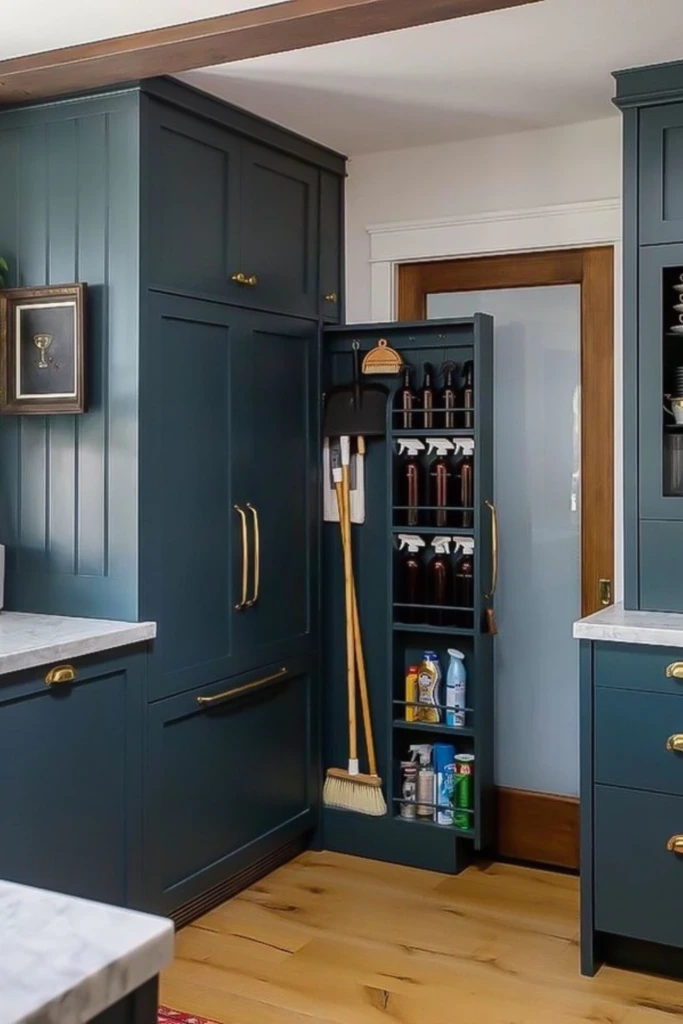
The narrow gap between cabinets or appliances can provide useful storage when standard shelves are too wide. A slim pull-out organizer makes use of this overlooked space without requiring a major change to your room layout.
Look for a unit designed to fit the exact width and depth available. Tall sides or bottle dividers can help keep spray containers upright while the organizer moves.
This solution is especially helpful in compact kitchens, laundry areas, and apartments with limited cupboard space. Before installation, confirm that the organizer won't obstruct appliance ventilation, cabinet doors, or nearby plumbing.
6. Door-Mounted Storage
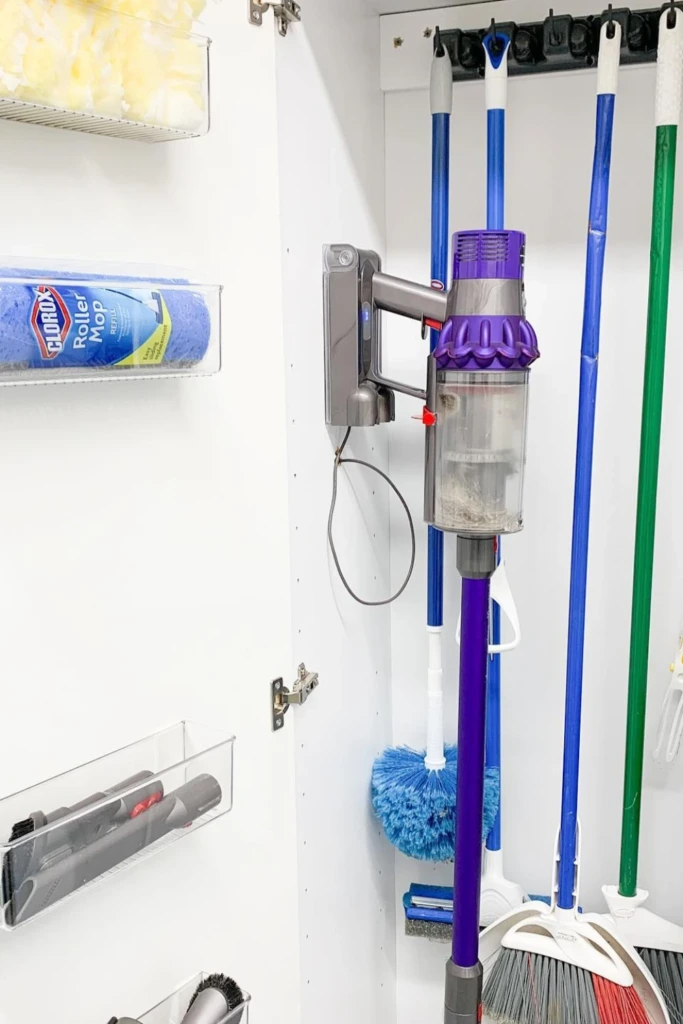
The inside of a cabinet door can hold lightweight accessories that would otherwise occupy valuable shelf space. Small racks, hooks, and shallow organizers can turn this unused surface into a convenient storage area.
Use sturdy hooks for lightweight brushes or cleaning cloths and shallow holders for compatible accessories. Check that the door can close fully without pressing against bottles or containers on the shelves.
Avoid placing heavy chemical bottles on a door-mounted rack unless the system is specifically designed and secured for that load. A well-planned door organizer keeps smaller items visible while leaving the main shelves available for larger supplies.
7. Tool Wall Rack
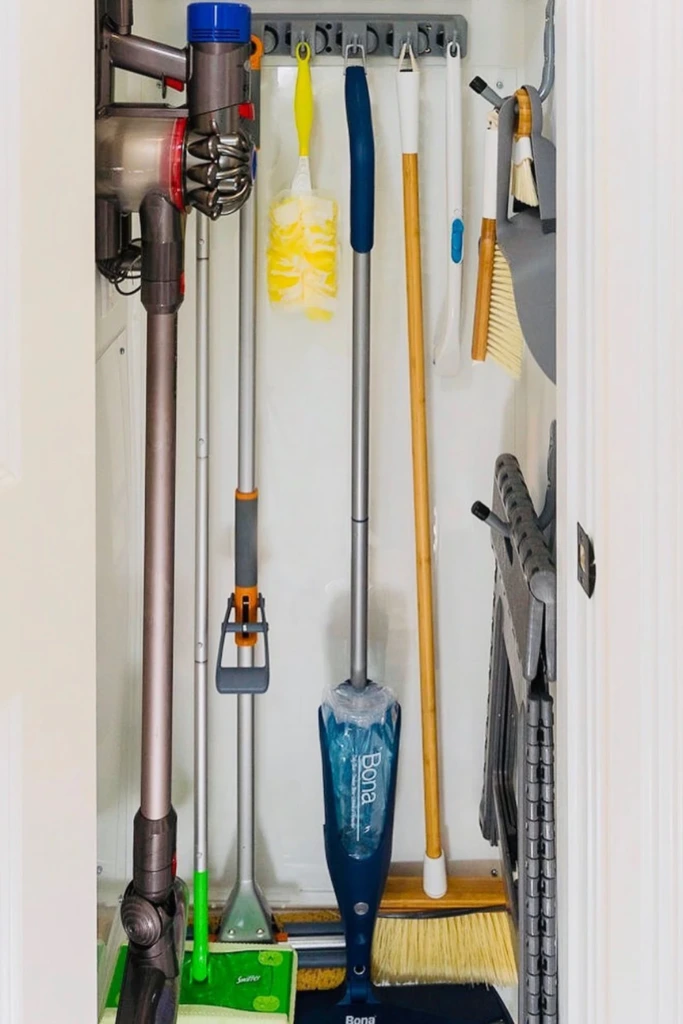
A wall-mounted rack is a simple way to store several cleaning tools in a narrow closet or utility room. It keeps handles upright, reduces floor clutter, and makes it easier to remove one tool without disturbing the others.
Choose a rack with secure grips that accommodate the diameter of your broom, mop, and duster handles. Install it at a comfortable height and anchor it appropriately for the wall surface.
You can reserve one side of the storage area for a vacuum or other larger equipment, provided there is enough clearance. Keeping each tool in its own position also makes it easier to notice when something has been left elsewhere.
8. Hanging Tool Station
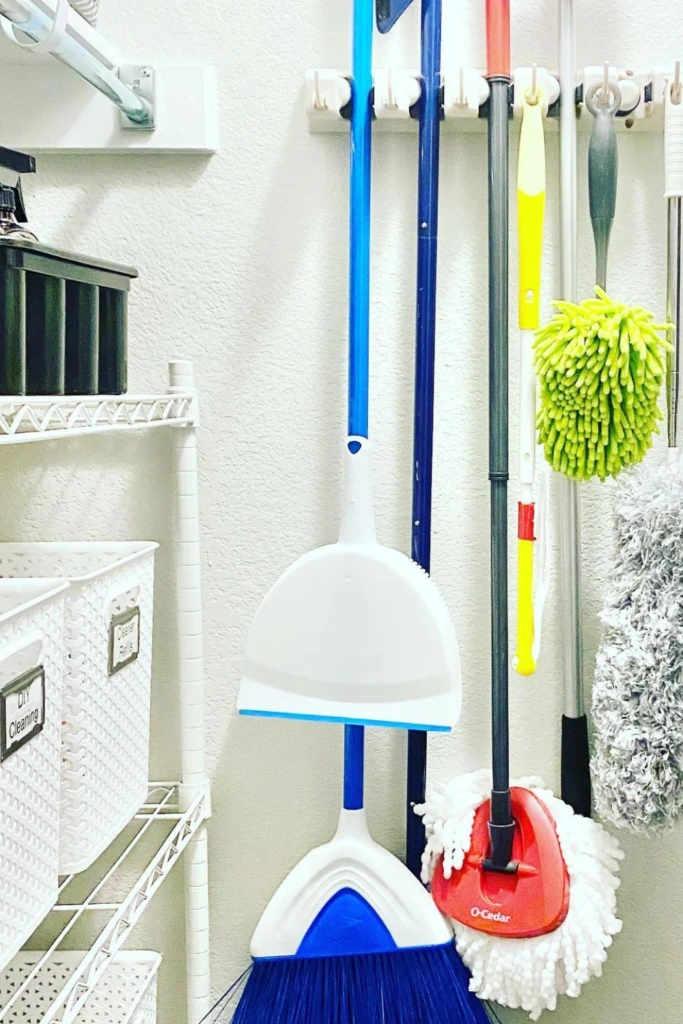
If floor space is limited, a hanging tool station can provide an effective alternative to a freestanding organizer. This arrangement works well in laundry rooms, small utility closets, and other narrow storage areas.
Use wall-mounted hooks or a rail system to hang brooms, mops, dusters, and lightweight cleaning accessories. Arrange the tools according to how often you use them so daily essentials are easy to reach.
A nearby shelf can hold cloths, gloves, and other frequently needed items. Leave sufficient space between hanging tools to prevent them from catching on one another, and ensure damp equipment can dry properly before being stored.
9. Wire Shelf Zones
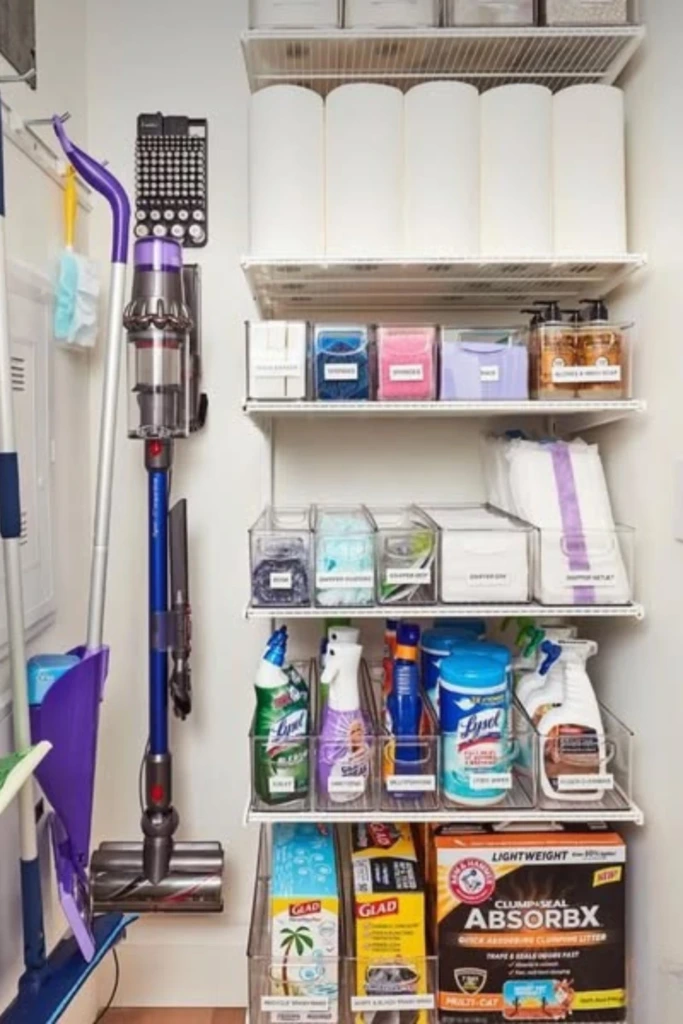
Wire shelving offers an adaptable way to organize cleaning supplies when built-in cabinets are unavailable. The open design makes it easier to see products, adjust shelf heights, and reach items without opening doors.
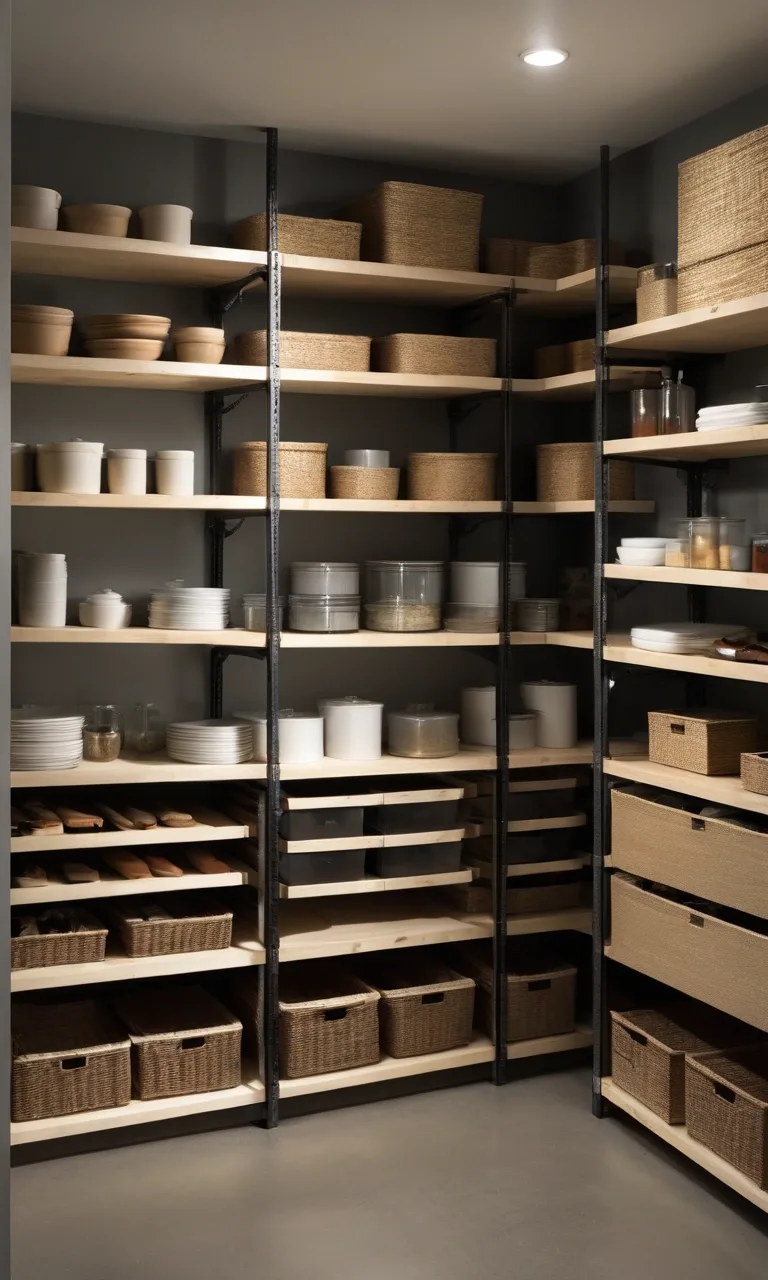
Assign each level a clear function. Store lightweight paper goods or spare cloths on an upper shelf, everyday cleaning products in the middle, and suitable bulk supplies below.
Use bins designed for wire shelves when small bottles or accessories might tip through the gaps. Make sure the shelving is securely installed and rated for the weight of the items you plan to store.
10. Category-Based Bins
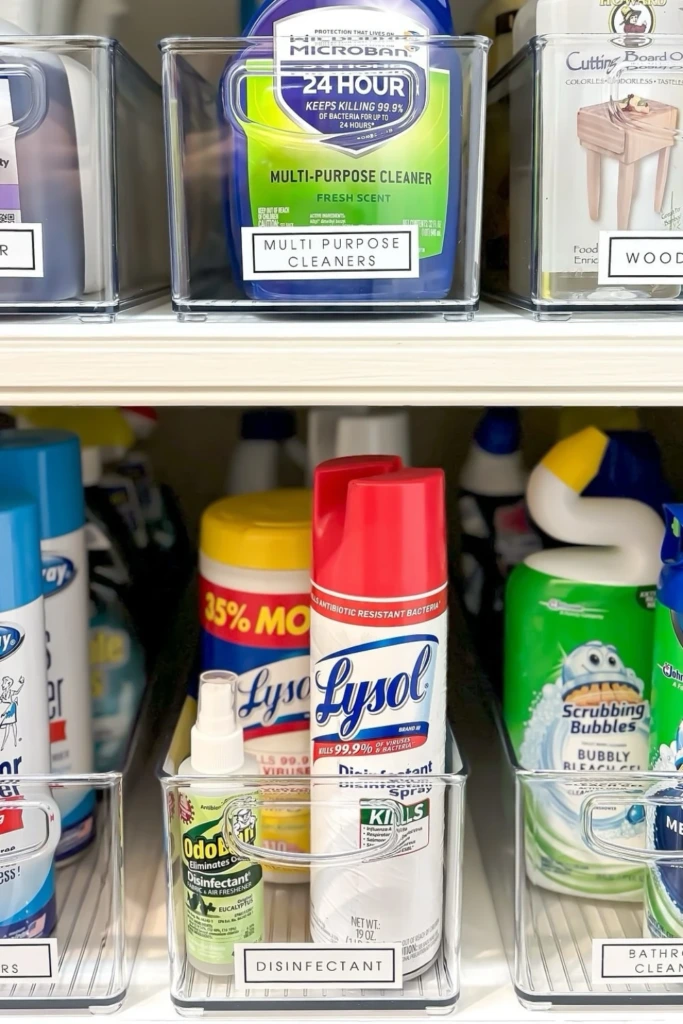
Organizing supplies by cleaning task makes it easier to select the right product for each job. Instead of keeping every bottle together, divide your collection into categories based on the surfaces or areas you clean.
Create separate containers for glass and mirror care, bathroom cleaning, kitchen degreasing, and general household maintenance. Keep brushes, sponges, and cloths in appropriate compartments so they don't become mixed with unrelated supplies.
Clear bins are particularly useful because you can check their contents at a glance. Use labels to identify each category and review the bins occasionally to remove empty containers and replenish products that are running low.
Always check product labels before using a cleaner on a particular surface. Similar-looking bottles may have different purposes, and not every cleaning product is suitable for every material.
11. Full Utility Cabinet
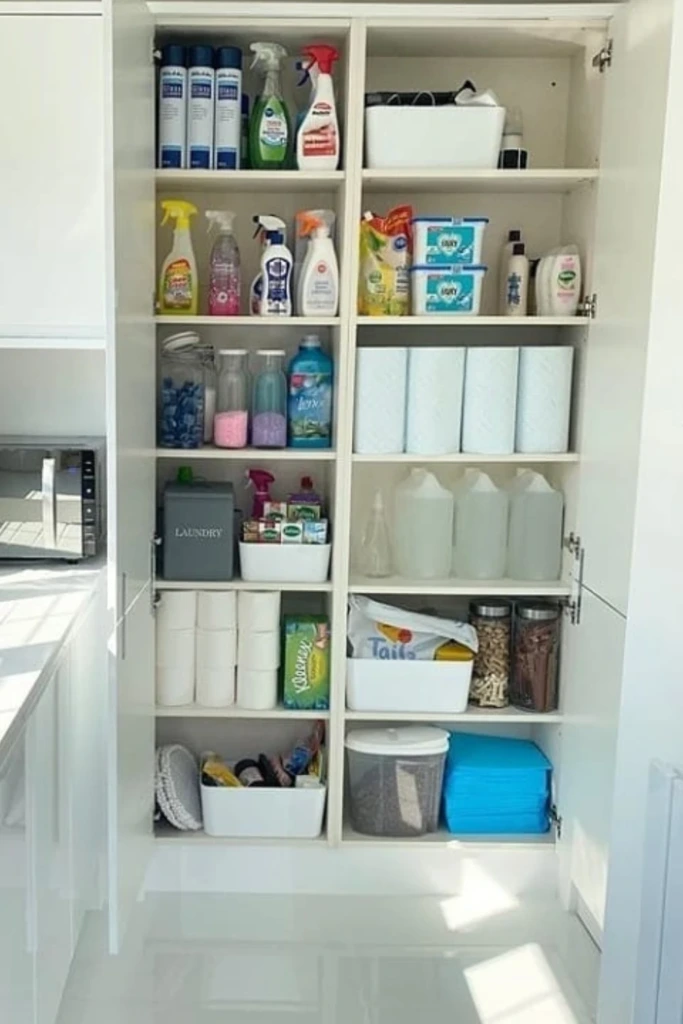
A full-height utility cabinet can provide a central storage location for household cleaning essentials. It is especially useful when supplies are currently spread across the kitchen, bathroom, and laundry room.
Give each shelf a specific role. Place smaller everyday products where they are easy to reach, keep cloths and accessories together, and reserve a suitable lower or separate section for backup supplies.
Tall cabinets can also accommodate long-handled tools if one side has enough vertical clearance. Use baskets or shelf dividers to prevent small items from becoming lost behind larger containers.
Before filling the cabinet, check that shelves can support the intended load and that all products can be stored safely according to their labels. A dedicated utility cabinet makes inventory checks and restocking much simpler.
12. Pegboard Cabinet Setup
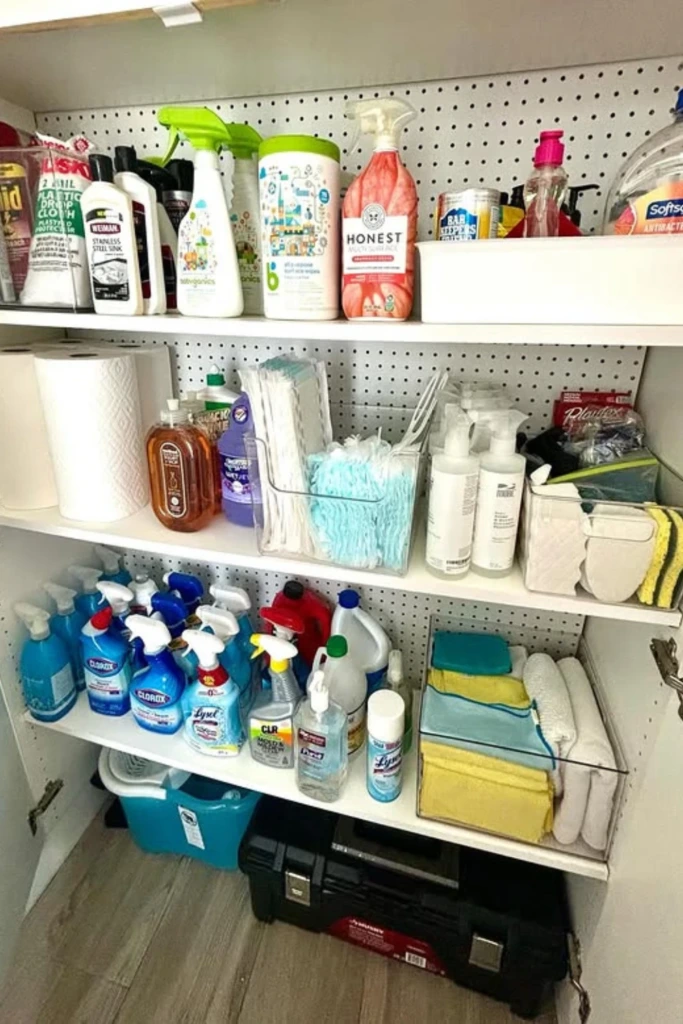
A pegboard installed inside a suitable cabinet creates flexible storage for small tools and accessories. Because hooks and attachments can be repositioned, you can change the layout as your cleaning needs evolve.
Use compatible hooks for lightweight brushes and other tools, and add small containers for items that would otherwise scatter across the shelf. Arrange products so bottles remain stable and labels stay visible.
This idea works best when the cabinet has enough clearance for the pegboard and its attachments. Secure the board properly, keep heavier items on supported shelves, and avoid placing hooks where they interfere with doors, pipes, or electrical components.
13. Drawer-Style Storage
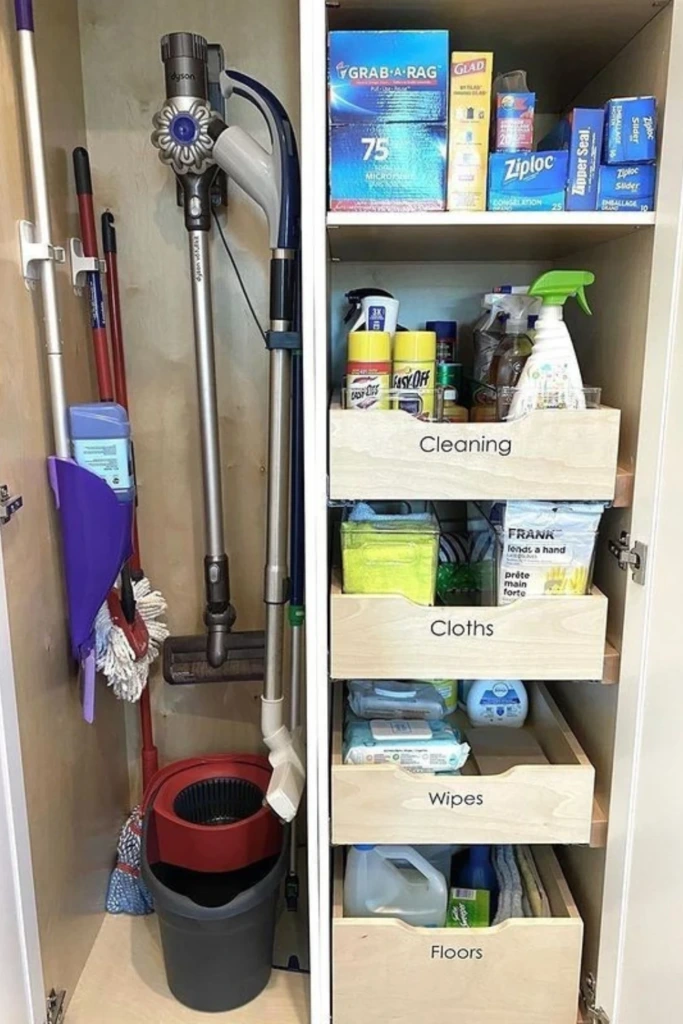
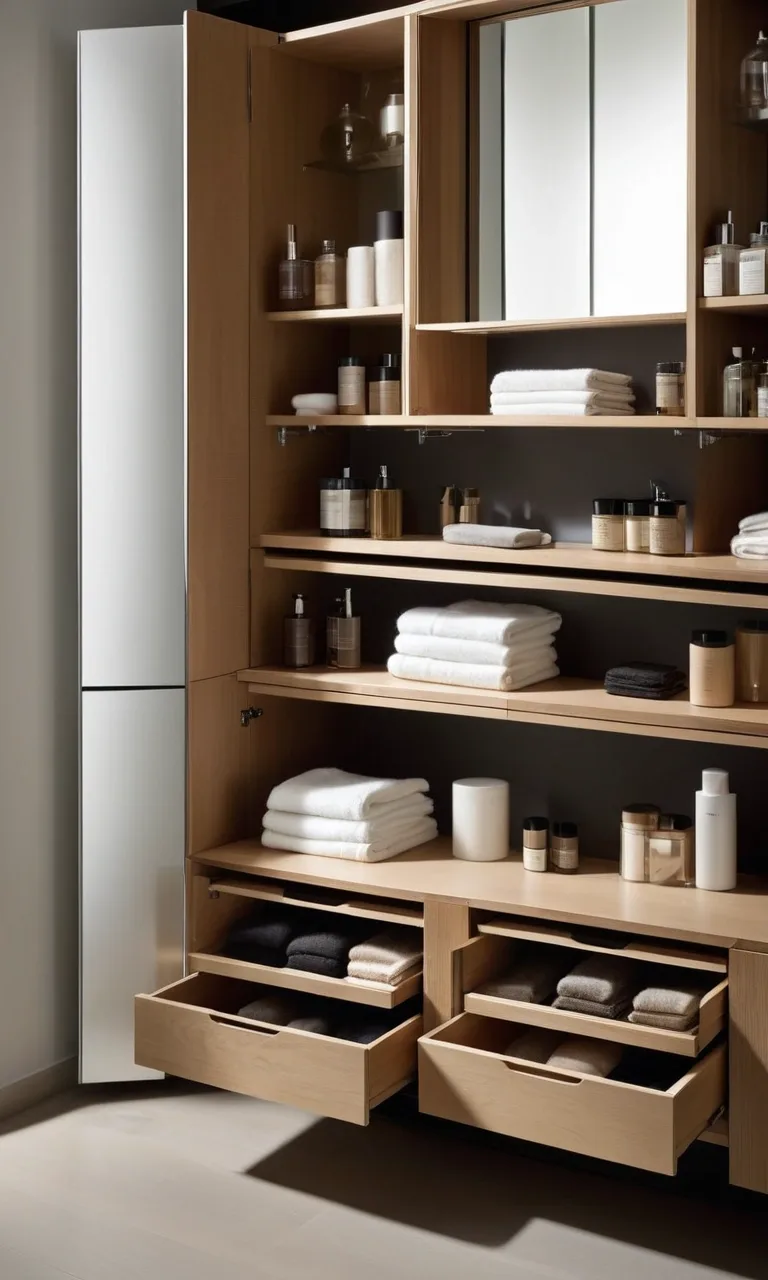
Deep drawers can be an excellent place to store cleaning accessories, wipes, cloths, and smaller products. Unlike a traditional shelf, a drawer allows you to bring the entire collection forward rather than reaching around items at the back.
Use adjustable dividers or small bins to separate supplies by function. One section might hold microfiber cloths, another could contain scrub brushes, and a third could accommodate suitable floor-care accessories.
Choose drawer organizers that leave enough room to open and close the drawer smoothly. Store liquid products upright in secure, leak-resistant containers when the drawer is suitable for that purpose, and keep incompatible cleaning chemicals separated according to their labels.
14. Shelf Bin System
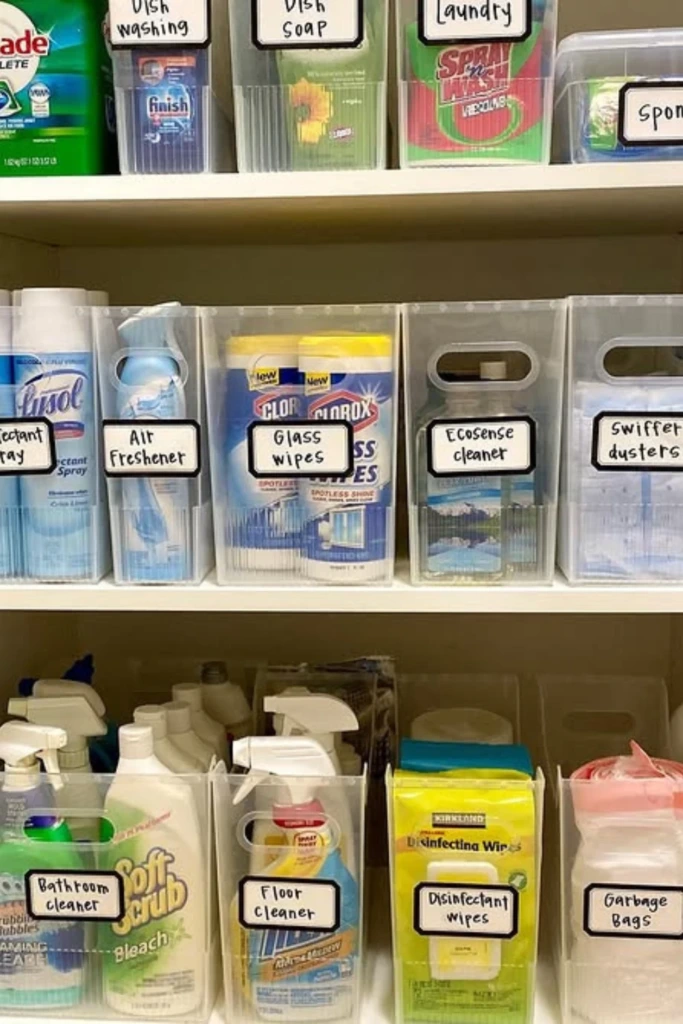
A shelf bin system helps prevent bottles and small accessories from spreading across the entire cupboard. Each container acts as a designated home for a particular category, making the shelves easier to maintain.
Choose bins that fit the available shelf dimensions without leaving too little room to pull them out. Handles are useful when you need to carry supplies to another room or inspect what's stored at the back.
You might dedicate individual bins to floor cleaning, glass care, surface wipes, and air-care products. Keep heavier bins on sturdy lower shelves and avoid overfilling them, since crowded containers are harder to use and put away.
15. Under-Sink Spray Bar
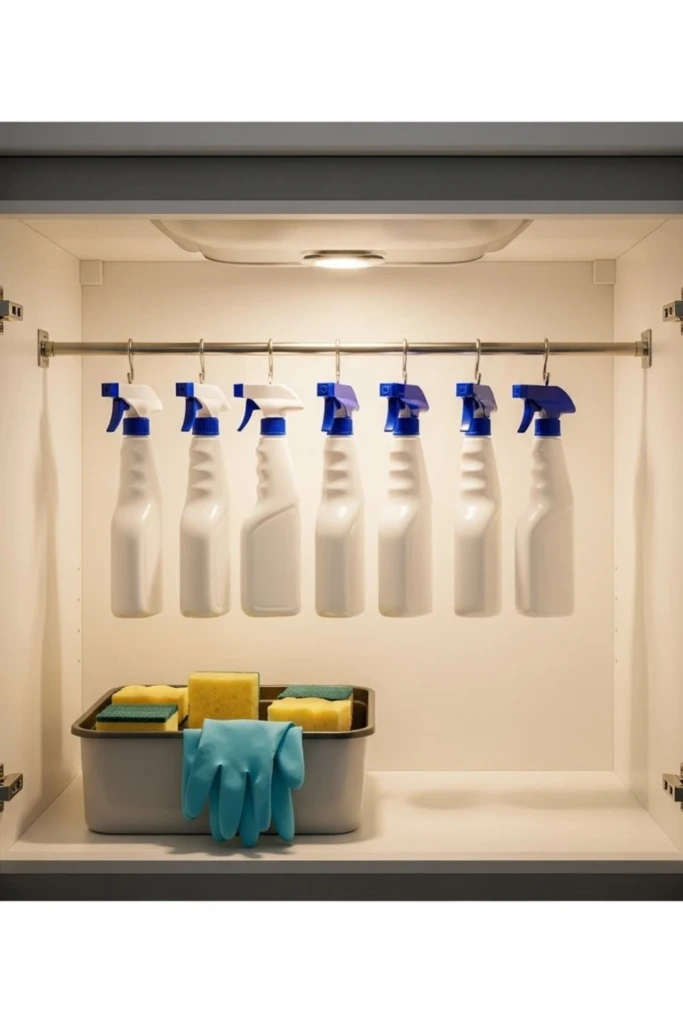
The space beneath a kitchen or bathroom sink can be difficult to organize because pipes reduce the usable shelf area. A tension-style or securely mounted bar may help you make better use of the available vertical space.
Where the cabinet design permits, lightweight spray bottles with suitable trigger handles can hang from the bar. This leaves some of the cabinet floor available for sponges, gloves, and other accessories stored in a separate container.
Measure around the plumbing before choosing a bar, and make sure it can support the intended load. Keep bottles away from leaks, moisture-sensitive materials, and any surfaces that could be damaged by spills. Check the cabinet regularly for dampness or signs of corrosion.
16. Cleaning Caddy Kits
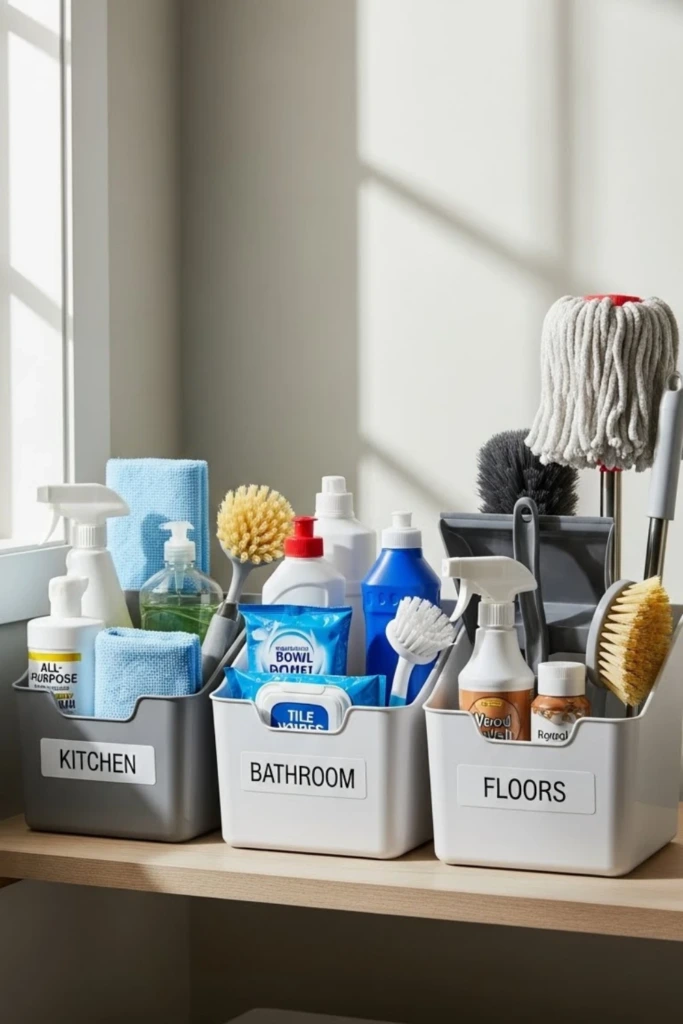
A cleaning caddy lets you gather the supplies needed for one room or task in a single portable container. Instead of carrying individual bottles back and forth, you can bring the entire kit with you.
Create a bathroom caddy with appropriate bathroom cleaners, gloves, and a dedicated cloth or brush. A separate kitchen kit might hold suitable surface cleaners and cleaning accessories. Tailor each caddy to the actual tasks you perform rather than filling it with every product you own.
Choose a sturdy container with a comfortable handle and compartments that keep bottles upright. Return the caddy to its designated storage area after use, and avoid placing incompatible chemicals together in ways that could allow accidental mixing or leakage.
17. Open Bucket Station
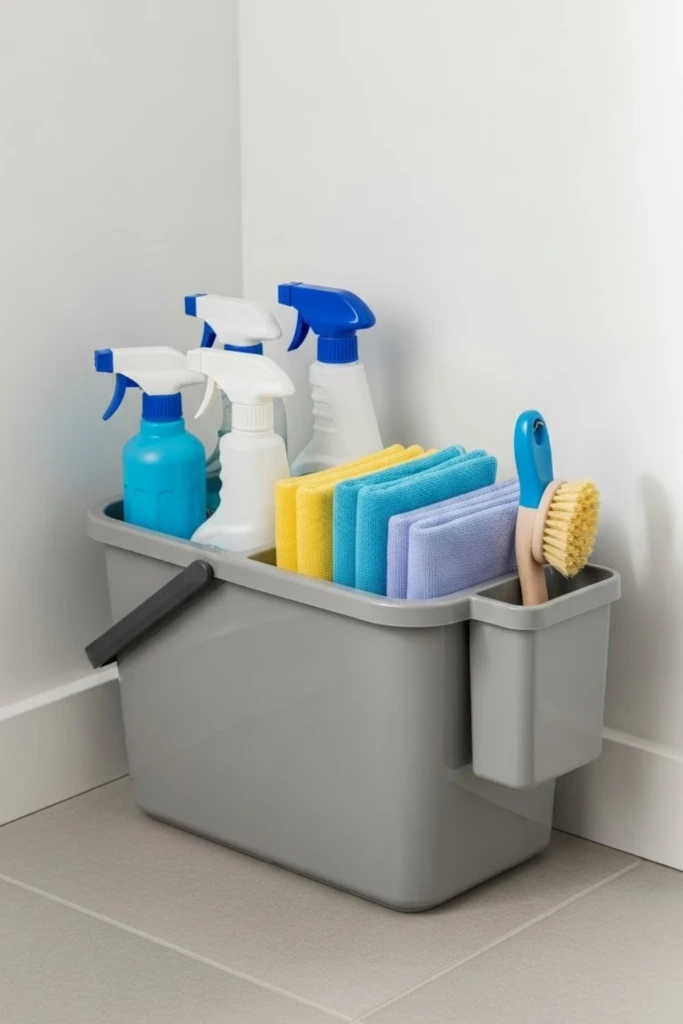
An open bucket can provide inexpensive, portable storage for a small collection of everyday cleaning tools. It works particularly well when you want to keep cloths, brushes, and a few frequently used accessories together.
Select a stable bucket with a strong handle and enough room for the items you plan to carry. A divided insert can help separate different tools and prevent them from becoming tangled.
Keep the bucket in a dry, designated location when it isn't being used. Do not treat an ordinary bucket as a safe container for loose chemicals or mixed cleaning solutions. Store chemical products in their original packaging and follow their individual safety instructions.
18. Slim Floor Caddy
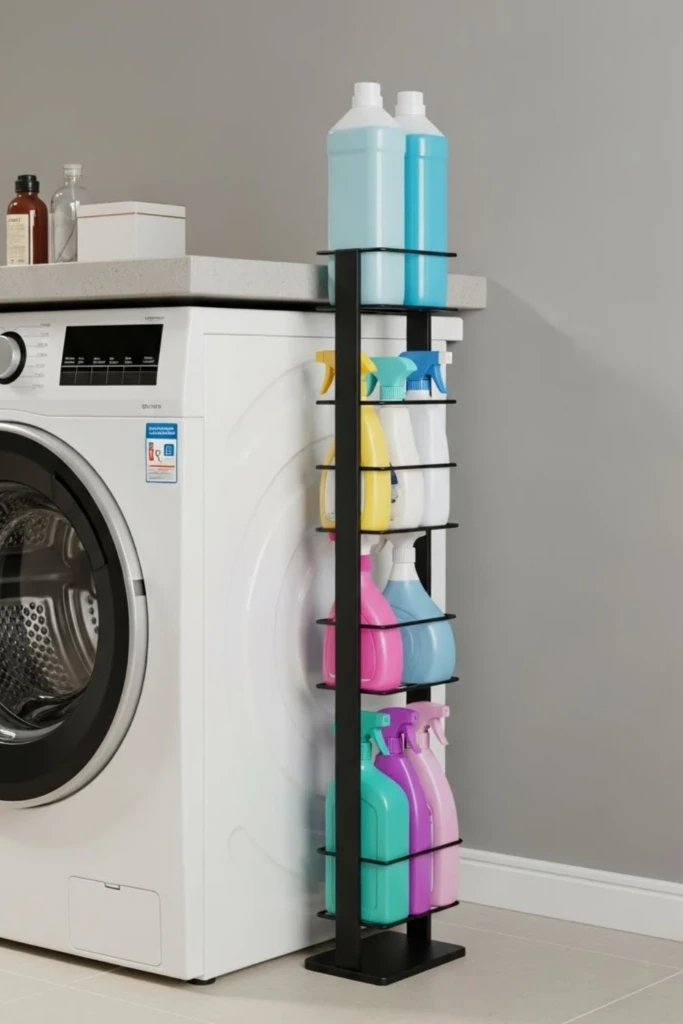
A narrow floor caddy can make awkward gaps more useful without taking up much room. Depending on the available dimensions, it may fit beside a suitable cabinet or in a dedicated section of a laundry area.
Choose a model with compartments tall enough to hold spray bottles upright. Wheels can make the organizer easier to move, but they should lock securely if the unit could roll into an appliance or doorway.
Measure the gap carefully before purchasing a caddy, and allow room for nearby doors and drawers to open. Keep heavy items low to improve stability, and avoid placing storage units where they interfere with appliance ventilation or access to utilities.
19. Label-Free Color Coding
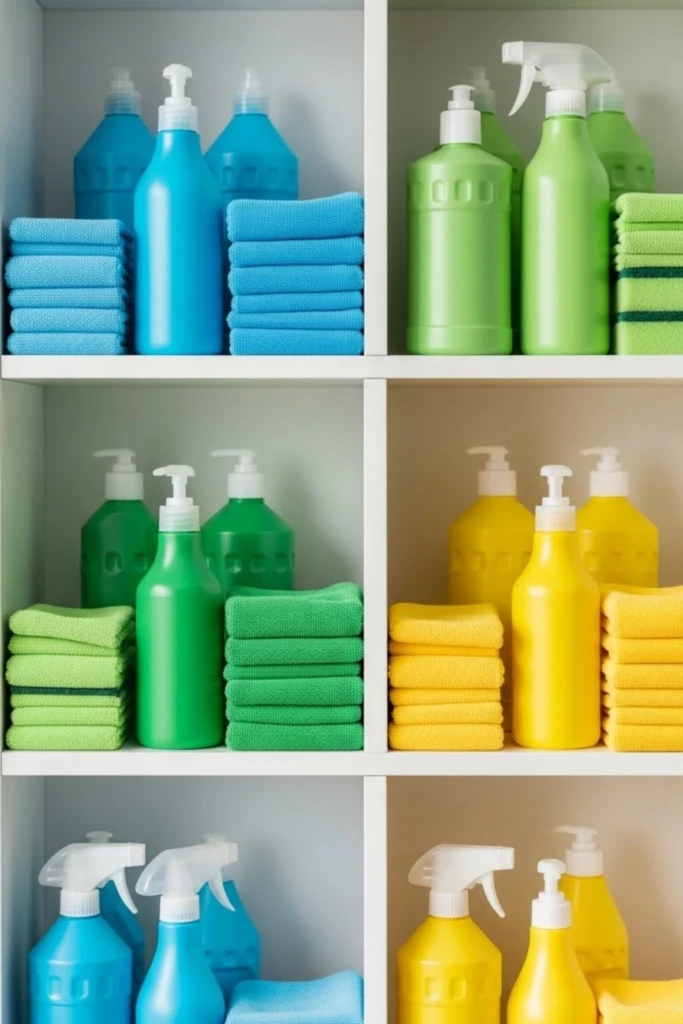
Color coding provides a quick visual way to distinguish cleaning accessories, especially in busy households where several people share the work. It can complement written labels or offer an easy reminder for frequently repeated tasks.
For example, you might assign blue cloths to glass cleaning, green cloths to kitchen surfaces, and yellow cloths to bathroom tasks. Choose a consistent system and apply it to washable cloths, brushes, or removable organizer tags.
Use colors to identify tools rather than assuming a bottle's color indicates its intended use. Always read the original product label before applying a cleaner. If several people use the system, explain the color assignments and keep them consistent to avoid confusion.
20. Refill-Only Shelf
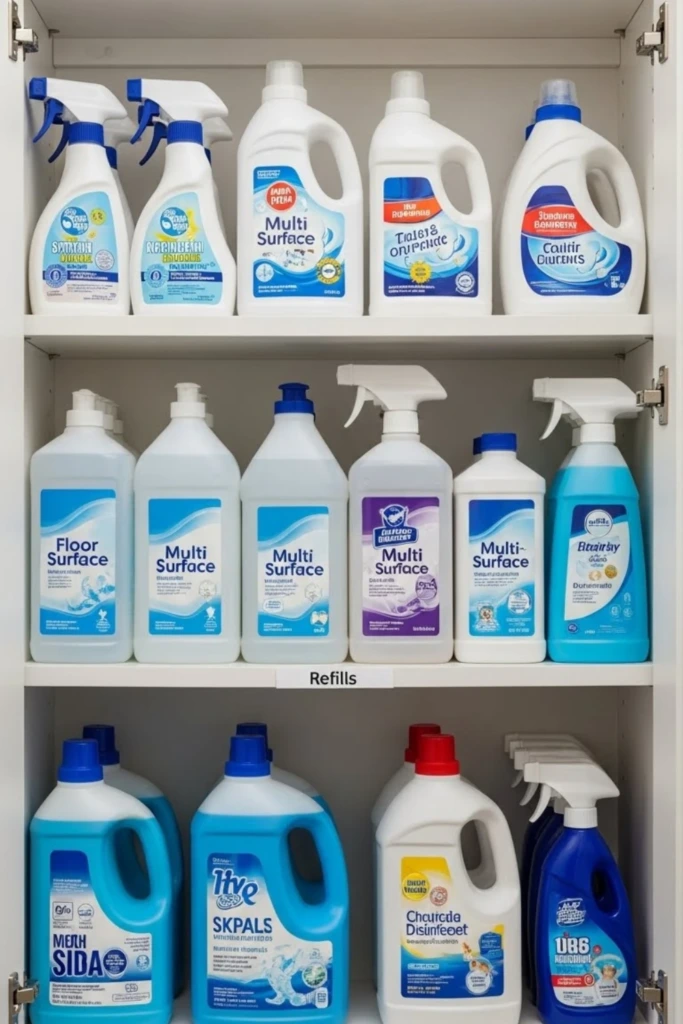
Keeping spare cleaning products together makes it easier to see what needs replenishing. Without a designated area, unopened refills often become scattered among everyday supplies and are forgotten until the original container runs out.
Reserve a shelf or clearly marked bin for backup products. Group similar refills together and place older, usable stock where it will be noticed first.
Check the inventory before shopping and buy only what you realistically need. Keep containers sealed and upright as directed, and store them away from children, pets, heat sources, and food. Never transfer cleaning products into unmarked containers simply to make the shelf look neater.
21. Under-Shelf Hanging Hooks
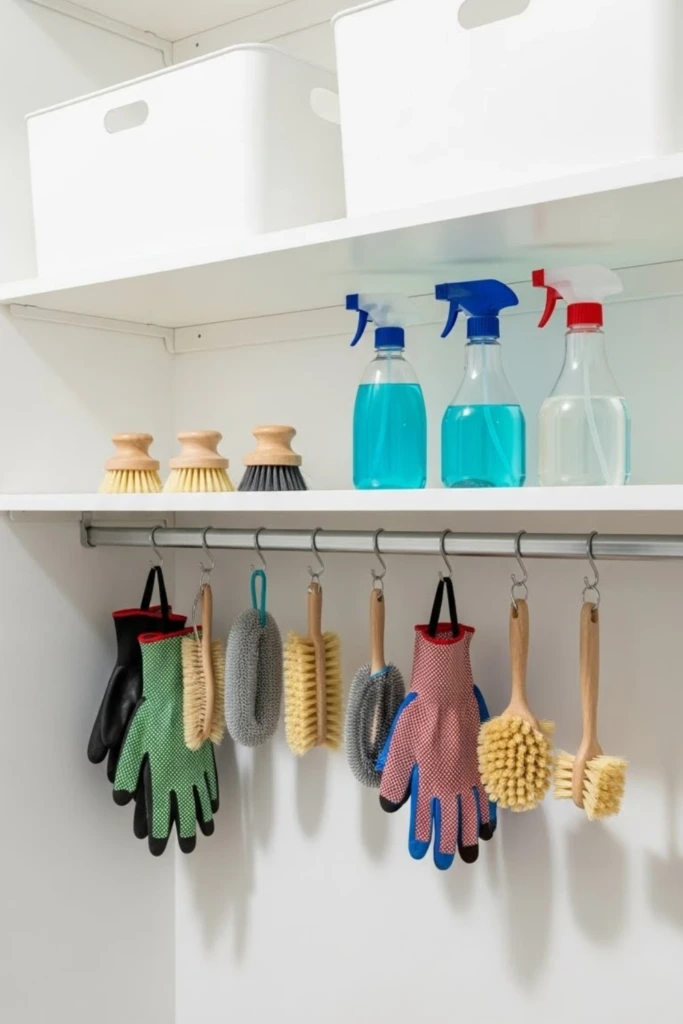
The underside of a sturdy shelf can provide additional storage for lightweight accessories. Small hooks or a compatible hanging rail allow you to use space that would otherwise remain empty.
Attach hooks designed for the shelf material and intended load. They can hold lightweight gloves, small brushes, or other accessories that are easy to hang without damaging the shelf.
Before installing anything, check the clearance above the items on the shelf below. Hanging accessories should not interfere with bottles or prevent the shelf from being used comfortably. Keep damp tools separated and allow them to dry before placing them in enclosed storage.
22. Daily vs Deep Clean Split
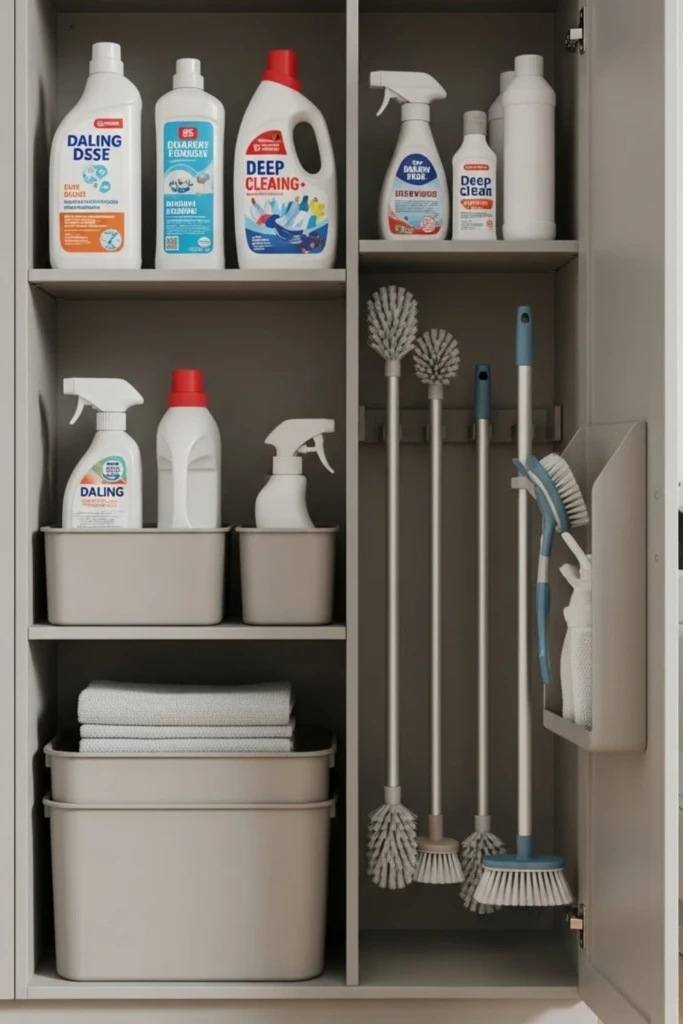
Separating everyday supplies from products used for occasional deep cleaning helps keep the most useful items within easy reach. You won't need to move several bottles just to find a cloth or a regular surface cleaner.
Place frequently used, appropriate household products in an accessible area. Store specialized cleaning products and occasional-use tools in a separate section, keeping their labels visible and following any specific storage instructions.
This arrangement also makes it easier to notice when daily essentials are running low. Review the everyday section regularly and return products to their designated places after cleaning so the distinction remains useful over time.
How many cleaning products should you actually keep?
The ideal number depends on the size of your home, the surfaces you maintain, and your cleaning routine. Most households can simplify their storage by focusing on a manageable selection of products suited to their regular tasks.
Start by identifying the cleaners you use consistently. A suitable multipurpose cleaner may handle several compatible surfaces, while specialized products can remain available for tasks that require them.
Remove empty packaging and set aside products you no longer need, following local disposal instructions and the manufacturer's guidance. Avoid keeping unnecessary duplicates simply because they are on sale.
There is no need to reduce your collection to a specific number. The goal is to keep useful supplies accessible, store them safely, and avoid purchasing products you already have.
How do you keep cleaning supplies organized long-term?
The easiest way to maintain an organized storage area is to create a system that fits your habits. Keep supplies near the areas where you use them when practical, group related items together, and make sure every product has a designated place.
Return bottles and tools after each cleaning session instead of leaving them on counters or floors. Check your inventory periodically, discard empty packaging, and move depleted items onto your shopping list only when necessary.
Avoid filling every shelf to capacity. Leaving some open space makes it easier to remove containers, inspect supplies, and put everything back without disturbing the rest of the arrangement.
Most importantly, keep safety in mind. Store chemicals in their original labeled containers, follow instructions for temperature and ventilation, and use child-resistant storage or locked cabinets when needed. Never mix cleaning products, and keep them away from food and household items that could become contaminated.
A few consistent habits will help your cleaning storage remain practical long after the initial organizing project is finished.